• Letter Me!
  • Brushes
  • Engraving
  • Activations
  • Workshops
  • Calligraphy Workshops
  • Cricut Workshops
  • Blog
  • Instagram
  • Shop
  • About
  • Contact Us
Letter Me!

Hand lettered with love

  • Letter Me!
  • Brushes
  • Engraving
  • Activations
  • Workshops
  • Calligraphy Workshops
  • Cricut Workshops
  • Blog
  • Instagram
  • Shop
  • About
  • Contact Us

DIY Inspirational Graduation Cap

My friends at Kassa asked me to create this blog for them as Graduation Season is approaching in the USA. I had so much fun creating this DIY Inspirational Graduation Cap tutorial for them that I just had to share it on my page as well!

Congratulations on reaching this incredible milestone.  Do you feel empowered to inspire and motivate others? What about further inspiring and motivating yourself? Here’s how you can personalise your picture perfect graduation cap.

View this post on Instagram

A post shared by Liz Tu | Letter Me! (@letterme_au) on Jun 4, 2019 at 5:02am PDT

2,280 Likes, 29 Comments - Liz Tu | Letter Me! (@letterme_au) on Instagram: "To those of you graduating this year, "The future belongs to those who believe in the beauty of..."

kassa A.JPG

What you will need:

Graduation cap (Mine was from Amazon, click here for a link)

Kassa Blackboard Vinyl

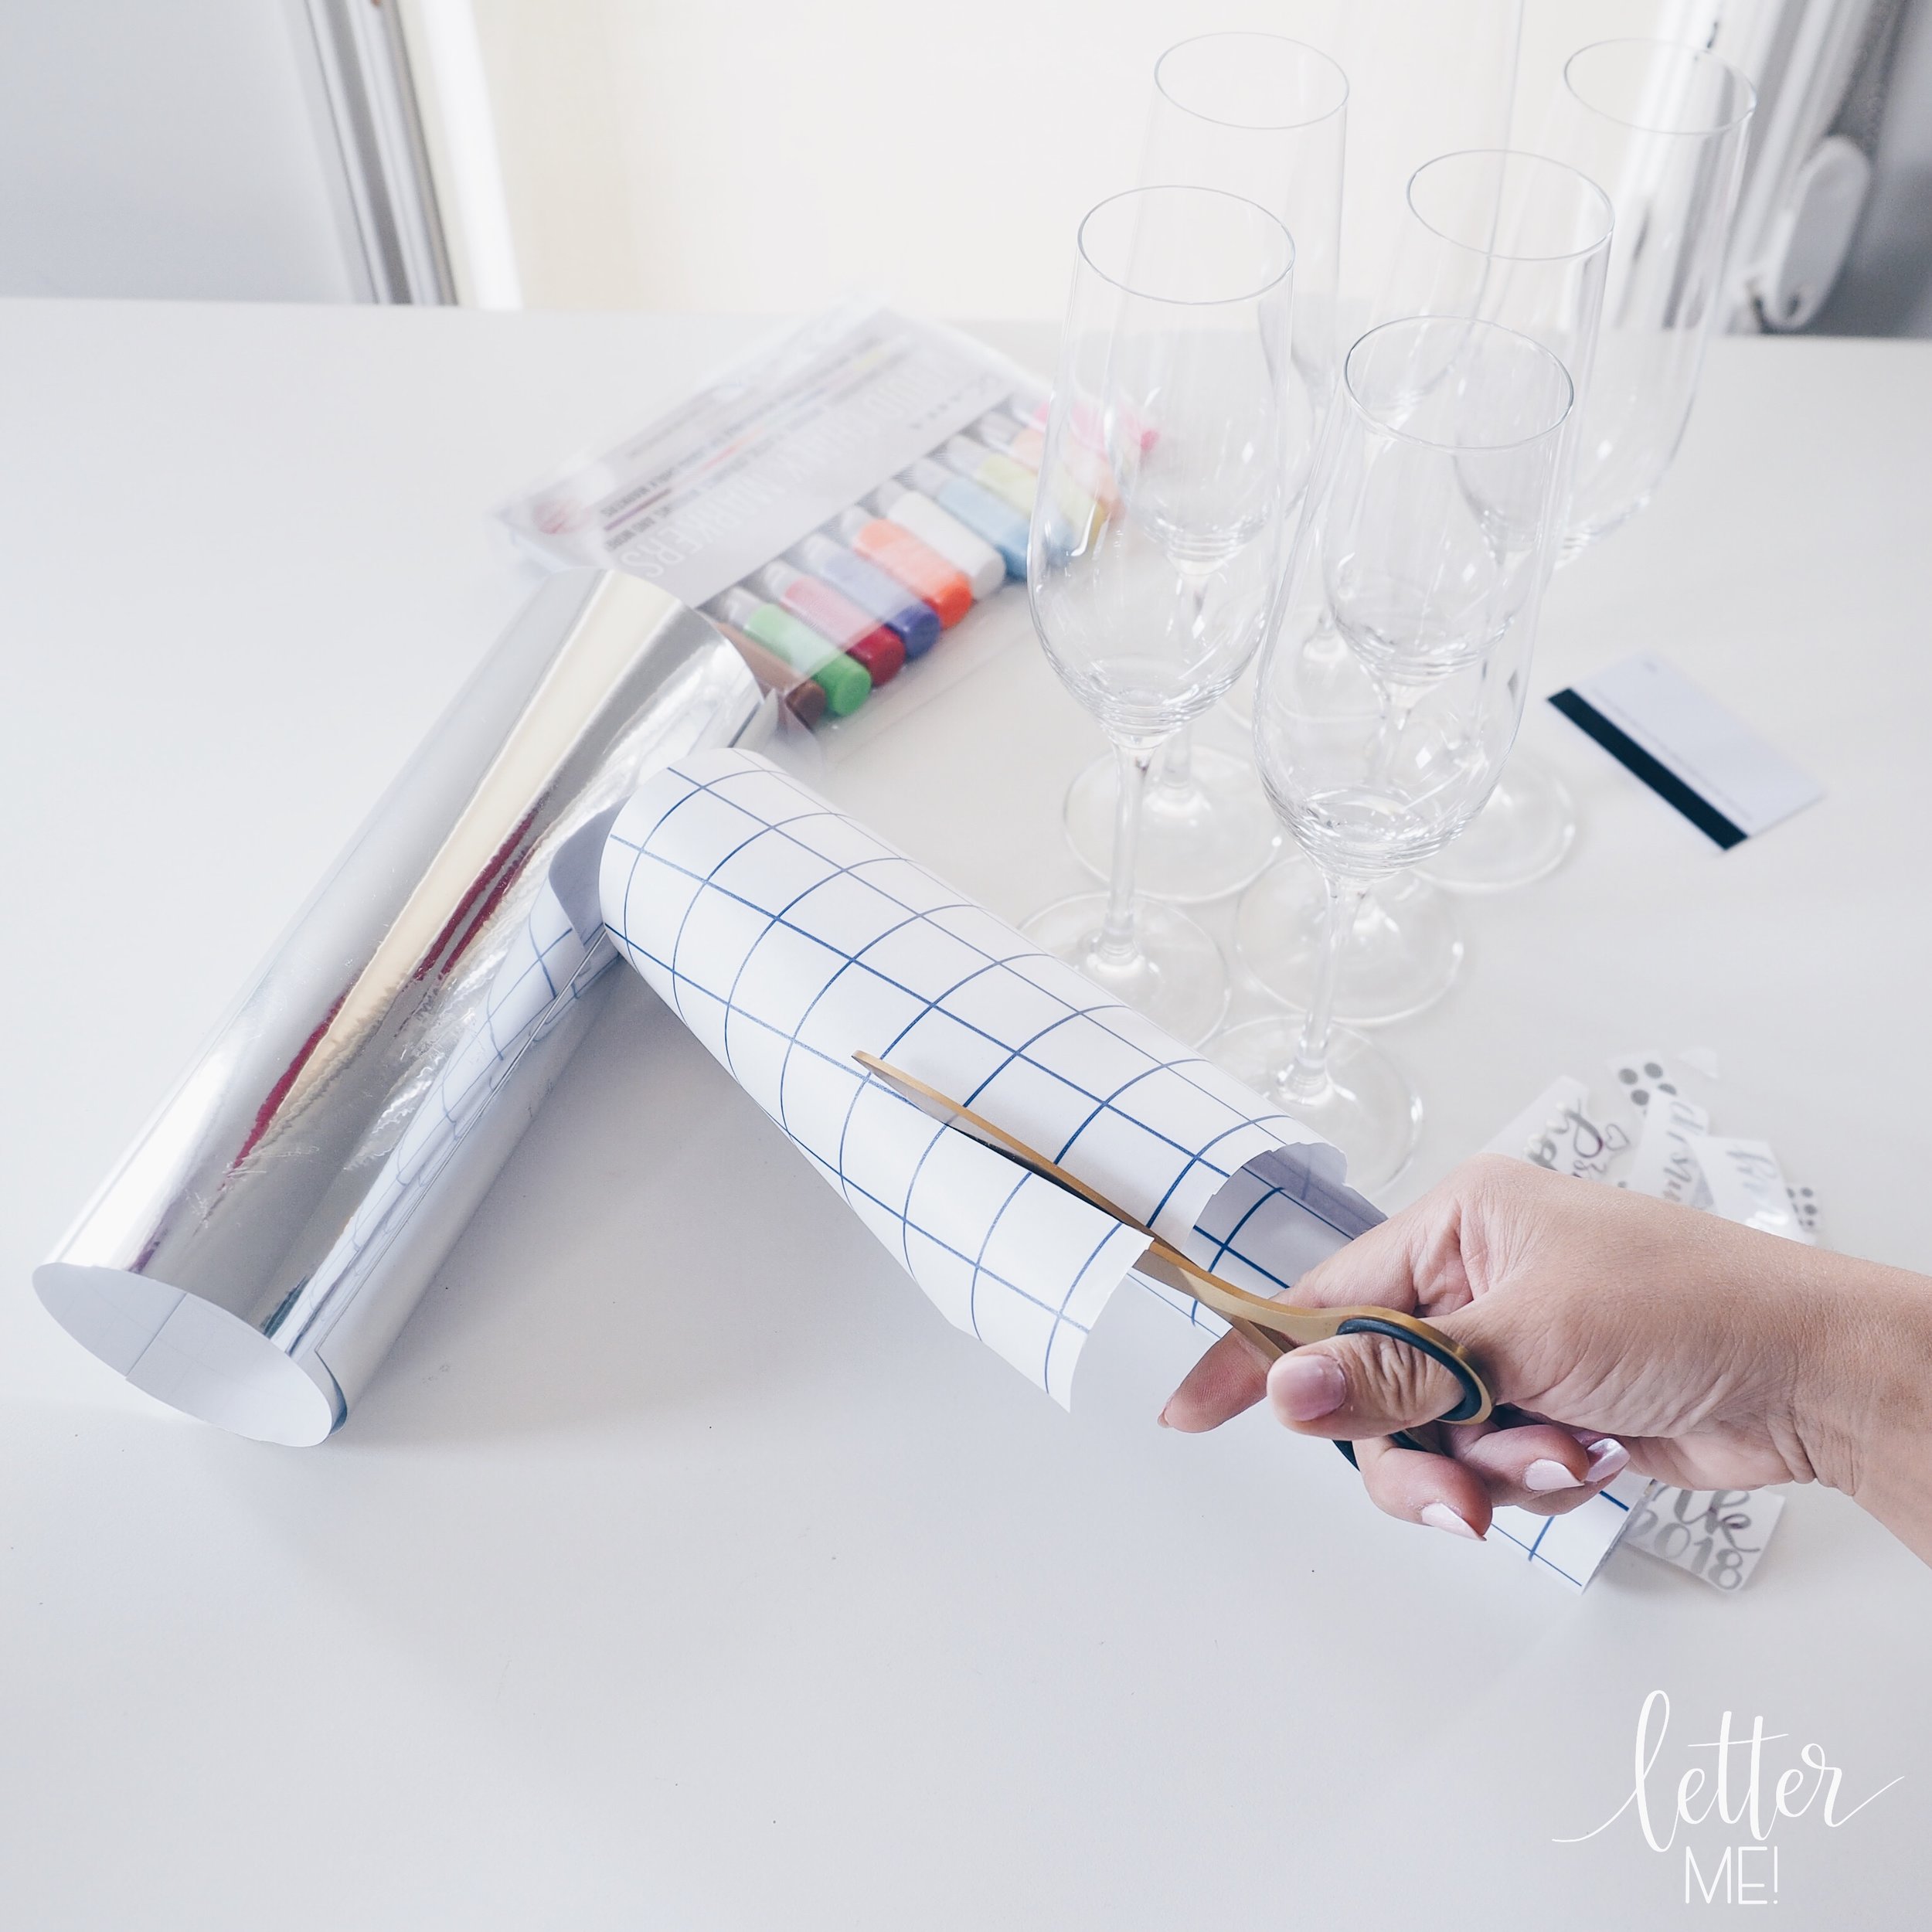
Scissors - https://amzn.to/2Z0ad2k

Ruler - https://amzn.to/2JRjExD
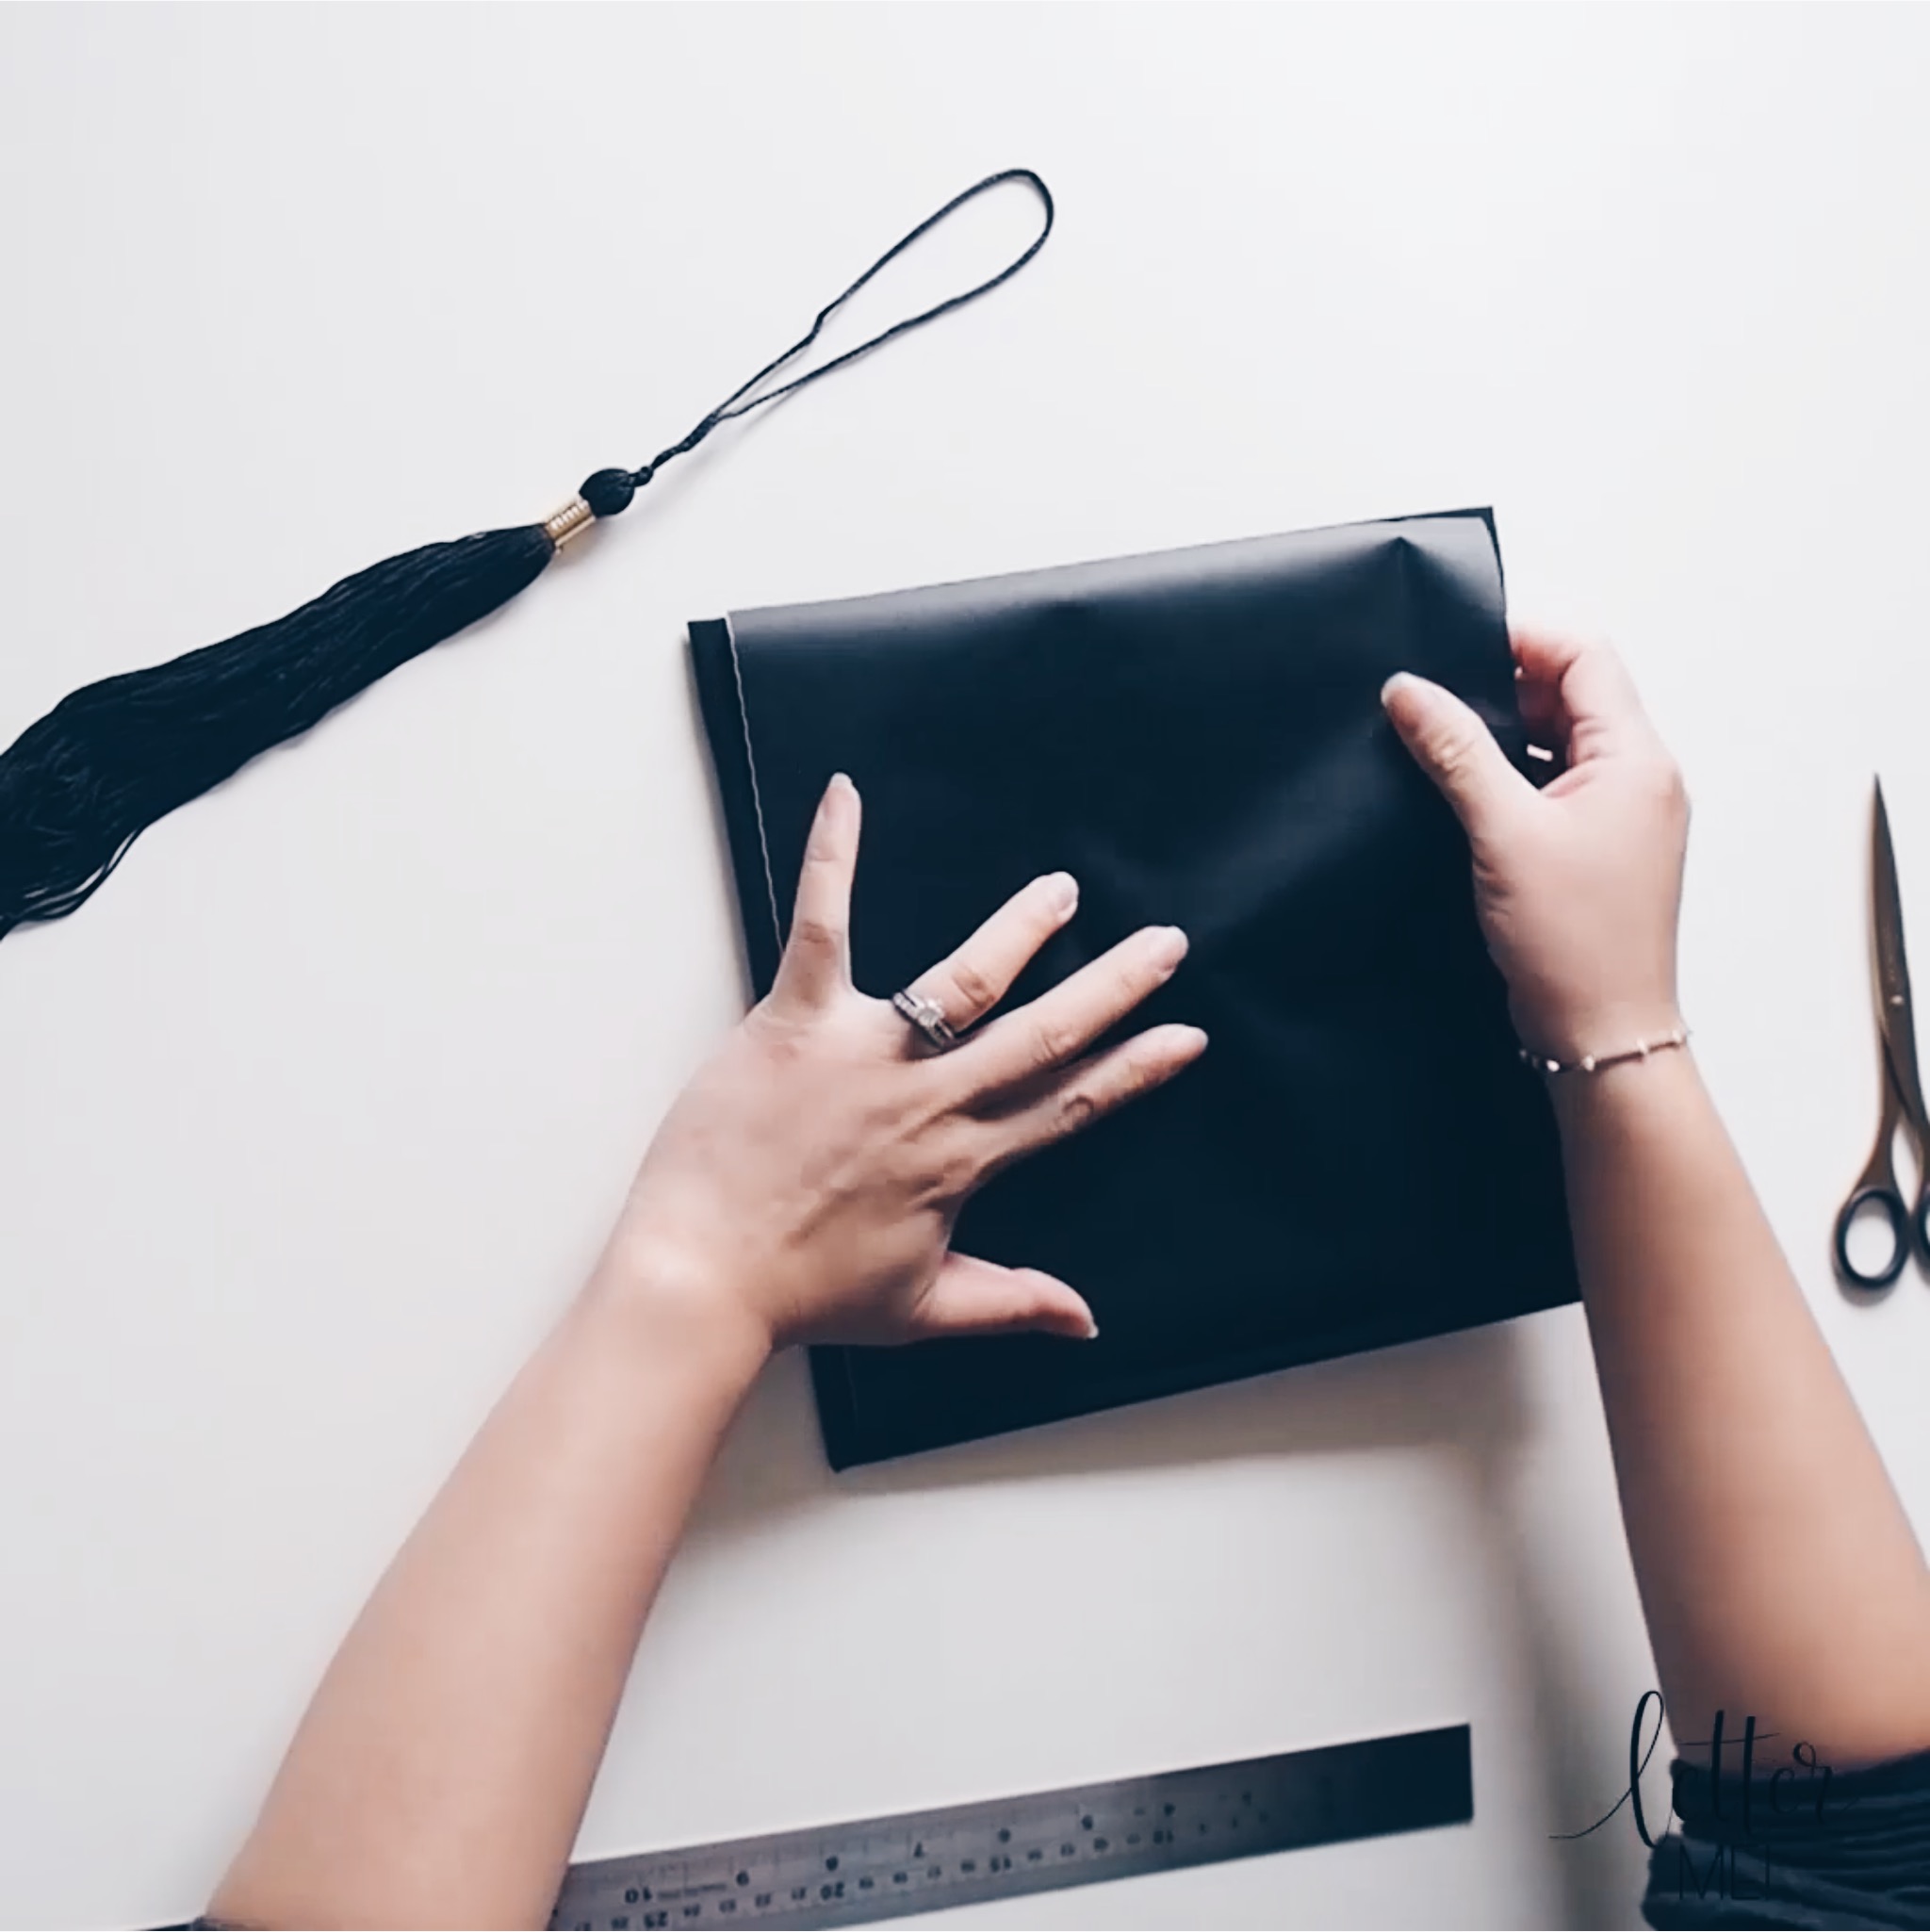
Kassa Liquid Chalk Markers

 Step One:

Remove the tassel and flatten the cap down
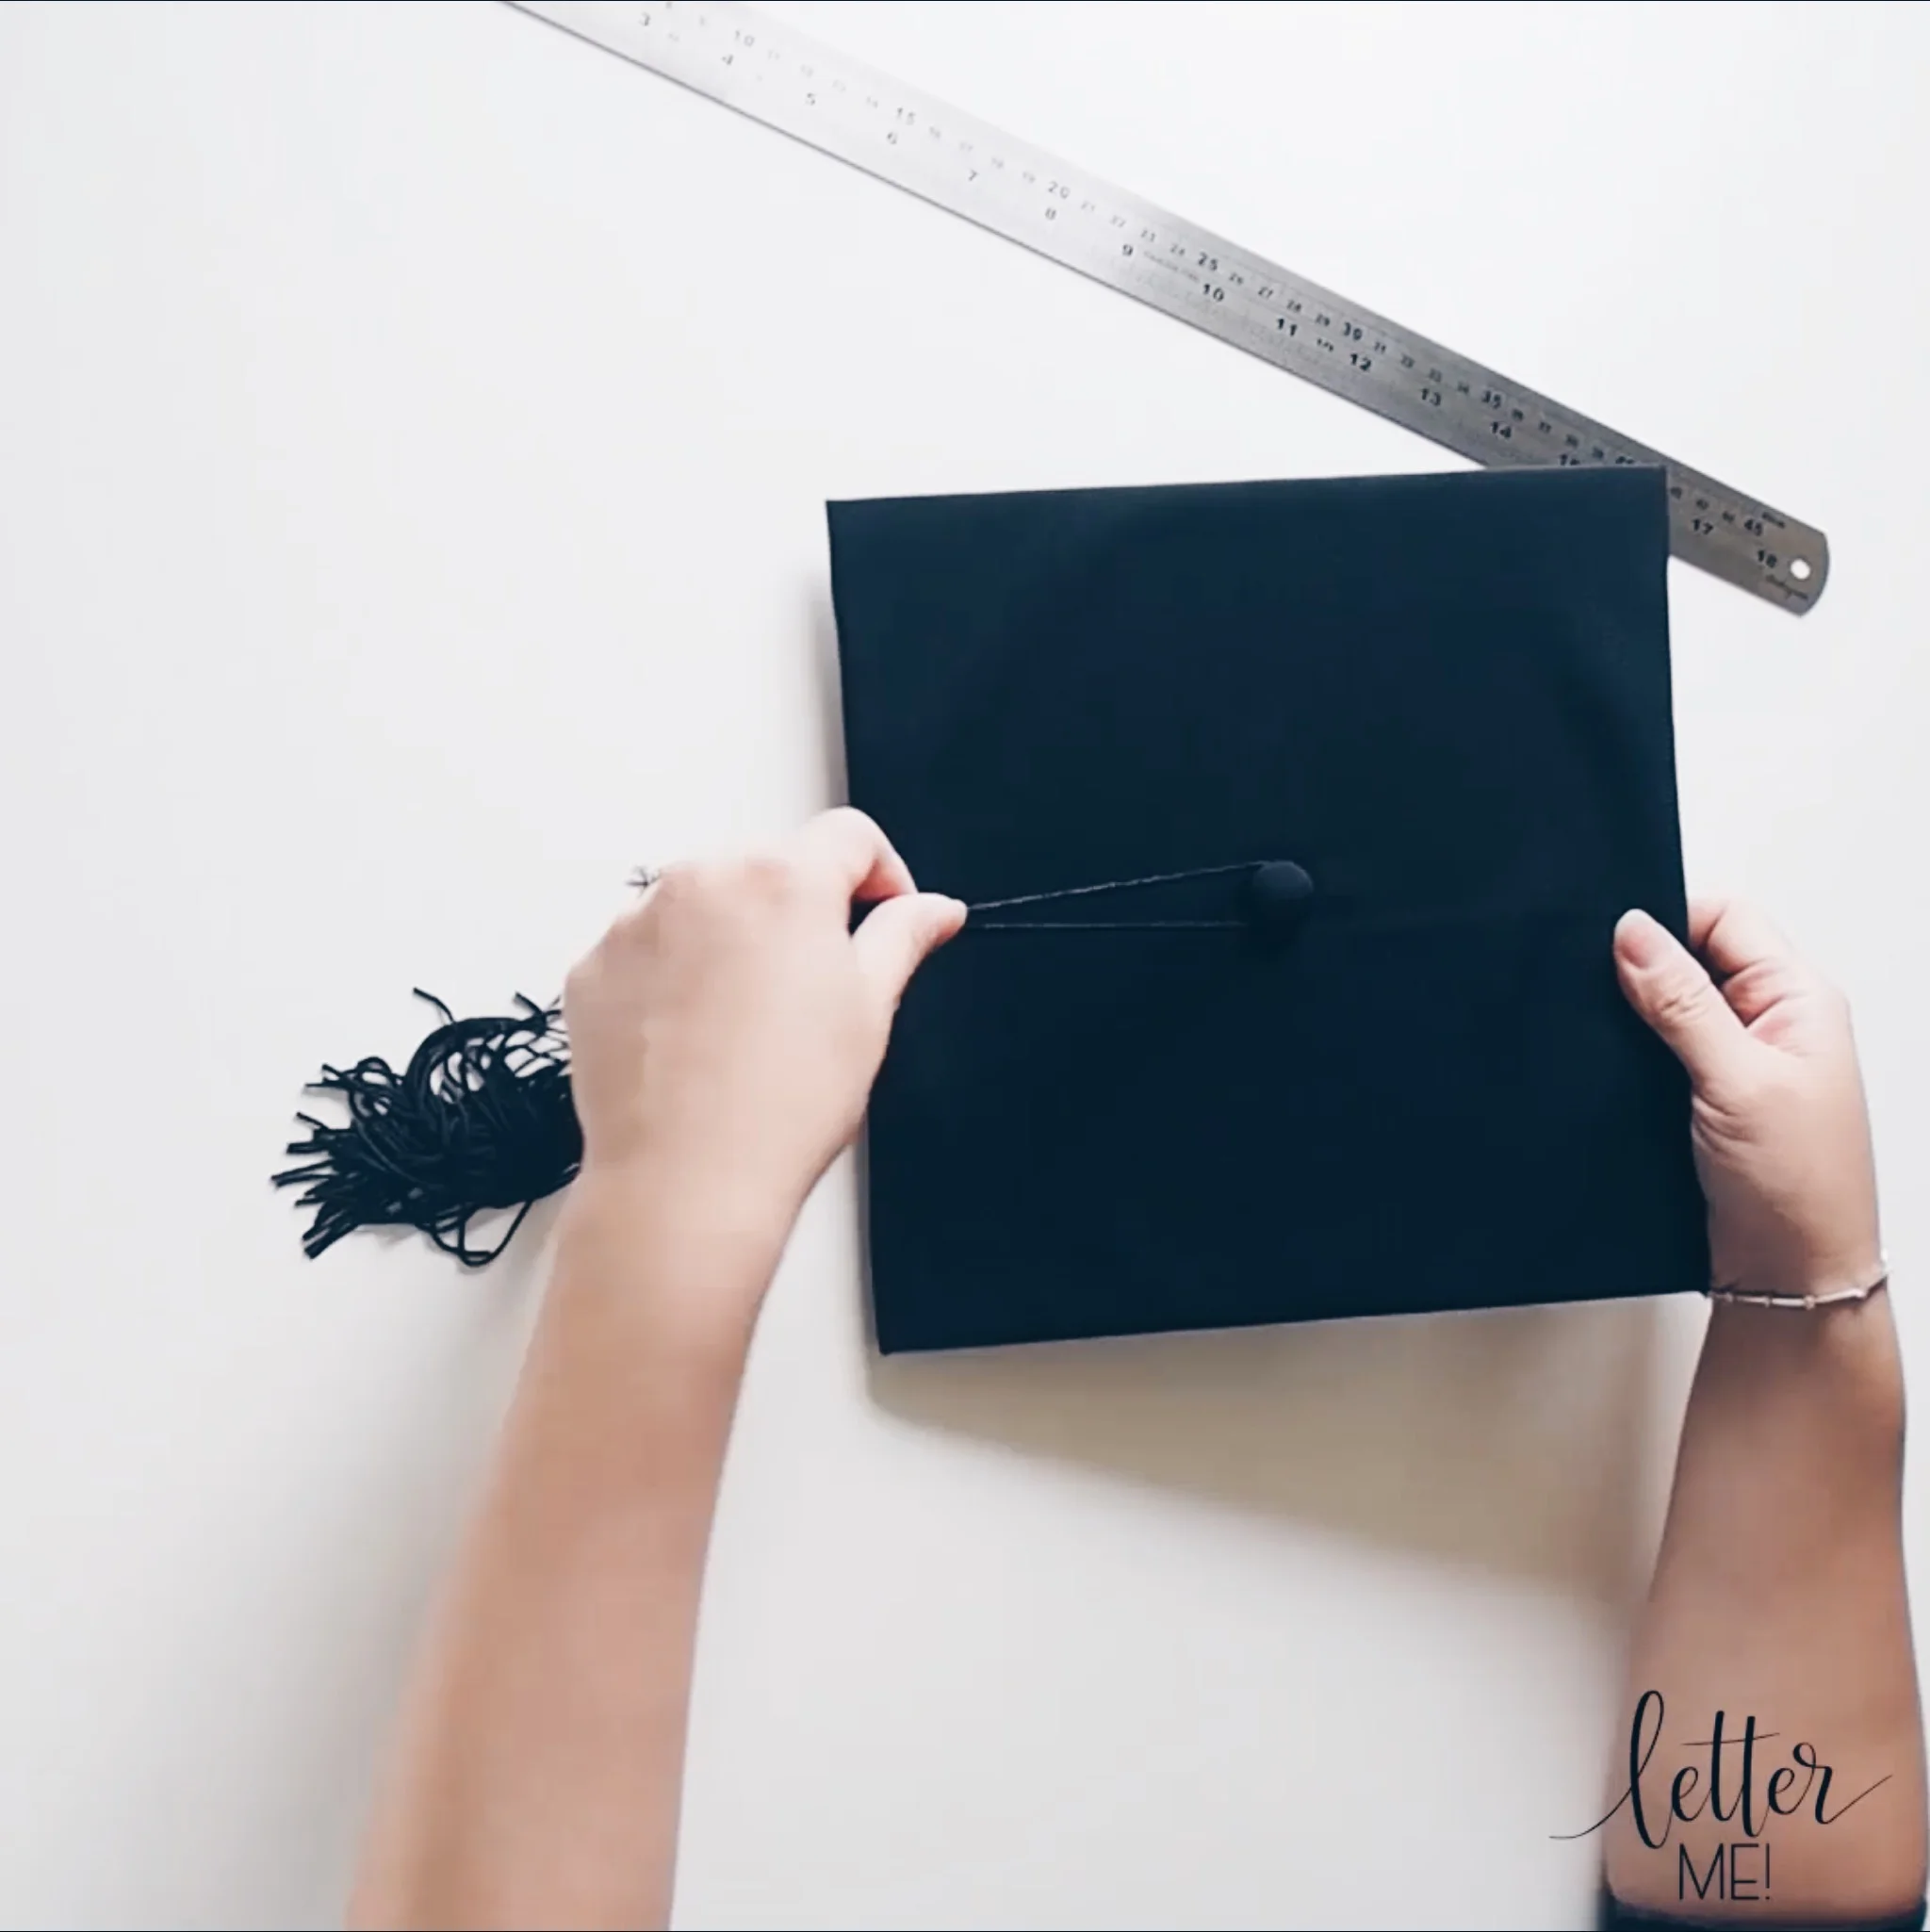
Step two:

Measure the width and height of the cap. Mine was a little larger than nine inches.
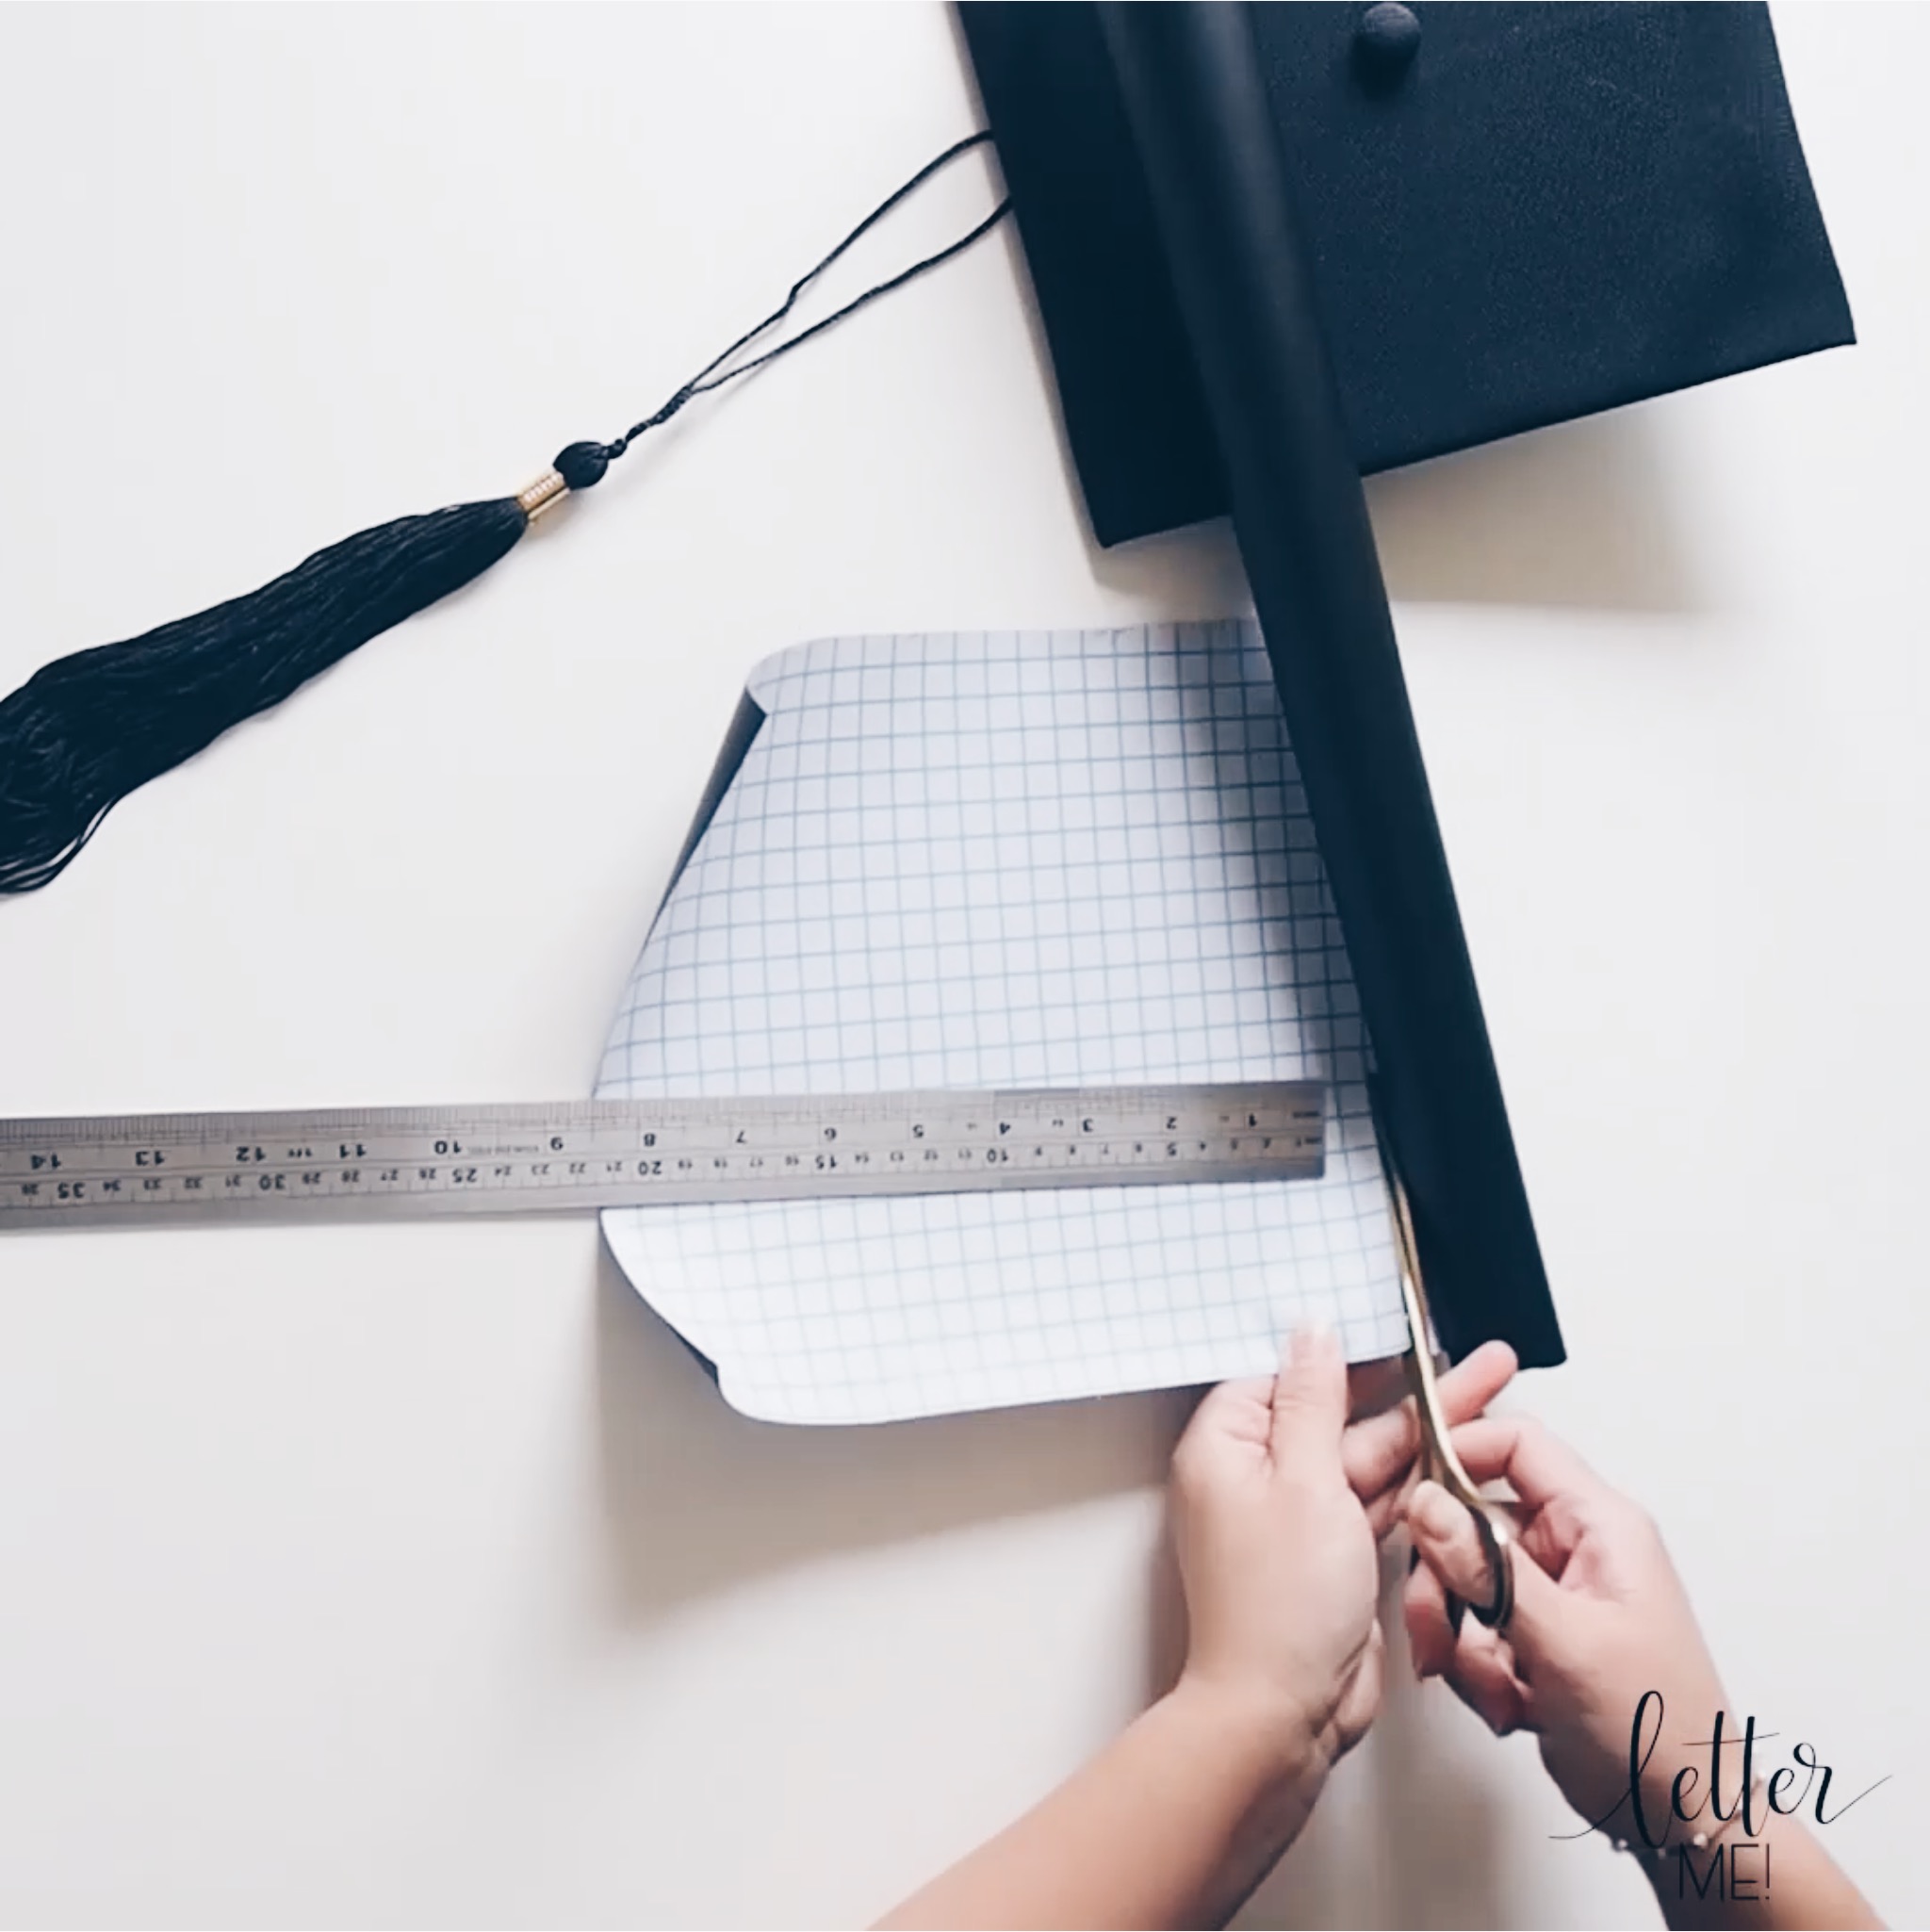
kassa C.JPG

Step three:

Cut a piece of Kassa Blackboard Vinyl to the size of your cap. I cut mine 9 inches by 9 inches.

kassa D.JPG

Step four:

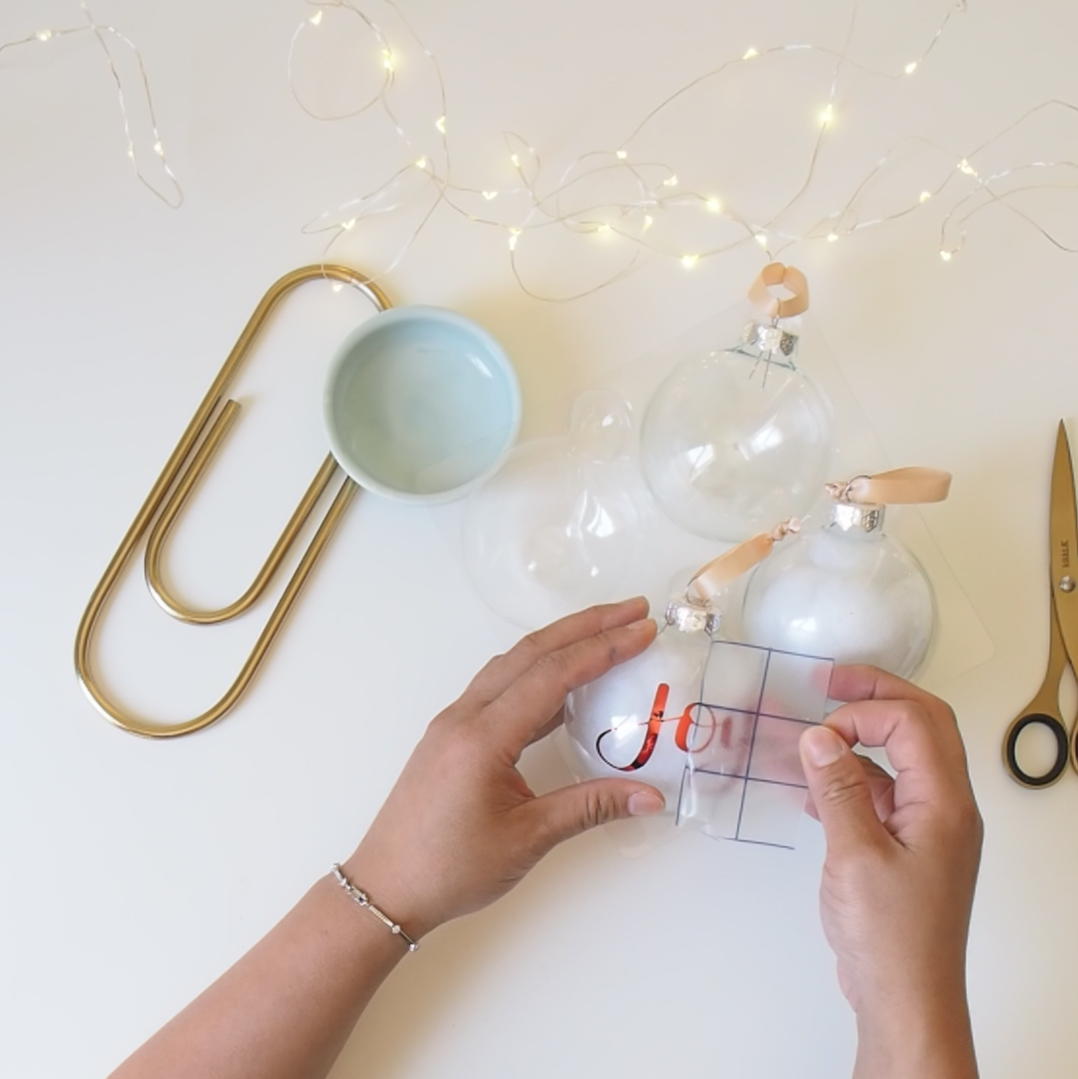
Check that the Vinyl fits the top of your cap. Press down on the stud in the centre of the cap and leave a slight imprint on your Vinyl.

kassa E.JPG
kassa F.JPG

Step five:

Noting where the imprint of the centre stud was, cut two lines to form a cross, then carefully, cut a circle out. I cut my circle approximately an inch in diameter.

kassa G.JPG

Step six:

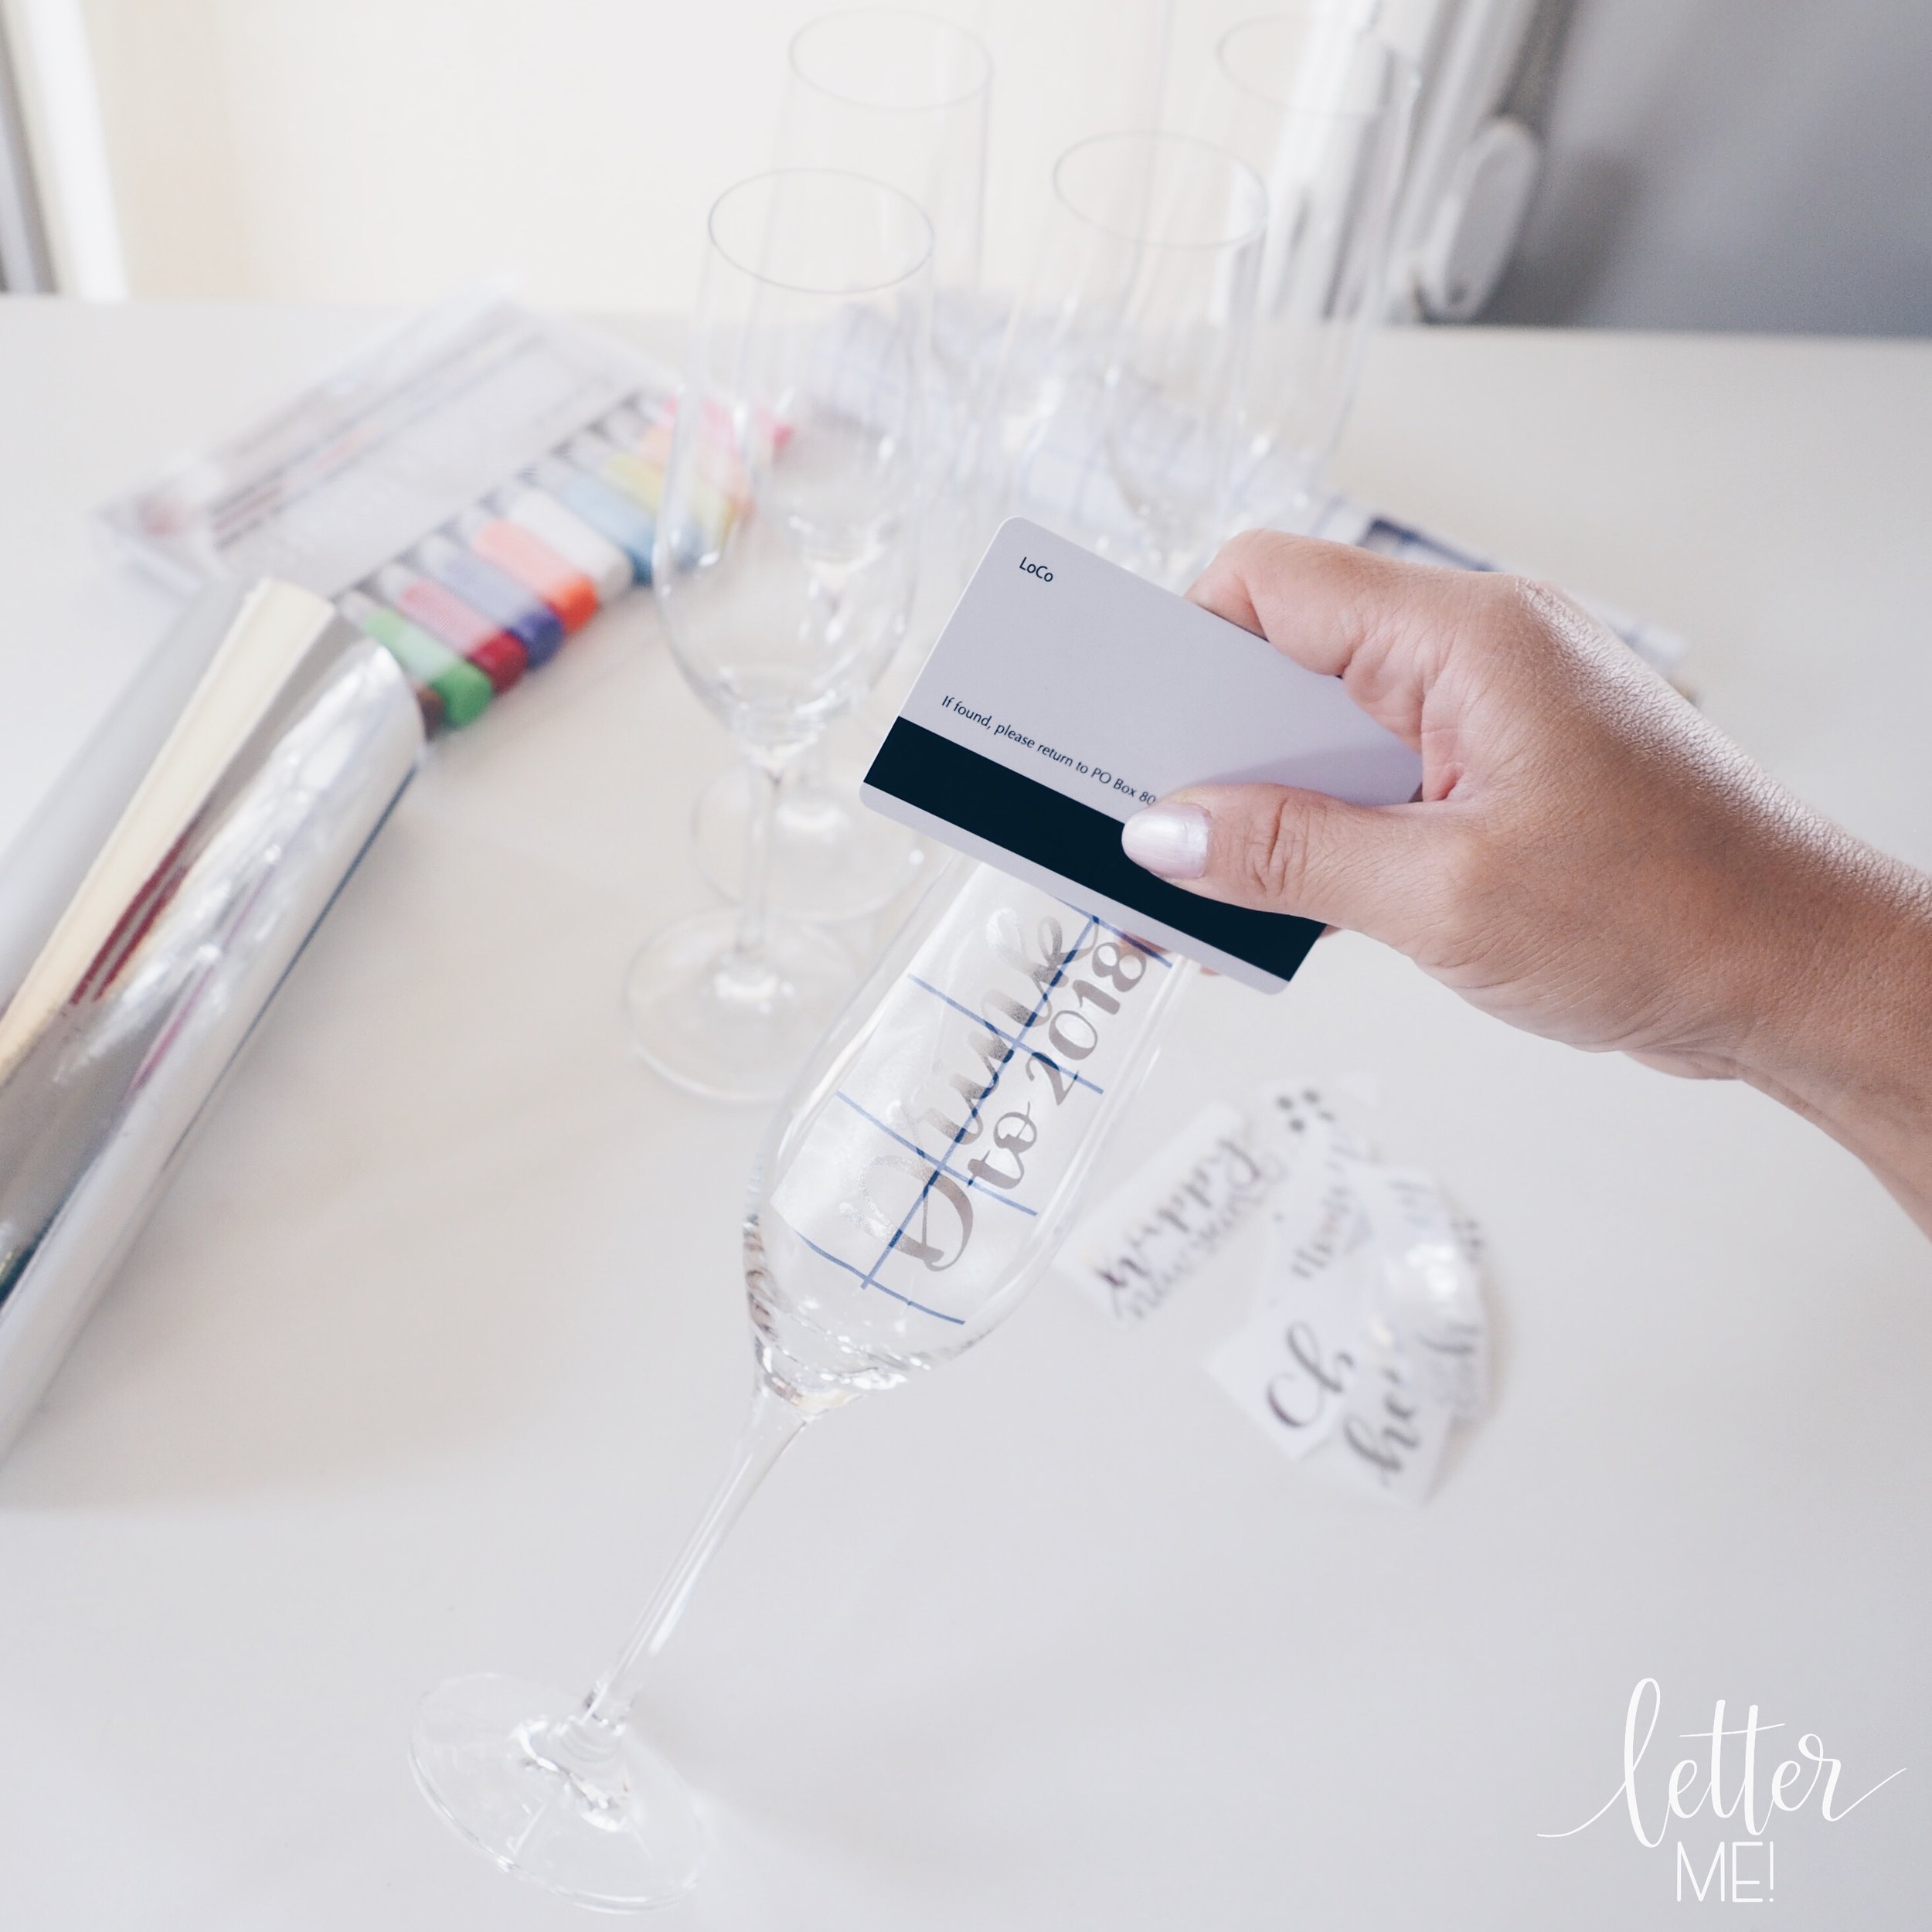
Peel off the backing of the Vinyl and carefully place the hole over the centre stud, and smooth the Vinyl out flat.
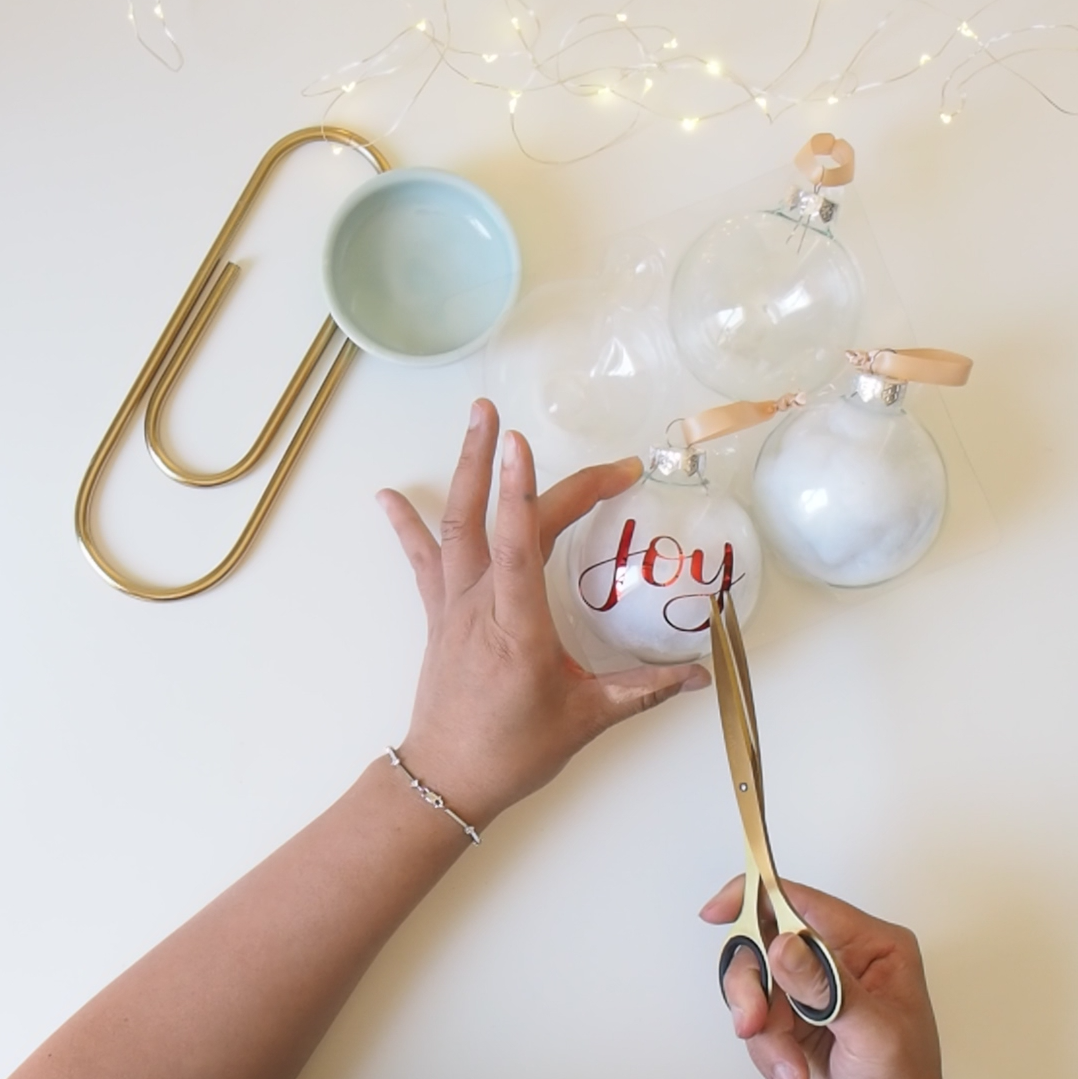
kassa H.JPG


Step seven:

As the stud of my cap wasn’t completely centred to my vinyl, I used a pair of scissors to trim the excess vinyl off. Do not be afraid to trim the vinyl to size, but make sure you don’t accidentally cut the cap or the the tassel.
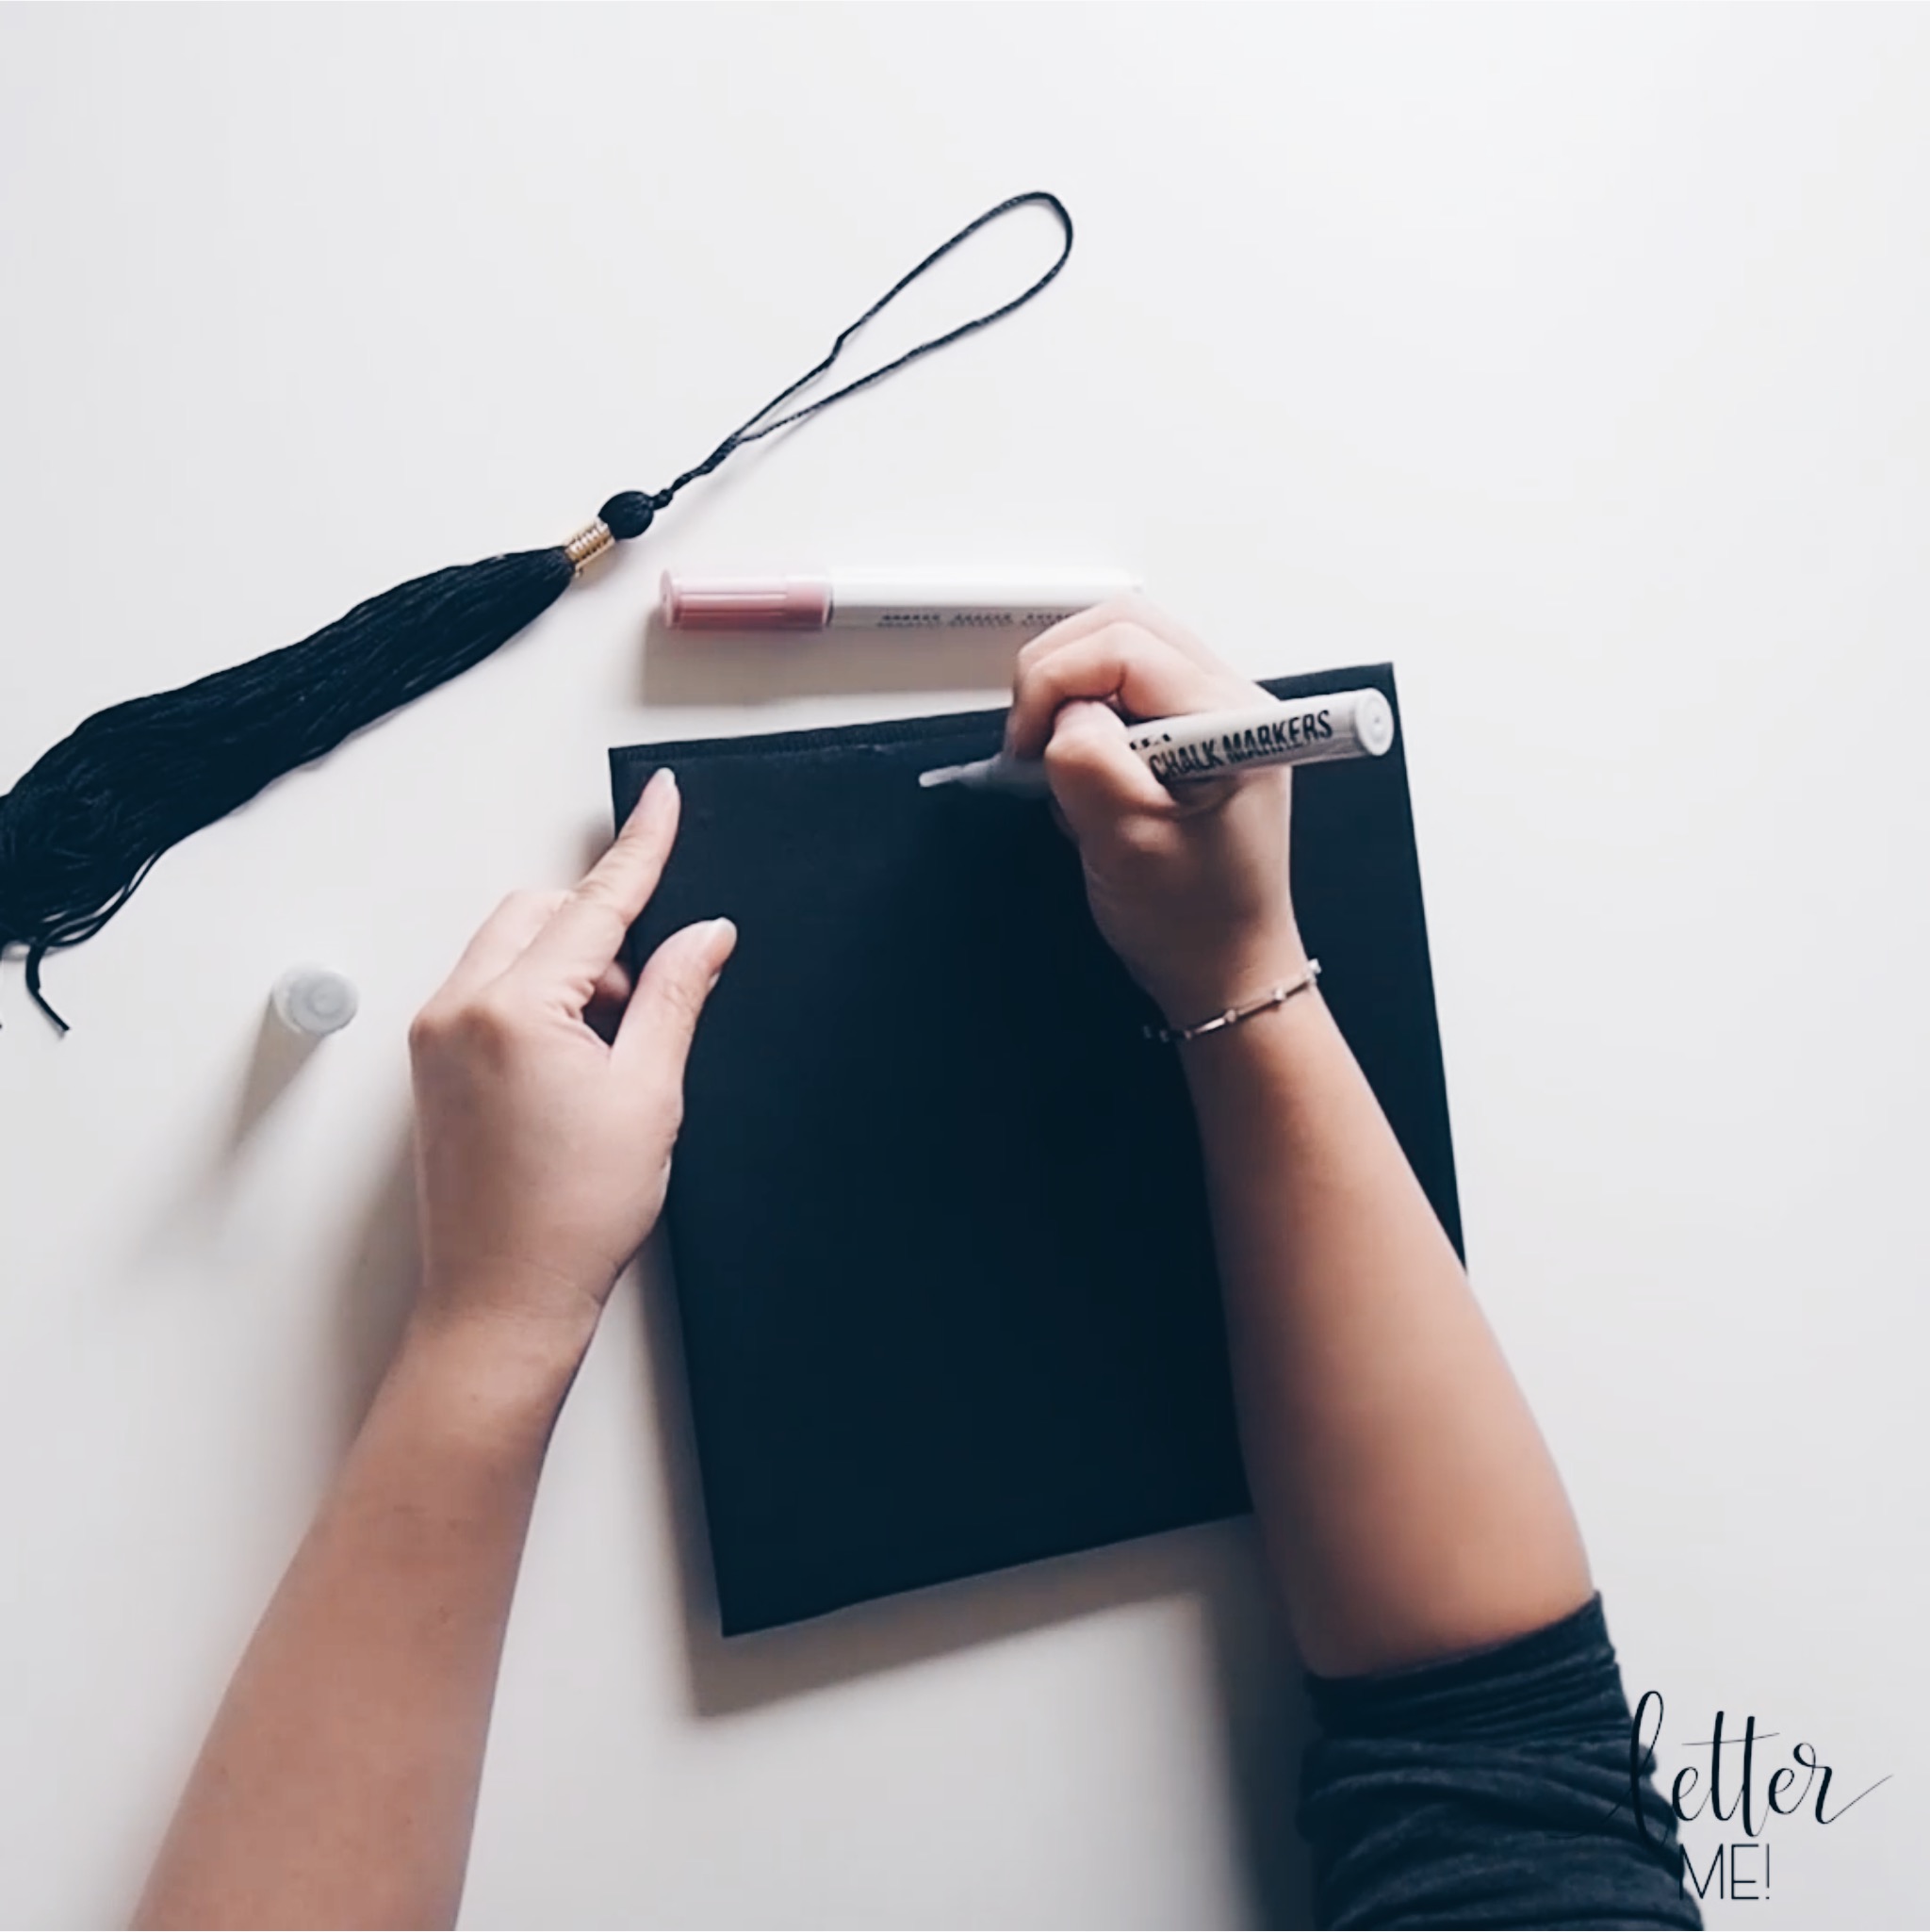
kassa I.JPG

Step eight:

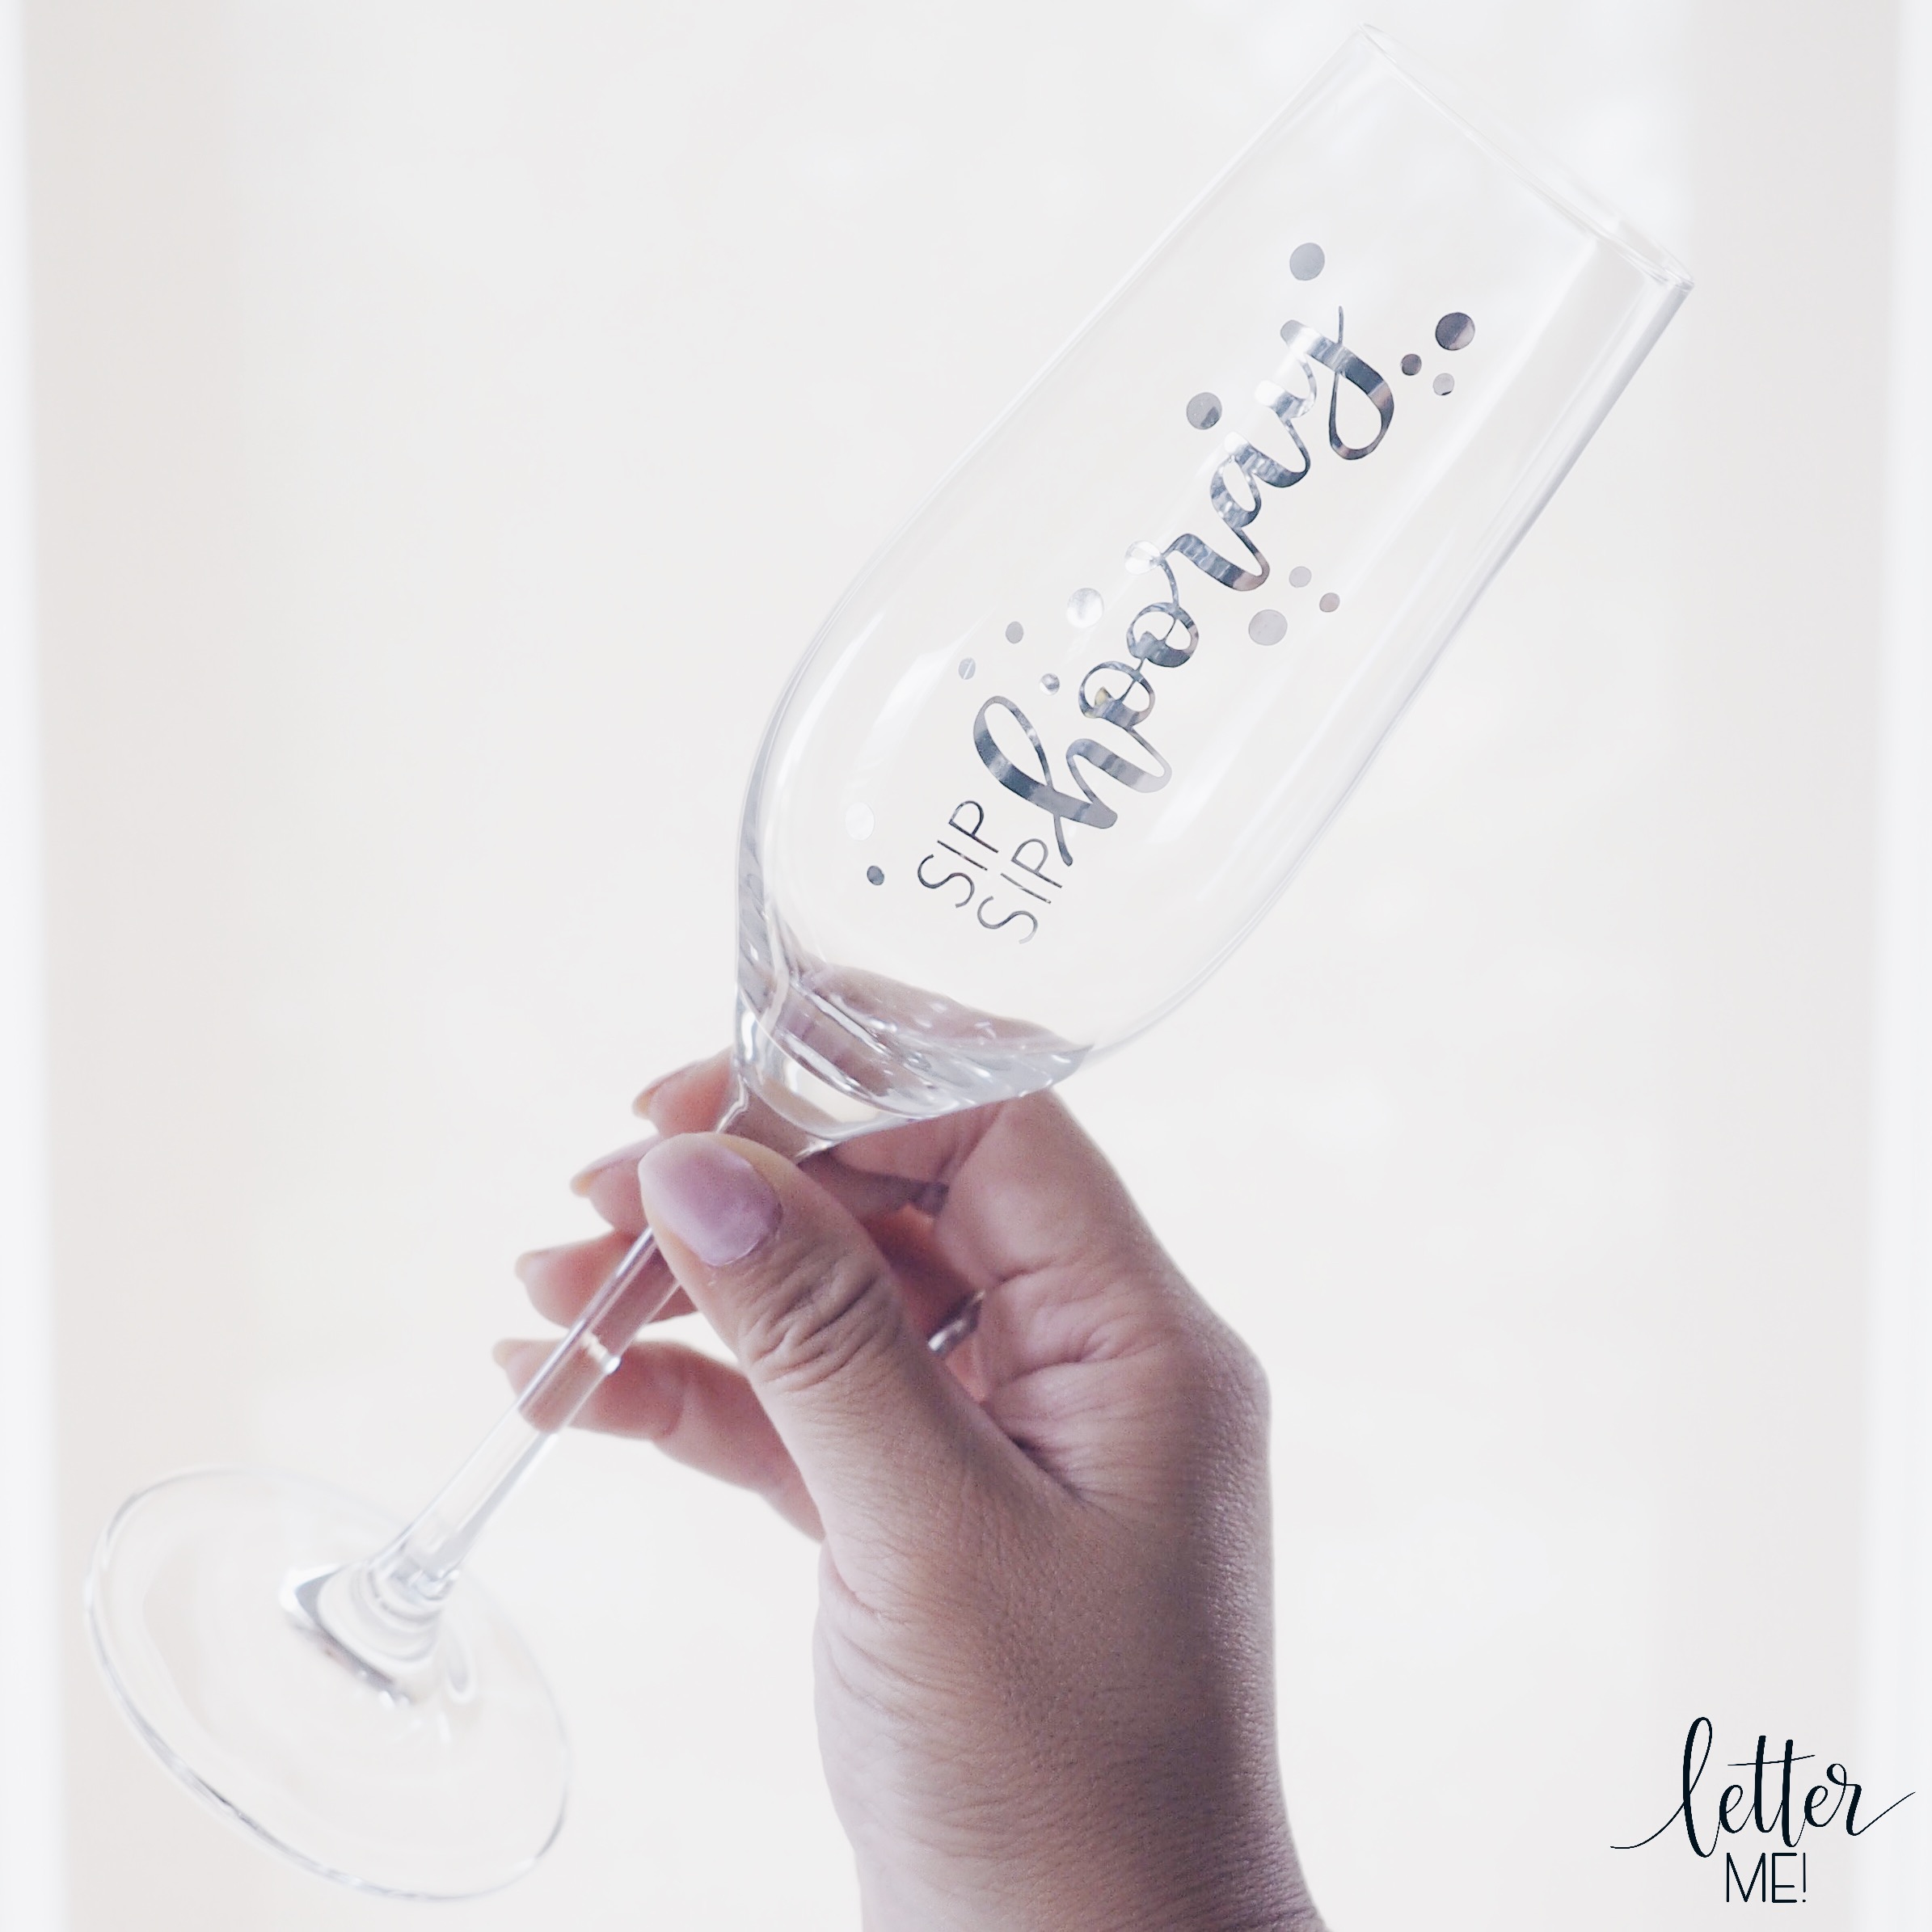
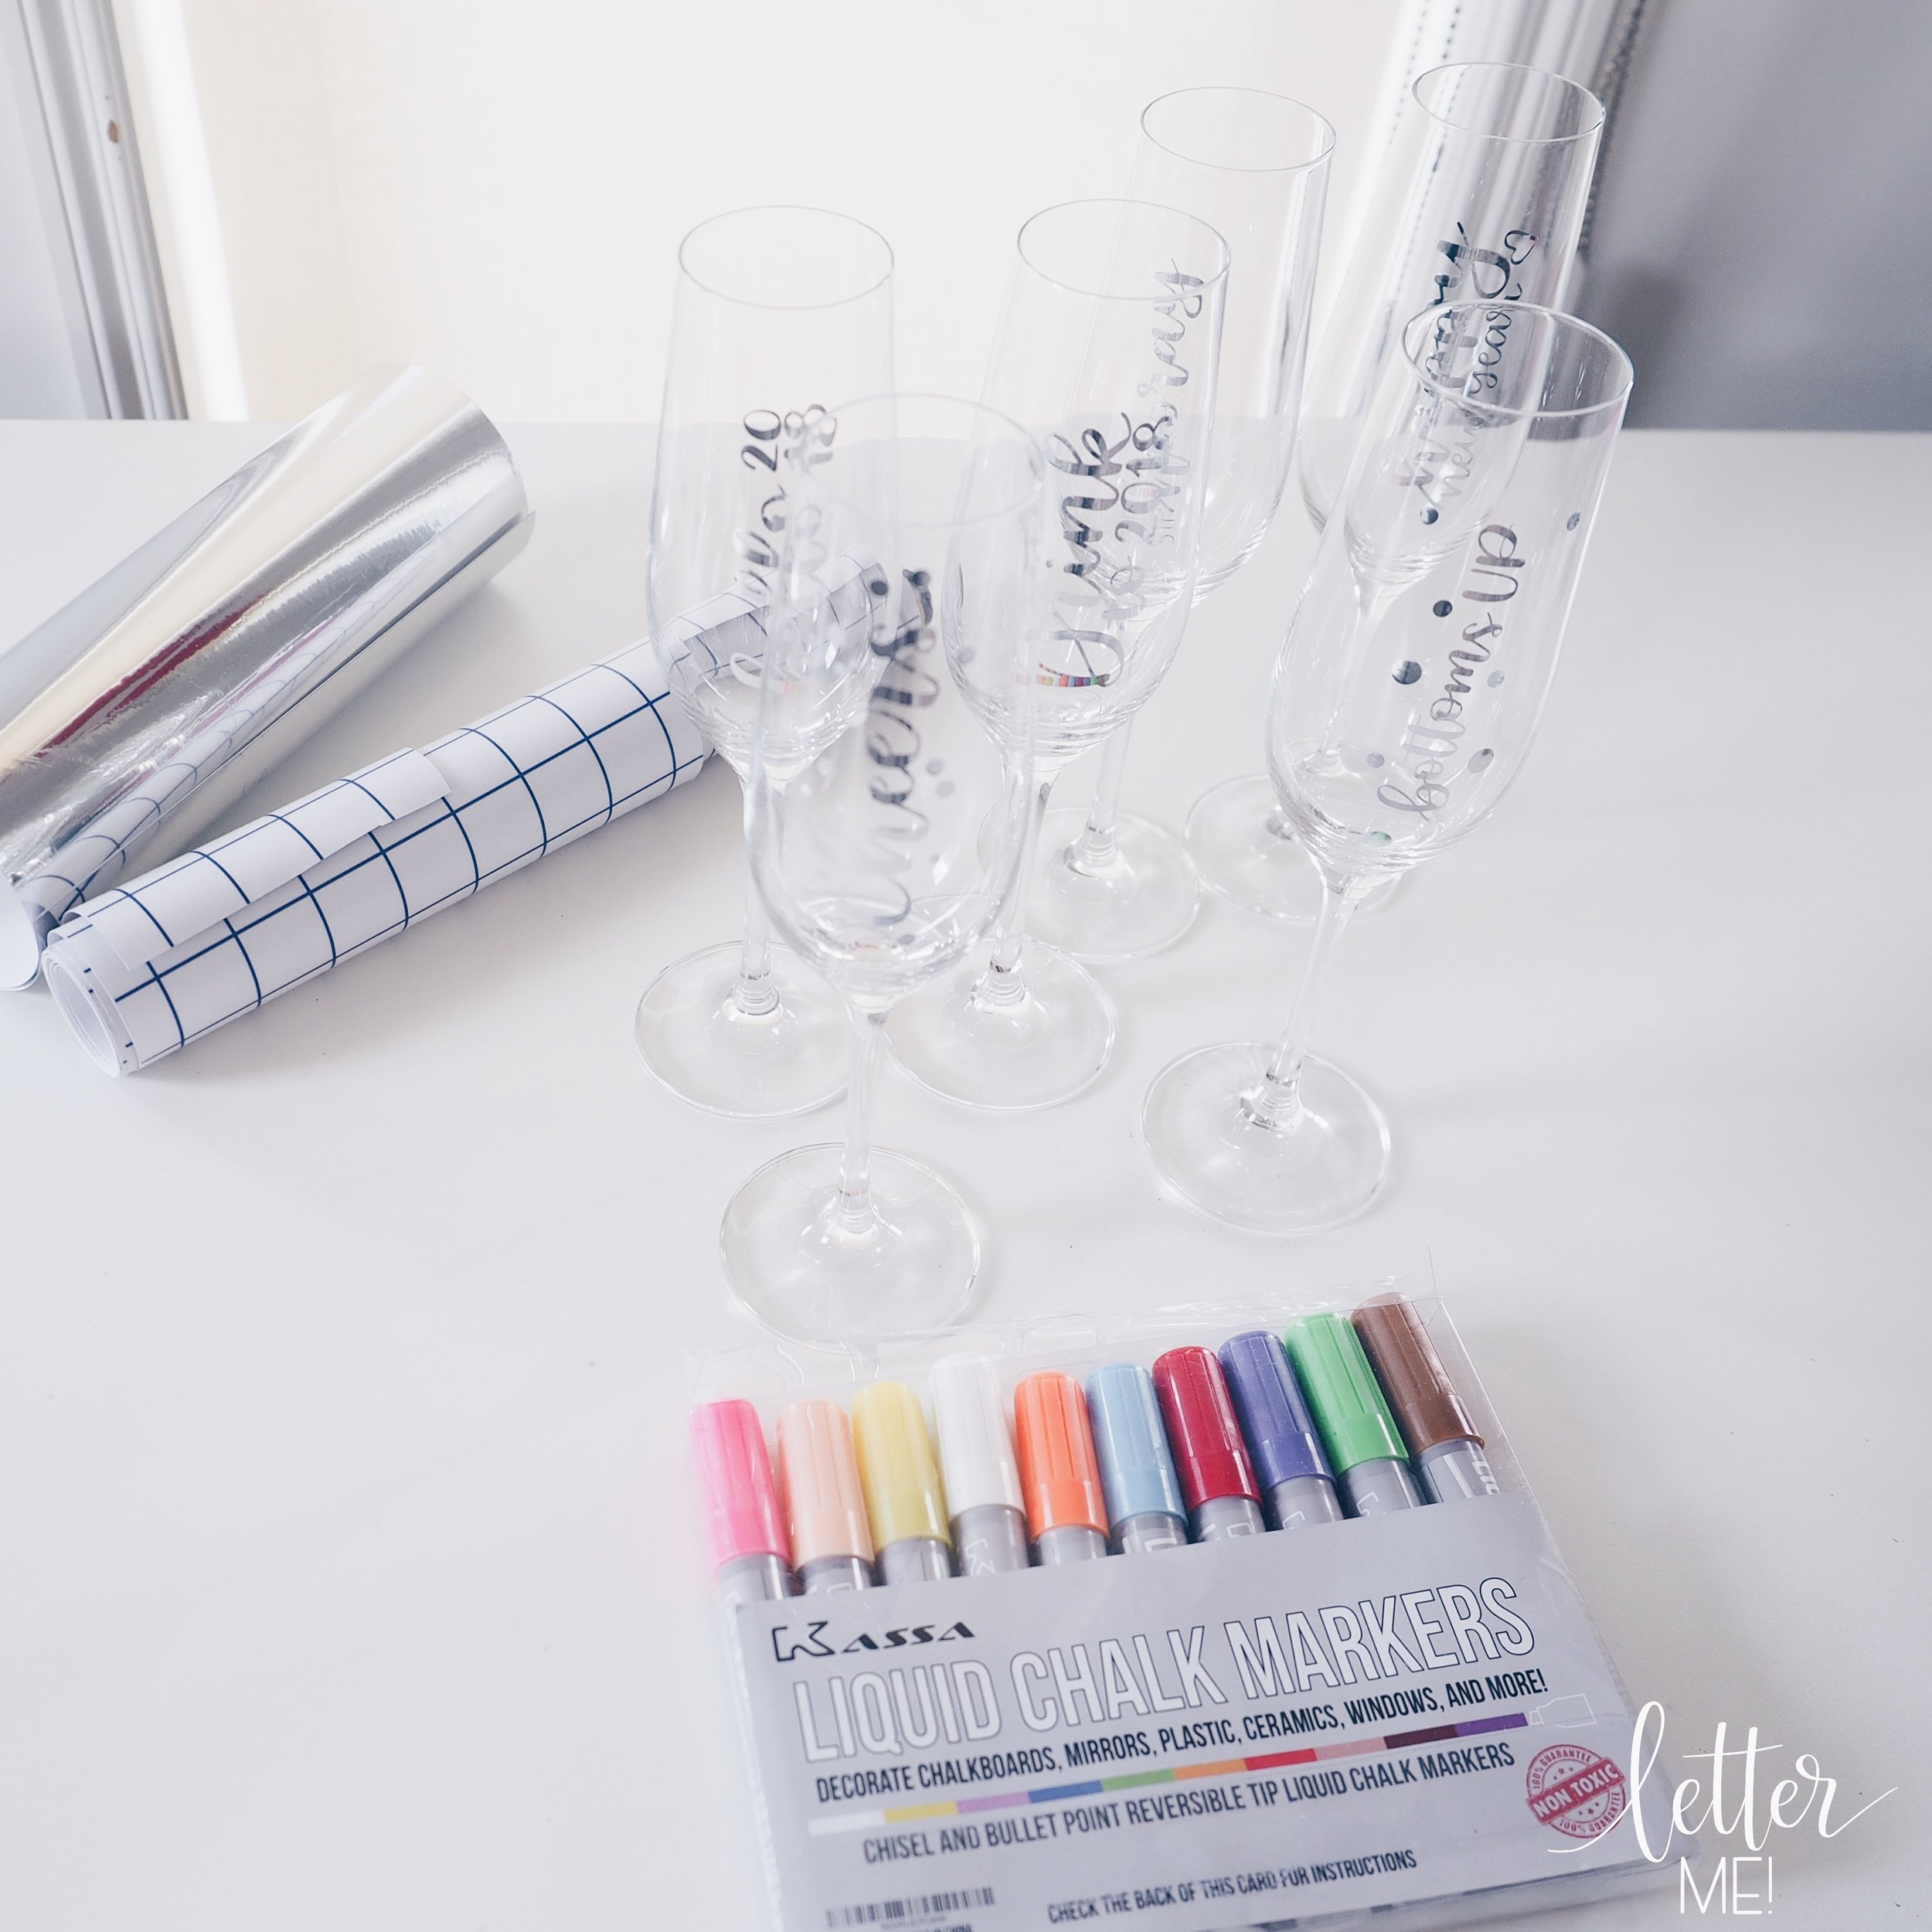
Select your favourite inspirational quote and start lettering using your Kassa Liquid Chalk Markers. I chose one from Elenor Roosevelt and used the silver and rose gold, from the limited edition Kassa Metallic Pack.

Step nine:

Once your chalk has dried (it shouldn’t take more than a minute), re-tie the tassel back into place.
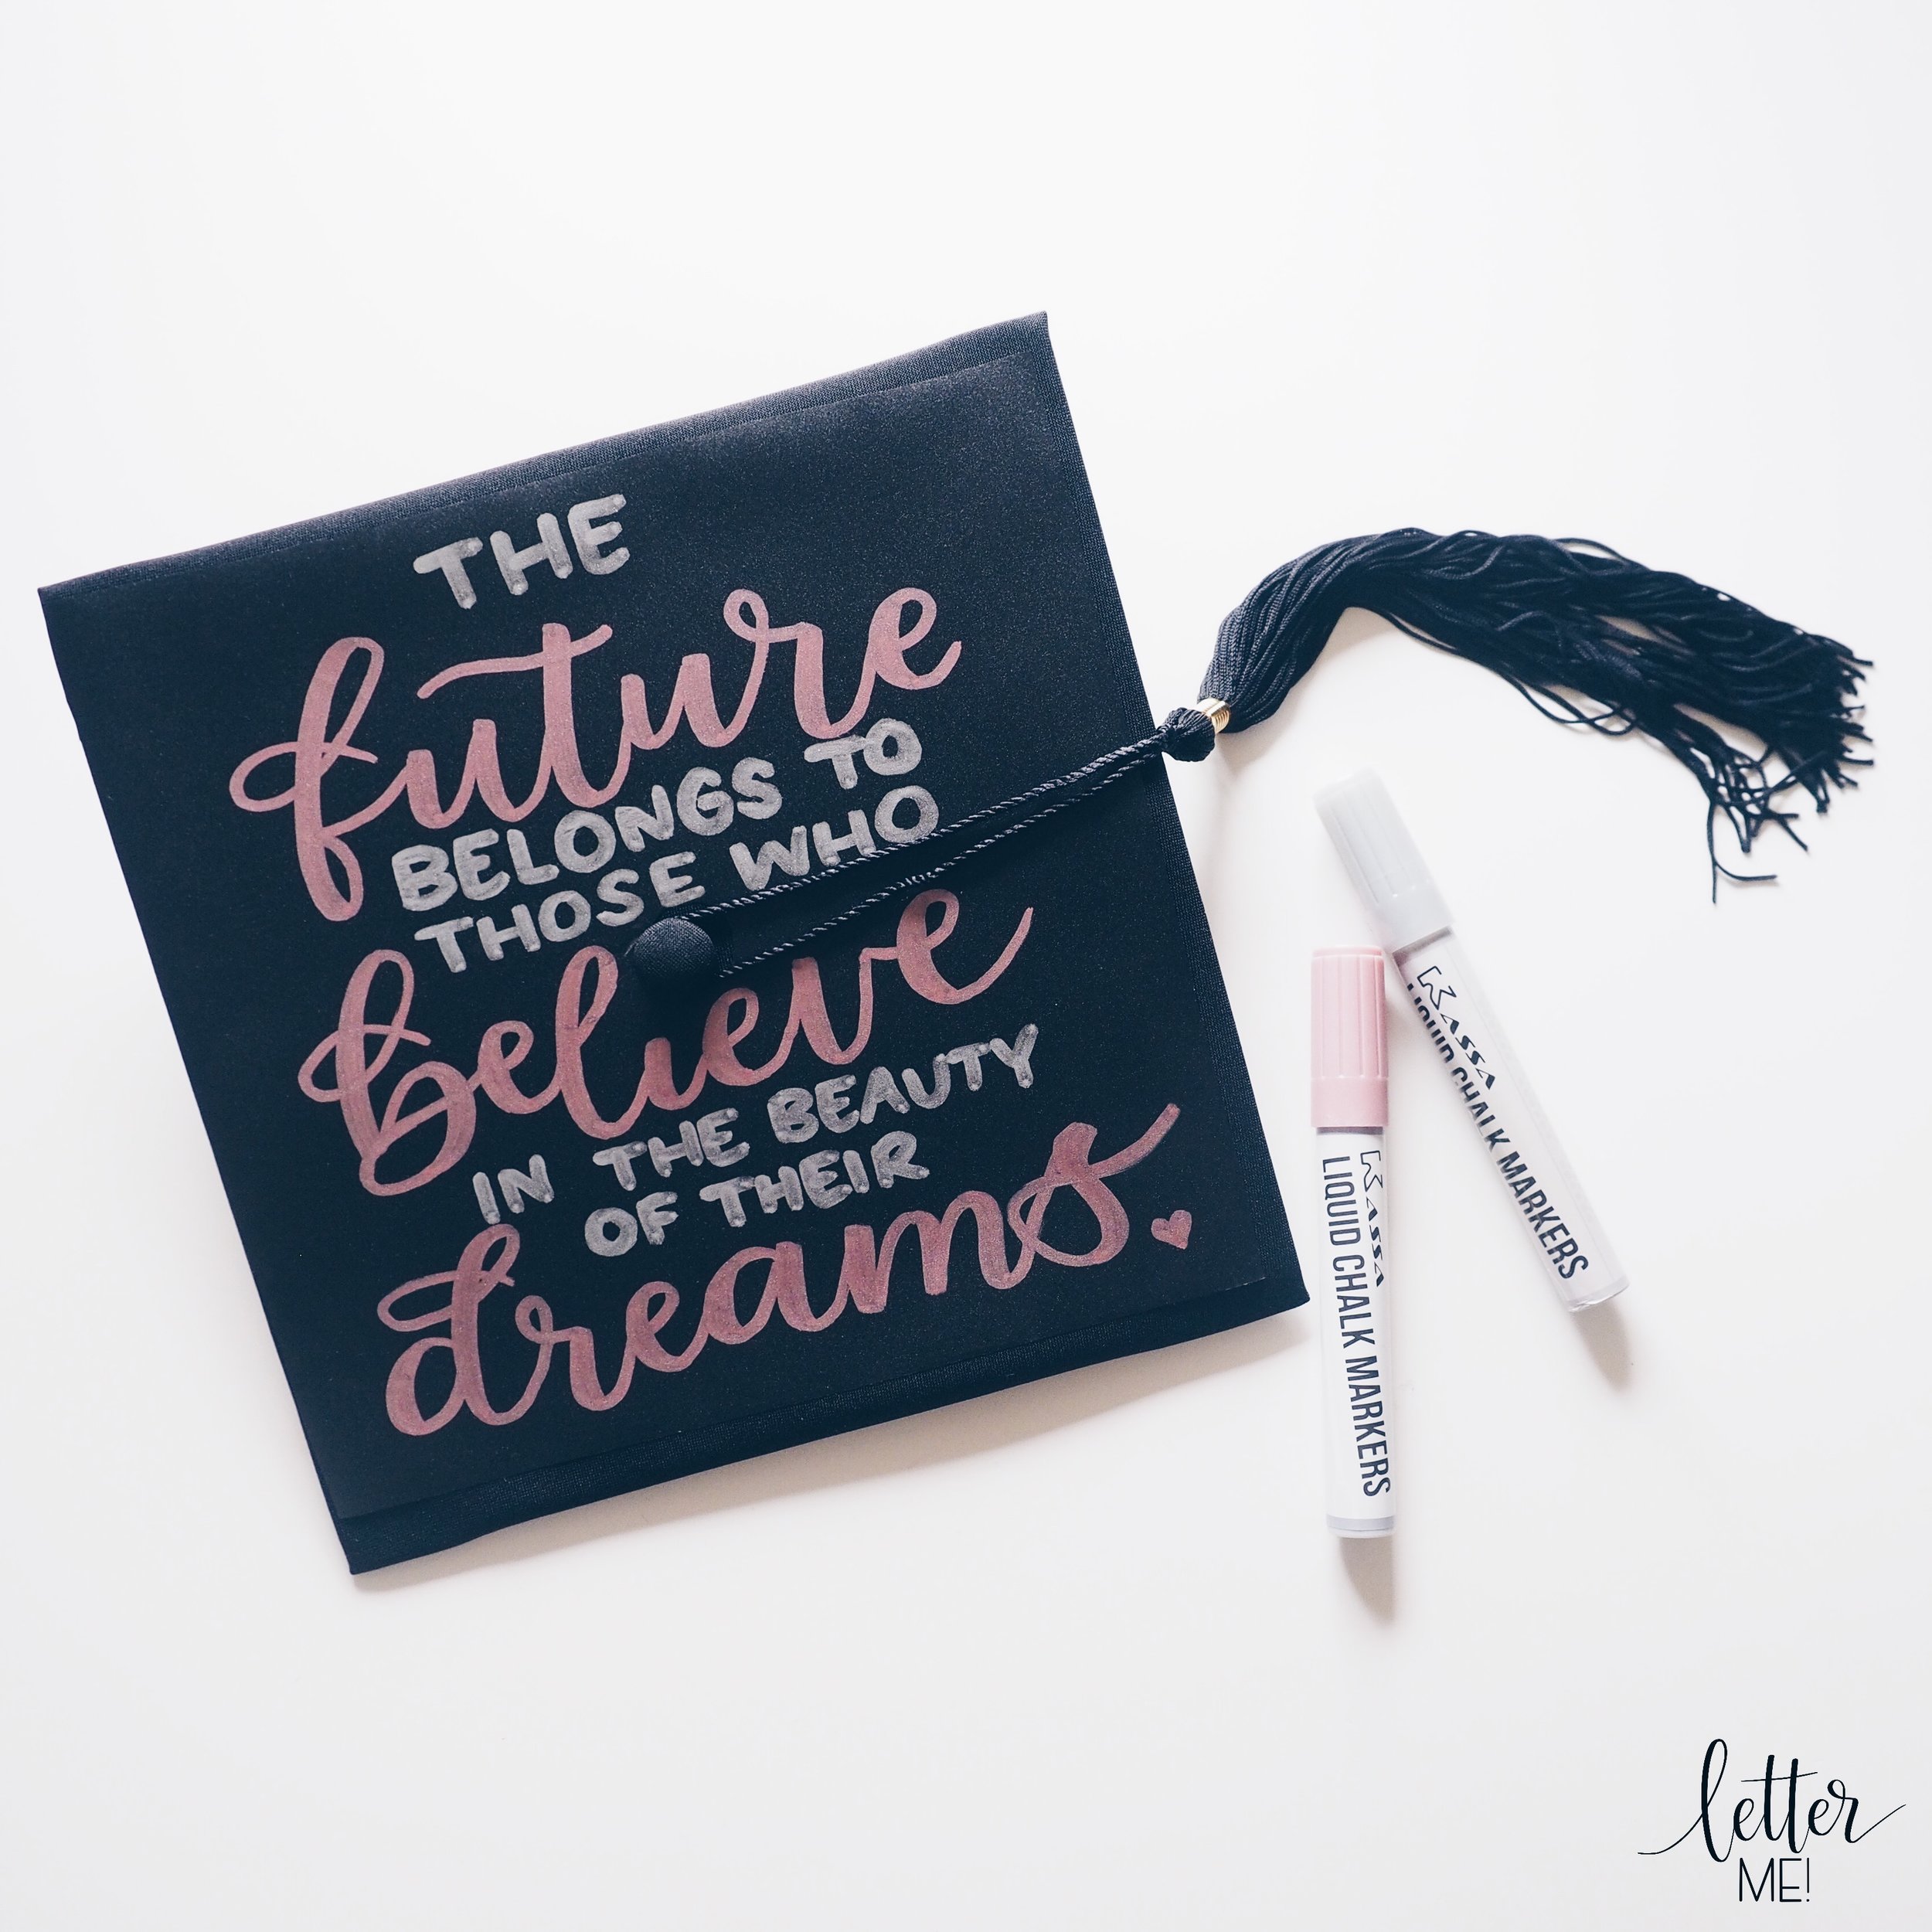
kassa L.JPG

 Step ten:

Voila, your graduation cap is complete and you can now wear it with pride. Don’t forget to take photos!

The future belongs to those who believe in the beauty of their dreams. – Elenor Roosevelt.

 Keep dreaming.  Best wishes with the next chapter of your lives.

xx Liz

tags: graduation, graduate, college, highschool, congratulations, graduated, congrats, elenorroosevelt, quotes, inspire, inspirational, inspirational quote, diy, diy graduation cap, graduation cap, personalised, personalised graduation cap, inspirational graduation cap, empowerment, empowered, high school graduation, college graduation, university, university graduation, college graduate, high school graduate, liquid chalk markers, diy craft, diy graduation, proud
categories: Calligraphy, celebration, Craft, Lettering
Sunday 06.09.19
Posted by Liz Tu
 

DIY - NYE Personalised Champagne Flutes

This blog was originally written and designed for the team at Kassa in 2017, but as it’s approaching NYE 2018, I thought I would share it on my own platforms too. When Kassa posted this blog to their site, it took the coveted title as "Staff Pick" for Amazon Spark and Amazon Prime. Please note that this post contains affiliate links and I will be compensated if you make a purchase after clicking on my links (I have provided international links for everyone, but for Australian specific stockists, please click on the alternative links in the list below).

Do you often feel like you’ve had to use multiple wine glasses at the one party as you’ve put your glass down and couldn’t remember which one was yours? Problem solved! Brighten up your New Year’s Eve party in a practical and festive way!

2274AC5B-6BF5-4989-A046-AE7301CF9E41.JPG
DDC3F61F-2BEA-4801-950A-8ACB0AABD17B.JPG

Kassa Liquid Chalk Markers are perfect for personalising your wine glasses as they are water-based and non-toxic. What’s also great is that they dry super quickly, will stay on for the night and easily wash off with water once your guests have left you to do the clean up!

Kassa 1.jpeg

What you’ll need:

- Wine or champagne flutes

- Kassa liquid chalk markers

- Kassa Clear Transfer paper

- Silver stickers or foil adhesives (if using foil adhesives, you’ll need a die cut machine, I personally use a Cricut)

- Scissors

- Credit card or other firm flexible plastic scraper

Step One:  Ensure your wine glasses or champagne flutes are clean and dry.

Kassa 2.jpeg

Step Two: Using a die cut machine (I use a Cricut Explore Air 2), cut out your New Years messages on to adhesive foil. Alternatively, you can use pre-cut stickers, or hand cut your own messages.  I’ve written: Cheers, Bottoms Up, Drink to 2018, Sip Sip Hooray, Hello 2018 and of course, Happy New Year.

kassa 3.jpeg

Step Three: Cut a piece of Kassa clear transfer paper to the same size as your adhesives.  Peel off the backing paper from the piece of Kassa clear transfer paper, and carefully stick it over the adhesives. Peel off the backing paper of the adhesives.

Kassa 4.jpeg
Kassa 5.jpeg

Step Four: Adhere the clear transfer paper with the adhesive to your wine glass or champagne flute.

To ensure that the adhesive is secure on your glass, use a firm but flexible plastic (like a credit card) to scrape on the adhesive, then peel off the Kassa transfer paper.

Kassa 6.jpeg

PARTY TIME: Leave your Kassa Liquid Chalk Markers next to the wine glasses or champagne flutes for your guests to personalise. They will love choosing their own color for easy identification. Have your guests personalise their own glass, but don’t forget to let it dry (they dry super quickly!) before using it.

Kassa 8.jpeg

AFTER THE PARTY: To remove the liquid chalk markers, simply wash under the tap with a soft sponge, or even rub off with a dry cloth.

Kassa 10.jpeg

Have a wonderful New Years Eve and let’s drink to 2019! Bring on 2019 everyone!

Take care and happy crafting,

Liz xx.jpg
tags: wine glass, wine flute, champagne, champagne flute, champagne glass, diy, new year, new years eve, nye, holiday diy, fun diy, craft diy, craft blog, crafting, celebration, celebrate, bring on 2019
categories: Craft, celebration, Calligraphy, Lettering
Wednesday 12.26.18
Posted by Liz Tu
Comments: 2
 

Christmas Baubles, three ways!

It’s truly the Most Wonderful Time of the Year. The tree is up, lights are sparkling, baubles are decorated and carols are playing from the moment the kids are up, right until bedtime.

To help you get into the festive spirit, here is my tutorial on how to create your own personalised Christmas baubles, done three ways (vinyl, embossing and chrome). To top it off, I’ve partnered with Sony Music Australia to share with you my favourite Christmas playlist, a perfect accompaniment to Christmas crafting!! The best thing about this playlist is that all the classics are there, as well as the new songs that the kids will know and love, so everyone can sing along!

Personalised Christmas baubles.JPG

This blog will be quite lengthy as I am basically covering three techniques; Vinyl, Embossing and Chrome. Feel free to skip to the sections that are relevant to you. Obviously, if you’ve only got one bauble to decorate, take your pick. Alternatively, why not use all three? However, don’t feel that you need to do all three methods, but as I love to experiment with different techniques, I thought you might be interested in seeing what works best for you!

If you find glass baubles difficult to see, you may wish to stuff them with hobby fill, cotton balls, pom poms, glitter, cellophane, whatever tickles your fancy. Gently take off the cap, use a stick (or a chopstick!) to push the stuffing in, and replace the cap. I personally like mine clear, but for the purpose of this blog (so you can see what I’m doing) I will stuff a couple of the baubles.

Screenshot 2018-12-14 16.46.21.png

The (not-so-secret) secret to lettering and crafting on a spherical surface like a Christmas bauble is having something to rest it in for support. These can just be regular household items like a sauce dish, an egg-cup, a bowl, or in my case here, a gigantic paperclip. But what’s even better (if you haven’t already binned it), is the original plastic packaging that the bauble came in.

sony bauble. Holder.JPG
Sony Christmas baubles ingredients.JPG

So here’s what you’ll need for all methods:

  • Glass Christmas baubles

  • Object to rest your bauble on (see paragraph above)

  • Hobby fill (optional)

  • Stick (optional)

What you need for the Vinyl method:

  • Vinyl cut-out of your personalised word (alternatively, use a pre-cut sticker)

  • Transfer tape

  • Flexible scraper (credit card can work too)

  • Scissors

What you need for the Embossing method:

  • Embossing Pen (glue-based pen)

  • Embossing Heat gun/tool

  • Embossing powdersing Powder — Letter Me!

  • Synthetic paint brush

  • A piece of paper/cardboard, folded in half to collect excess powder

What you need for the Chrome method:

  • Chrome marker (I used a 2mm bullet tip)

Let’s start with the Vinyl Method.

Firstly, if you haven’t already got a vinyl cut-out of your personalised word, you can learn how to do it here. Alternatively if you have a pre-cut sticker you can use that also.

STEP 1: Position your bauble in your holder so that it is easier to work with.

STEP 2: Peel off a piece of transfer tape, big enough to cover your vinyl cut-out.

STEP 3: Stick the transfer tape over the vinyl-cut out.

STEP 4: Use a flexible scraper or a credit card, scrape over the transfer tape to ensure that the transfer tape is firmly stuck down and there are no bubbles.

STEP 5: Peel the transfer tape (and vinyl) off your table/work surface and then gently peel off the backing paper from the vinyl cut-out. Be very careful as to not touch the sticky side of the vinyl, as oils from your skin will effect the adhesiveness of the vinyl.

STEP 6: Carefully place the transfer tape and vinyl over your bauble. Gently using your fingertips, secure the centre part of your work first, and work outwards. As the bauble is spherical, it may be fiddly getting the vinyl to stick flat on the spherical surface. Your priority is getting the vinyl to stick flat, it is okay if the negative space of the transfer tape creases as long as the vinyl itself does not crease. The trickiest sections would be the loops or larger flourishes (if any).

STEP 7: Very gently peel off the transfer tape. If you struggled to stick the vinyl flat from certain areas, it will lift off with the transfer tape. Do not worry about that as long as the majority of the word is stuck down.

STEP 8: Using your fingers, gentle smooth down the vinyl onto the surface of your bauble, working from the middle of the word again, pushing outwards. If there is a section that refuses to stick down without creasing, do not hesitate to use a pair of scissors and make a small incision in an unnoticeable area. After cutting the word, make sure you stick it down firmly.

STEP 9: Voila, admire your amazing creation!

Screenshot 2018-12-14 16.46.57.png Screenshot 2018-12-14 16.47.45.png Screenshot 2018-12-14 16.47.48.png Screenshot 2018-12-14 17.06.33.png Screenshot 2018-12-14 16.48.13.png Screenshot 2018-12-14 16.49.27.png Screenshot 2018-12-14 16.49.52.png Screenshot 2018-12-14 16.50.05.png Screenshot 2018-12-14 16.50.29.png Screenshot 2018-12-14 16.50.41.png sony 1.JPG

Now on to embossing!

STEP 1: Position your bauble in your holder so that it is easier to work with.

STEP 2: Using an embossing pen write your word on your bauble. You may wish to write in monoline (the lines in your letters are consistent in width), or you may wish to do faux calligraphy (your letters will look like you used a brush pen with thick downstrokes and thin upstrokes). If you are doing faux calligraphy, it is best to write one letter at a time (working from left to right), back-fill the thick strokes, before moving on to your next letter. This will reduce the chance of smudging.

STEP 3: Remove your bauble from you holder carefully, making sure that you don’t accidentally touch the glue/ink from the embossing pen.

STEP 4: Fold a piece of paper in half and use it under your work as a “spill mat”.

STEP 5: Generously pour the embossing powder over your lettered bauble, ensuring that the whole word is covered.

STEP 6: Dust off the excess powder, and using a dry synthetic brush, firmly remove the excess powder from the bauble on to the piece of paper. Remember a single speck of powder will melt into a blob, so be patient with this step and brush carefully. Siphon the clean, excess powder back into the jar of embossing powder.

STEP 7: Turn on your embossing heat tool, hold your bauble by the cap, and gently melt the powder on the bauble. Be careful not to touch the tool to your bauble. I prefer to keep my heat gun approximately 2cm away from my object as to not overheat it.

STEP 8: Voila, admire the sparkle!

Screenshot 2018-12-15 15.22.49.png Screenshot 2018-12-15 15.23.16.png Screenshot 2018-12-15 15.23.27.png Screenshot 2018-12-15 15.23.38.png Screenshot 2018-12-15 15.24.03.png Screenshot 2018-12-15 15.24.21.png Screenshot 2018-12-15 15.25.24.png

Final and simplest method; chrome!

STEP 1: Position your bauble in your holder so that it is easier to work with.

STEP 2: If it’s your first time using a chrome marker, make sure you take off the cap, holding the marker down on scrap paper, press down on the tip until the chrome travels to the tip. Once your marker is ready, you can start!

STEP 3: This step is similar to using an embossing pen, but with a chrome marker. You may wish to write in monoline (your letters are a consistent width), or you may wish to do faux calligraphy (your letters will look like you used a brush pen with thick downstrokes and thin upstrokes). If you are doing faux calligraphy, it is best to write one letter at a time (working from left to right), back-fill the thick strokes, before moving on to your next letter. This will reduce the chance of smudging.

STEP 4: And… Voila, you are done! Admire the shine!

View fullsize Screenshot 2018-12-15 15.38.40.png
View fullsize Screenshot 2018-12-15 15.42.08.png
View fullsize Screenshot 2018-12-15 15.44.39.png

I appreciate the merits of all three techniques. The vinyl is shiny, refined and perfect. The embossed bauble gives a homemade, rustic feel, if you use a metallic powder, it will sparkle. The chrome technique would be the most simple by far and the results are stunning and shiny, maybe less refined than the vinyl, but something I would be happy to compromise.

Now it’s your turn. Turn up your Christmas Songs, and let the likes of Christina Aguilera, Mariah Carey, Wham! and Bruce Springsteen get you in the mood. Which Christmas bauble method will you try first?

View fullsize Liz xx.jpg

xx Liz

tags: sony, baubles, xmas, christmas, christmas diy, christmas deco, christmas decor, christmas craft, christmas inspo, christmas inspiration, diy, craft, crafting
categories: Lettering, Craft, kids, celebration
Saturday 12.15.18
Posted by Liz Tu
Comments: 6
 

Introduction to Cricut

Please note that this post contains affiliate links and I will be compensated if you make a purchase after clicking on my links at NO additional cost to you (I have provided international links for everyone, but for Australian specific stockists, please click on the alternative links in the list below).

EDIT: This post was first created in 2018. Although the instructions and techniques are still relevant, I have since also posted about the Cricut Maker, Cricut Easy Press, as well as Cricut Infusible Ink.

Those who follow me on Instagram and Facebook will know how much I love my new Cricut Explore Air 2 machine and how much I love personalising things with it. I've received literally hundreds of requests to blog about how I do what I do with the Cricut, so here we go.

One of my most popular items in my shop last Christmas were my personalised mugs. So I decided to break it down for you, step-by-step. Although they can be fiddly and the steps may seem overwhelming, these are easily achieved using the Cricut.

Here's what I used (below are links to where you can find these items):

File 23-1-18, 2 43 12 pm.jpeg
  • Apple iPad Pro 12.9" (click here for Amazon Australia)

  • Procreate App

  • Procreate Brushes

  • Apple Pencil (click here for Amazon Australia)

  • Cricut Explore Air 2 ( click here for Amazon Australia and Spotlight eBay)

  • Cricut Gold Adhesive Foil (click here for Amazon Australia and Spotlight eBay)

  • Scissors (click here for Spotlight eBay)

  • Kassa Clear Transfer Tape

  • Cricut Weeding Tool (click here for Spotlight eBay)

  • Cricut Standard Grip Mat (click here for Spotlight eBay and Amazon Australia)

  • Cricut Scraper (click here for Spotlight eBay and Amazon Australia)

  • Cricut Design Space

  • Mug

To make this blog easier to follow, I have broken it up into three sections: DESIGN, CUT and ADHERE.

DESIGN

So before we can cut out our design, we need a design. In this tutorial I will be personalising a mug for "Danny".

IMPORTANT NOTE: For the Cricut to cut out my lettering, it will need to be in a .PNG format. I personally LOVE lettering on the Apple iPad Pro, using the Apple Pencil with the Procreate app. The Apple Pencil is only compatible with the Apple iPad Pro, so it won't work with any other iPad. My custom Procreate Brushes are available here. Procreate is also only available for iOS, so unfortunately for those using other platforms, the first few steps won't be applicable to you. (*Note: I was an avid Windows and Android user until I "needed" Procreate and the Apple Pencil, and now I am an Apple convert).

View fullsize File 23-1-18, 2 43 36 pm.jpeg
View fullsize File 23-1-18, 2 42 45 pm.jpeg
View fullsize File 23-1-18, 2 42 28 pm.jpeg

Step one: Open the Procreate App on your iPad pro and create a new canvas.

Step two: Select your favourite brush/es and create or letter the design you would like on your mug. My custom Procreate Brushes are available here. Try not to make your design too thin or intricate as it may be difficult to cut and adhere later. 

Step three: Go into the layers panel and uncheck the background layer, making it transparent.

Step four: Select Share, and save Image as a .PNG file to your iPad.

CUT

View fullsize File 23-1-18, 3 13 01 pm.jpeg
View fullsize File 23-1-18, 3 12 31 pm.jpeg
View fullsize File 23-1-18, 3 24 06 pm.jpeg

Step one: Turn on your Cricut Explore Air 2 or other Cricut device. Turn the dial on your machine to Custom.

Step two: Open the Cricut Design App on your iPad and Open New Project.

Step three: In your Cricut Design App, Upload your .PNG Image and Select from Camera Roll.

Step four: Insert your image to your new canvas (the checkered background means that it is transparent) and resize the image to your desired size. When you are ready, click on Make It.

View fullsize File 23-1-18, 3 37 37 pm.jpeg
View fullsize File 23-1-18, 3 20 20 pm.jpeg
View fullsize File 23-1-18, 3 36 48 pm.jpeg

Step five: Cut a piece of adhesive foil to the size of your project. Stick it on your mat, coloured side upwards.

Step six: On the Cricut Design App, follow the prompts to set material to Adhesive Foil. I use the original Cricut Adhesive Foil as I find that it sticks well to smooth surfaces. If it's stuck down properly, you can wash the mug forever without the adhesive ever peeling off, and that's what you want. 

Step seven: Next, follow the prompts to load the mat. And finally, CUT!

ADHERE

View fullsize File 23-1-18, 3 47 43 pm.jpeg
View fullsize File 23-1-18, 3 48 42 pm.jpeg
View fullsize File 23-1-18, 3 49 20 pm.jpeg

Step one: After the Cricut Design App tells you that cutting is complete, unload your mat.

Step two: Carefully peel your adhesive off the mat, and then peel off the excess foil and negative space (the transparent part of the design).

Step three: Using a Cricut weeding tool, carefully lift off the negative space in between the letters and in the centre parts of the letters such as a, g, d, e and o.  Once you're done, your adhesive should look exactly how you'd like it to look on your mug.

Step four: Next, cut a piece of transfer paper/tape, the size of your adhesive foil design. I use Kassa Clear Transfer paper/tape (Use coupon code "LETTERME" to get 20% off your Kassa products) as I find that it works best with foil adhesive. To make alignment even easier for you later, the Kassa Clear Transfer Paper comes with blue gridlines. You can use the guidelines to cut your transfer paper to size (the lines are exactly 1 inch apart) and I love lining my work up to the gridlines to help keep my work straight. 

View fullsize File 23-1-18, 4 04 36 pm.jpeg
View fullsize File 23-1-18, 4 04 16 pm.jpeg
View fullsize File 23-1-18, 4 03 58 pm.jpeg

Step five: Stick your Kassa Clear Transfer Paper over your foil design. Using the Cricut Scraper tool, go over the design to make sure that the transfer paper is properly adhered to the foil.

Step six: Slowly and carefully, remove the backing paper of the foil adhesive off the transfer paper. Be careful as to not touch the adhesive surface of the foil as the oils from your hands will effect the adhesiveness and longevity of your adhesives.

Step seven: Making sure your mug is clean, carefully line up the transfer tape with your foil design on to your mug. Using the Cricut scraper again, scrape down every part of the foil adhesive on to the mug, ensuring that all bubbles are removed.

Step eight:  Carefully remove the Kassa transfer tape off your mug. Voila, your mug is complete!!  

View fullsize File 23-1-18, 4 03 33 pm.jpeg
View fullsize File 23-1-18, 4 07 26 pm.jpeg


*Please note that Adhesive Foil is not recommended for dishwashers, and of course, do not ever put foil in the microwave!

Hope you've enjoyed reading this blog!  Please "like" the blog and leave me a message!!  

View fullsize Liz xx.jpg

CHECK OUT MY NEW BLOGS: Hello Cricut Maker!, Cricut Easy Press 2 and Cricut Infusible Ink.

tags: diy, kassa, transfer tape, cricut, cricut explore air 2, explore air, explore air 2, cricut explore, die cut machine, personalisation, procreate, ipad, ipad pro, apple pencil, apple, mug, personalised mug, personalised gift, adhesive foil, foil, vinyl, foil vinyl, adhesive vinyl, custom, custom design, custom made, craft, craft blog, crafting
categories: Calligraphy, Craft, kids, Lettering
Tuesday 01.23.18
Posted by Liz Tu
Comments: 72
 

Minc Foiling Basics

I have been using the Heidi Swapp Minc Foil Applicator for almost a year now, and admittedly, I didn't always achieve the finish that a self-confessed perfectionist like myself would have accepted. It has taken me months and months of trial and error, and countless rolls of foil to achieve the finish that I am now thrilled with.  I thought I would write this simple blog and share some of my own basic tips and tricks.

Read more

tags: foiling, diy, craft, crafting, scrapbooking, foil, minc, minc foil, how to, tutorials, heidi swapp, heidi swapp minc foil applicator, minc machine
categories: Craft, Calligraphy, Lettering
Monday 07.31.17
Posted by Liz Tu
Comments: 120
 

Emboss like a boss!

All you need to know about embossing on objects such as cannisters. Materials and tools are listed at the bottom of the blog.

I decided to write this blog after my videos went viral on Instagram and although I try to reply to each and every message, it has been increasingly difficult to address each question with a lengthy and thorough response.  

Read more

tags: embossing, emboss, hand lettering, faux calligraphy, personalisation, diy
categories: Lettering, Calligraphy, Craft
Wednesday 07.19.17
Posted by Liz Tu
Comments: 131
 

Copyright © 2025, Letter Me!, All rights reserved.