My friends at Kassa asked me to create this blog for them as Graduation Season is approaching in the USA. I had so much fun creating this DIY Inspirational Graduation Cap tutorial for them that I just had to share it on my page as well!
Congratulations on reaching this incredible milestone. Do you feel empowered to inspire and motivate others? What about further inspiring and motivating yourself? Here’s how you can personalise your picture perfect graduation cap.
What you will need:
Graduation cap (Mine was from Amazon, click here for a link)
Scissors - https://amzn.to/2Z0ad2k
Ruler - https://amzn.to/2JRjExD
Step One:
Remove the tassel and flatten the cap down
Step two:
Measure the width and height of the cap. Mine was a little larger than nine inches.
Step three:
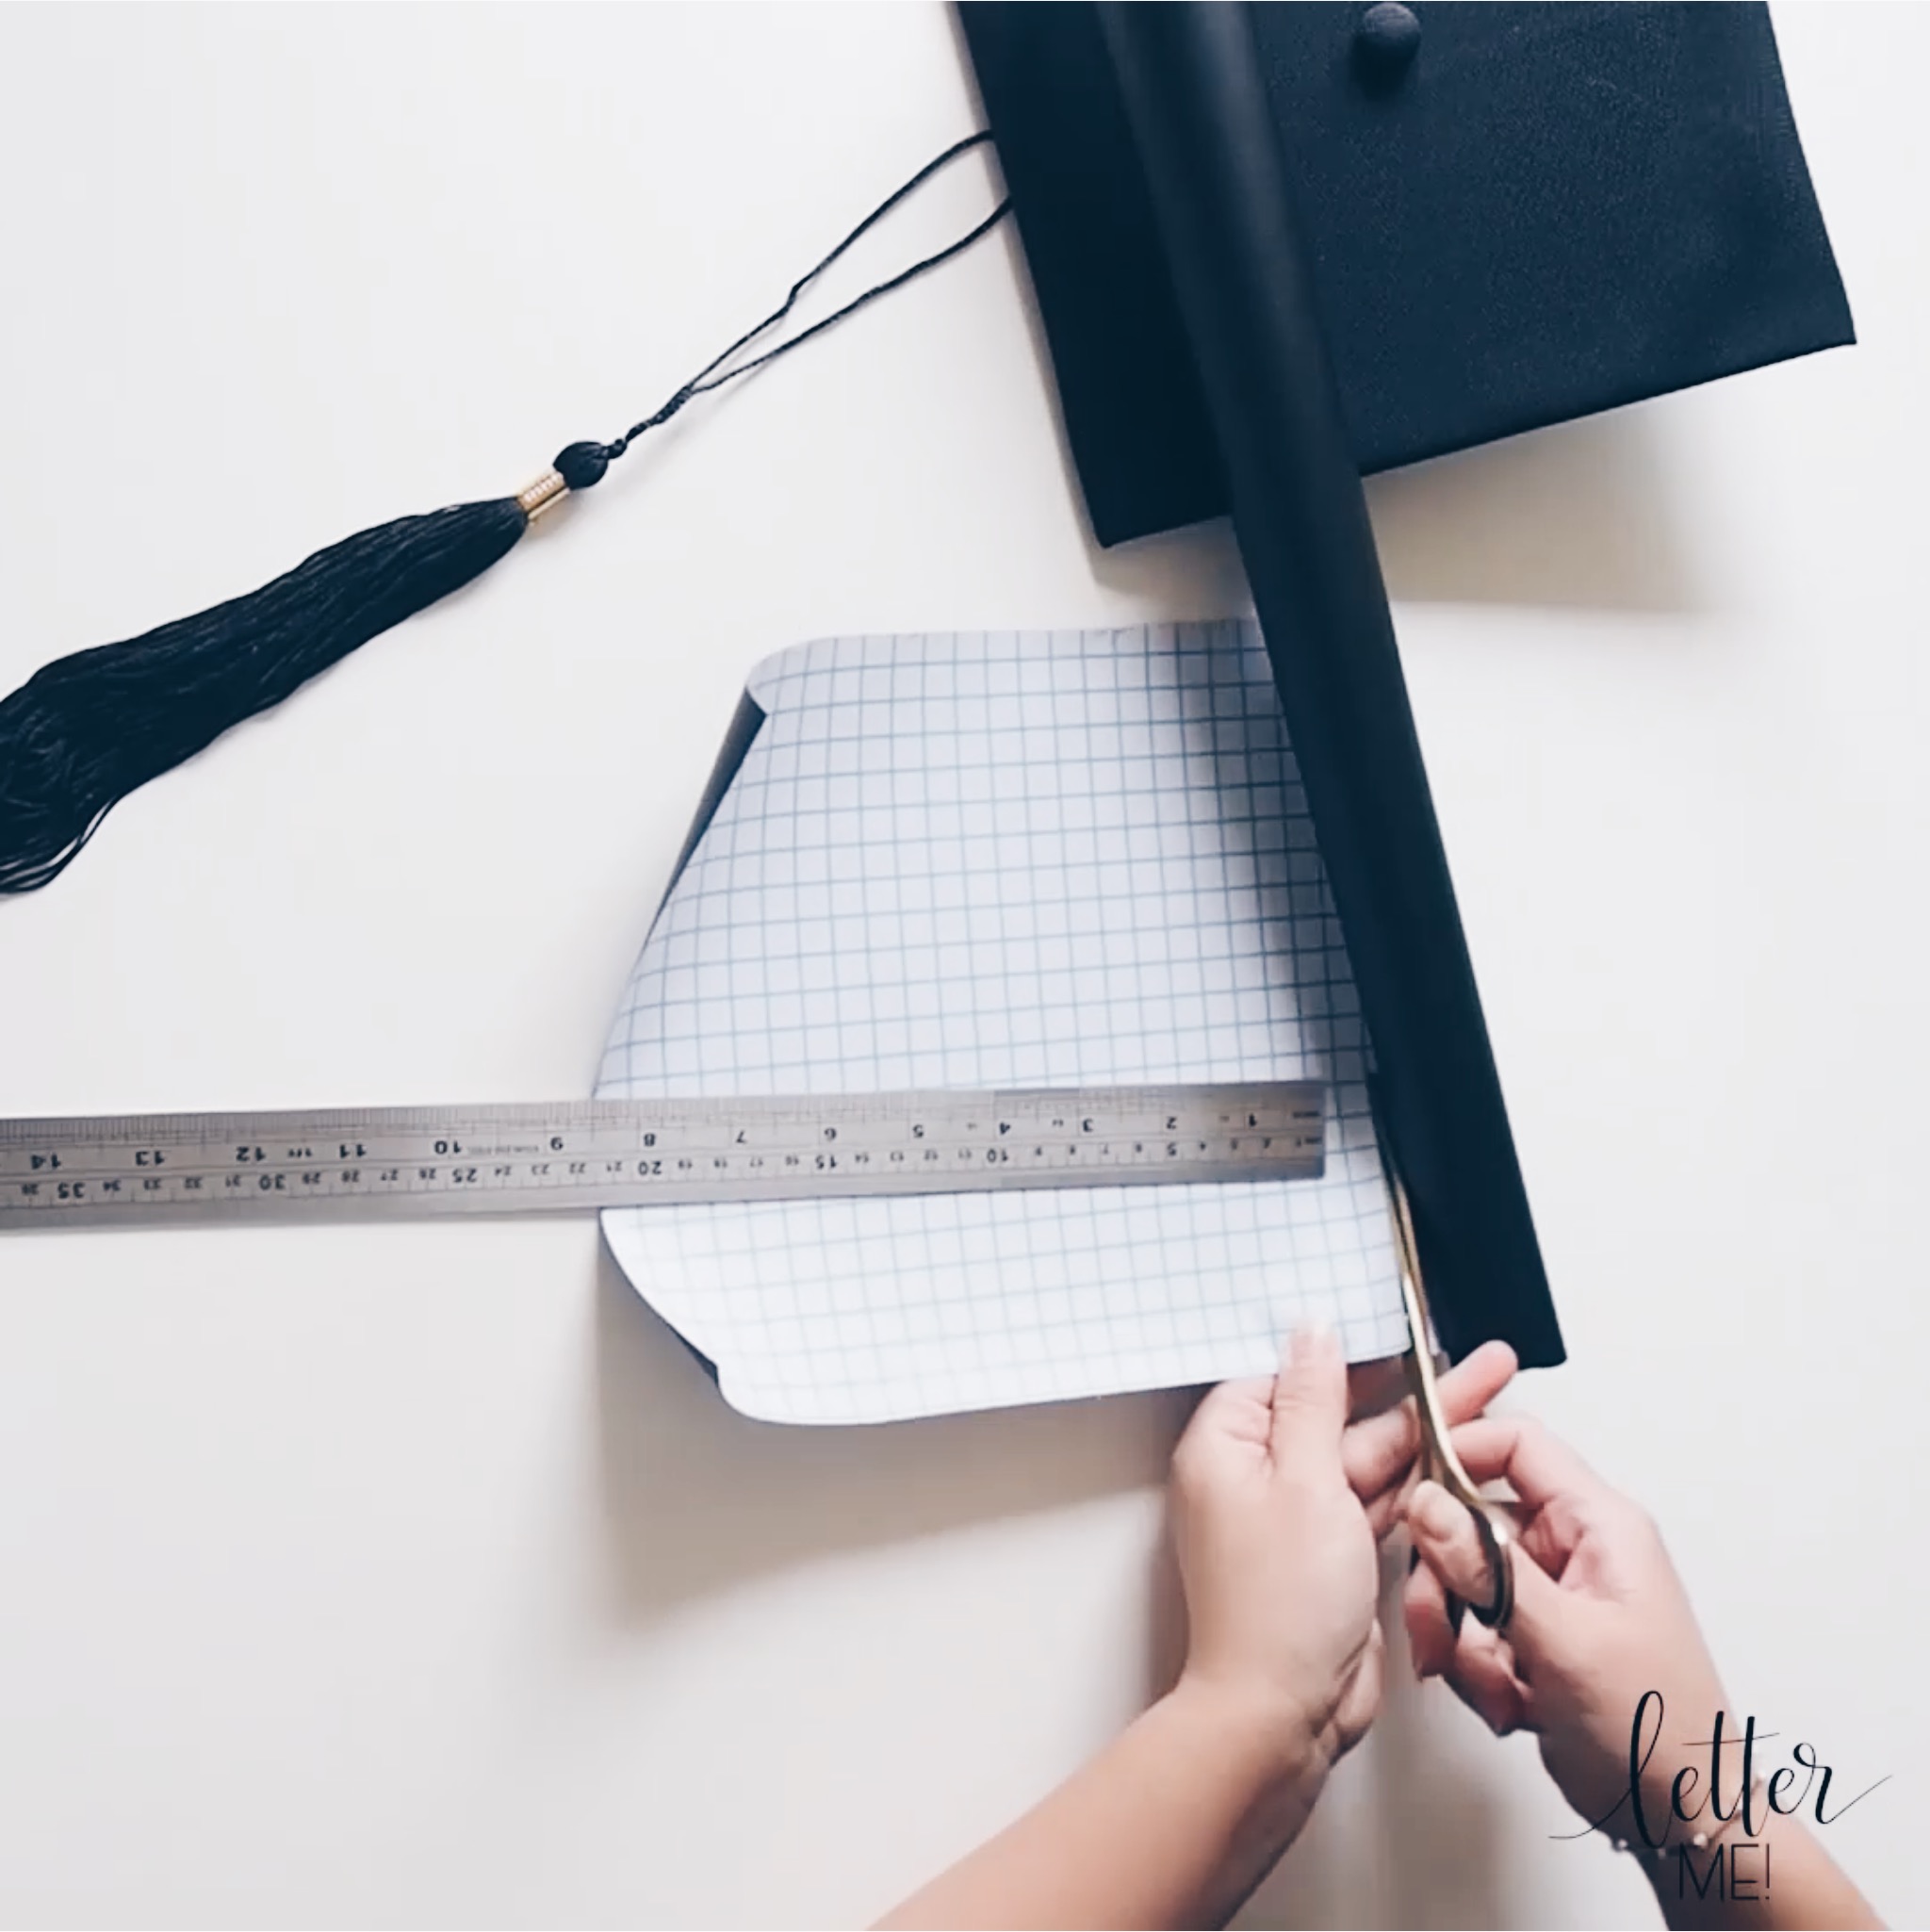
Cut a piece of Kassa Blackboard Vinyl to the size of your cap. I cut mine 9 inches by 9 inches.
Step four:
Check that the Vinyl fits the top of your cap. Press down on the stud in the centre of the cap and leave a slight imprint on your Vinyl.
Step five:
Noting where the imprint of the centre stud was, cut two lines to form a cross, then carefully, cut a circle out. I cut my circle approximately an inch in diameter.
Step six:
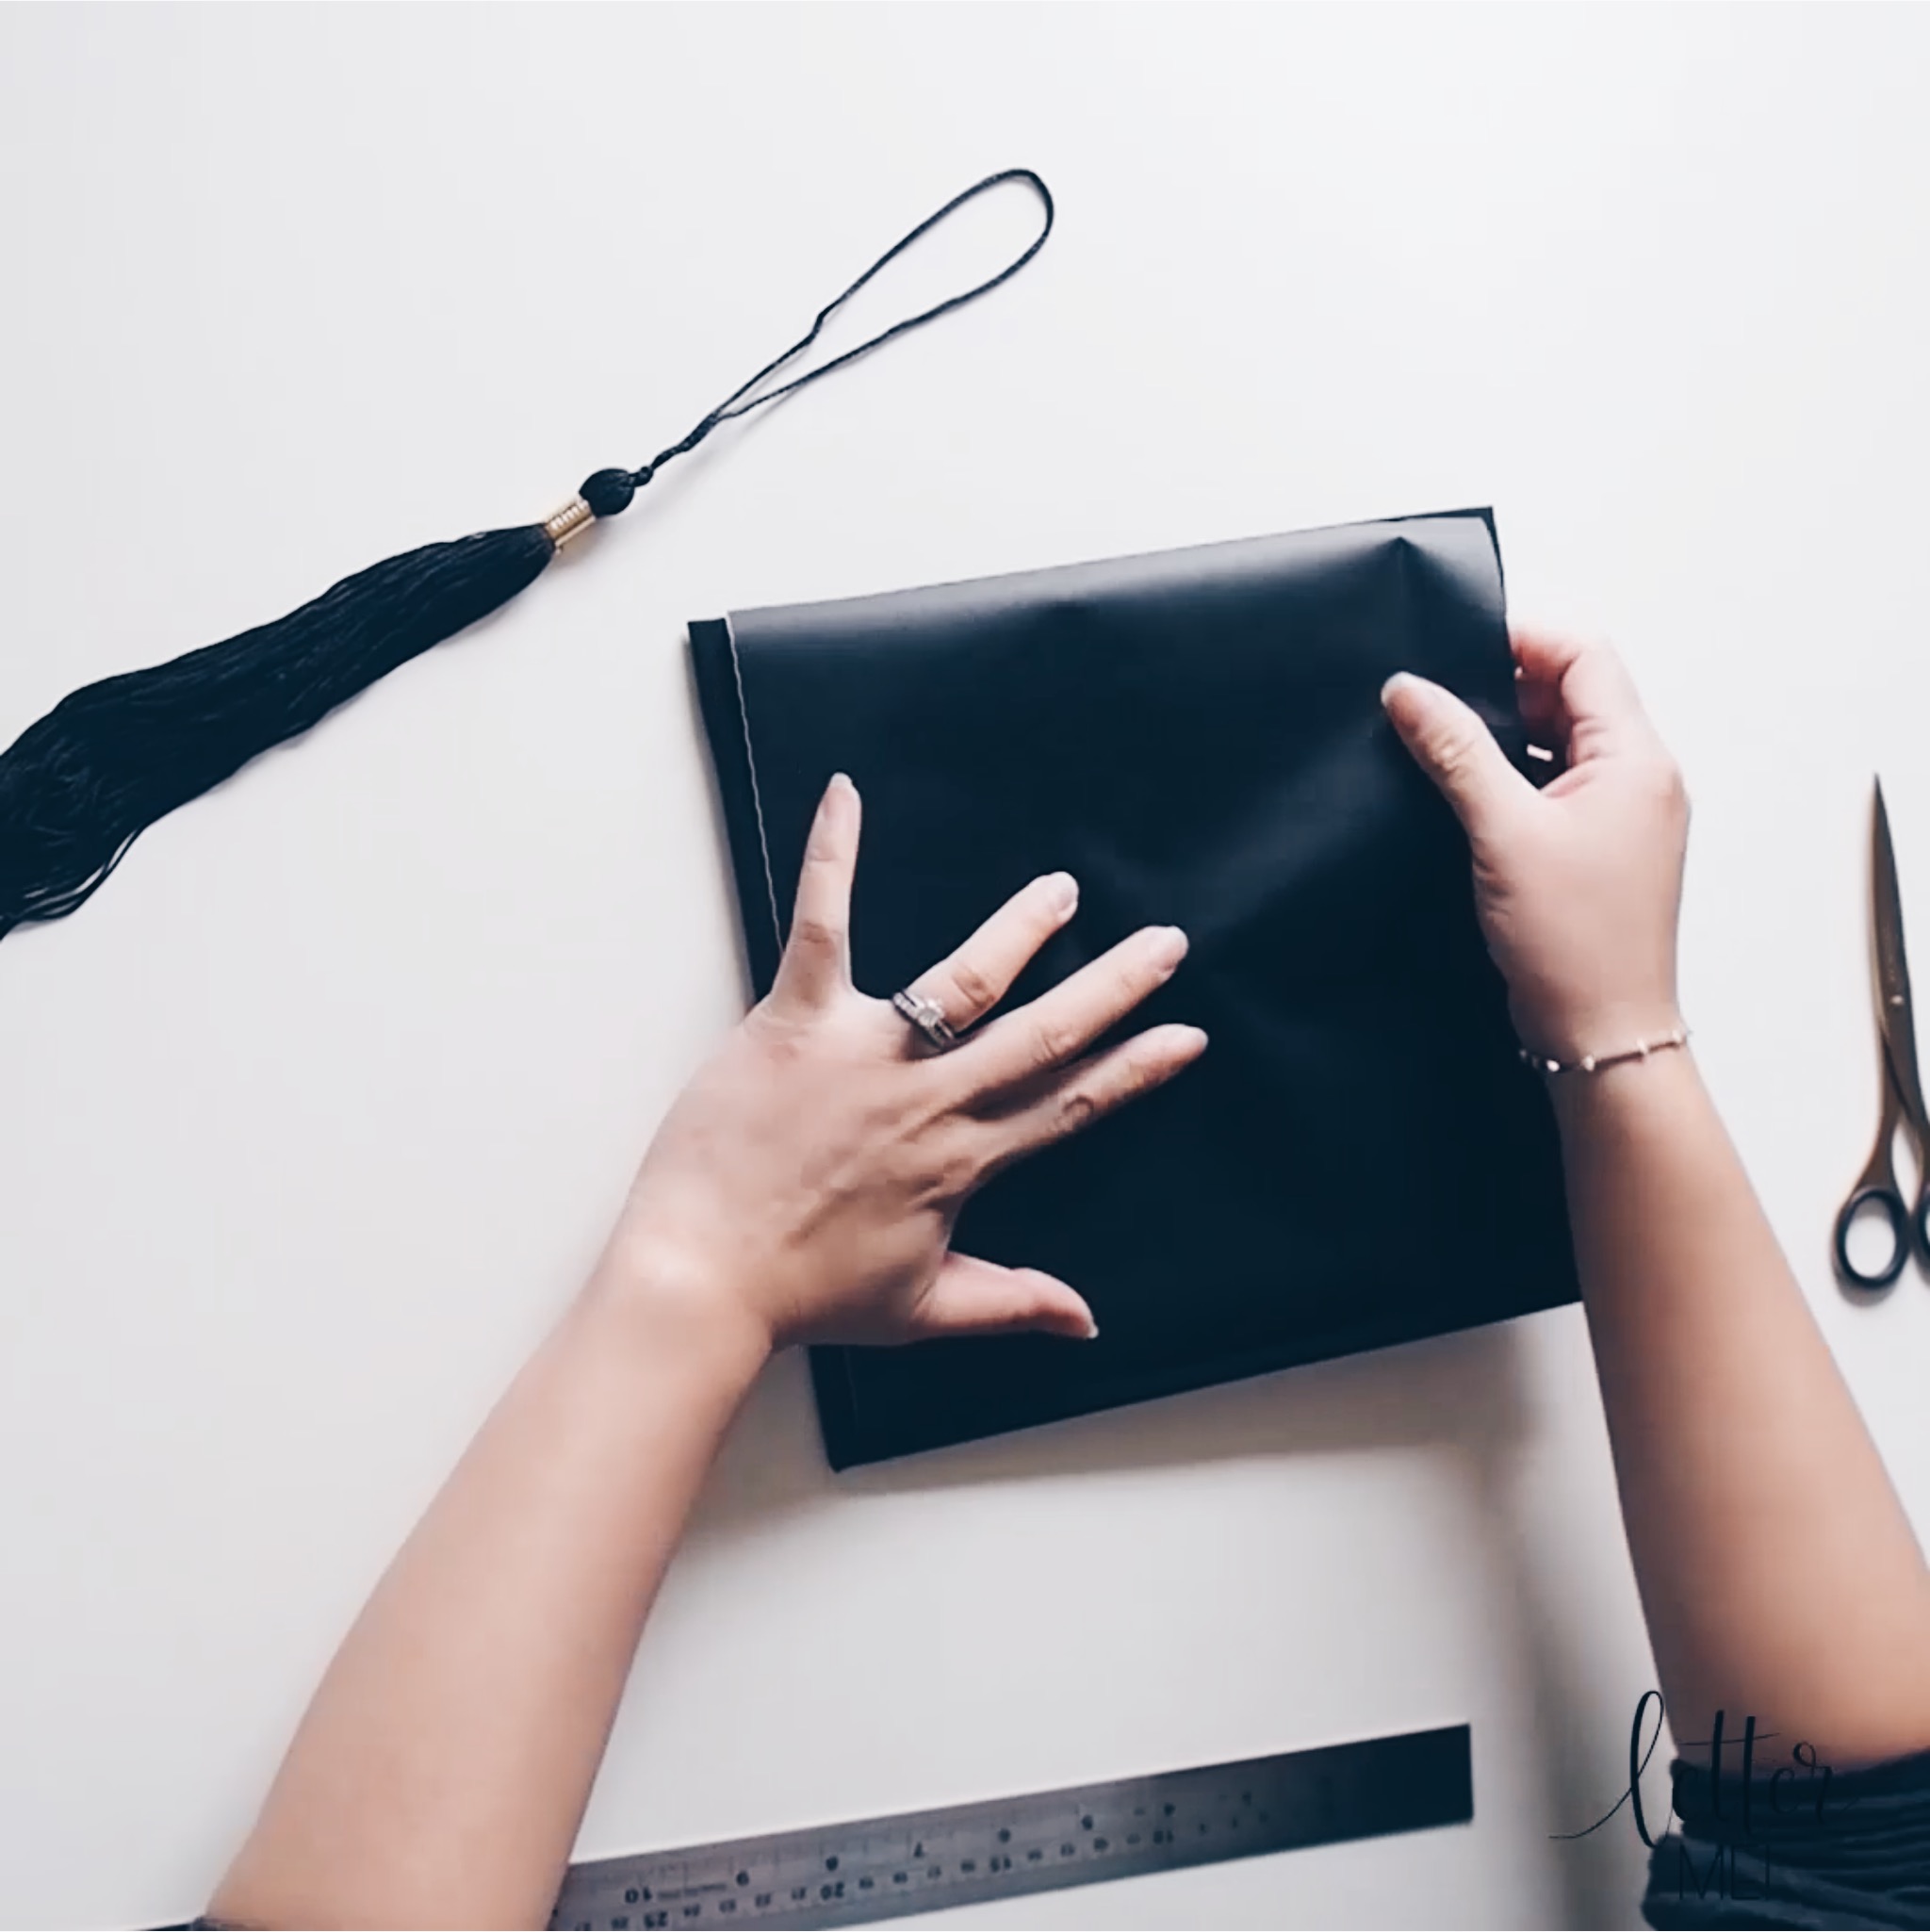
Peel off the backing of the Vinyl and carefully place the hole over the centre stud, and smooth the Vinyl out flat.
Step seven:
As the stud of my cap wasn’t completely centred to my vinyl, I used a pair of scissors to trim the excess vinyl off. Do not be afraid to trim the vinyl to size, but make sure you don’t accidentally cut the cap or the the tassel.
Step eight:
Select your favourite inspirational quote and start lettering using your Kassa Liquid Chalk Markers. I chose one from Elenor Roosevelt and used the silver and rose gold, from the limited edition Kassa Metallic Pack.
Step nine:
Once your chalk has dried (it shouldn’t take more than a minute), re-tie the tassel back into place.
Step ten:
Voila, your graduation cap is complete and you can now wear it with pride. Don’t forget to take photos!
The future belongs to those who believe in the beauty of their dreams. – Elenor Roosevelt.
Keep dreaming. Best wishes with the next chapter of your lives.
xx Liz


