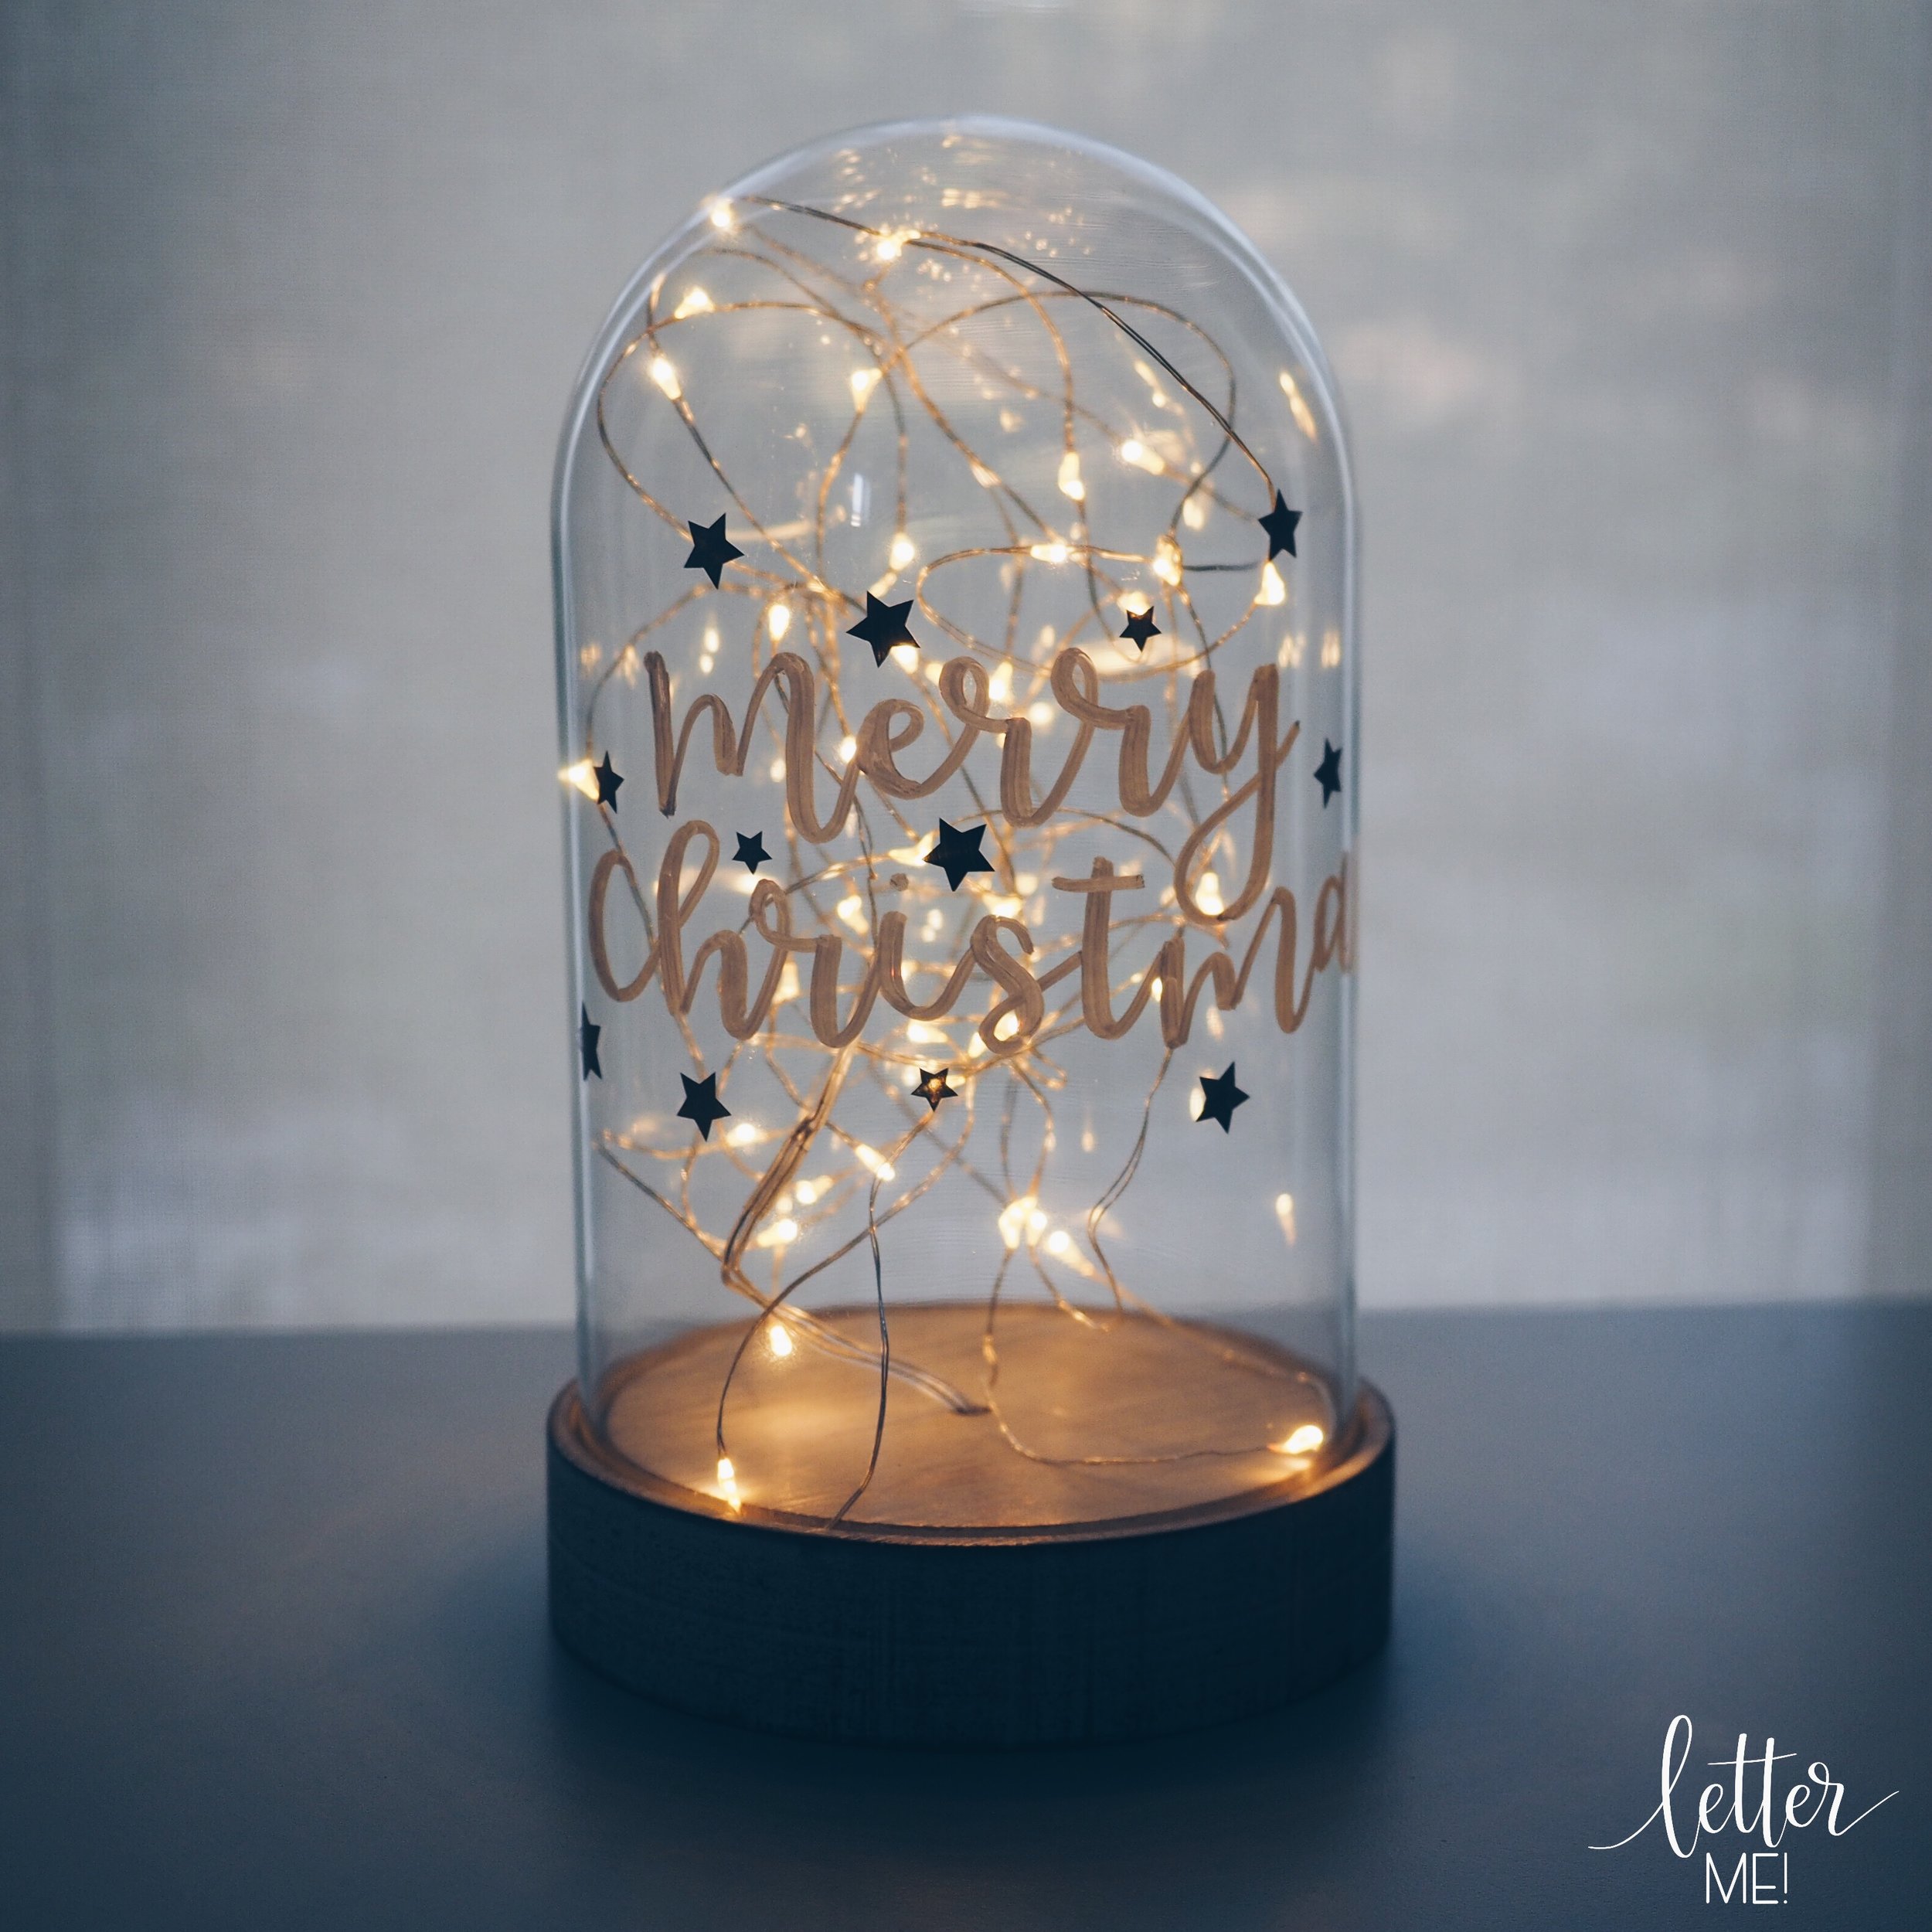
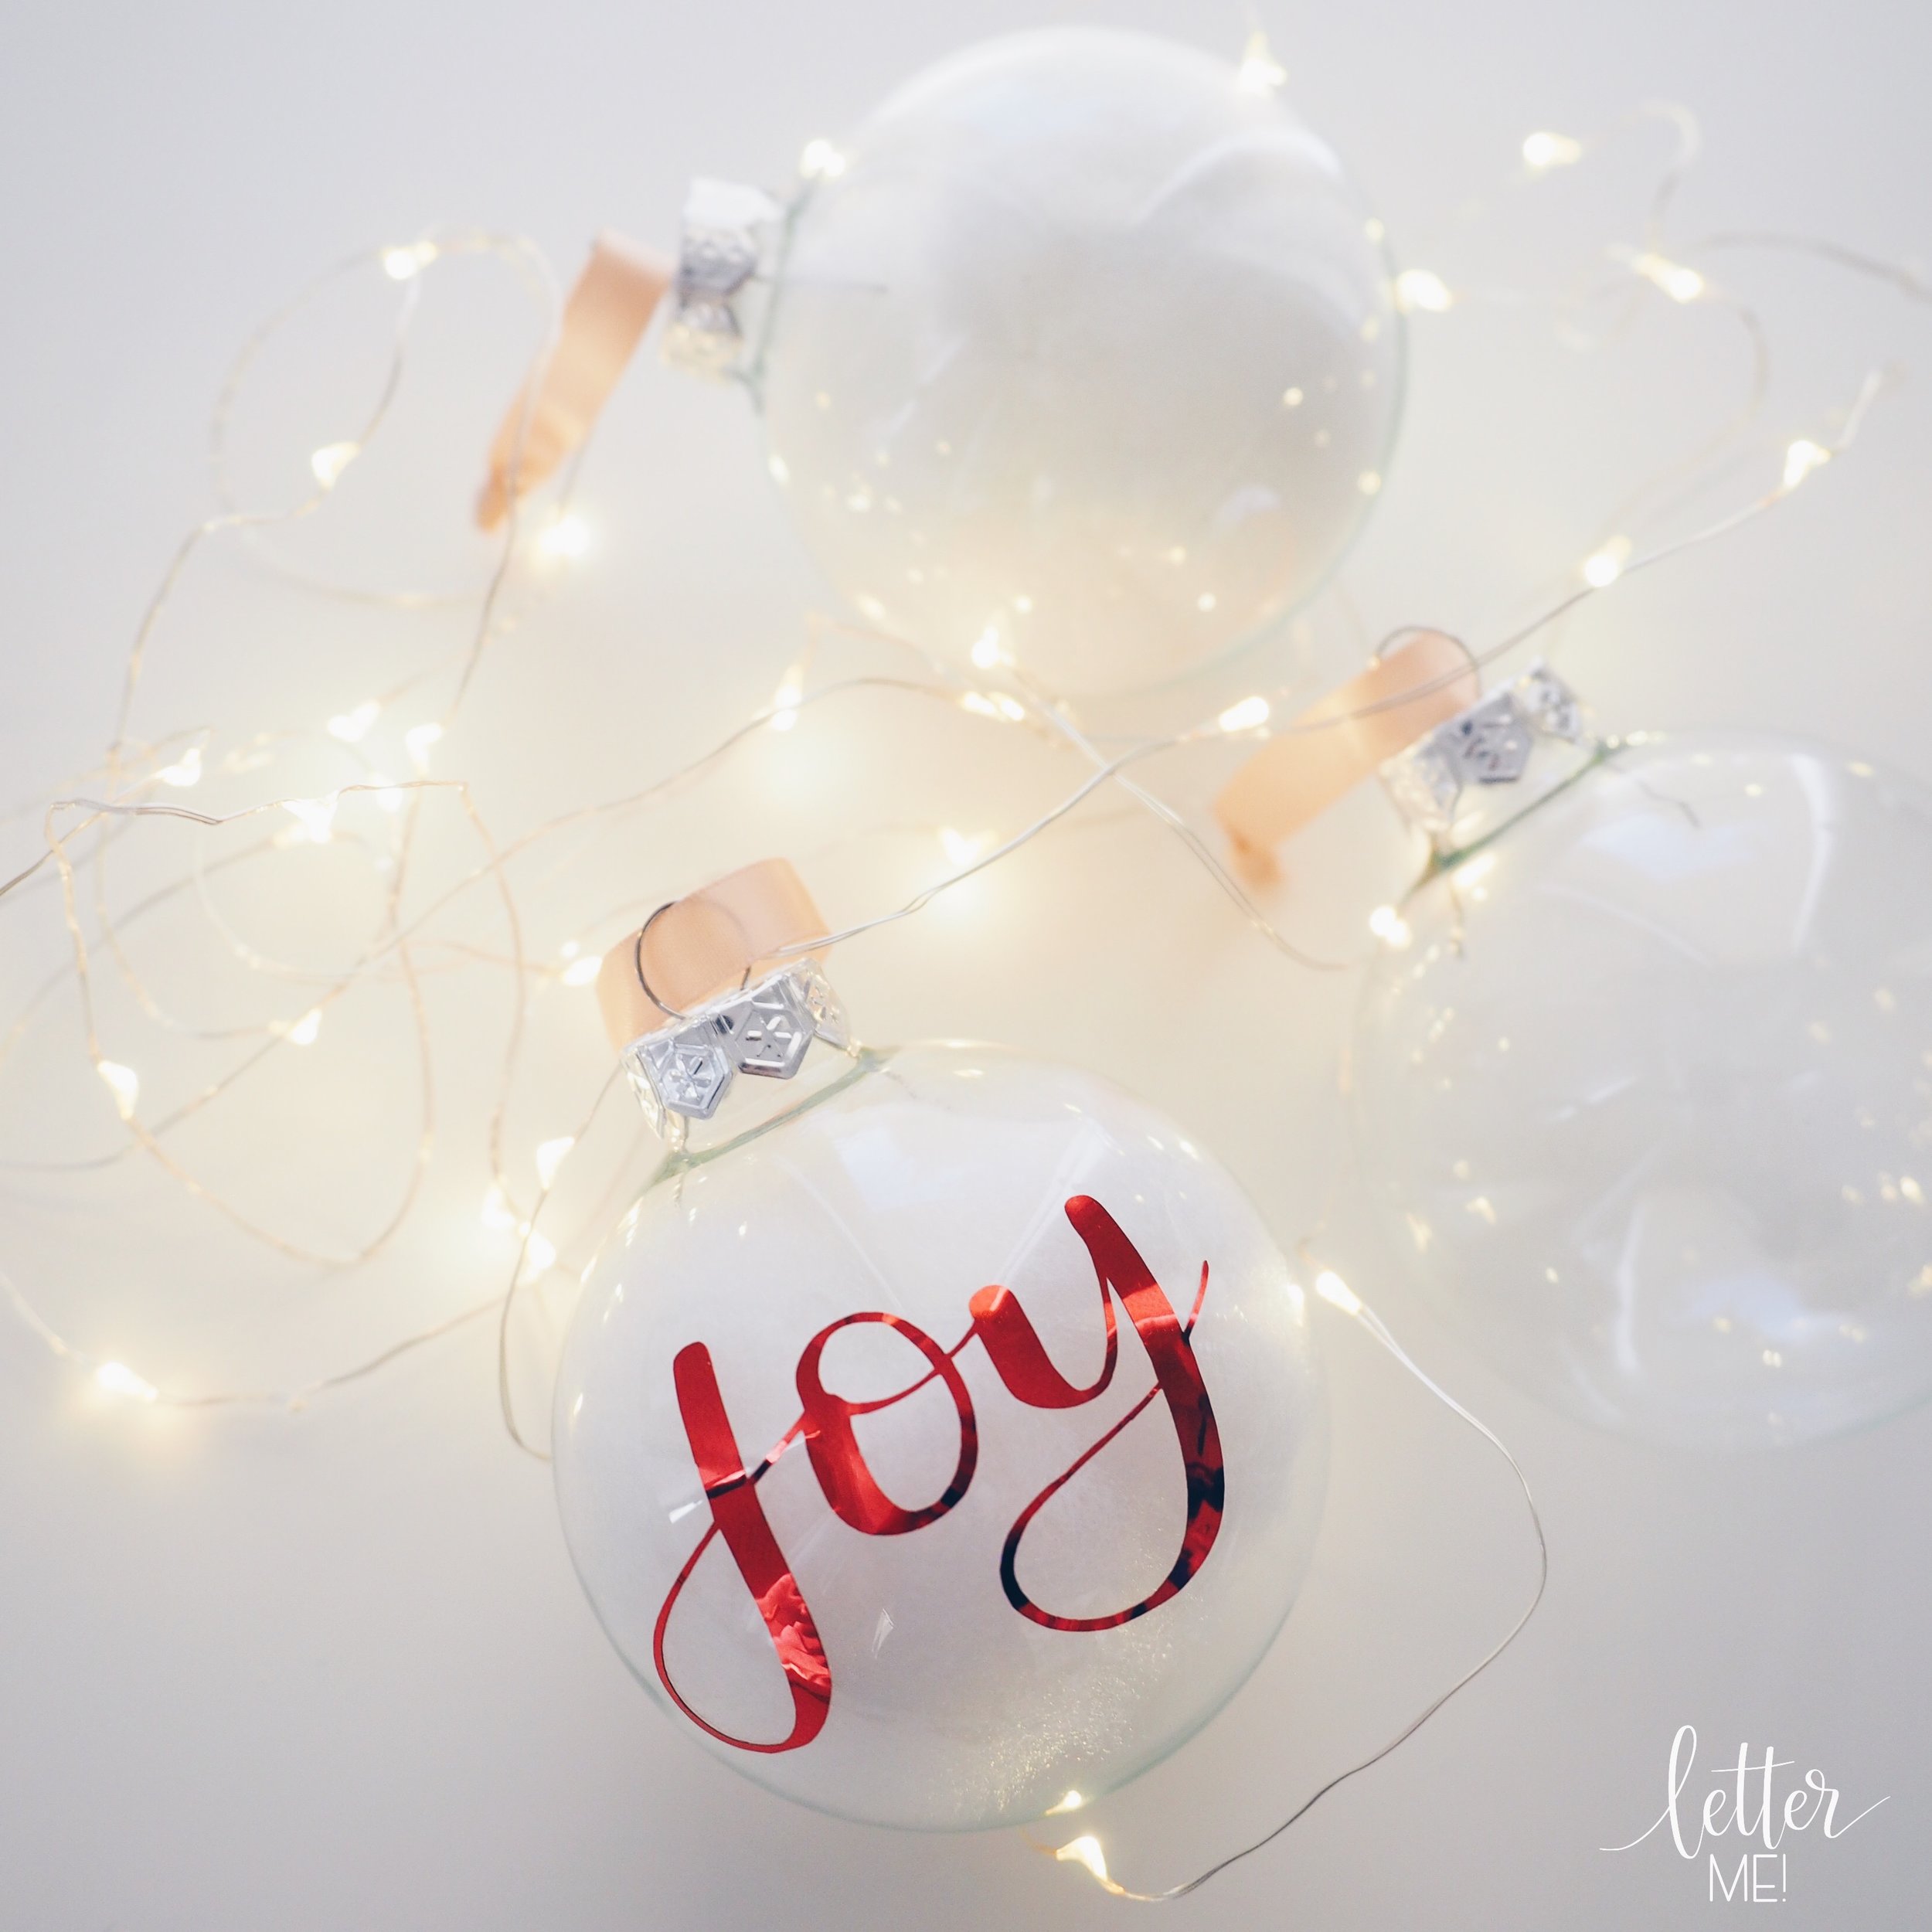
It’s truly the Most Wonderful Time of the Year. The tree is up, lights are sparkling, baubles are decorated and carols are playing from the moment the kids are up, right until bedtime.
To help you get into the festive spirit, here is my tutorial on how to create your own personalised Christmas baubles, done three ways (vinyl, embossing and chrome). To top it off, I’ve partnered with Sony Music Australia to share with you my favourite Christmas playlist, a perfect accompaniment to Christmas crafting!! The best thing about this playlist is that all the classics are there, as well as the new songs that the kids will know and love, so everyone can sing along!

This blog will be quite lengthy as I am basically covering three techniques; Vinyl, Embossing and Chrome. Feel free to skip to the sections that are relevant to you. Obviously, if you’ve only got one bauble to decorate, take your pick. Alternatively, why not use all three? However, don’t feel that you need to do all three methods, but as I love to experiment with different techniques, I thought you might be interested in seeing what works best for you!
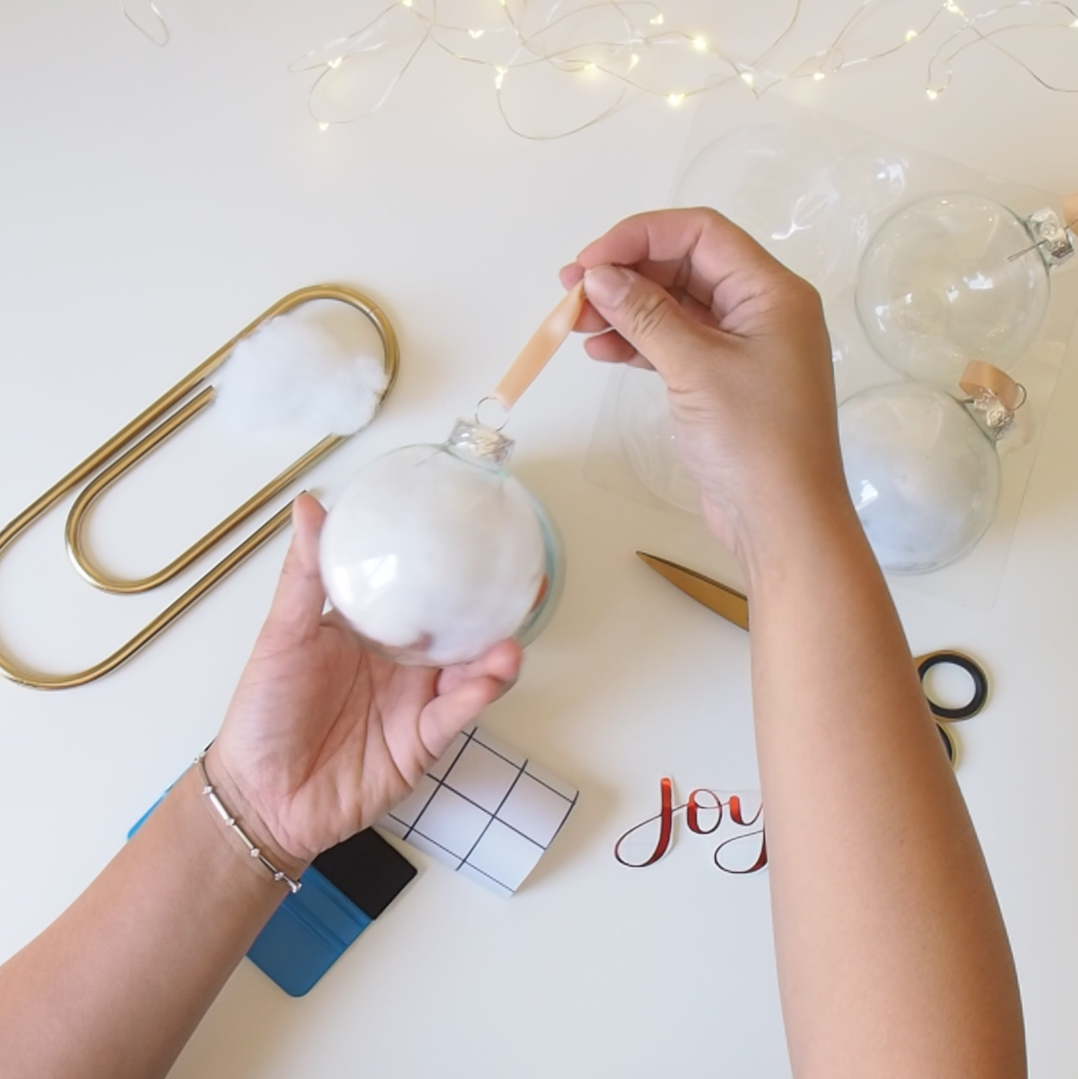
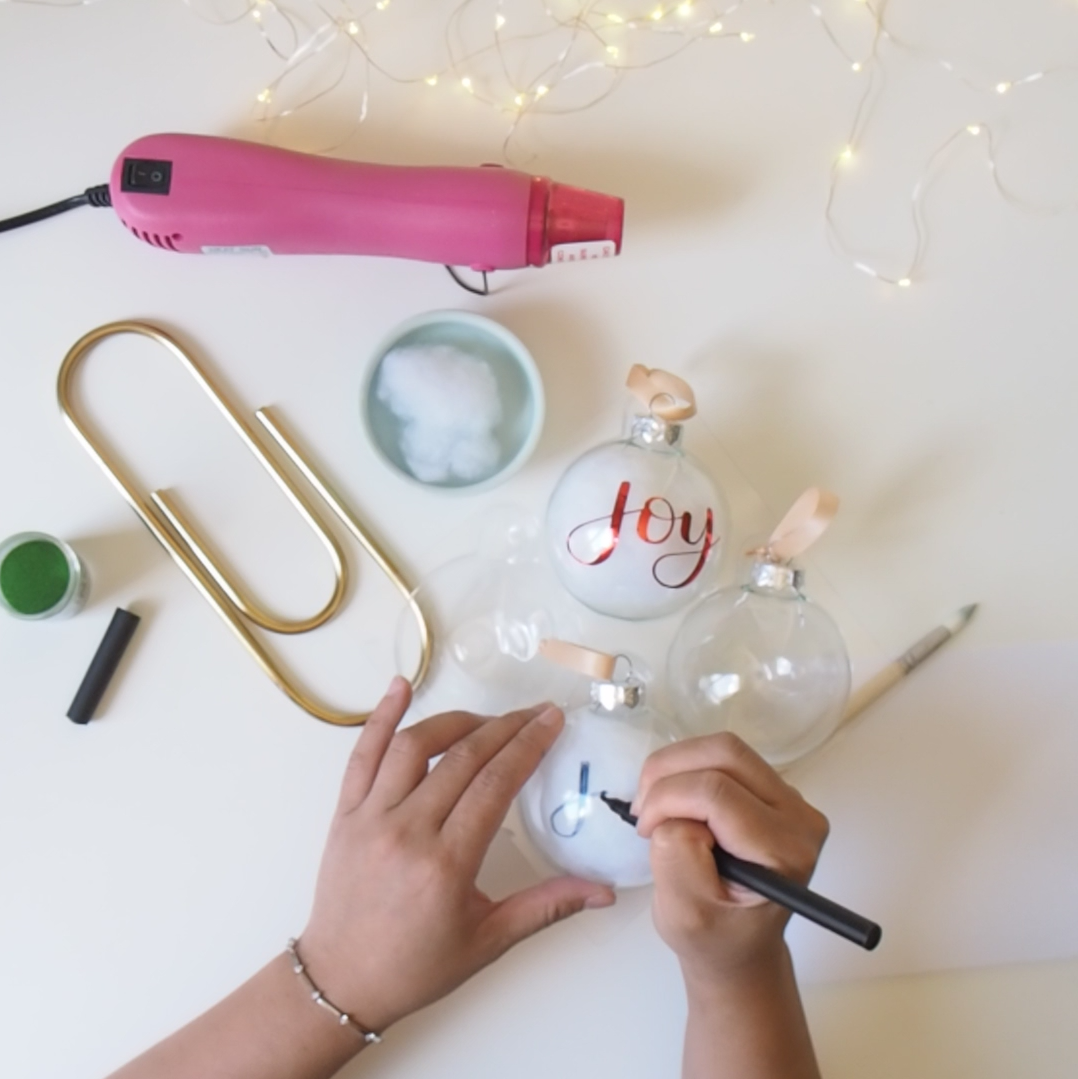
If you find glass baubles difficult to see, you may wish to stuff them with hobby fill, cotton balls, pom poms, glitter, cellophane, whatever tickles your fancy. Gently take off the cap, use a stick (or a chopstick!) to push the stuffing in, and replace the cap. I personally like mine clear, but for the purpose of this blog (so you can see what I’m doing) I will stuff a couple of the baubles.

The (not-so-secret) secret to lettering and crafting on a spherical surface like a Christmas bauble is having something to rest it in for support. These can just be regular household items like a sauce dish, an egg-cup, a bowl, or in my case here, a gigantic paperclip. But what’s even better (if you haven’t already binned it), is the original plastic packaging that the bauble came in.


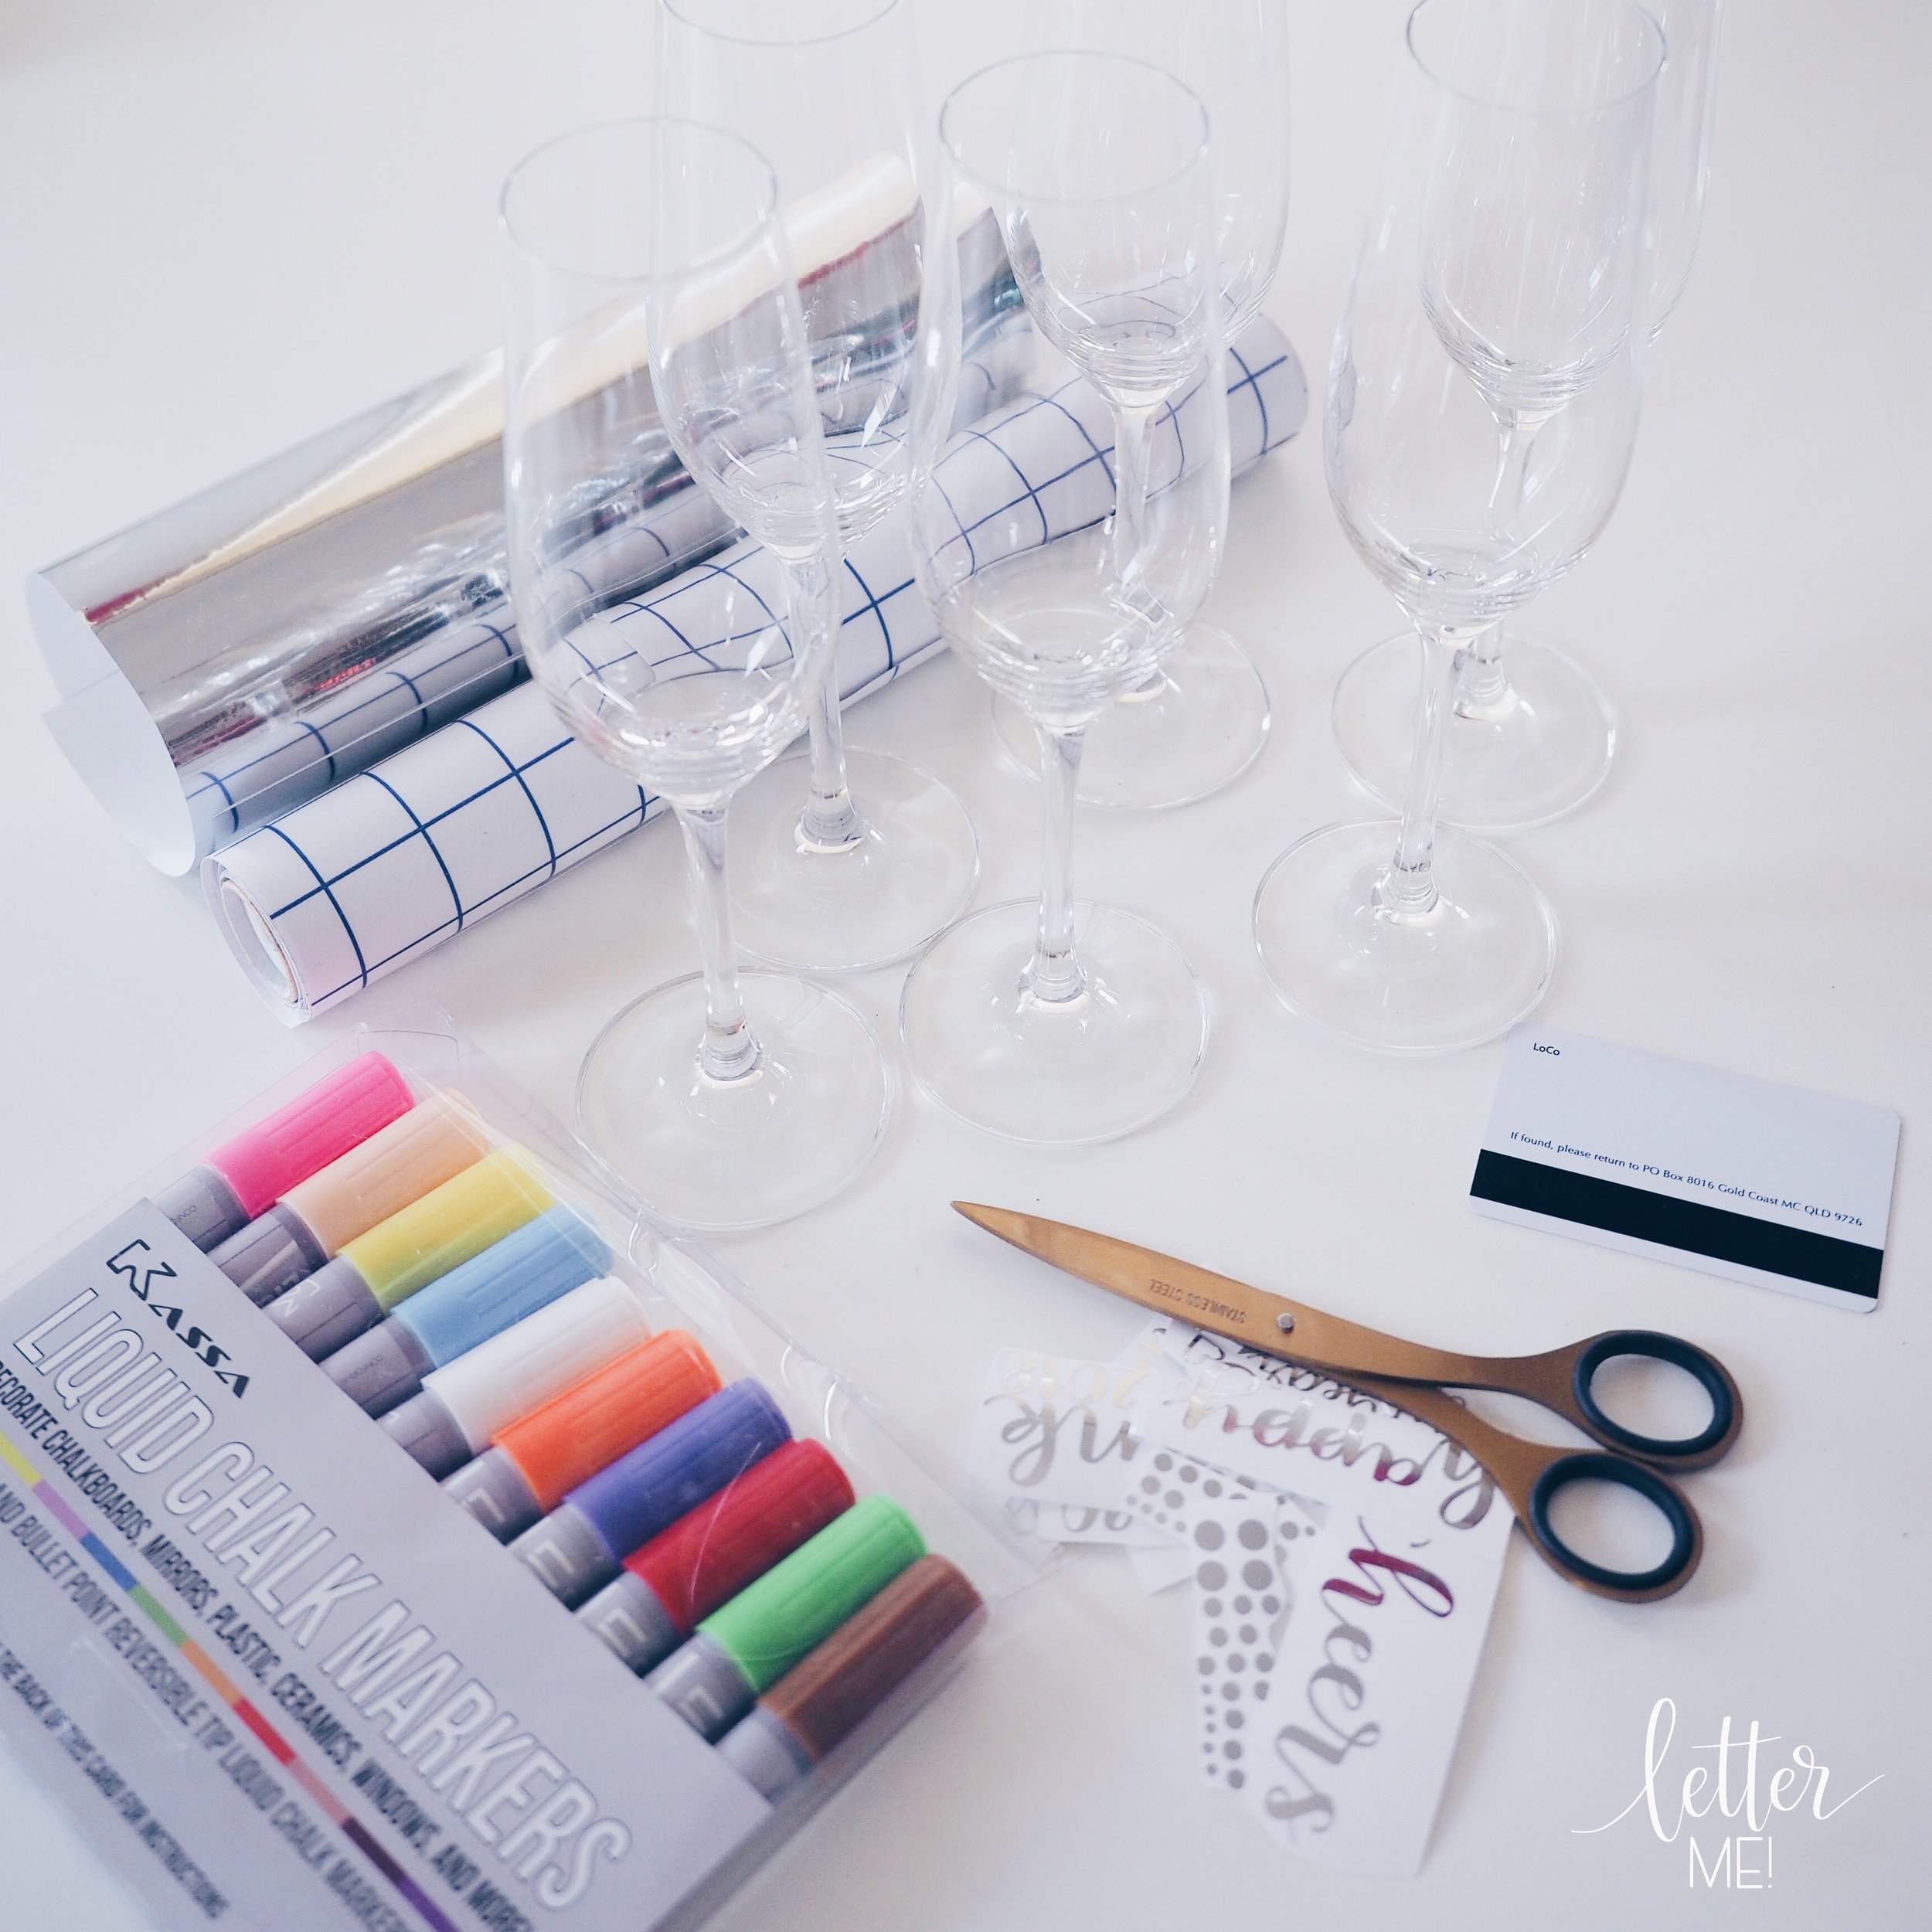
So here’s what you’ll need for all methods:
Glass Christmas baubles
Object to rest your bauble on (see paragraph above)
Hobby fill (optional)
Stick (optional)
What you need for the Vinyl method:
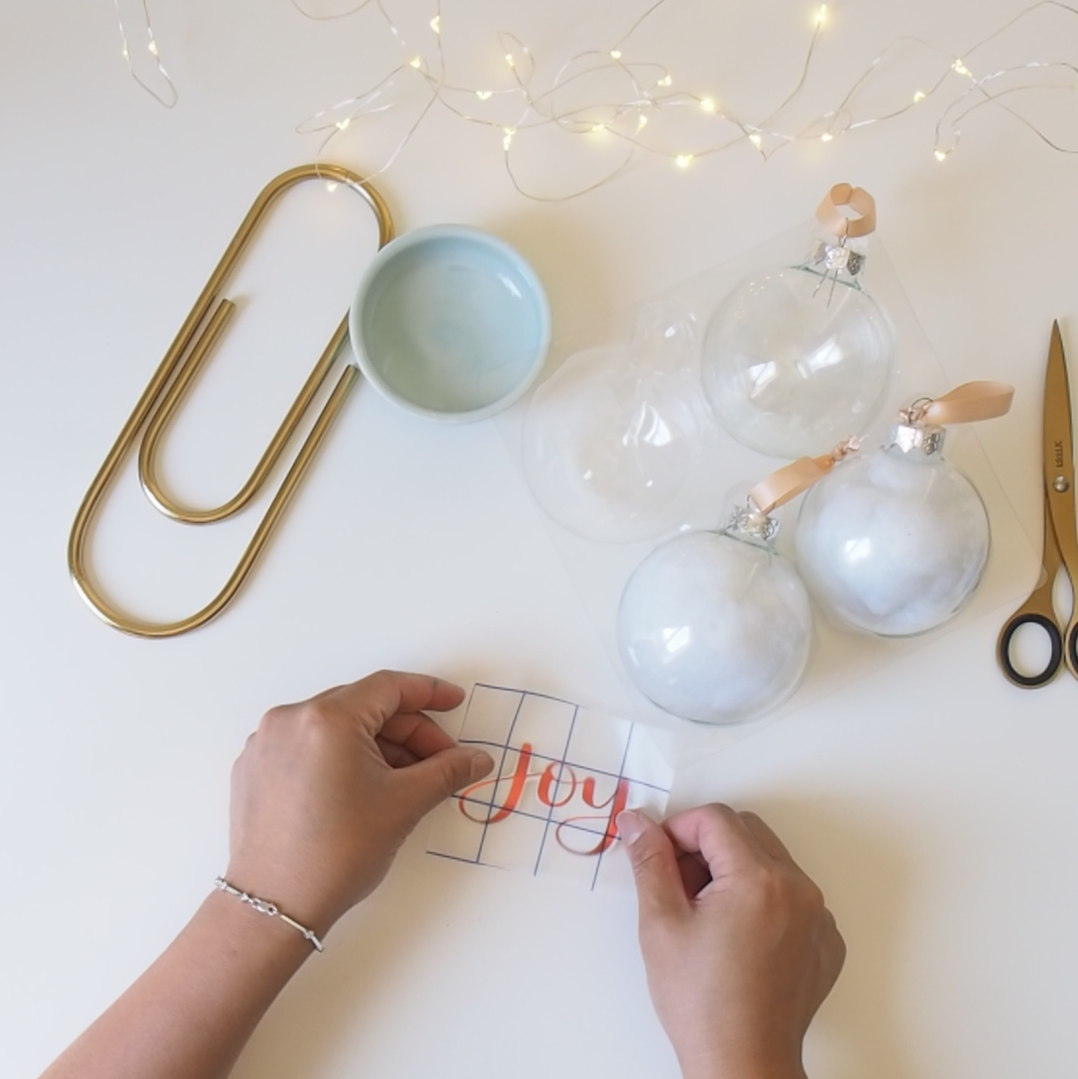
Vinyl cut-out of your personalised word (alternatively, use a pre-cut sticker)
Transfer tape
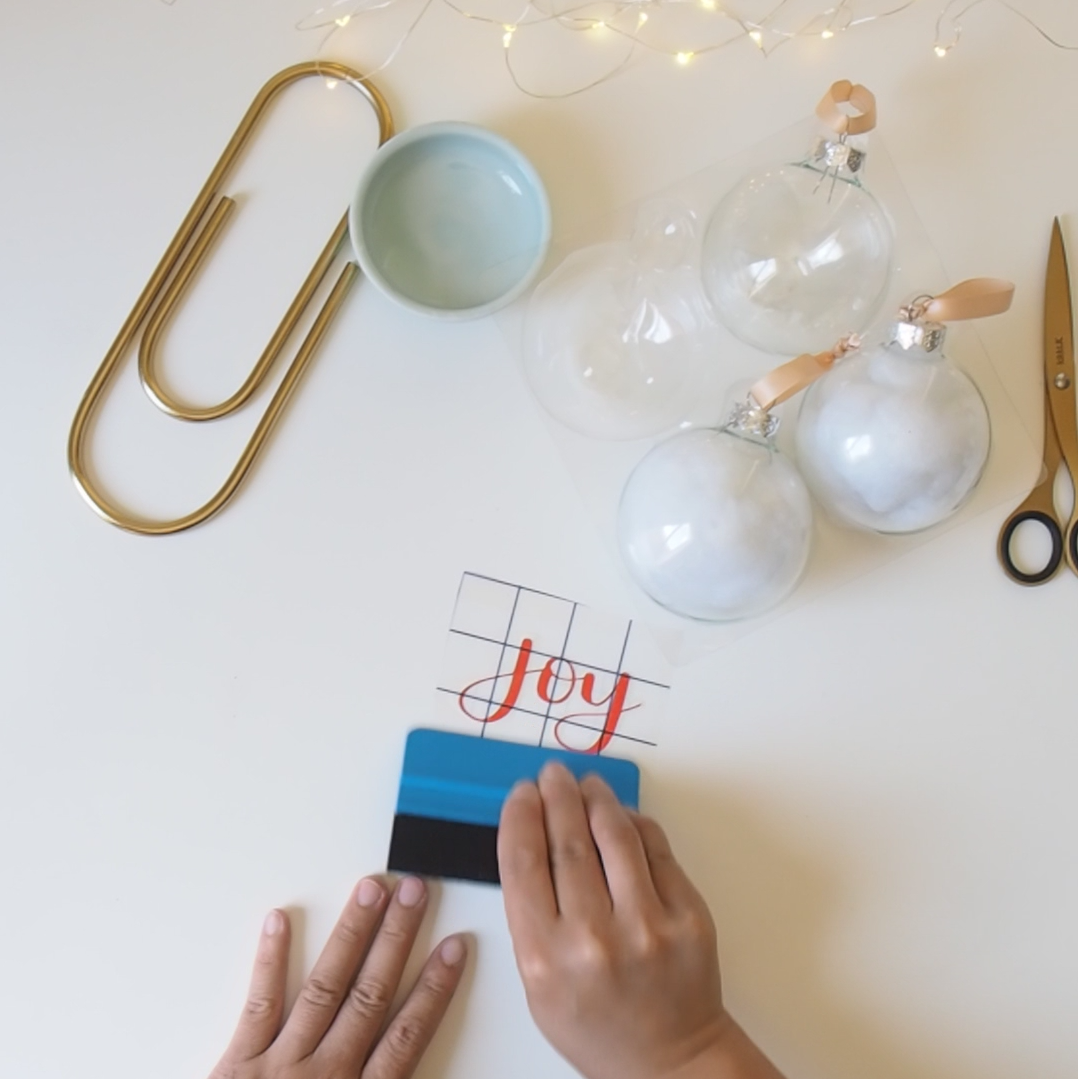
Flexible scraper (credit card can work too)
Scissors
What you need for the Embossing method:
Synthetic paint brush
A piece of paper/cardboard, folded in half to collect excess powder
What you need for the Chrome method:
Chrome marker (I used a 2mm bullet tip)
Let’s start with the Vinyl Method.
Firstly, if you haven’t already got a vinyl cut-out of your personalised word, you can learn how to do it here. Alternatively if you have a pre-cut sticker you can use that also.
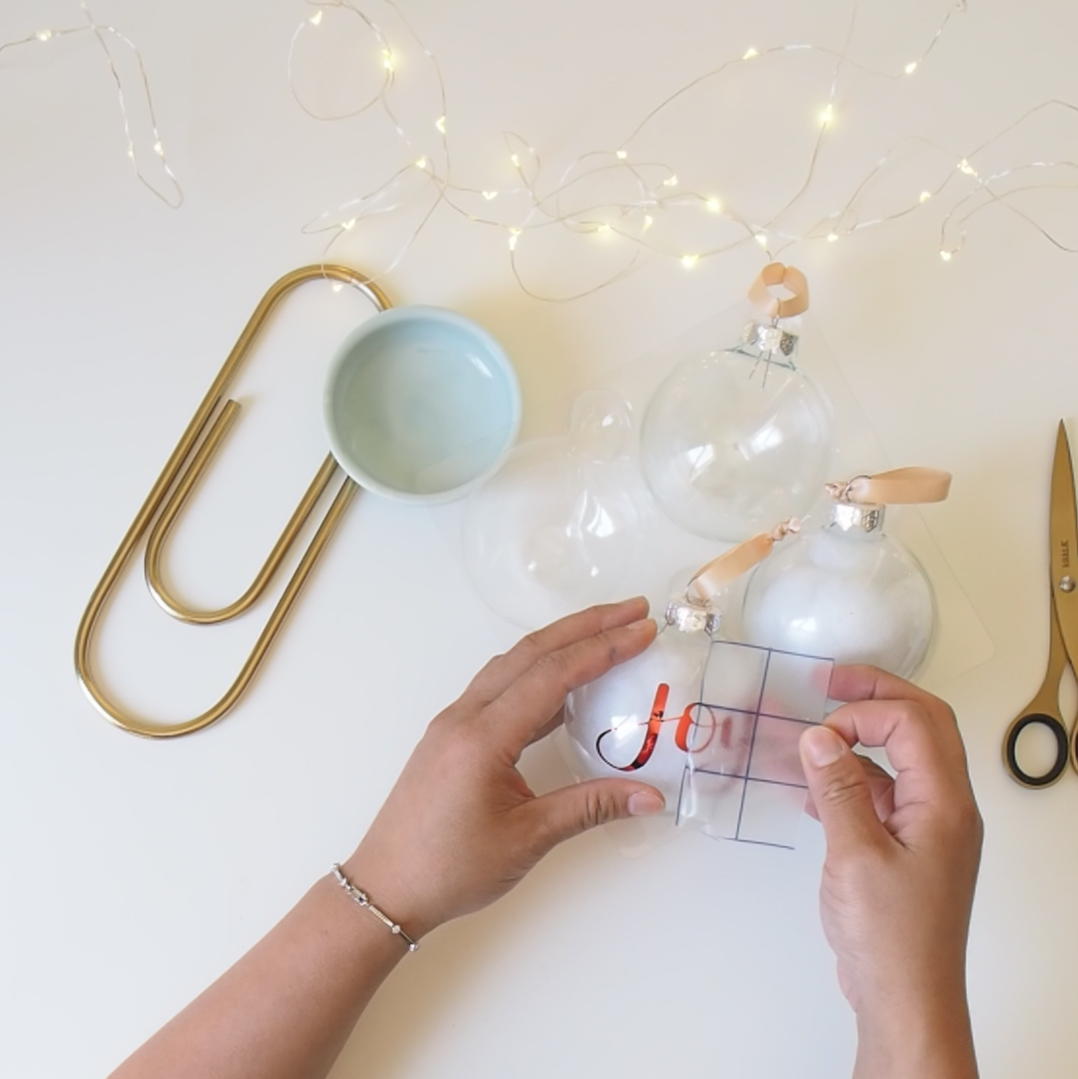
STEP 1: Position your bauble in your holder so that it is easier to work with.
STEP 2: Peel off a piece of transfer tape, big enough to cover your vinyl cut-out.
STEP 3: Stick the transfer tape over the vinyl-cut out.
STEP 4: Use a flexible scraper or a credit card, scrape over the transfer tape to ensure that the transfer tape is firmly stuck down and there are no bubbles.
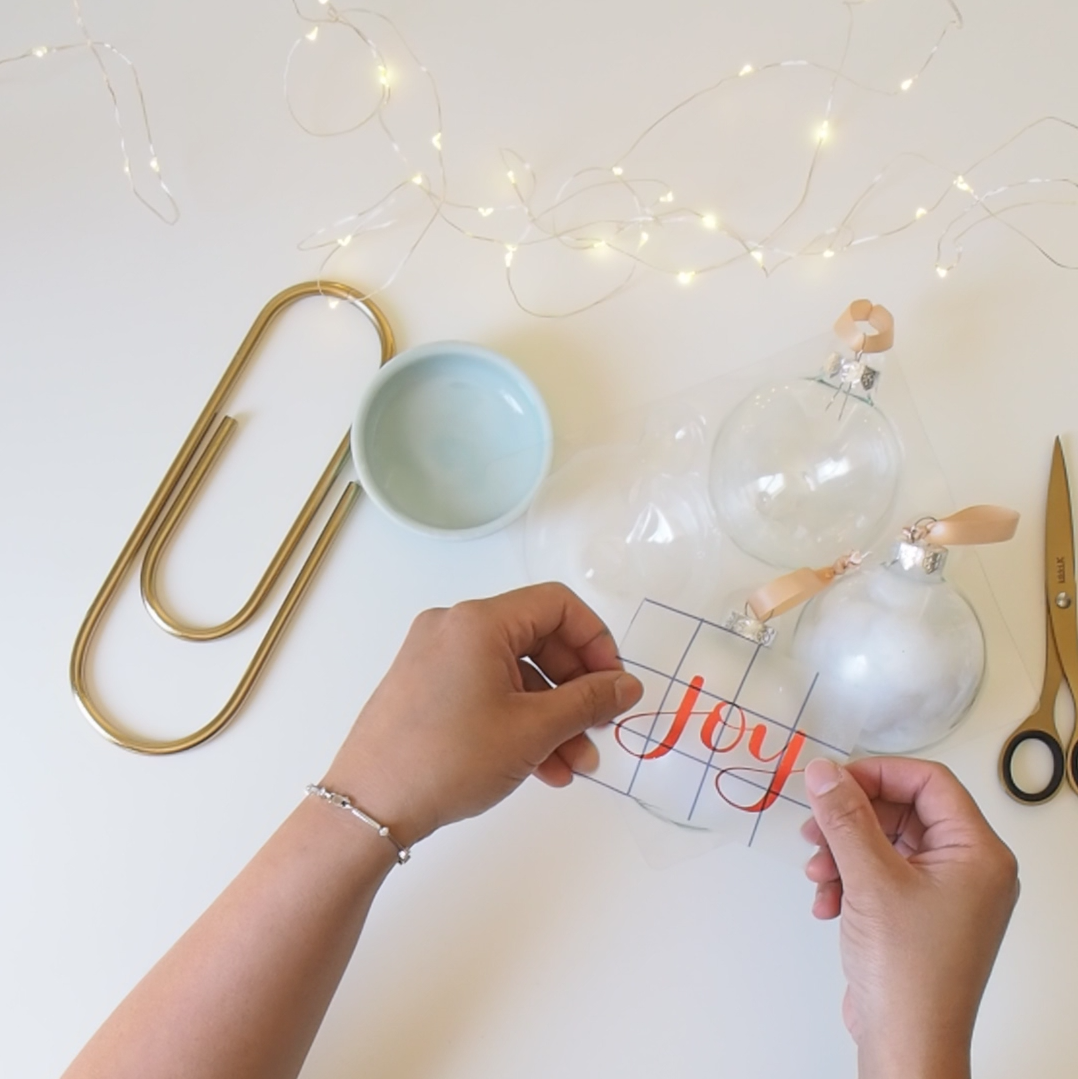
STEP 5: Peel the transfer tape (and vinyl) off your table/work surface and then gently peel off the backing paper from the vinyl cut-out. Be very careful as to not touch the sticky side of the vinyl, as oils from your skin will effect the adhesiveness of the vinyl.
STEP 6: Carefully place the transfer tape and vinyl over your bauble. Gently using your fingertips, secure the centre part of your work first, and work outwards. As the bauble is spherical, it may be fiddly getting the vinyl to stick flat on the spherical surface. Your priority is getting the vinyl to stick flat, it is okay if the negative space of the transfer tape creases as long as the vinyl itself does not crease. The trickiest sections would be the loops or larger flourishes (if any).
STEP 7: Very gently peel off the transfer tape. If you struggled to stick the vinyl flat from certain areas, it will lift off with the transfer tape. Do not worry about that as long as the majority of the word is stuck down.
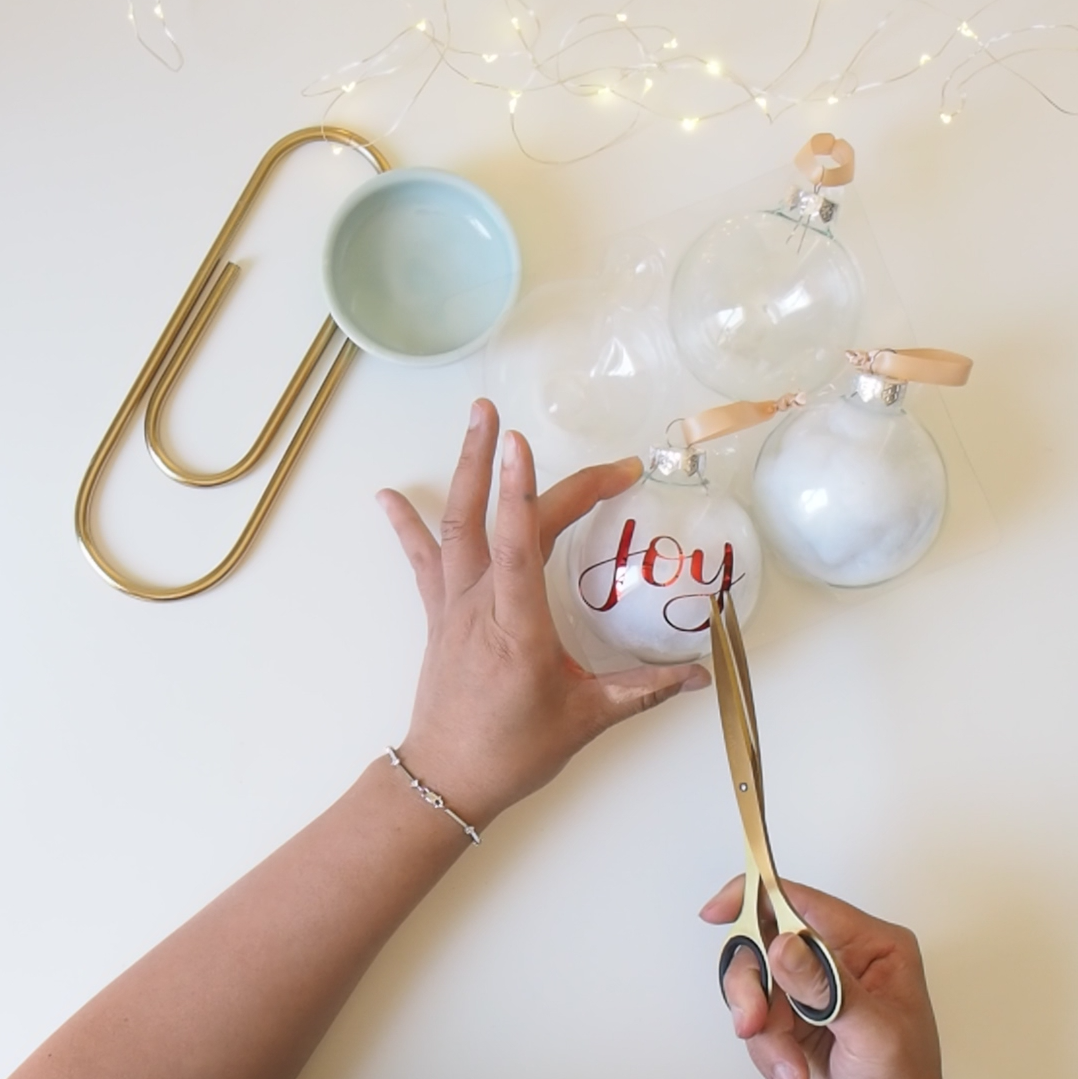
STEP 8: Using your fingers, gentle smooth down the vinyl onto the surface of your bauble, working from the middle of the word again, pushing outwards. If there is a section that refuses to stick down without creasing, do not hesitate to use a pair of scissors and make a small incision in an unnoticeable area. After cutting the word, make sure you stick it down firmly.
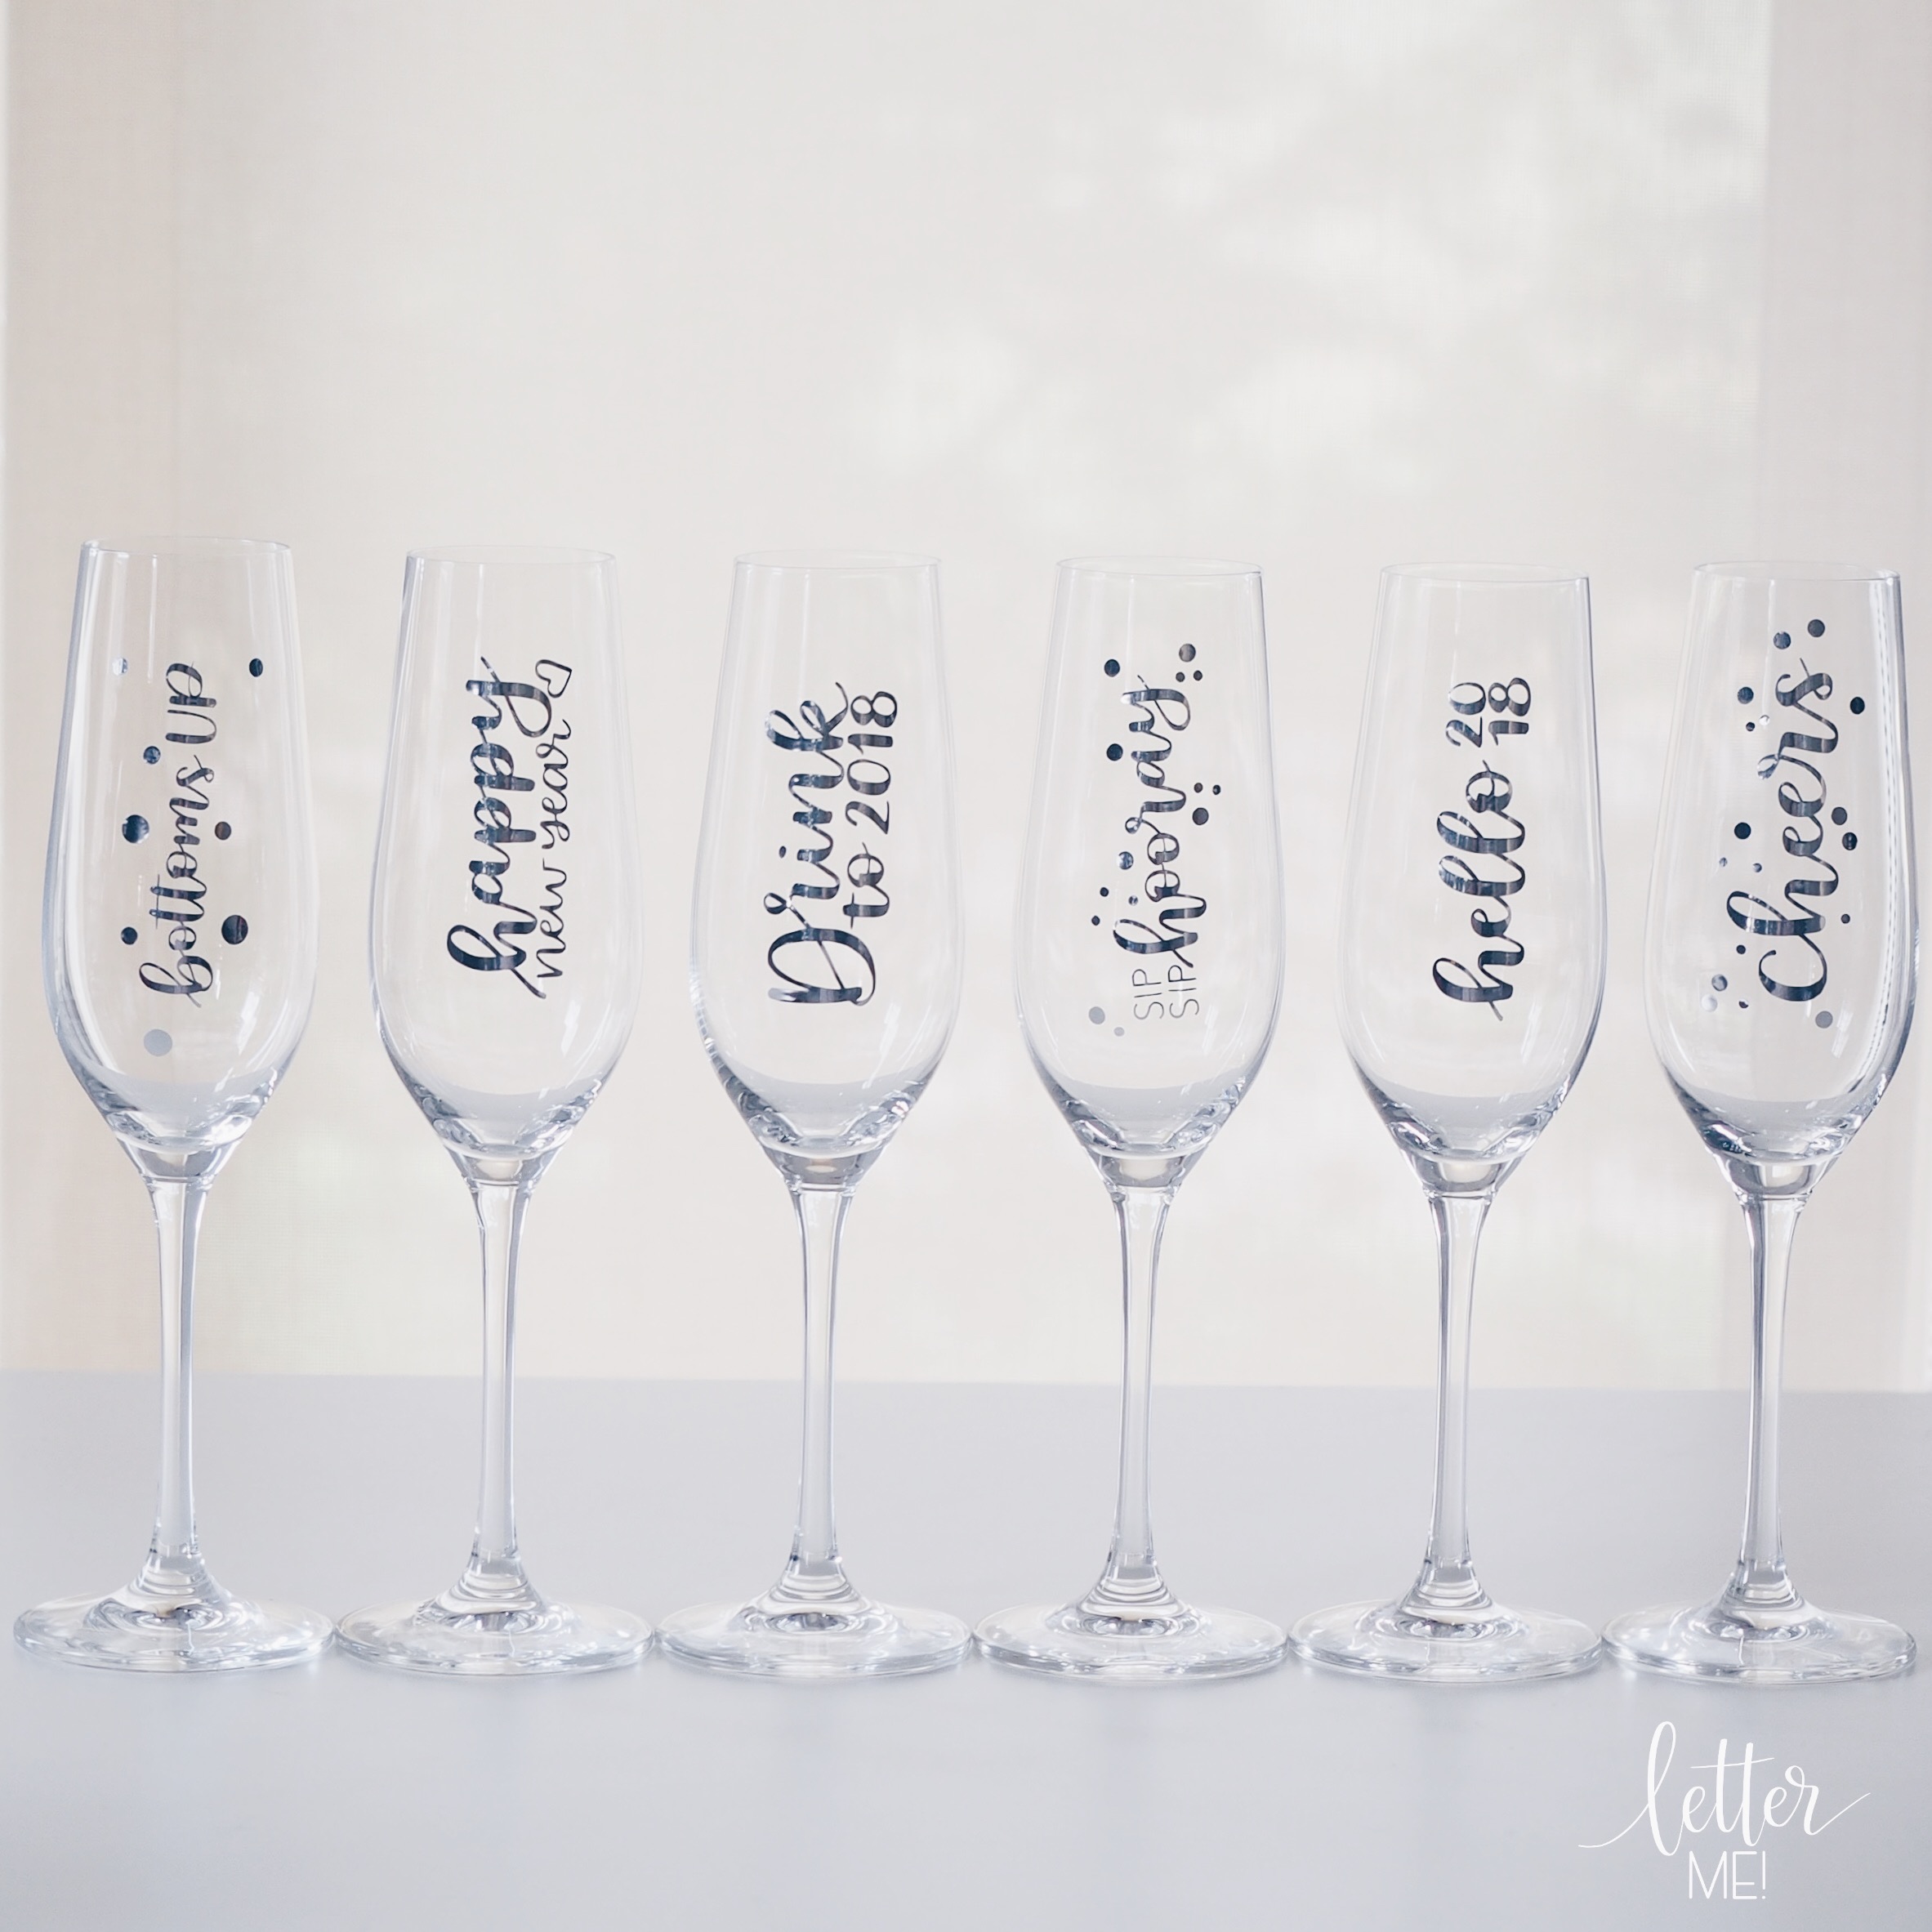
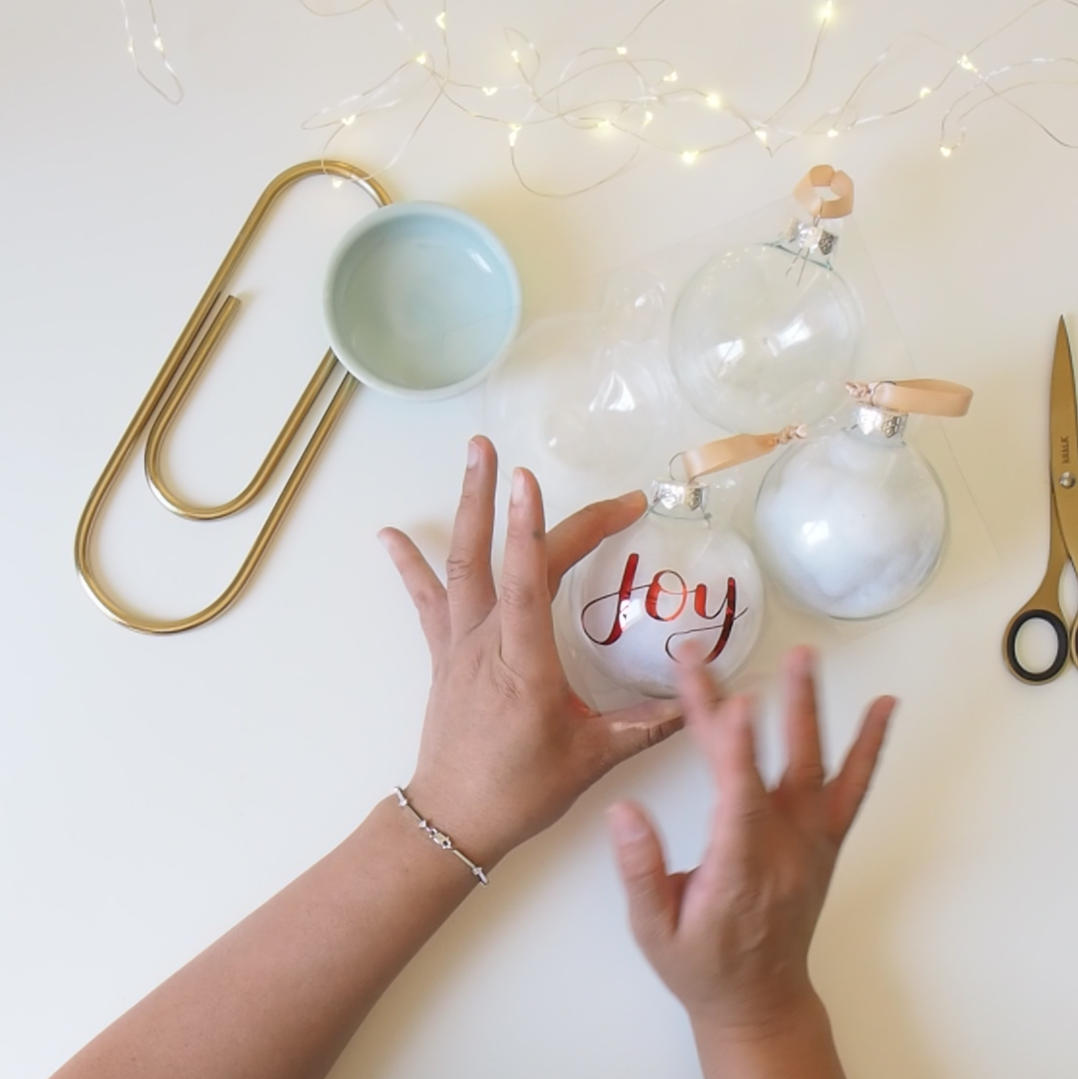
STEP 9: Voila, admire your amazing creation!


Now on to embossing!
STEP 1: Position your bauble in your holder so that it is easier to work with.
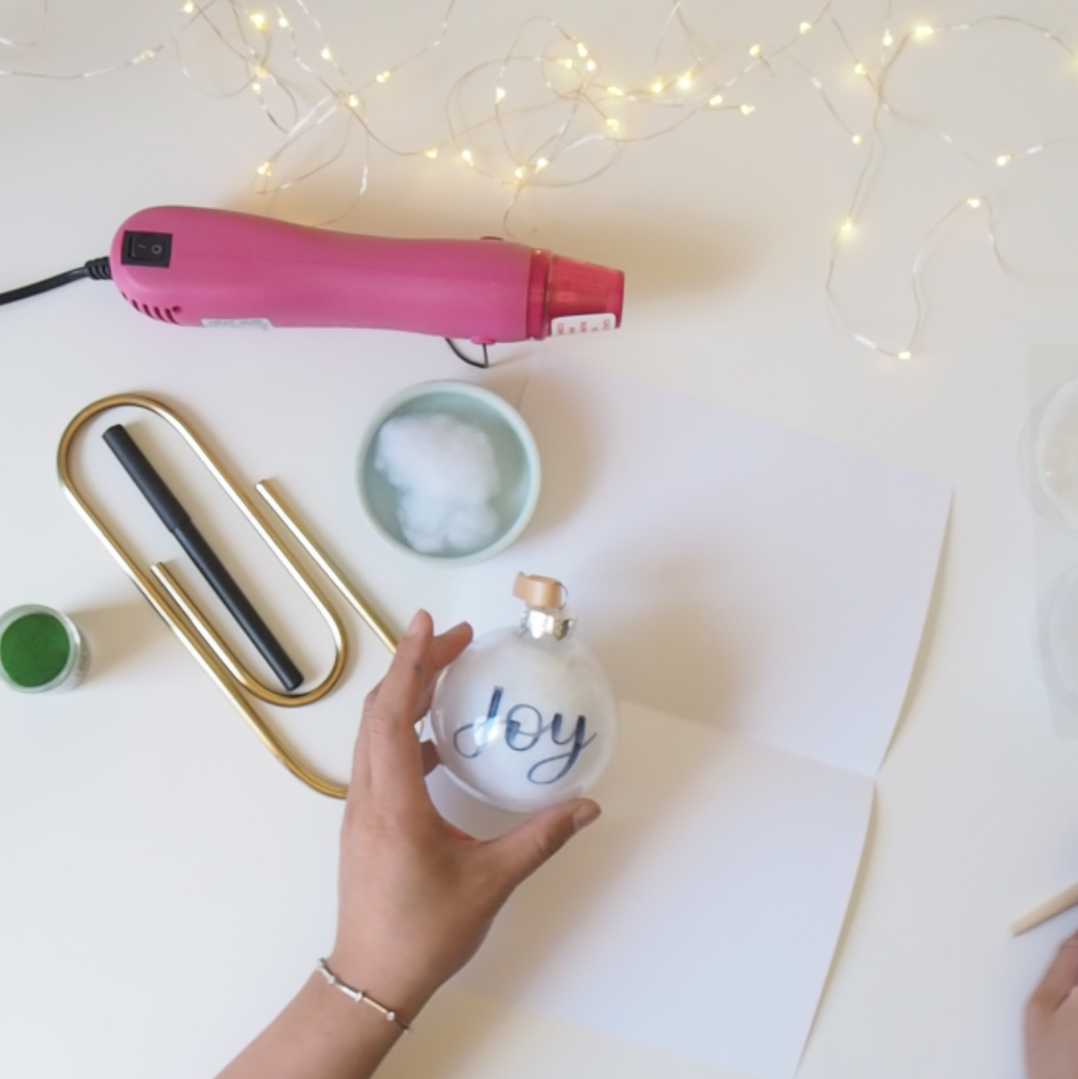
STEP 2: Using an embossing pen write your word on your bauble. You may wish to write in monoline (the lines in your letters are consistent in width), or you may wish to do faux calligraphy (your letters will look like you used a brush pen with thick downstrokes and thin upstrokes). If you are doing faux calligraphy, it is best to write one letter at a time (working from left to right), back-fill the thick strokes, before moving on to your next letter. This will reduce the chance of smudging.
STEP 3: Remove your bauble from you holder carefully, making sure that you don’t accidentally touch the glue/ink from the embossing pen.
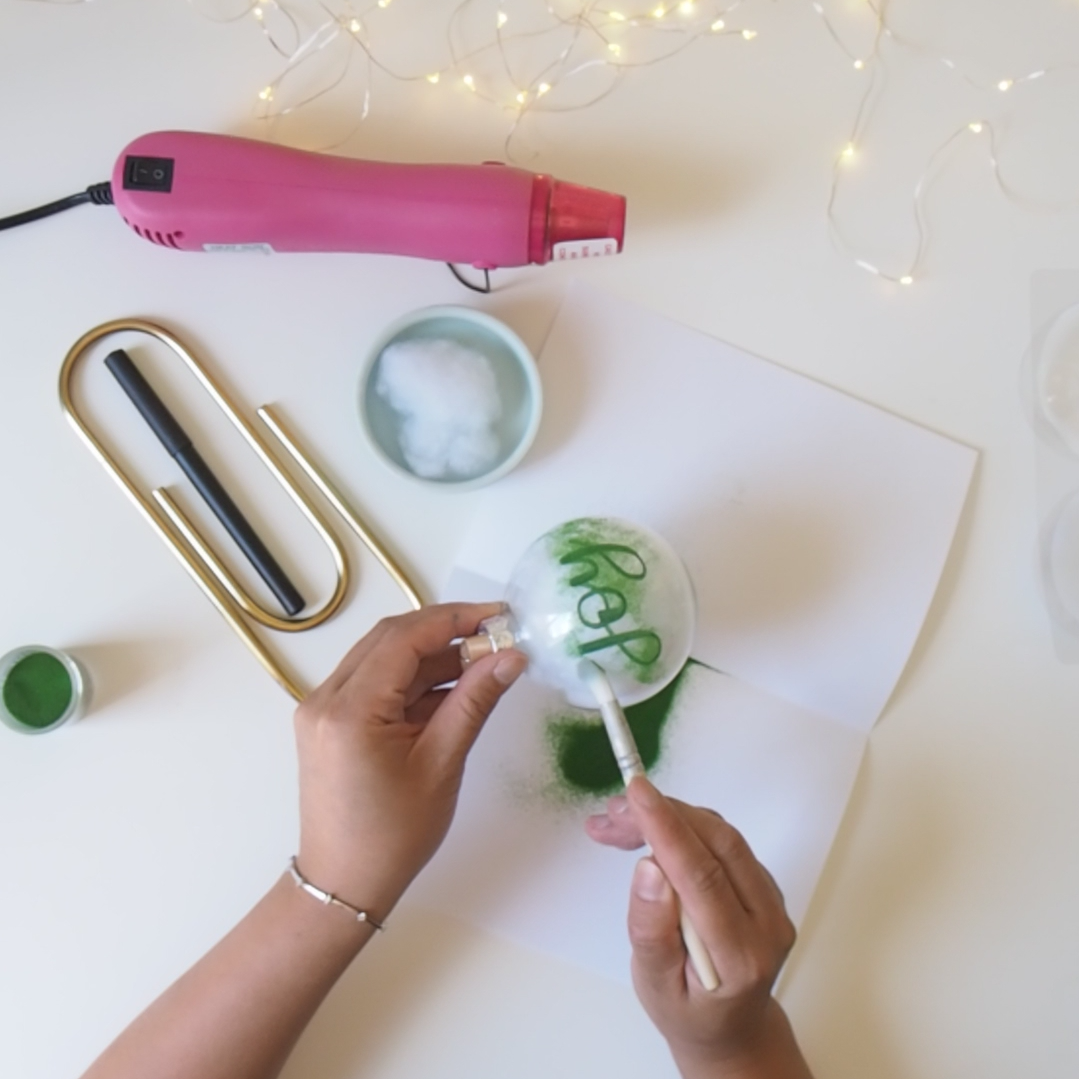
STEP 4: Fold a piece of paper in half and use it under your work as a “spill mat”.
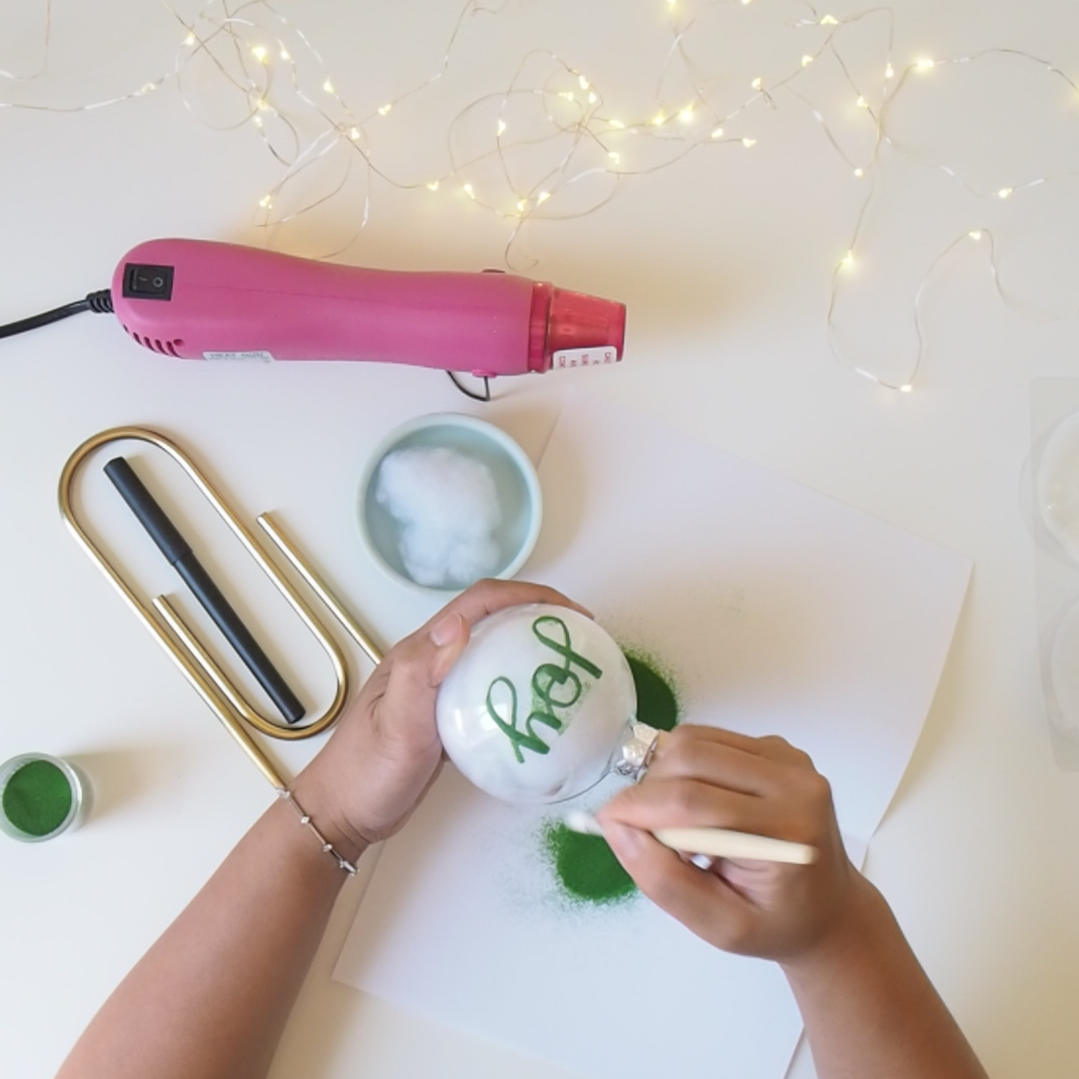
STEP 5: Generously pour the embossing powder over your lettered bauble, ensuring that the whole word is covered.
STEP 6: Dust off the excess powder, and using a dry synthetic brush, firmly remove the excess powder from the bauble on to the piece of paper. Remember a single speck of powder will melt into a blob, so be patient with this step and brush carefully. Siphon the clean, excess powder back into the jar of embossing powder.
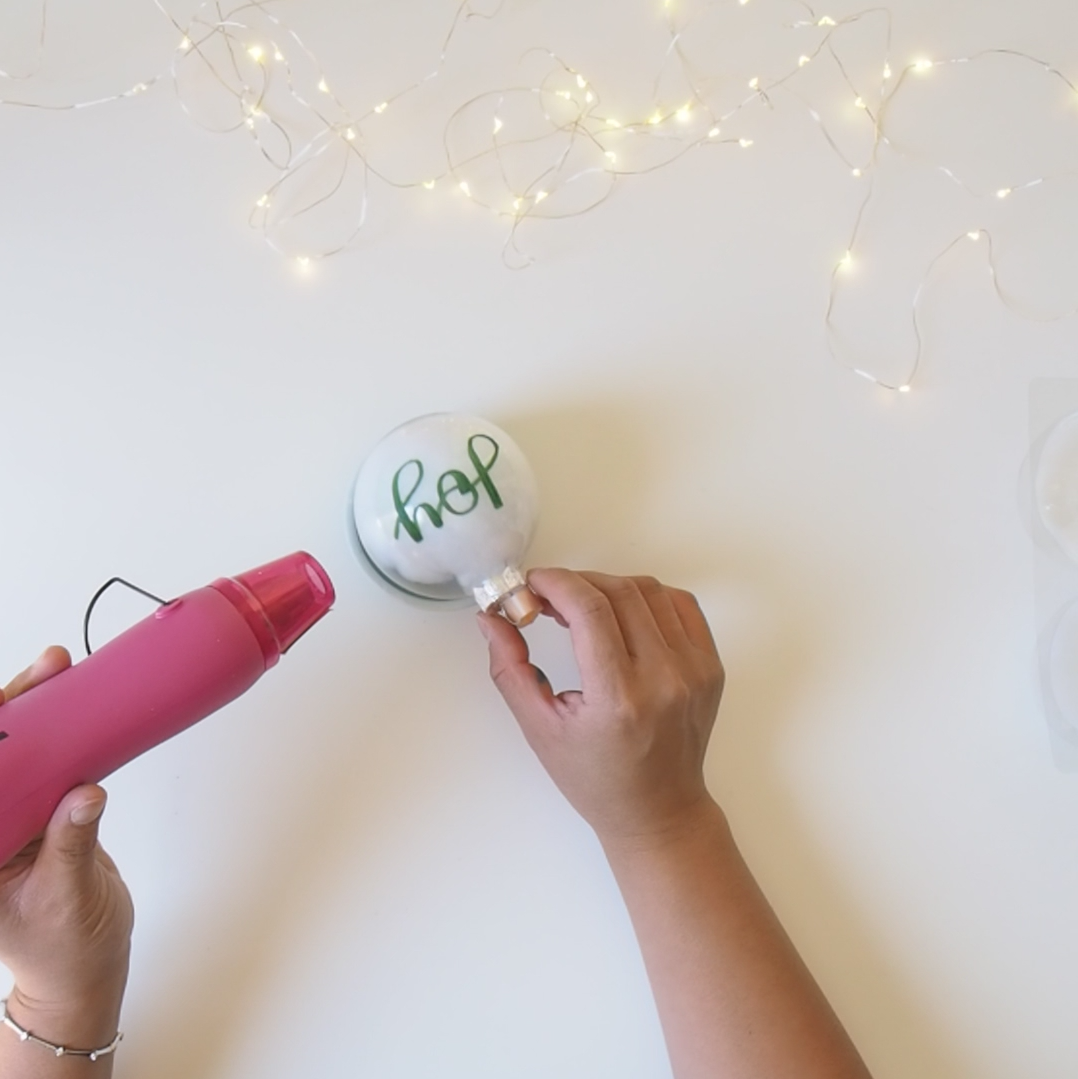
STEP 7: Turn on your embossing heat tool, hold your bauble by the cap, and gently melt the powder on the bauble. Be careful not to touch the tool to your bauble. I prefer to keep my heat gun approximately 2cm away from my object as to not overheat it.
STEP 8: Voila, admire the sparkle!


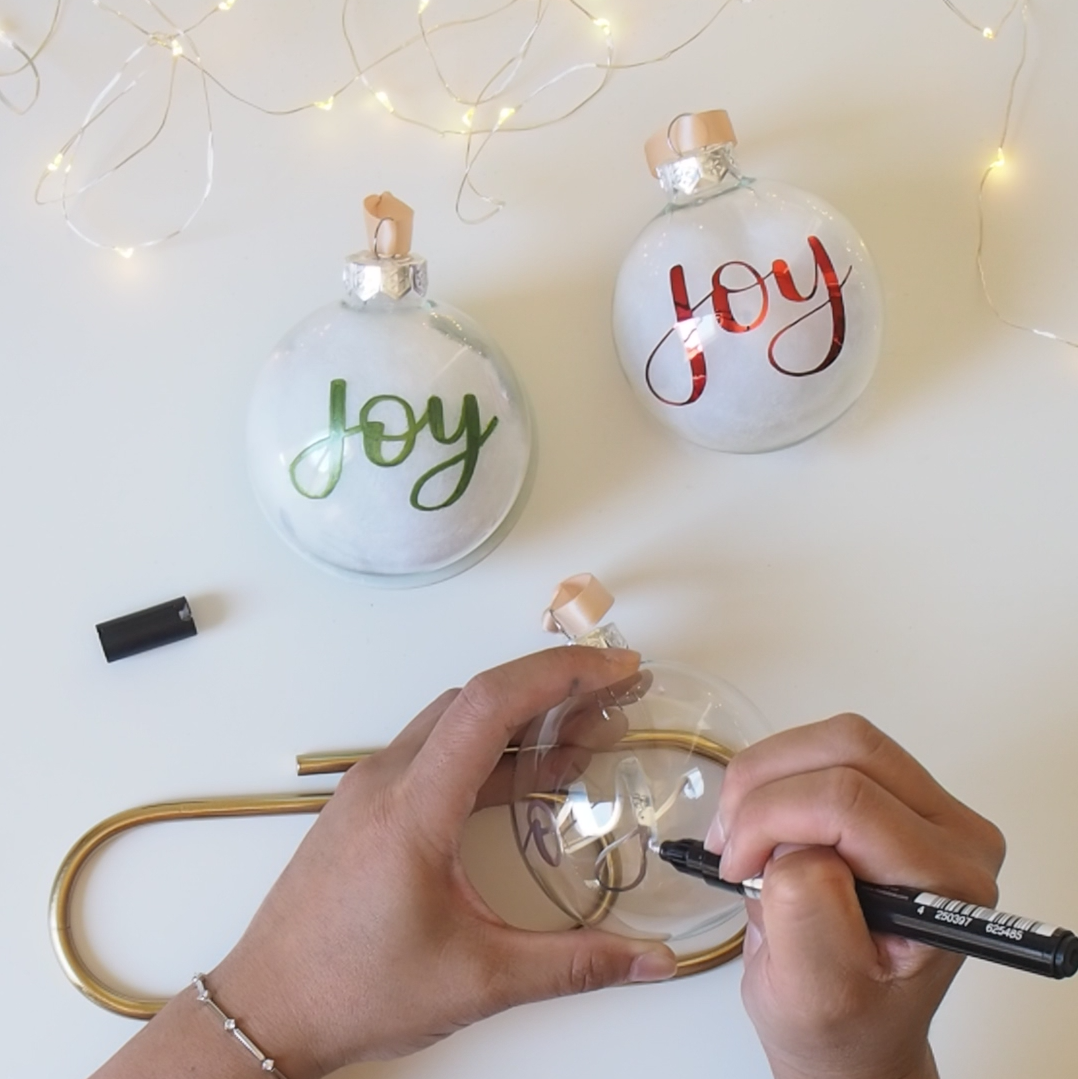
Final and simplest method; chrome!
STEP 1: Position your bauble in your holder so that it is easier to work with.
STEP 2: If it’s your first time using a chrome marker, make sure you take off the cap, holding the marker down on scrap paper, press down on the tip until the chrome travels to the tip. Once your marker is ready, you can start!
STEP 3: This step is similar to using an embossing pen, but with a chrome marker. You may wish to write in monoline (your letters are a consistent width), or you may wish to do faux calligraphy (your letters will look like you used a brush pen with thick downstrokes and thin upstrokes). If you are doing faux calligraphy, it is best to write one letter at a time (working from left to right), back-fill the thick strokes, before moving on to your next letter. This will reduce the chance of smudging.
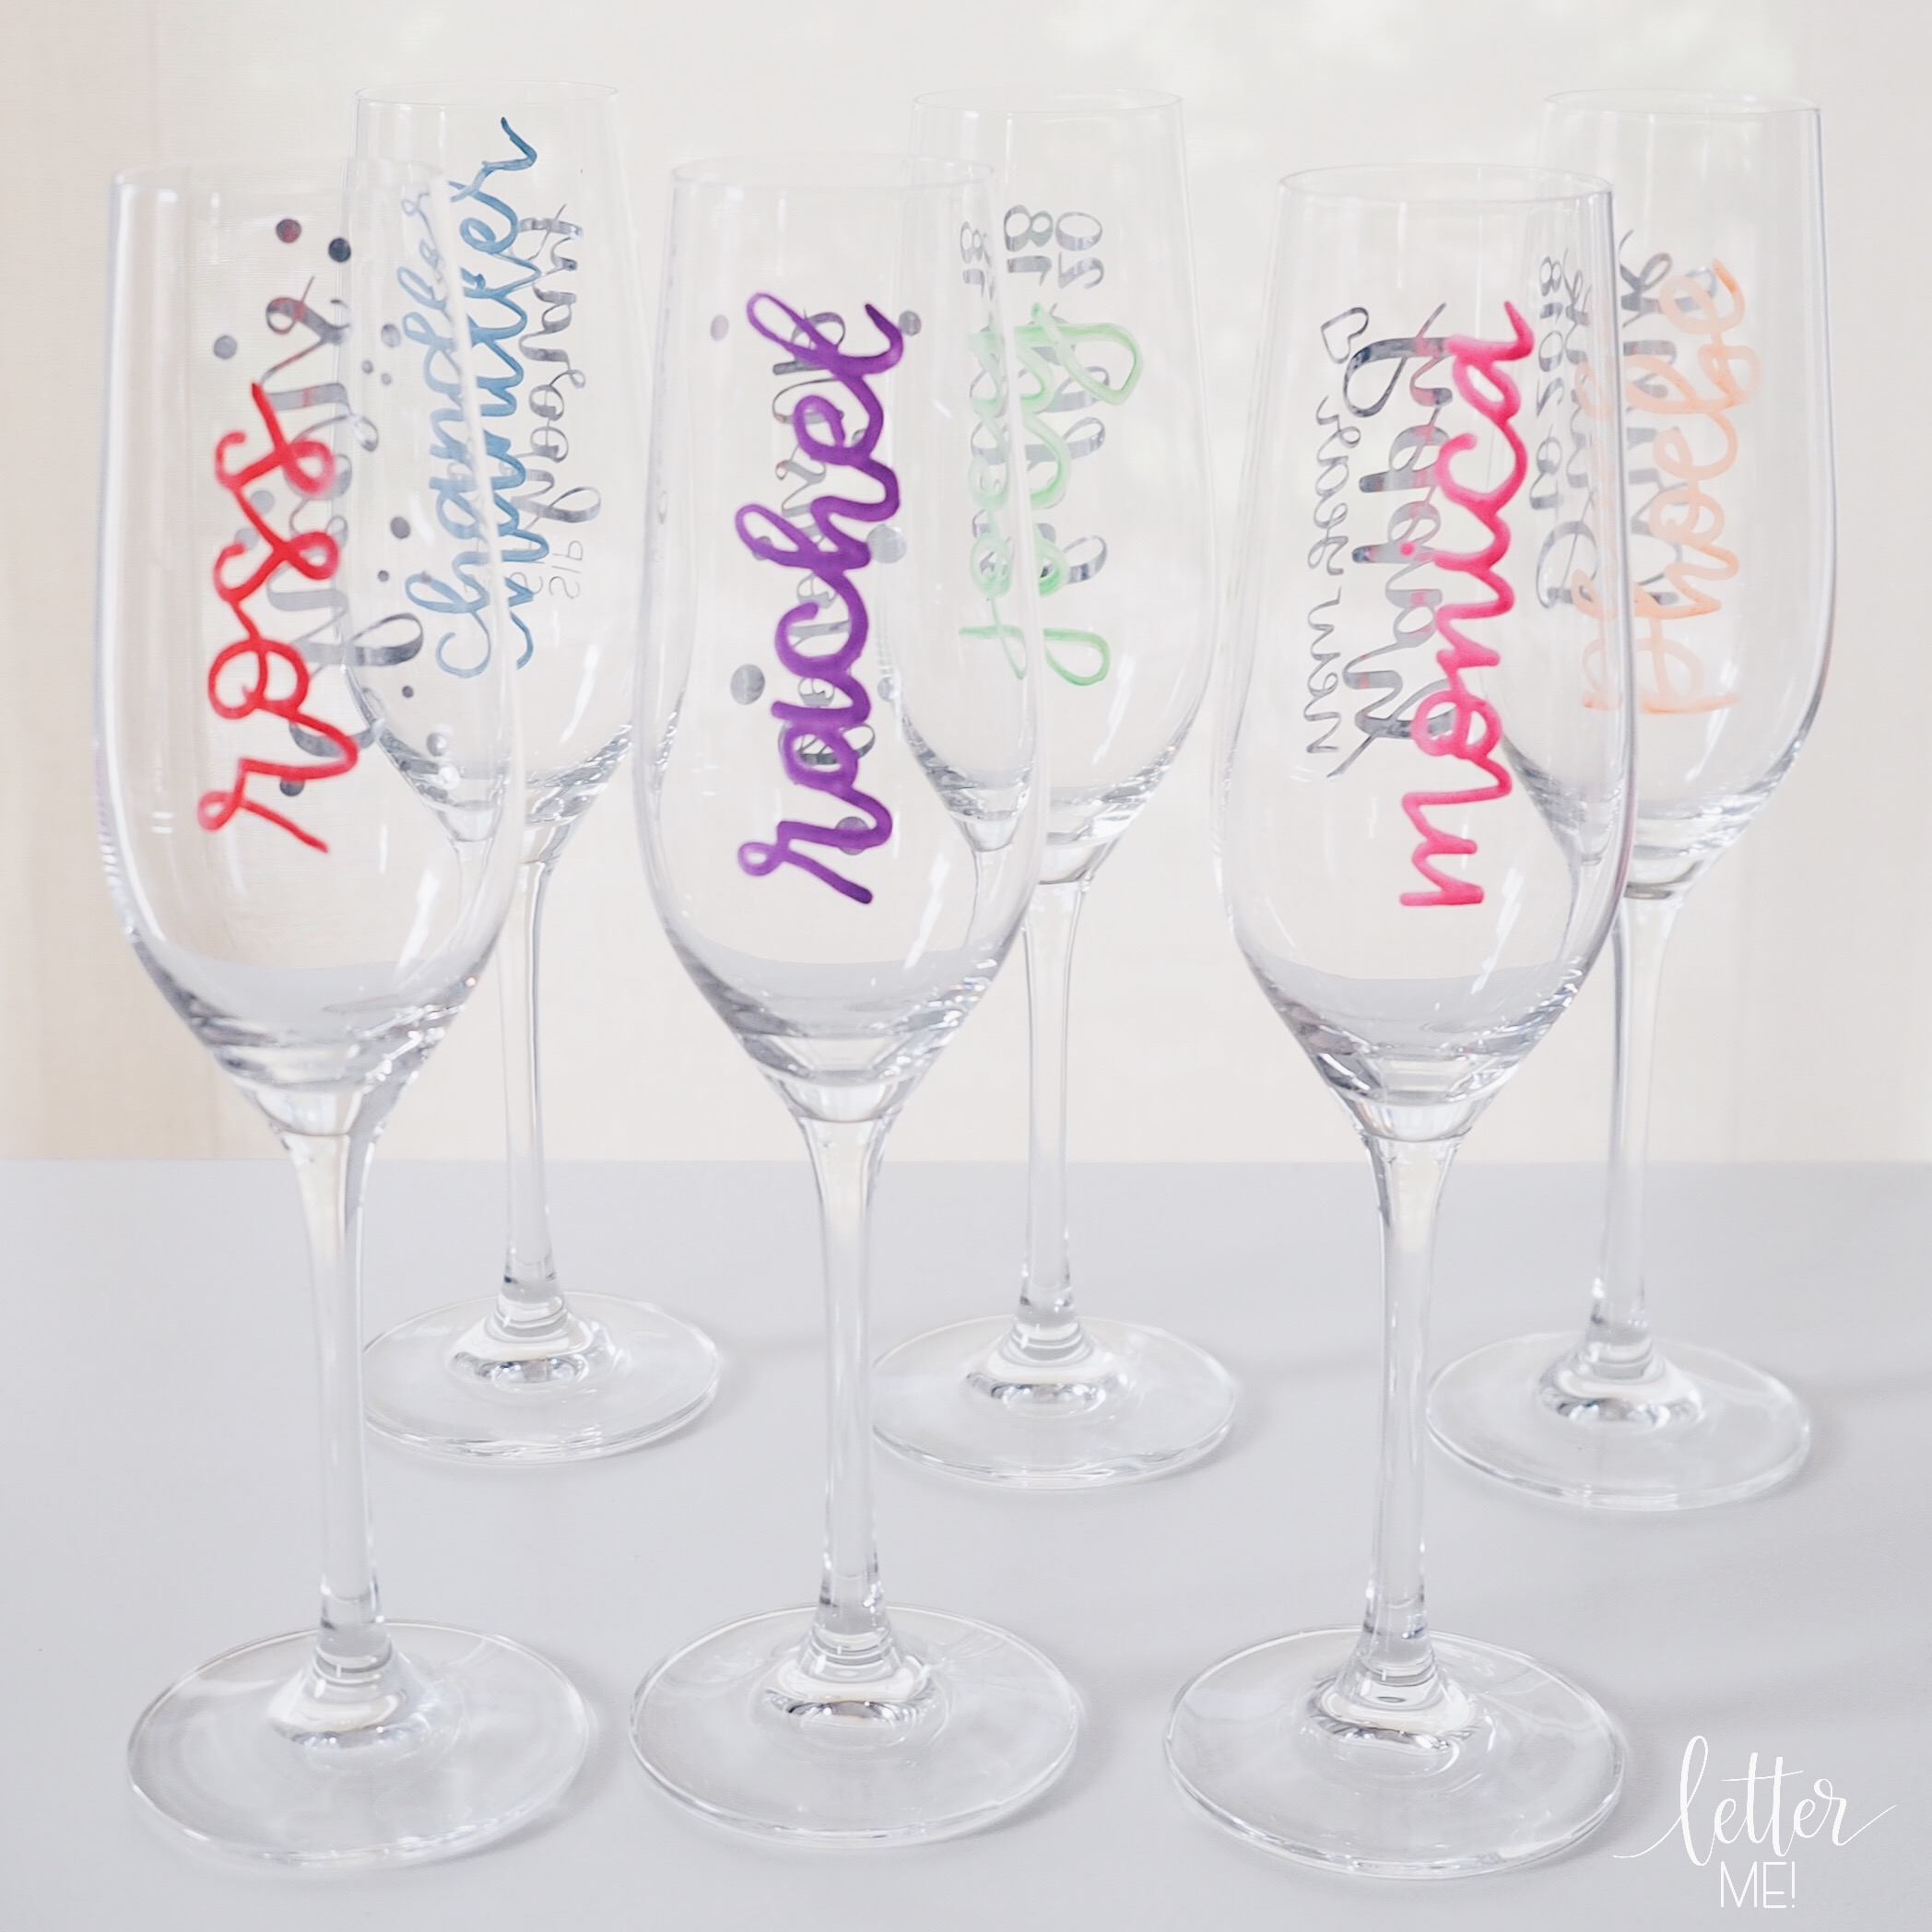
STEP 4: And… Voila, you are done! Admire the shine!

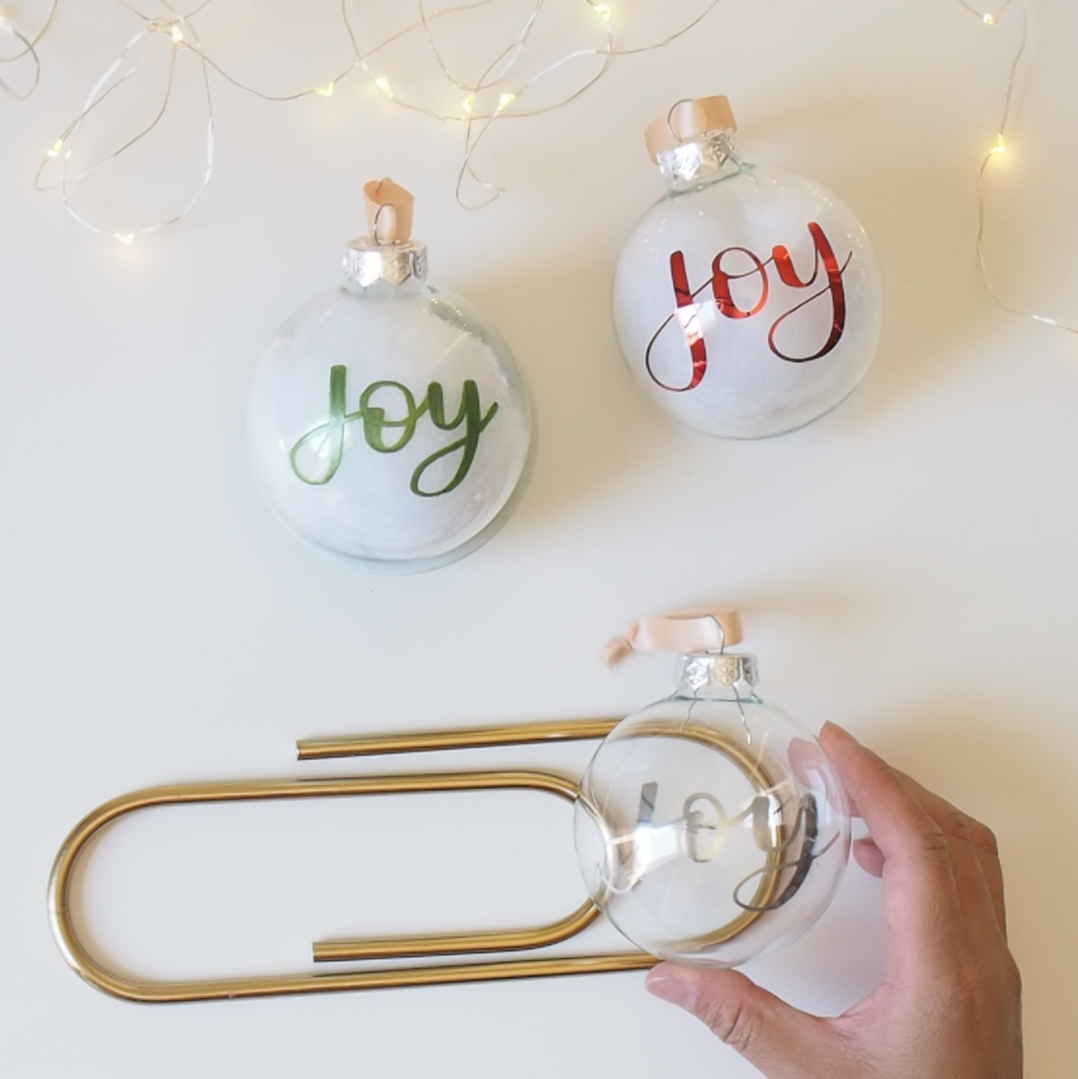
I appreciate the merits of all three techniques. The vinyl is shiny, refined and perfect. The embossed bauble gives a homemade, rustic feel, if you use a metallic powder, it will sparkle. The chrome technique would be the most simple by far and the results are stunning and shiny, maybe less refined than the vinyl, but something I would be happy to compromise.
Now it’s your turn. Turn up your Christmas Songs, and let the likes of Christina Aguilera, Mariah Carey, Wham! and Bruce Springsteen get you in the mood. Which Christmas bauble method will you try first?

xx Liz