Disclaimer: The content, thoughts and opinions in this blog are purely my own. I was not paid by Cricut however I was provided with a Cricut Maker, EasyPress2 and other accessories. This post contains affiliate links and I may be compensated if you make a purchase after clicking on my links at NO additional cost to you. I have provided links to the official Cricut store, International and Australian resellers.
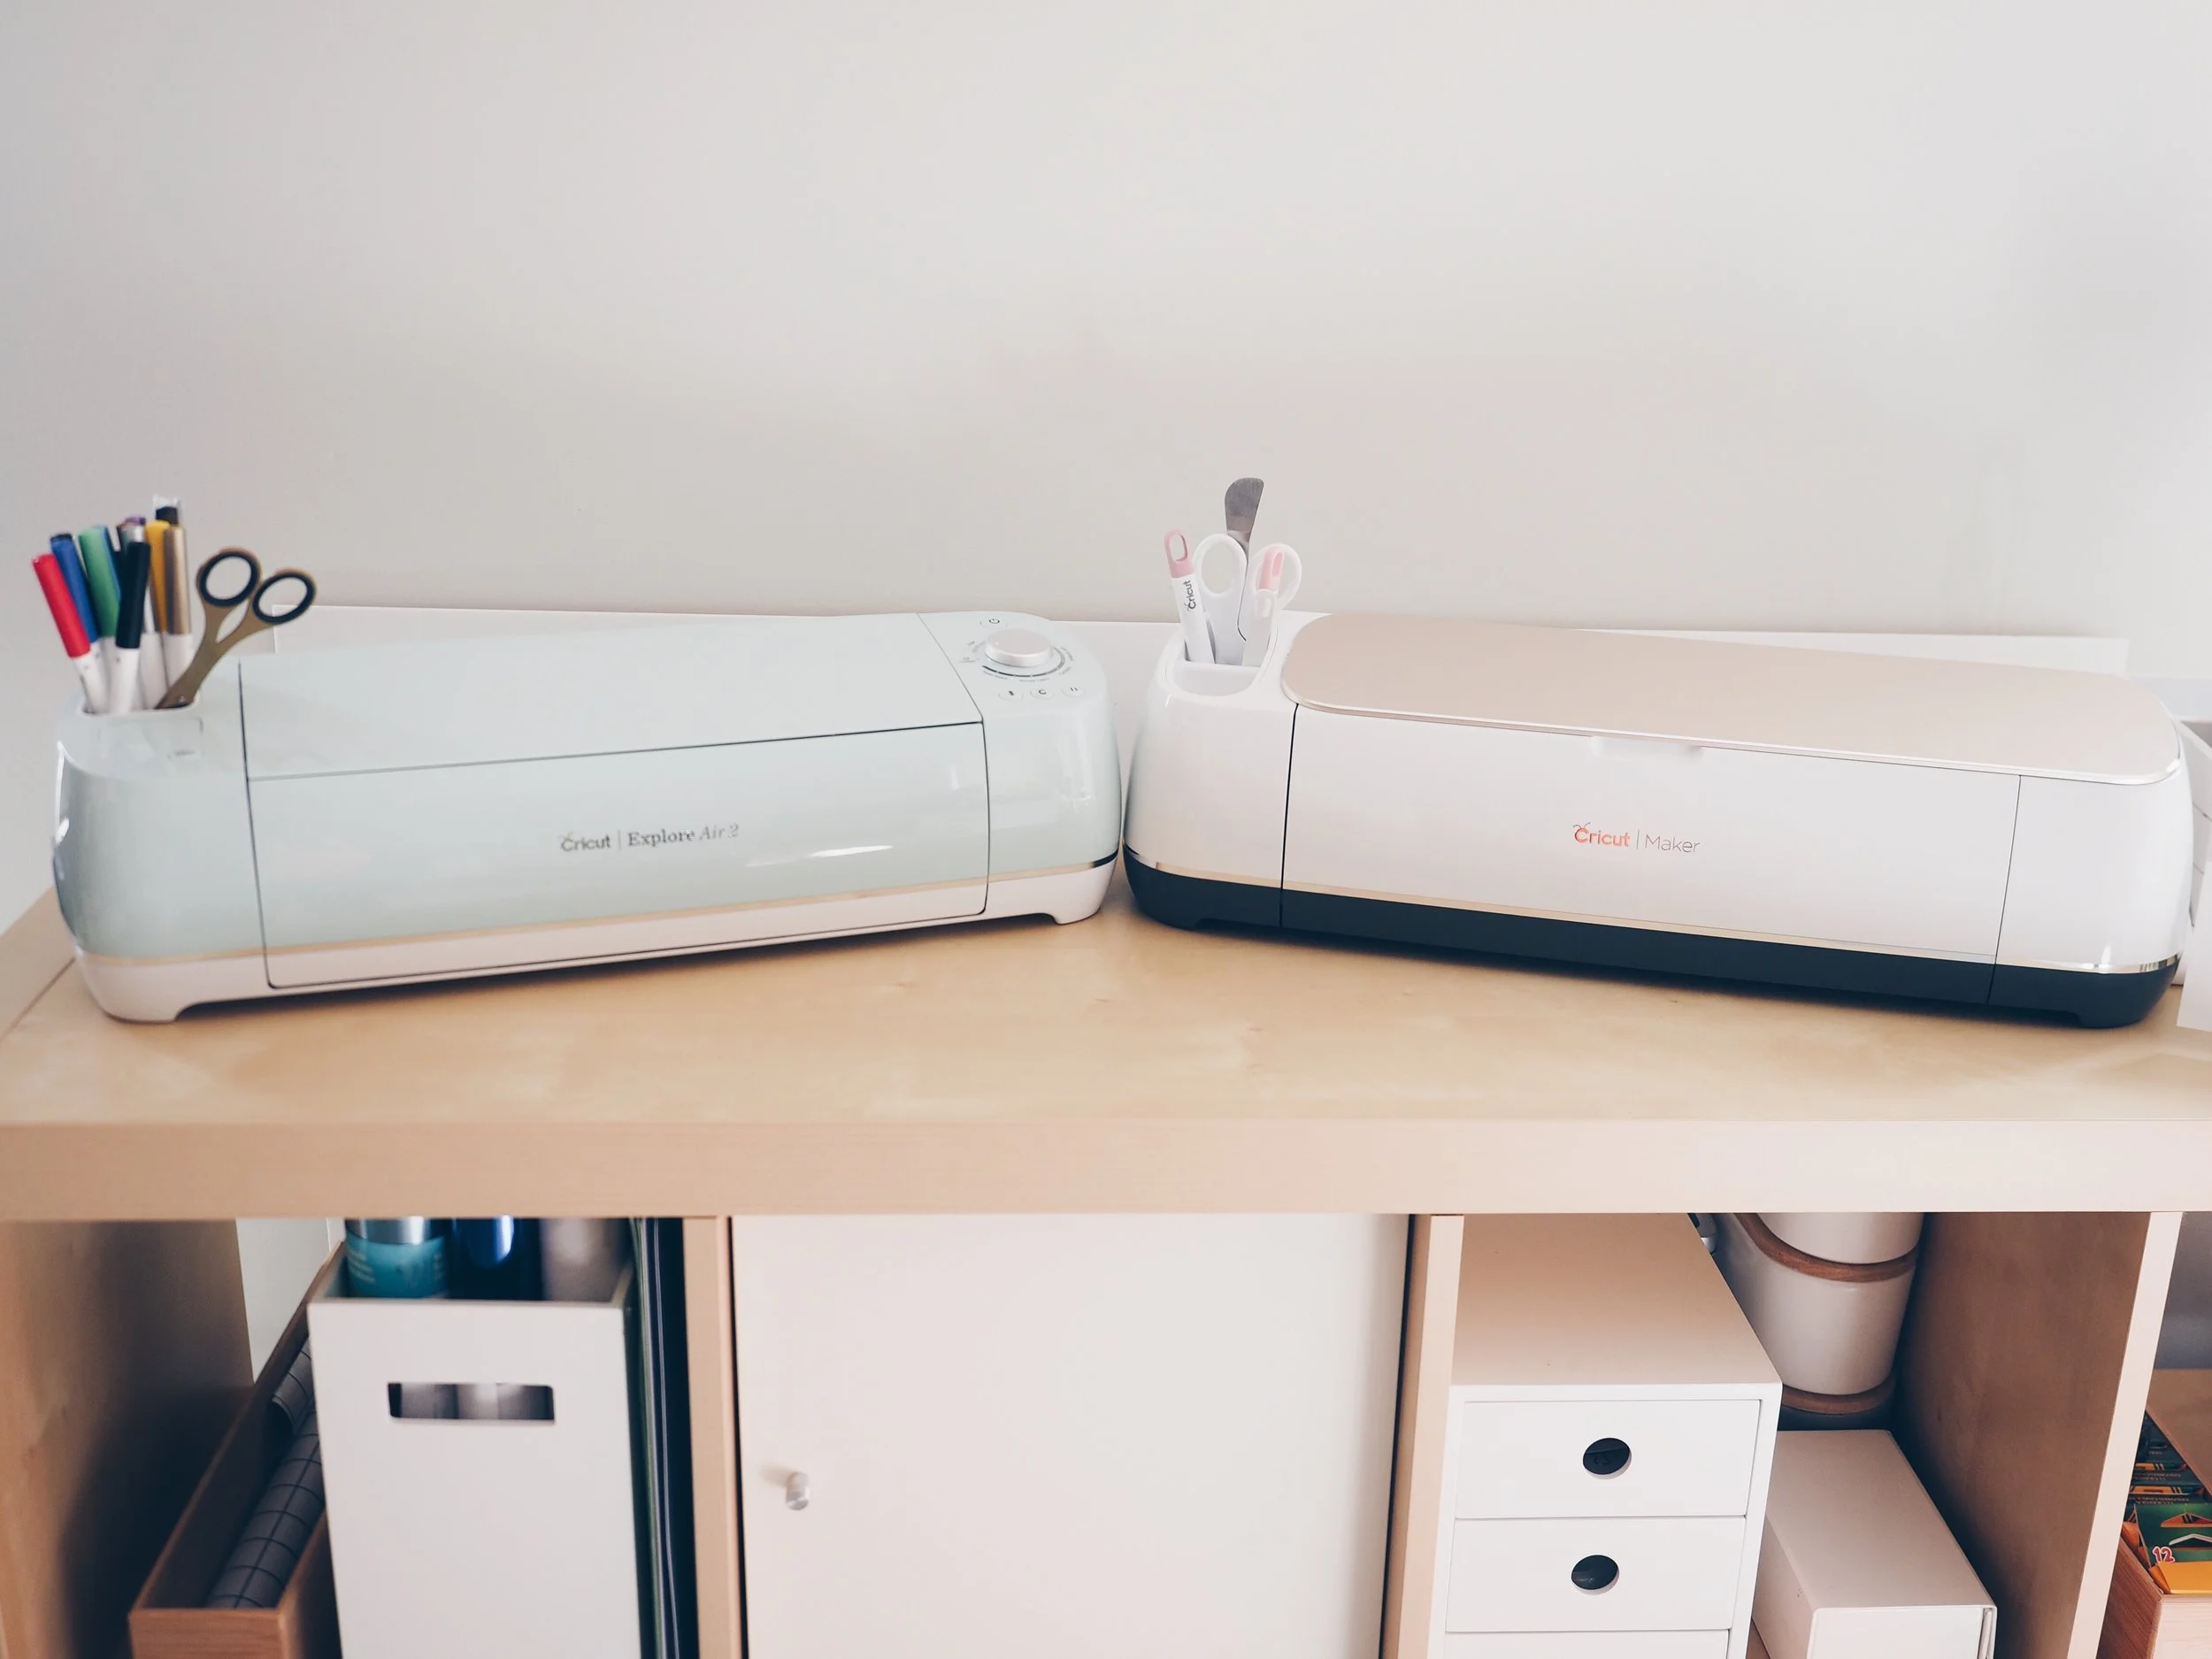
Cricut Explore Air 2 (left) and Cricut Maker (right)
Choosing Cricut
Although I was a late adopter, I’ve now been a part of the Cricut family for a few years, and my Introduction to Cricut blog has been read by tens of thousands of people. Believe me when I say that I am one to do thorough research before committing to a system. As I know that I will be investing in accessories and products for many years to come, I didn’t want to purchase a system and then realise that it doesn’t suit my needs. As I am primarily a Calligrapher, I needed to be sure that the system I chose ticks all the boxes:
Accepts artwork from design softwares (like Procreate) I already use.
There were no additional costs involved with uplaoding my own artwork and projects.
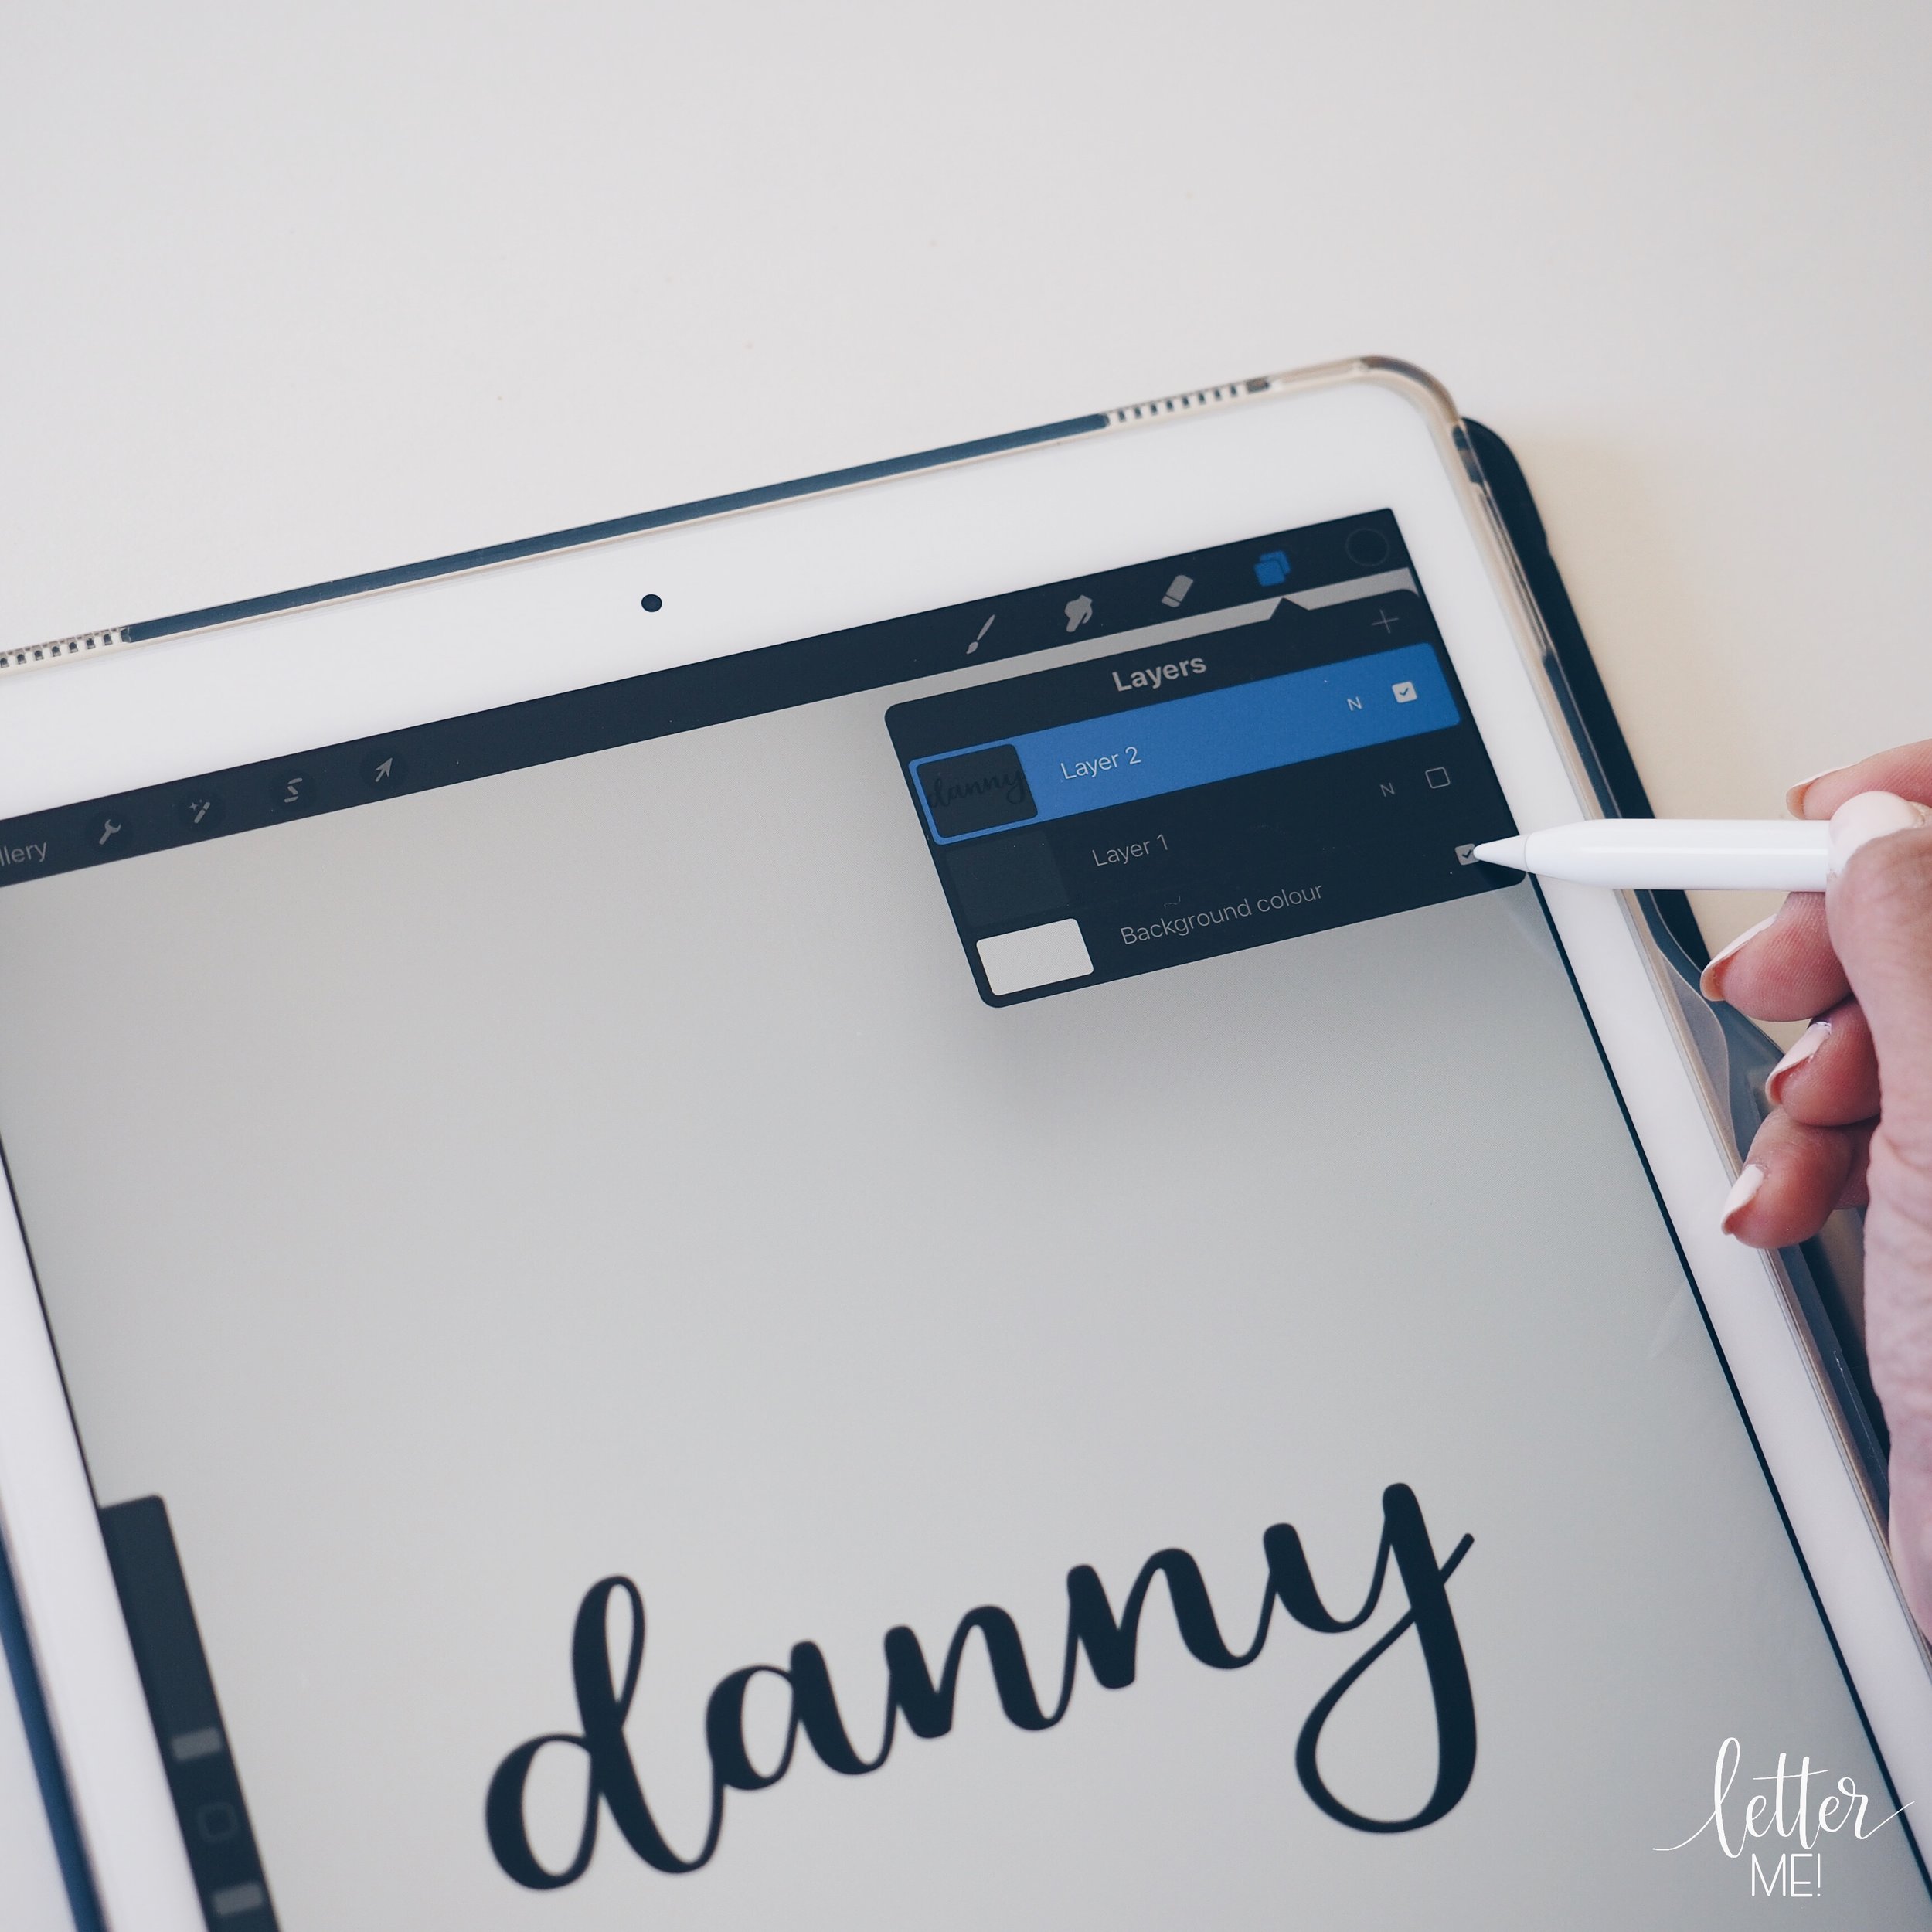
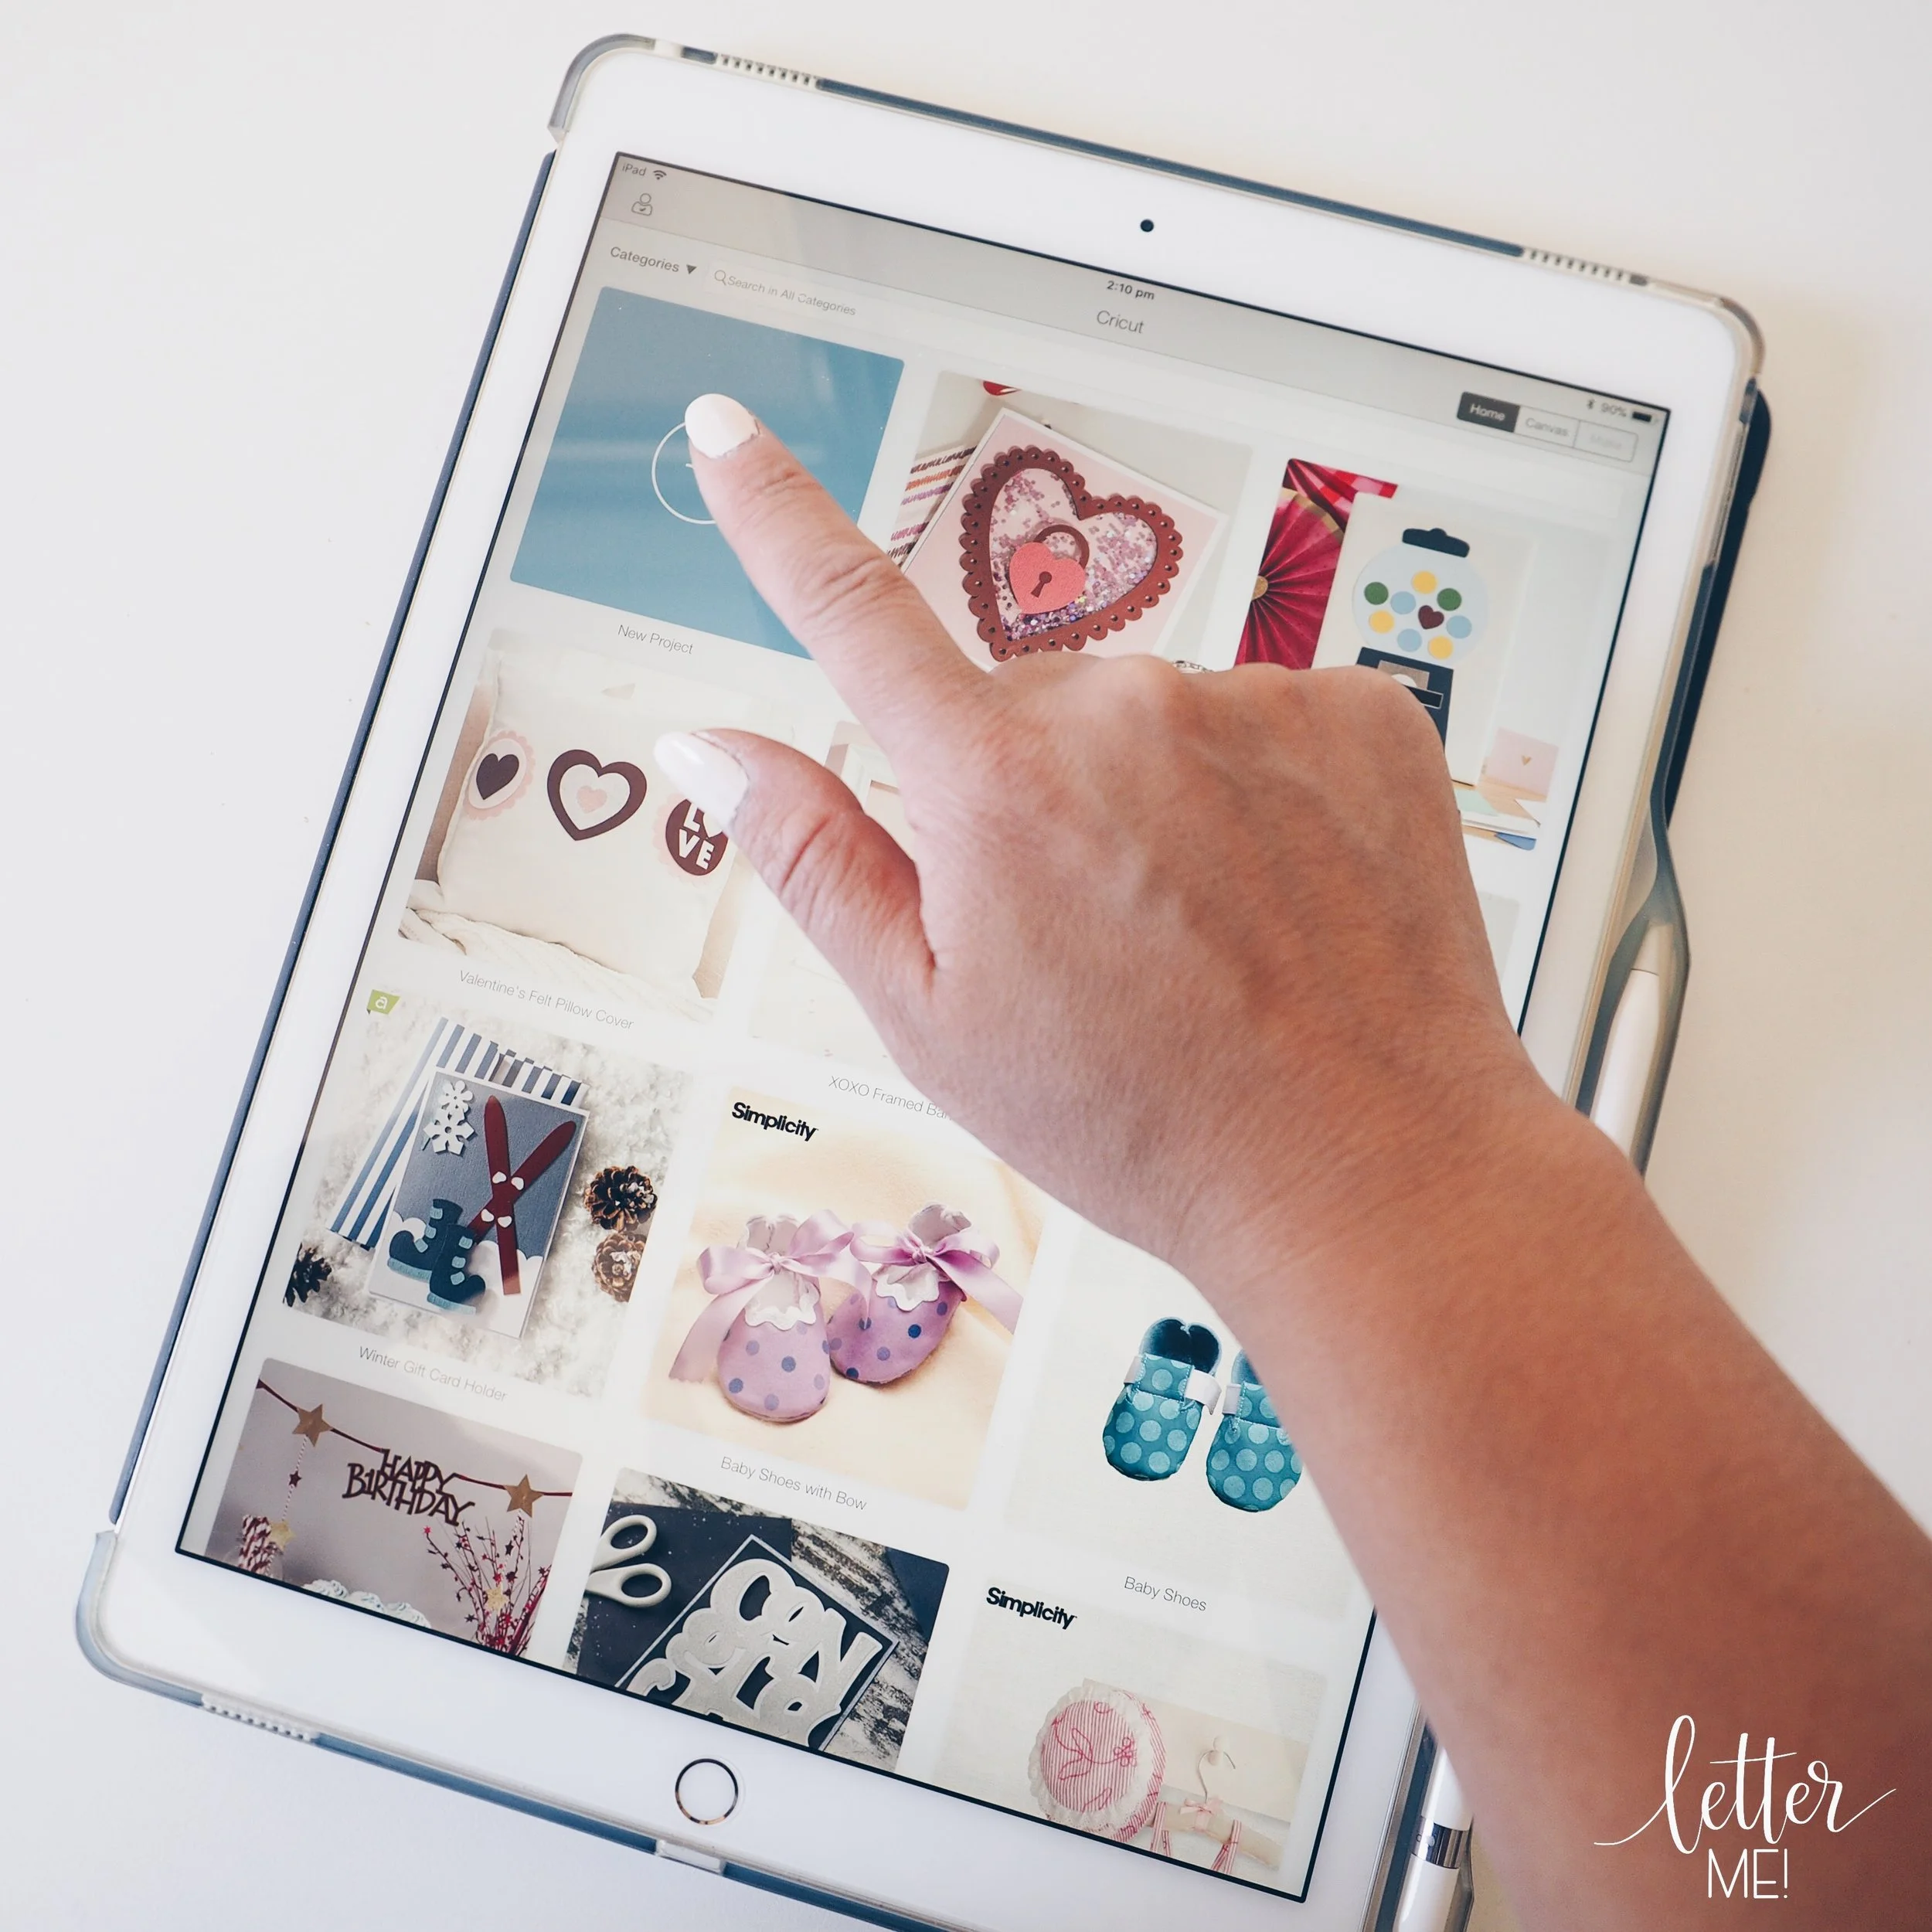
Software (Cricut Design Space) to be able to vectorise my work as accurately as possible.
As most of my work is intricate, machine needs to be able to cut the finest of details (and hairline strokes!).
Accessories and products to be easily accessible and readily available to me (products are available at Spotlight, CraftOnline and Amazon, Amazon Australia, Cricut.com, etc.).
I was able to use my laptop and iPad with the machine wirelessly (via bluetooth) so I didn’t physically need to be next to the machine.
Although not mandatory (but definitely a bonus selling point for me), I wanted the machine to be attractive as it would be sitting in prime position in my studio. Cricut ticked all those boxes, including the aesthetically pleasing part, so I went ahead and purchased an Explore Air 2 with zero hesitation.


Cricut Explore Air 2 VS Cricut Maker - First Impressions
Even though I was 100% content with my Explore Air 2, when Cricut Australia approached me and asked if I would like to try the Cricut Maker, I thought, why not? It could only get better. And it most definitely is. Before now, I’ve mostly only cut vinyl and paper, I hadn’t had the urge to cut fabric or anything thicker than cardstock, but now that I can cut hundreds of different materials, maybe I will! Watch this space!!
From the get go, the build quality of the Maker looks even more robust. The champagne finish on the lid is gorgeous and the storage compartments are very well thought out. When I first inserted the cutting mat, I could already feel the difference in power of the wheels, stronger pull, greater control and precision than that of the Explore Air 2.
One noticeable physical difference between the Explore Air 2 and the Maker is that the Maker does not come with a dial with different settings. All the settings are controlled online, allowing you to select from over a hundred different materials and thicknesses to cut from. The Maker came with two blades; the premium fine point blade, and the rotary blade. I’ve since ordered the engraving tip (it has yet to arrive) and I’m sooooo excited to start engraving on materials like acrylic.
The rotary blade allows the machine to turn the blade rather than “drag” the blade, so cuts are more precise and intricate. Having up to ten times more cutting force means that I’ll be able to cut things like bass wood and balsa wood without cracking or tearing up the surface.
I’ll keep posting more about the Maker as I get more hands on with my new Cricut. Looking forward to sharing so much more with you here.
Shop
Cricut Explore Air 2 : Cricut.com, Spotlight eBay, Amazon Australia, Amazon
Cricut Maker : Cricut.com, Spotlight eBay, Amazon Australia, Amazon


All stocked up and ready to go!