• Letter Me!
  • Brushes
  • Engraving
  • Activations
  • Workshops
  • Calligraphy Workshops
  • Cricut Workshops
  • Blog
  • Instagram
  • Shop
  • About
  • Contact Us
Letter Me!

Hand lettered with love

  • Letter Me!
  • Brushes
  • Engraving
  • Activations
  • Workshops
  • Calligraphy Workshops
  • Cricut Workshops
  • Blog
  • Instagram
  • Shop
  • About
  • Contact Us

Do-It-Yourself Doormats

My niece Sienna has a brand new cubby house, so of course, aunty Liz had to personalise a doormat to make her cubby house a home.

Please note that this post contains affiliate links and I may be compensated by the vendor (at NO ADDITIONAL COST to you) if you make a purchase after clicking on my links. I have provided you with links to Amazon, Amazon Australia, eBay and Cricut.com.

To match the doormat to her cubby house, I used the left over weatherproof paint that her dad used to paint the cubby. Here’s how I created a stencil and personalised a doormat for my niece.

View this post on Instagram

A post shared by Liz Tu | Letter Me! (@letterme_au)

What I used:

  • Apple iPad Pro and Apple Pencil (Amazon, Amazon Australia, eBay)

  • Procreate App

  • Custom Letter Me Brushes!

  • Cricut Maker cutting machine (Cricut.com, Amazon, Amazon Australia, Spotlight eBay)

  • Cricut Design Space software (https://design.cricut.com)

  • 24” Standard Grip cutting mat (Cricut.com, Amazon, Amazon Australia, Spotlight eBay)

  • A4 Laminate pouch (Amazon, Amazon Australia)

  • Heat proof tape (Amazon, Amazon Australia)

  • Scissors (Cricut.com, Amazon, Amazon Australia, Spotlight eBay)

  • Door Mat (Amazon, Amazon Australia)

  • Cricut EasyPress 2 (Cricut.com, Amazon, Amazon Australia, Spotlight eBay)

  • EasyPress Mini (Amazon, Amazon Australia)

  • Paint Brush (Amazon, Amazon Australia)

  • Paint (Amazon, Amazon Australia)

  • Ruler (Amazon, Amazon Australia, eBay)

  • Weeding tool/Tweezers (Cricut.com, Amazon, Amazon Australia, Spotlight eBay)

Step One: DESIGN

Screenshot 2020-11-06 20.29.49.png

As a calligrapher, I love to design everything from scratch. I used the custom Letter Me! Brush with the Procreate App on my Apple iPad Pro and an Apple Pencil. After I have finished my design, I exported it to Cricut Design Space. For more information on how to do this, check out my earlier blog by clicking here.

If you are more comfortable using fonts, you can create a design directly from Cricut Design Space using fonts available, or download a font of your choice.

Step Two: PREPARING A STENCIL

The doormat that I used is roughly larger than two sheets of A4 paper (A5 size). As A5 laminate pouches are harder to come by and I do not have A5 sized laminate pouches, I created a stencil based on two A4 pouches. With an A4 laminate pouch, I used a guilotine (scissors will also work) to cut off the sealed edge so I am left with two single sheets of laminate. I faced the inside (sticky) side of the now-separated laminate pouch down on the table, lined them up side by side and used heat-proof tape to stick them together.

Step Three: CREATING THE STENCIL

Screenshot 2020-11-06 20.39.55.png

I placed the sticky side (what used to be the inside of the pouch) facing upwards (shiny side down) on to a 24” Standard Grip Cutting Mat. In Cricut Design Space, I mirrored the image, set the cut to Vinyl and cut my stencil using Cricut Design Space.

Step Four: PREPARING THE STENCIL

Screenshot 2020-11-06 23.15.04.png

As the stencil is made of laminate, it will be quite flimsy and fragile. To remove the stencil from the cutting mat carefully, I turn the mat over (sticky side down) and peel the mat off the stencil, keeping the stencil as flat as possible. I removed the words carefully, keeping the negative spaces but discarding the actual letters as we only need the outside and centre of the letters.

Step Five: STENCIL PLACEMENT

Screenshot 2020-11-06 20.40.57.png

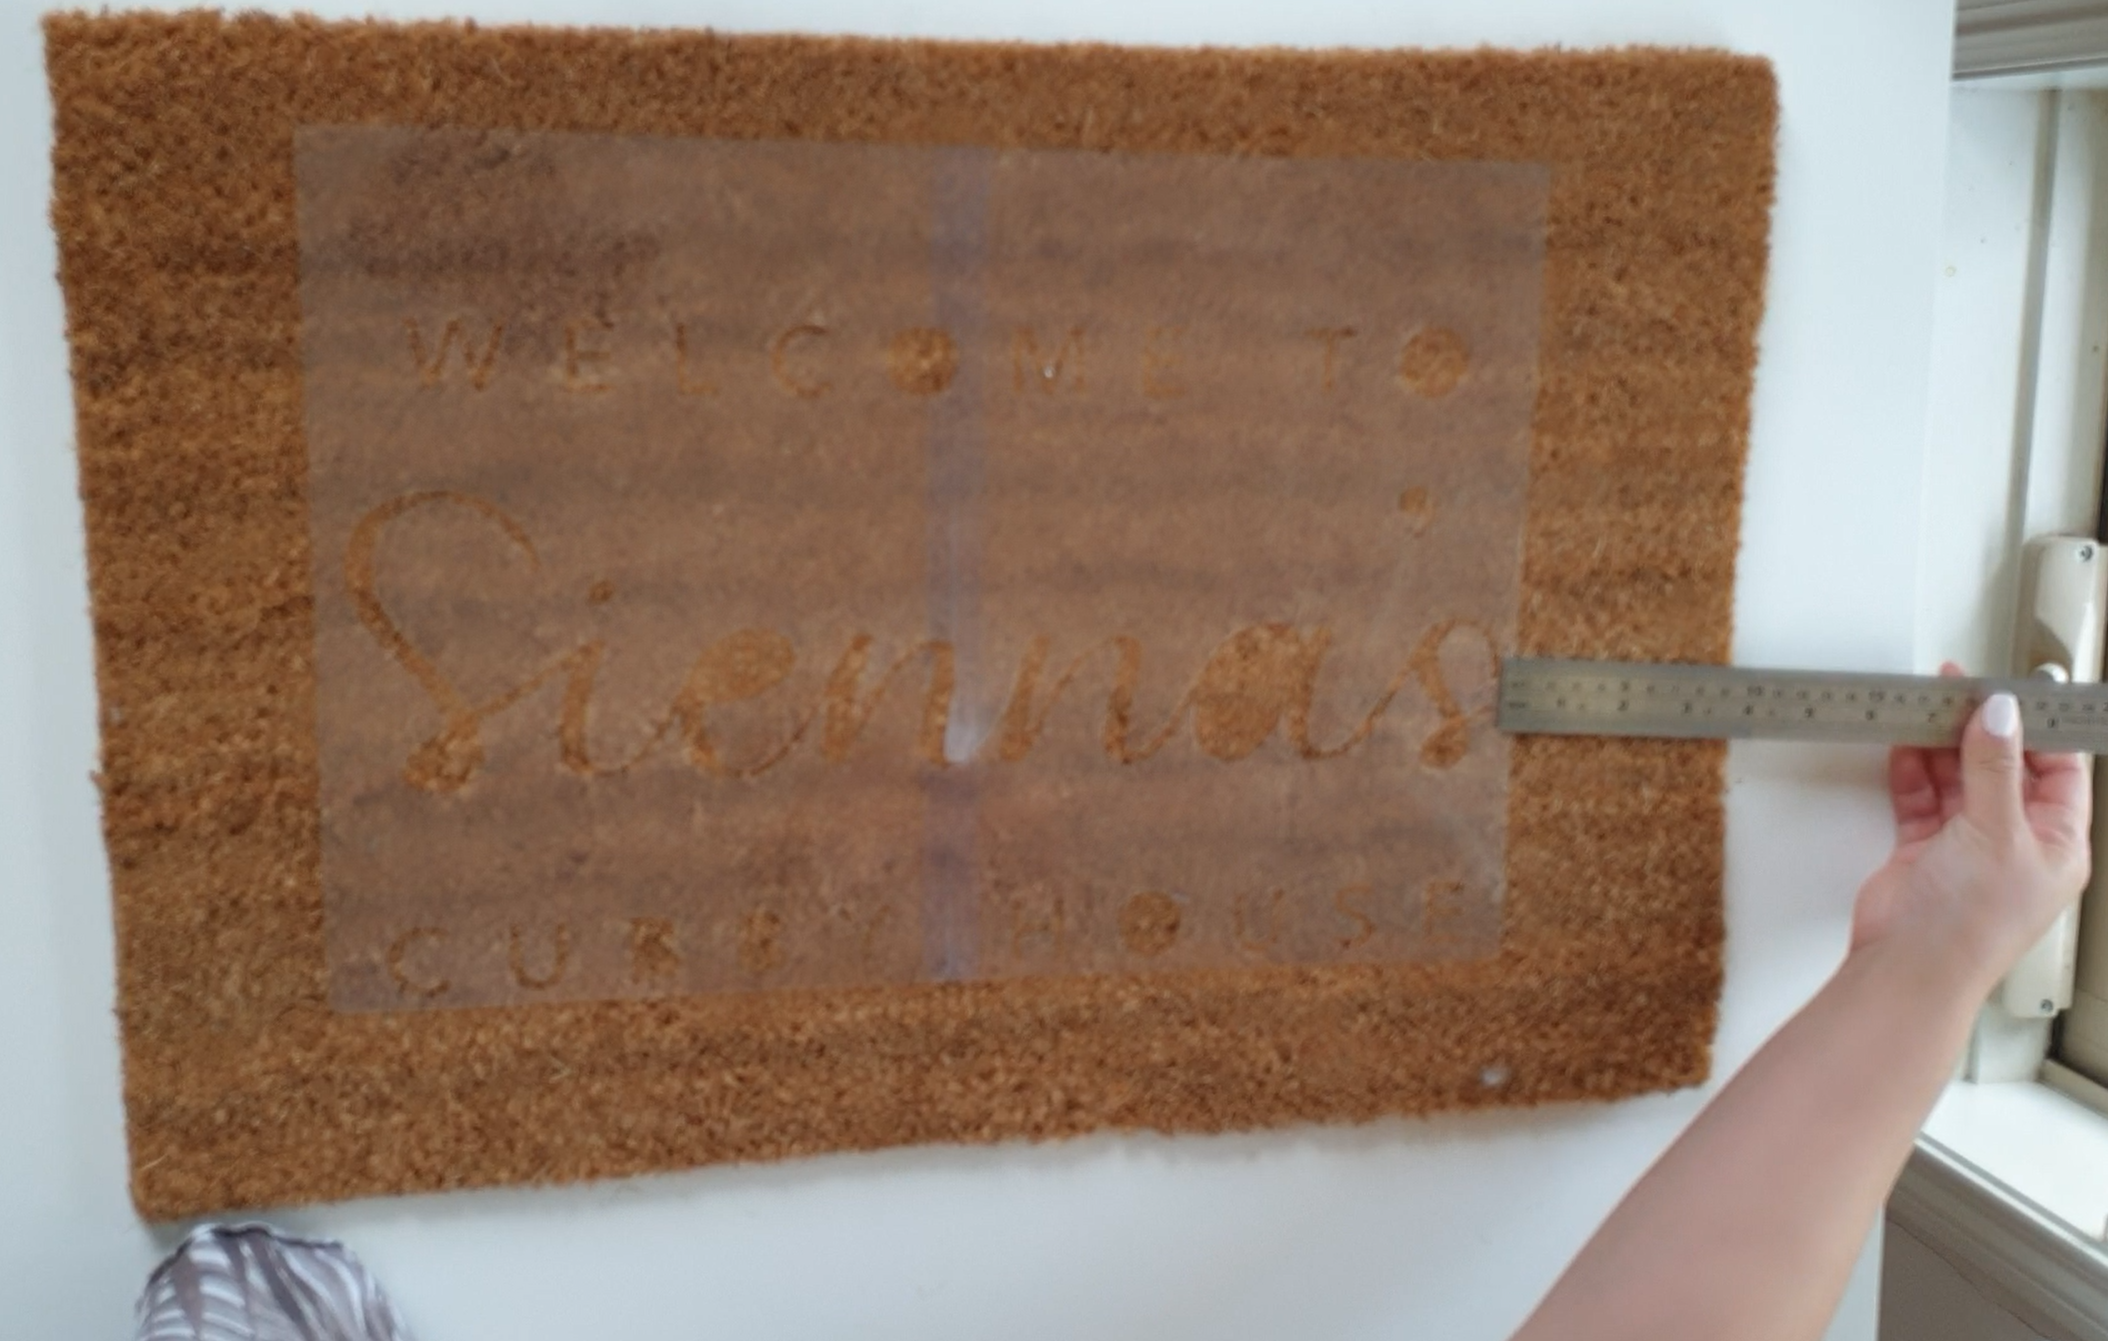
I positioned the stencil on the doormat carefully in the centre of the doormat using a ruler. The stencil is sticky side down (on the doormat), so the words should read the right way up. I left the negative spaces off at this step as I was more concerned about positioning the stencil perfectly.

Step Six: SECURING THE STENCIL

Screenshot 2020-11-06 20.41.33.png

Using the EasyPress 2, I ironed the stencil down on to the mat. The EasyPress2 was set to 165 degrees celsius for 20 seconds. After it is heated on, it should feel secure and shouldn’t move around, but it is not permanent and can be removed later.

Step Seven: ADDING THE NEGATIVE SPACES

Screenshot 2020-11-06 20.42.08.png

I now repositioned the negative spaces back into the stencil on the mat. As the negative spaces are small, I used the EasyPress Mini. I also used the Mini to secure the stencil in turning points and edges where the stencil is vulnerable. If you feel that those areas are not secure enough, you may use pins to hold it down further.

Step Eight: PAINT!

Once the stencil is secure, it’s time to paint! To match the doormat to her cubby house, I used the left over weatherproof paint that was used to paint the cubby. I dabbed the paint on the letters, using a paintbrush. It is highly important to dab instead of brushing the paint on, so that paint does not seep under the stencil. Dabbing also pushes the paint into the fibres of the the mat so that the colour is deep within the mat even after it has been used. I applied two coats of paint to ensure that the colour is bright and vibrant.

Step Nine: REMOVE THE STENCIL

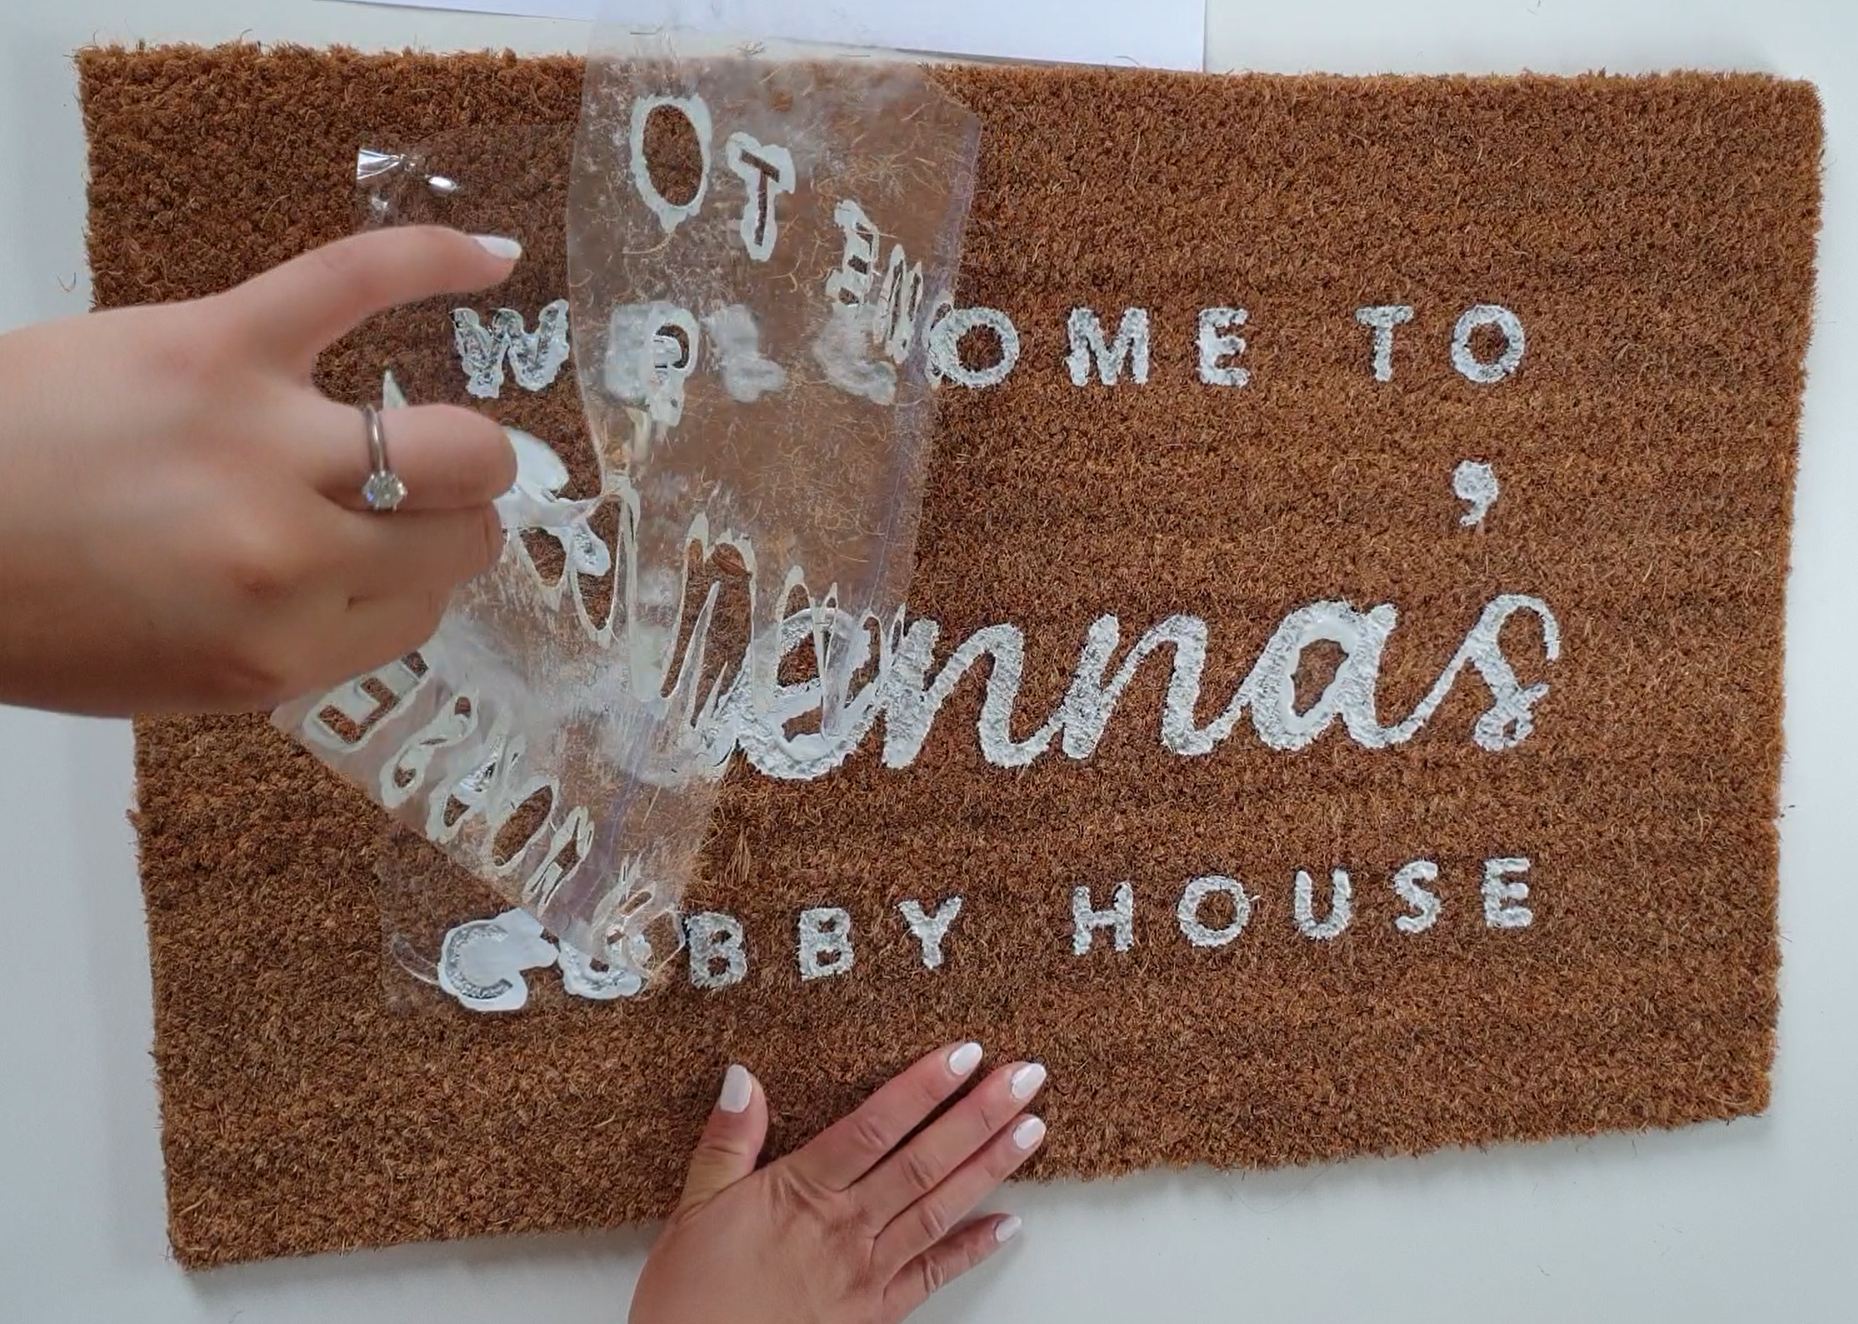
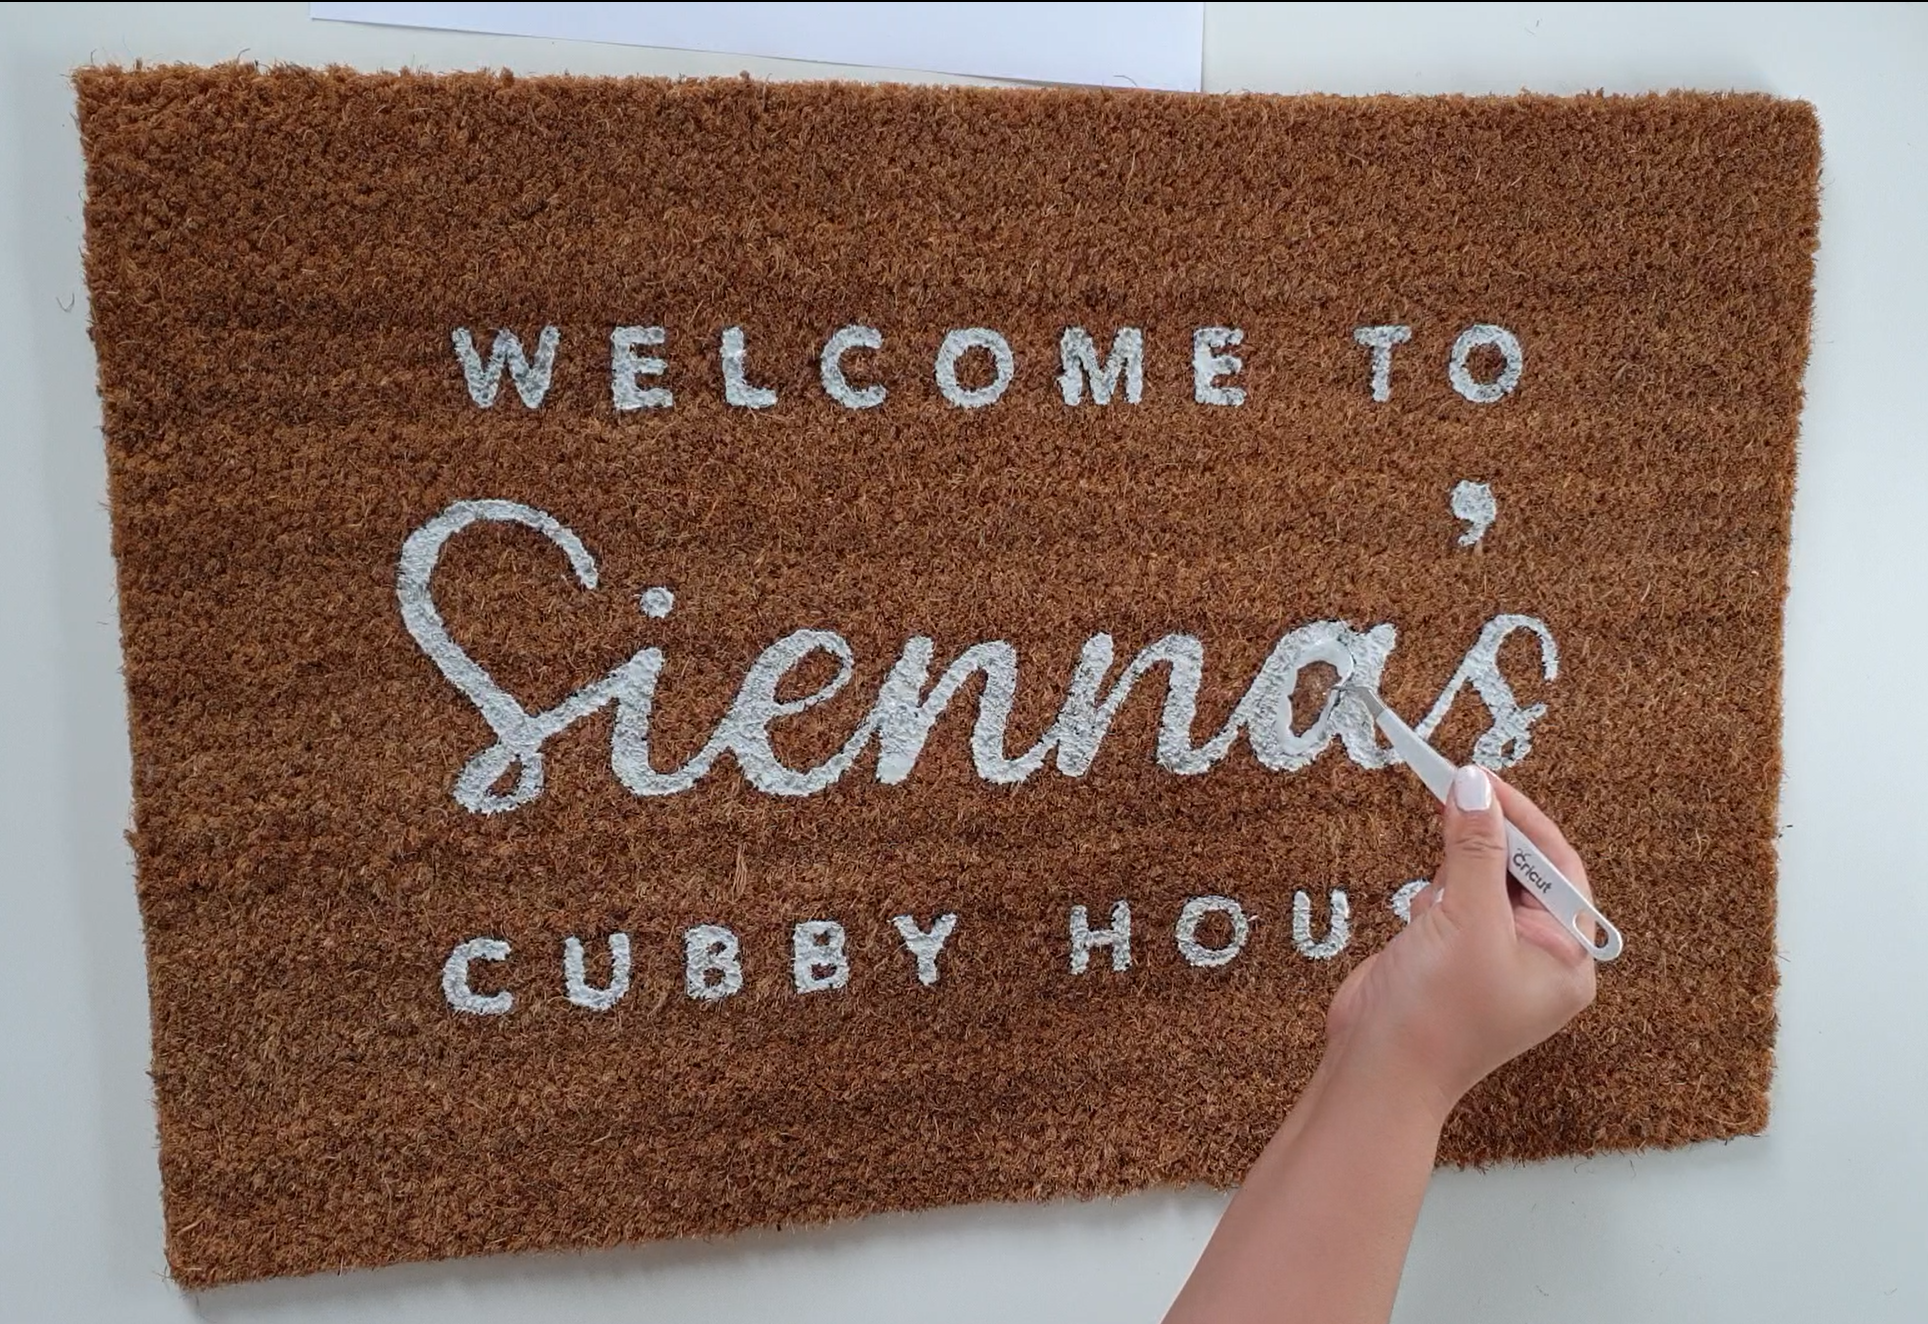
Once the paint has dried, I carefully removed the stencil by peeling it off the mat. If the paint is not completely dry, the paint on the stencil may run onto the mat, so it’s important to wait for the mat and stencil to dry before removing. Don’t forget to remove the negative spaces from the letters. I used a tweezer to do this.

Step Ten: FINISHING TOUCHES

Once the stencil was completely removed, it was pretty much ready to go to its new home! If you want to go the extra step (like I did!), I used a fine paintbrush and went over some of the sides of the letters to make the letters cleaner and sharper.

And there you have it, this is how I personalised my niece’s doormat for her cubby house. Hope you found this step by step blog useful. I’d love to see your creations, please leave me a comment or tag me in your socials!

Happy crafting!
Liz xx.jpg
tags: personalised doormat, diy doormat, doormat, welcome mat, welcome doormat, painted doormat, personalised, handlettering, handlettered, modern calligraphy, calligraphy, brush lettering, lettering
categories: Craft, Cricut, kids, letter me, Lettering
Friday 11.06.20
Posted by Liz Tu
 

Cricut Infusible Ink - First Impressions!

(… Get the pun?! ;p)

Please note that this post contains affiliate links and I may be compensated by the vendor (at NO ADDITIONAL COST to you) if you make a purchase after clicking on my links. I have provided you with links to Amazon, Amazon Australia, eBay and Cricut.com.

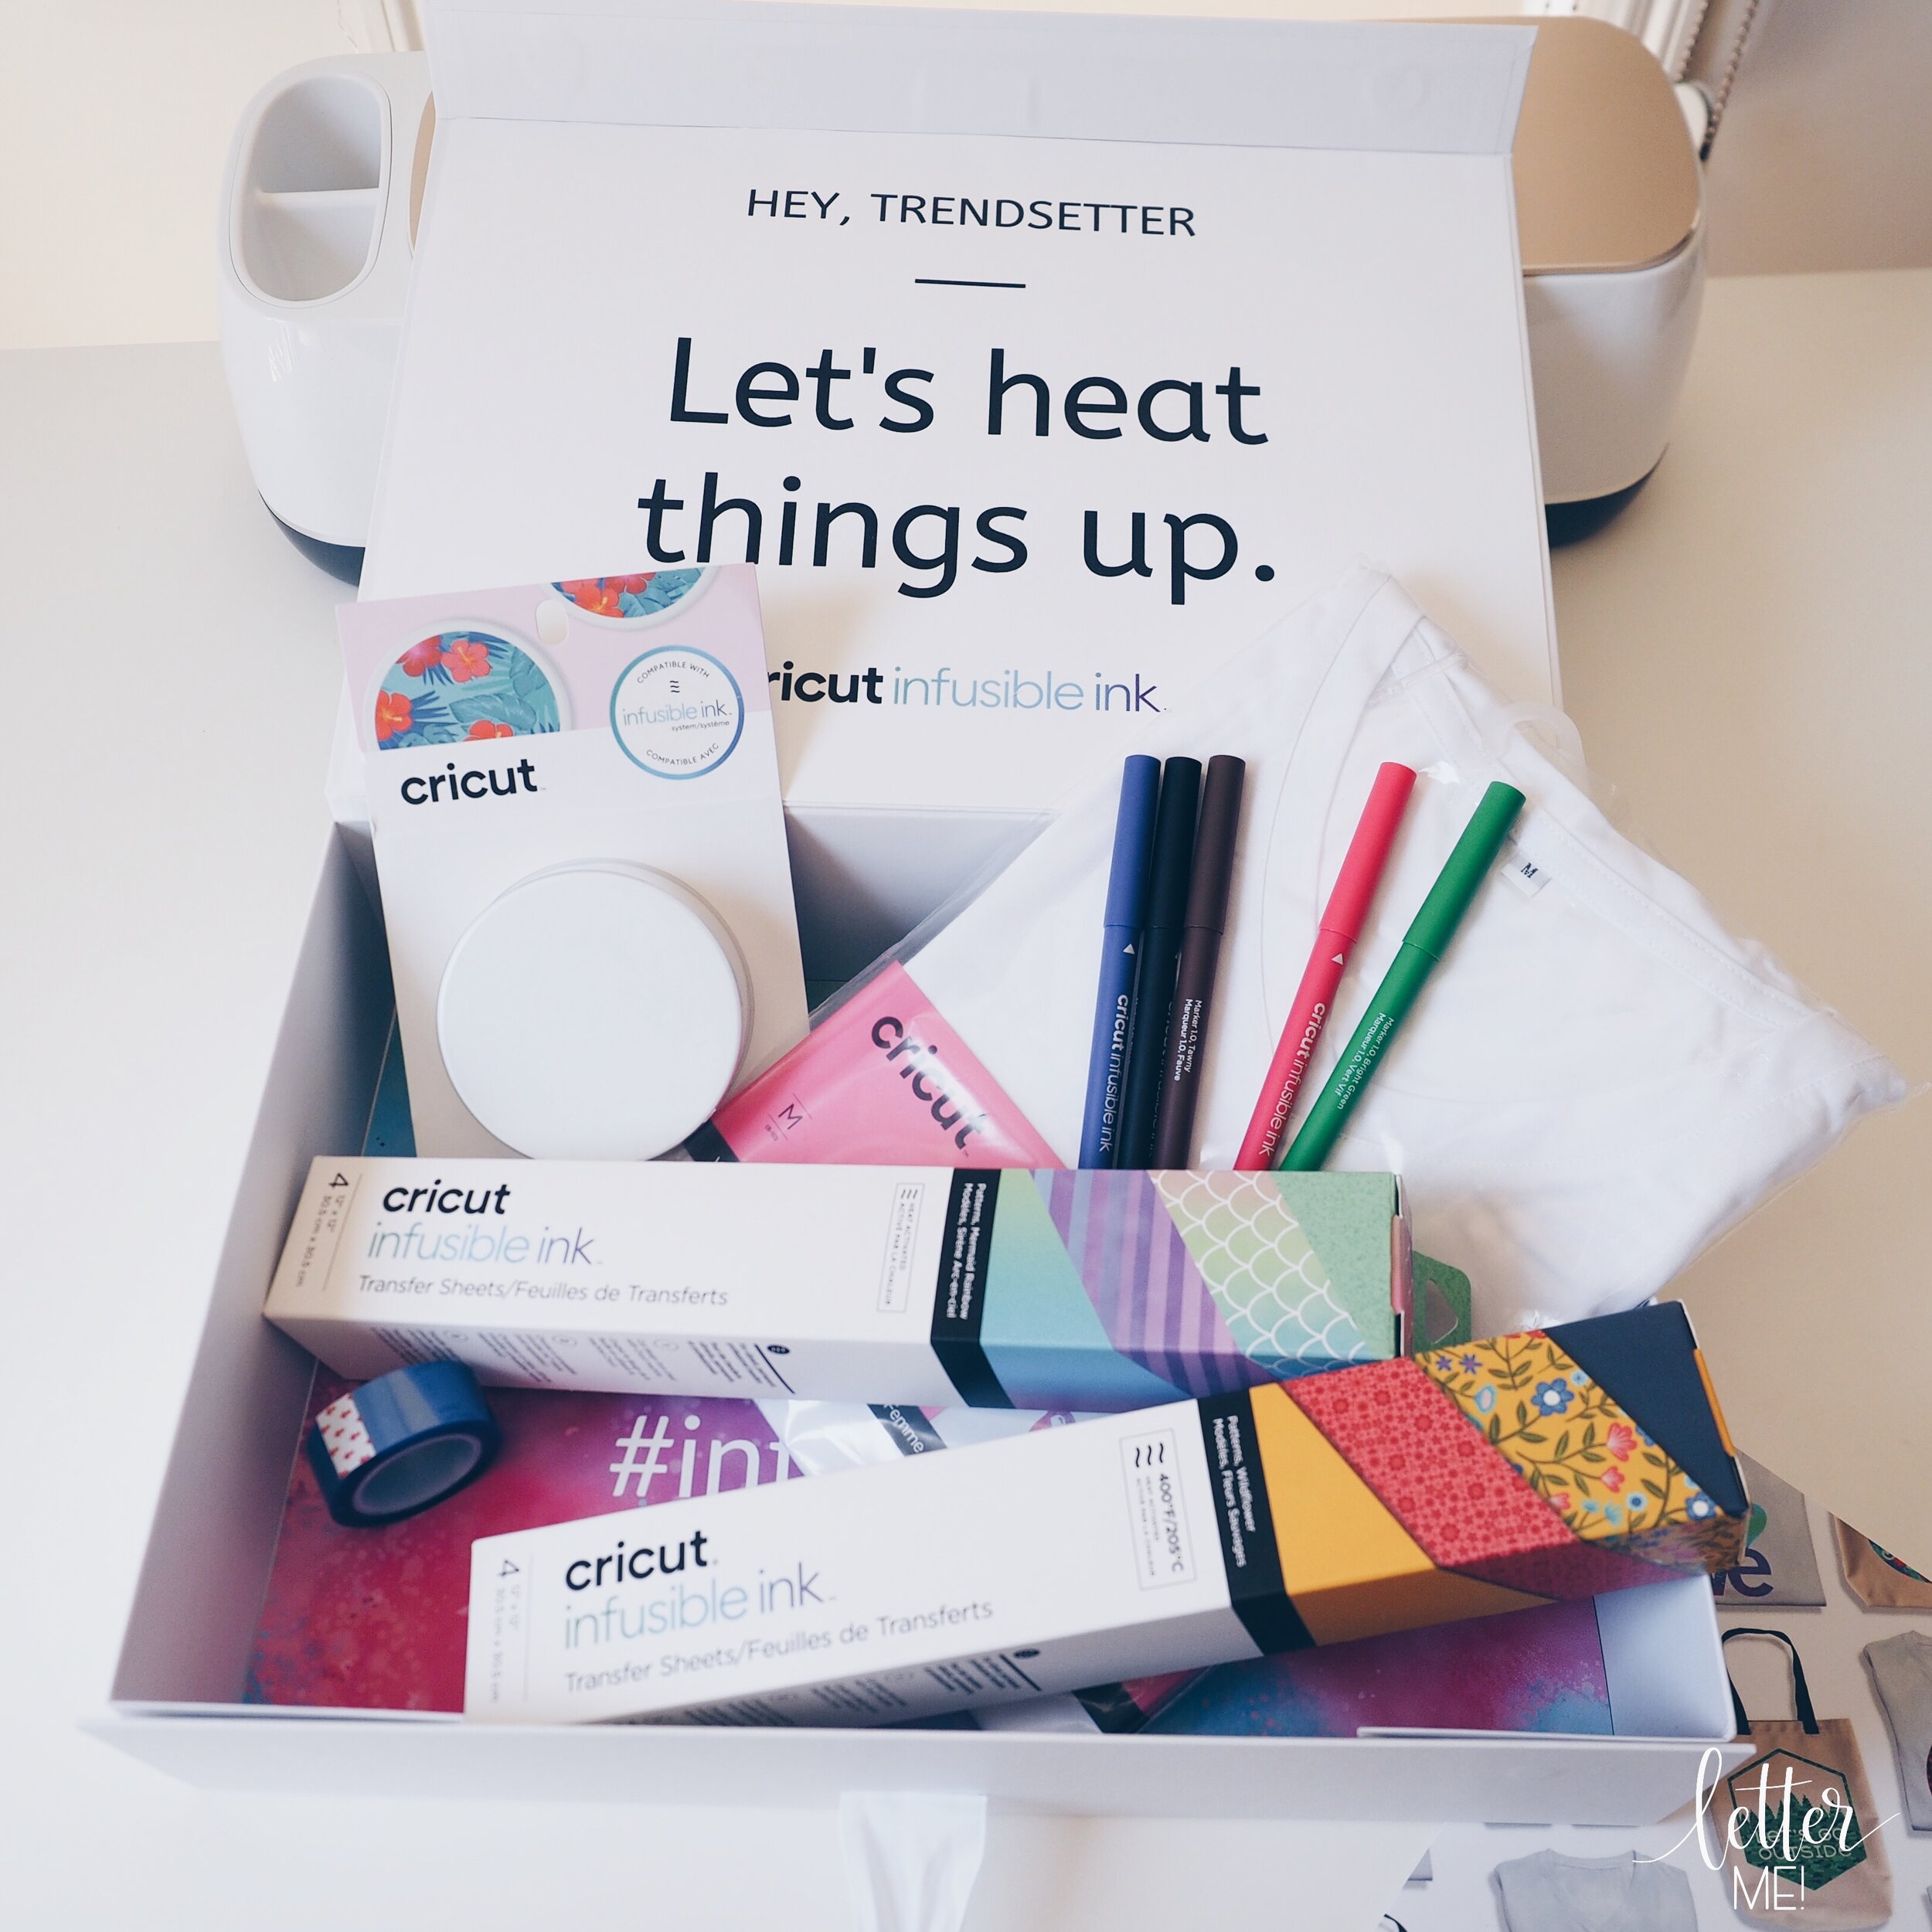
Although Infusible Ink was launched in the US four months ago, I am super excited and so proud to be one of the first to try Infusible Ink in Australia, ahead of the Australian launch next week. 

3AE8955A-192F-431D-846F-37E74FE70235.JPG
48E42851-F77A-4E71-9592-03DF9ADCF42A.JPG

Infusible Ink is the long-awaited heat transfer system by Cricut, allowing you to achieve professional level heat transfers that are durable and can withstand stretching, washing and regular day to day wear. Instead of applying regular Cricut Iron-On (which is a heat transfer vinyl (HTV) that sits on top of your material), as the name suggests, Infusible Ink is ink that gets infused into the fibres of your material.

As I am still very new to this system, I wanted to share my initial process and thoughts with you as I go along this journey. I know many of you have been waiting for my review, so before I delve deeper and experiment more with what Infusible Ink has to offer, here is my first project to share with you.

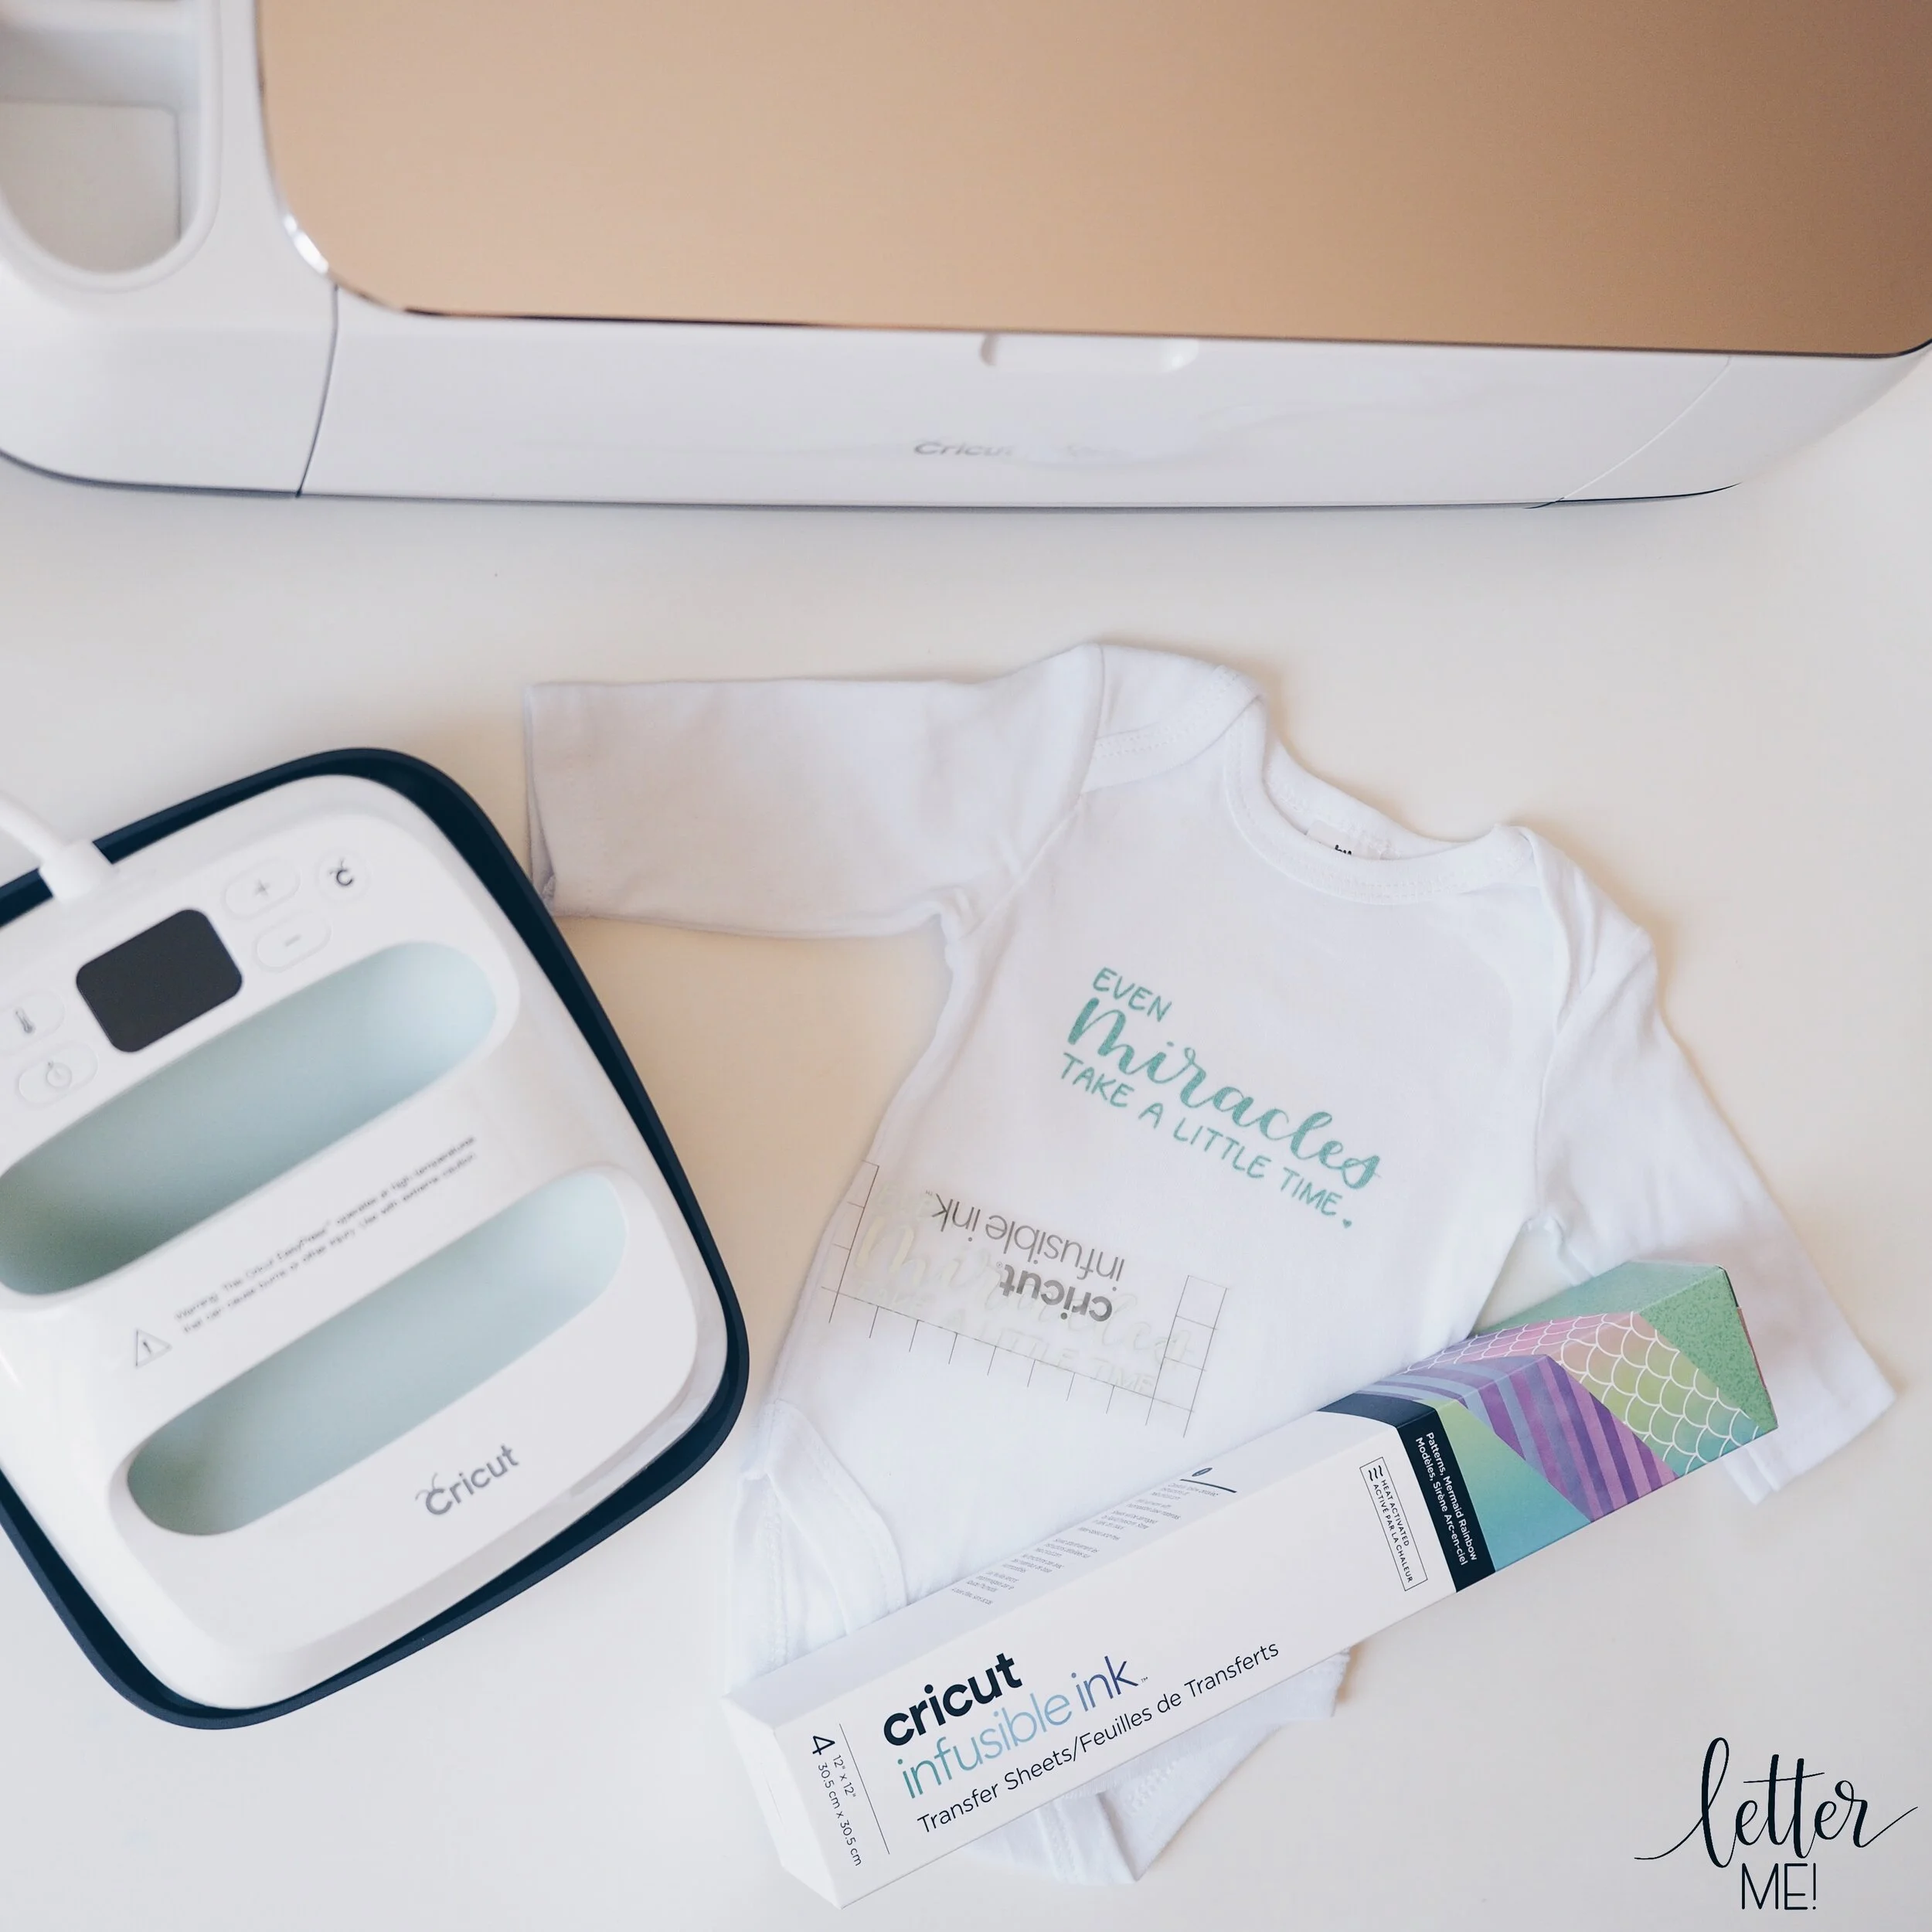
“Even miracles take a little time“ Baby Onesie using Cricut Infusible Ink technology

Here’s what I used (links to retailers below each item):

DA589D0E-604D-45AA-8654-FA6942BD9DCB.JPG
  • Apple iPad Pro and Apple Pencil, with Procreate App (Amazon, Amazon Australia, eBay)

  • Cricut Design Space software (https://design.cricut.com)

    Cricut Heat Guide (https://cricut.com/en_us/heatguide)

  • Cricut Maker cutting machine (Cricut.com, Amazon, Amazon Australia, Spotlight eBay)

  • Standard Grip Mat (Cricut.com, Amazon, Amazon Australia, Spotlight eBay)

  • Cricut EasyPress 2 (small) (Cricut.com, Amazon, Amazon Australia, Spotlight eBay)

  • Cricut EasyPress Mat (Cricut.com, Amazon, Amazon Australia, Spotlight eBay)

  • Baby onesie (Amazon, Amazon Australia, eBay)

  • Ruler (Amazon, Amazon Australia, eBay)

  • Scissors (Cricut.com, Amazon, Amazon Australia, Spotlight eBay)

  • Infusible Ink Transfer Sheet (Cricut.com, Amazon, Spotlight eBay)

  • Butcher Paper (included with transfer sheets)

  • Scrap cardboard

  • Lint roller (Amazon, Amazon Australia, eBay)

  • Weeding tool/Tweezers (Cricut.com, Amazon, Amazon Australia, Spotlight eBay)

Step One:

As a calligrapher, I like to personalise my onesies with my own artwork. For this project, I used my Apple iPad Pro and Pencil, along with the Procreate app to create my design “Even miracles take a little time”. You are welcome to check out my first Cricut blog, where I guide you step-by-step how to export a design from Procreate. Alternatively, you can use a design from the free Cricut software, Cricut Design Space.

C7196588-14FF-4358-BB95-54BCFC5227AB.JPG

Step Two:

Measure your project. In Cricut Design Space, size your artwork to fit your project. For me, my artwork was 4.5 inches in width. Remember to mirror your artwork.

4578ED19-F806-41DC-9219-05B98D5AB4A5.JPG

Step Three:

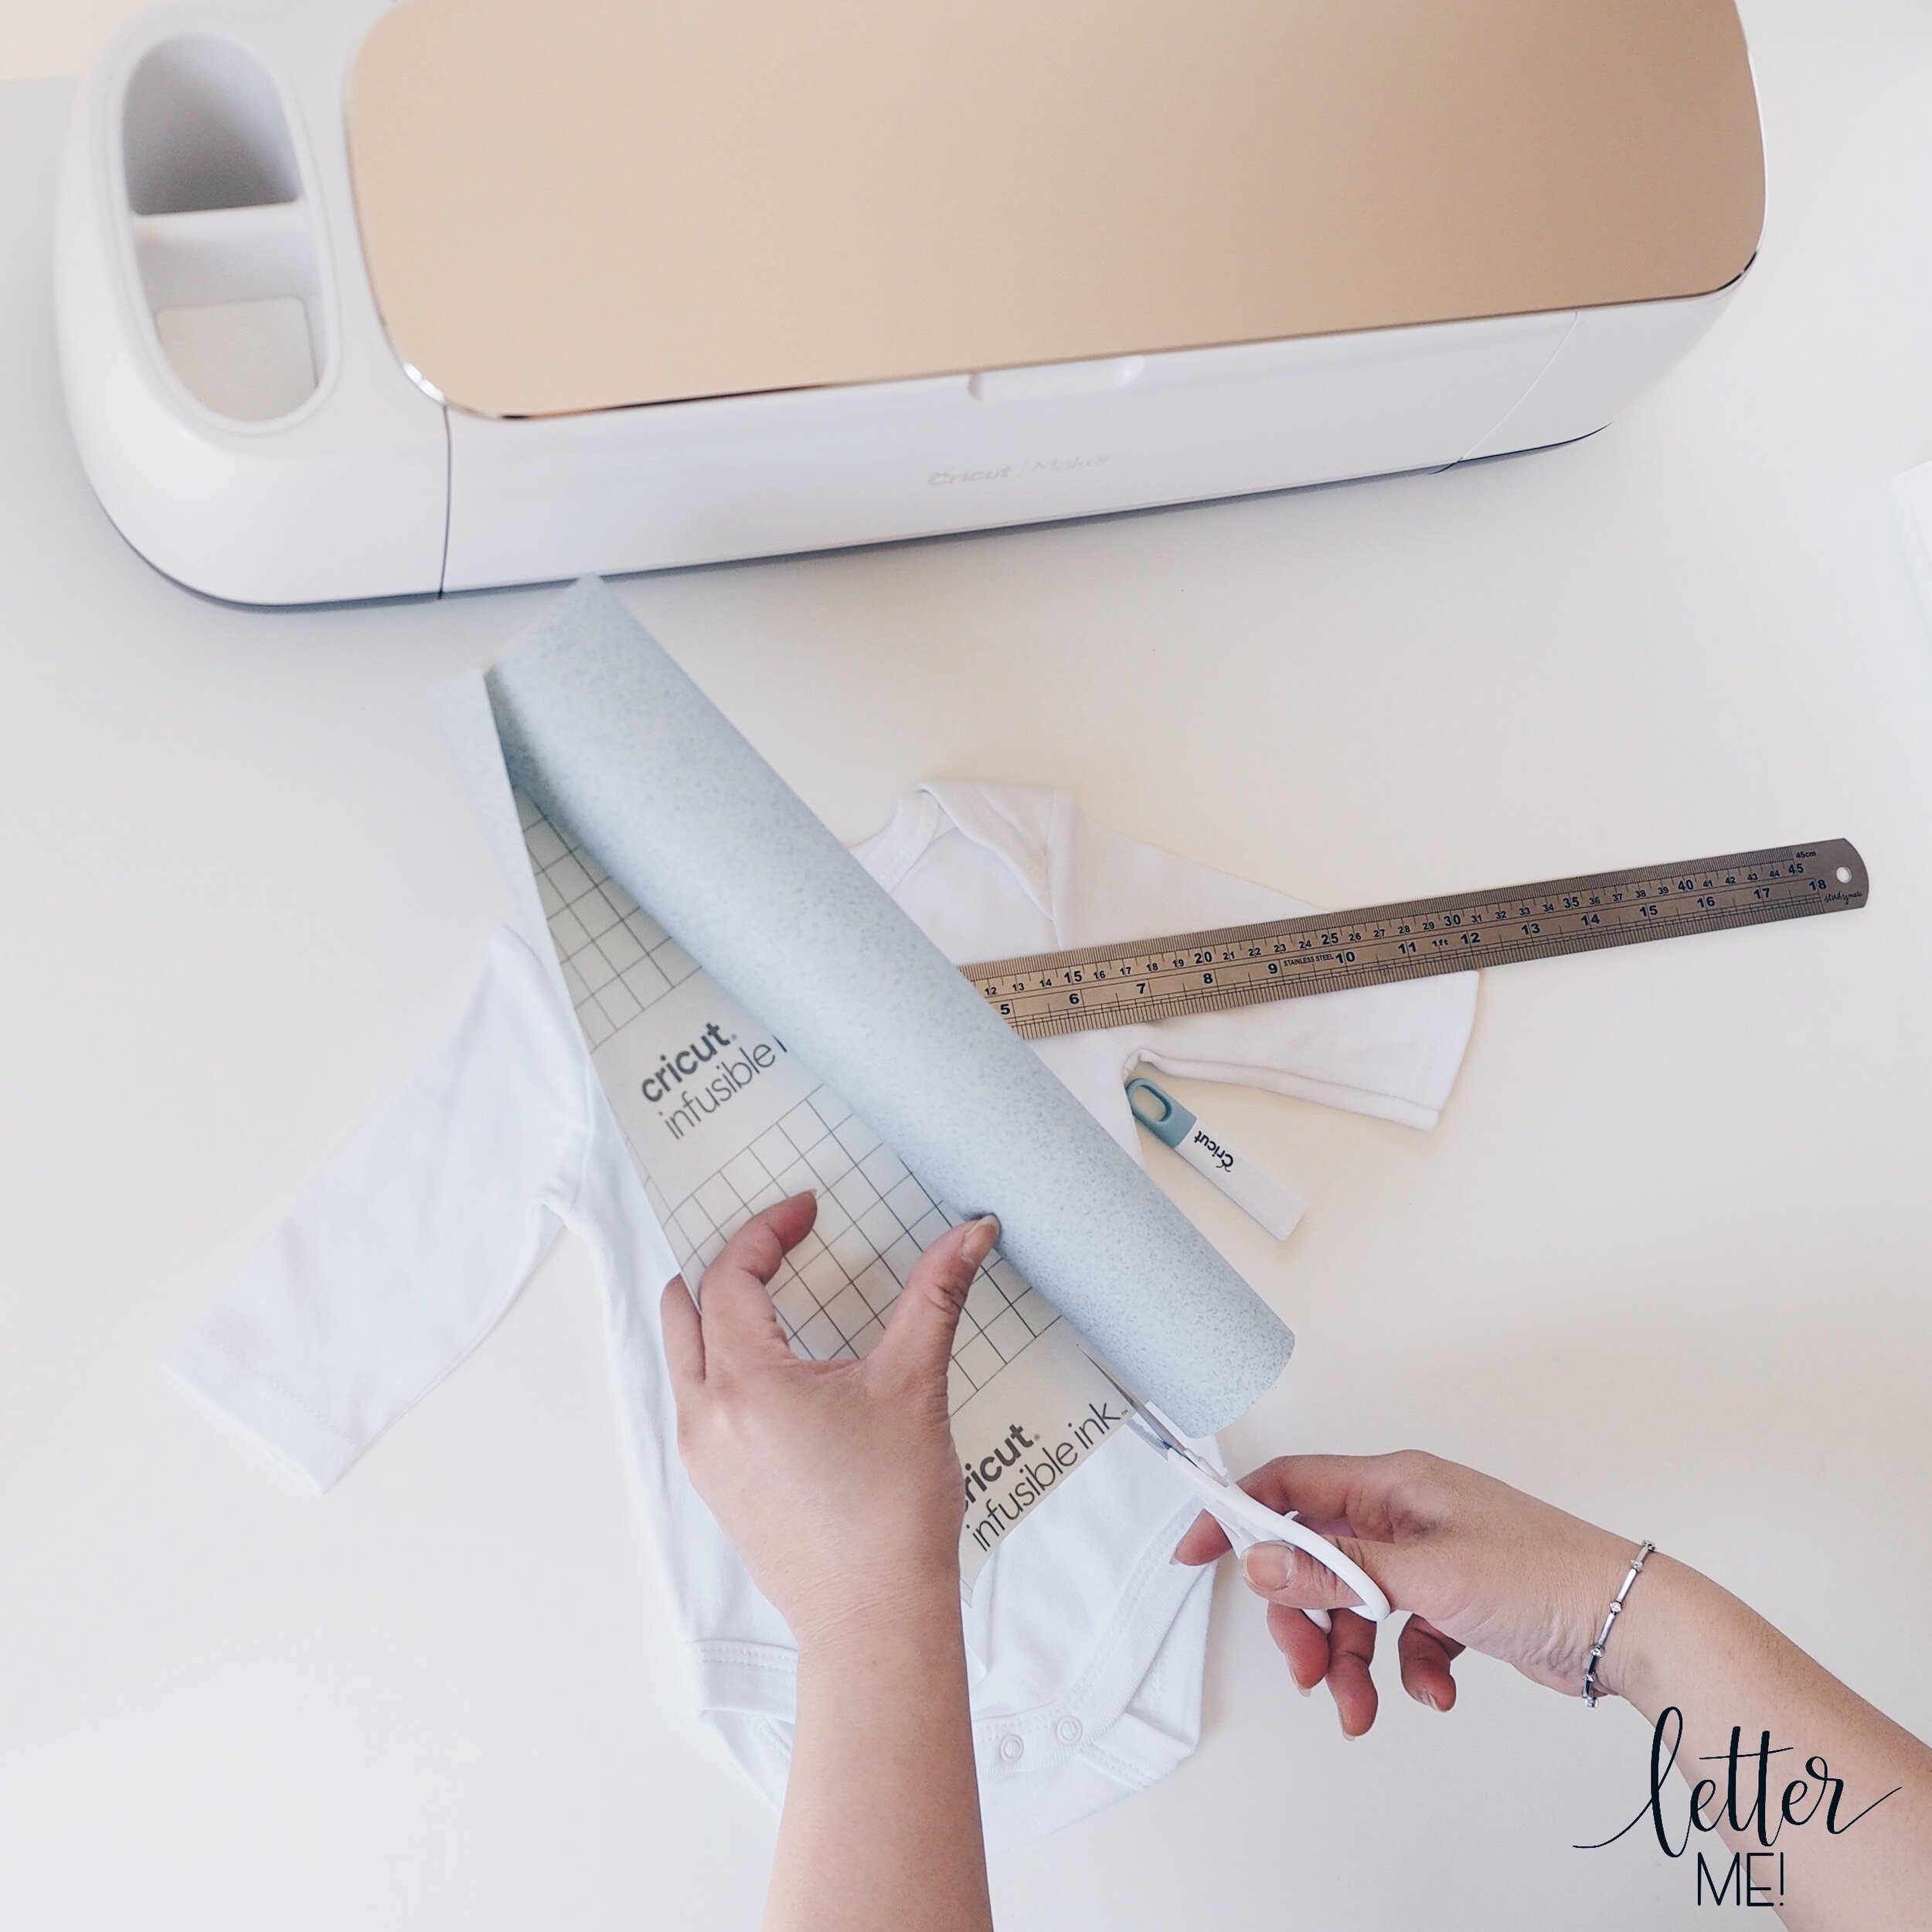
Cut a piece of Infusible Ink Transfer sheet to the desired size, and place it on a Standard Grip mat, with the liner side down (the coloured side is facing upwards).

75CE3F74-5731-462F-A3FE-830190F5E041.JPG
5096C65F-40C5-4BB4-B6C5-999EAA4FD9DD.JPG

Step Four:

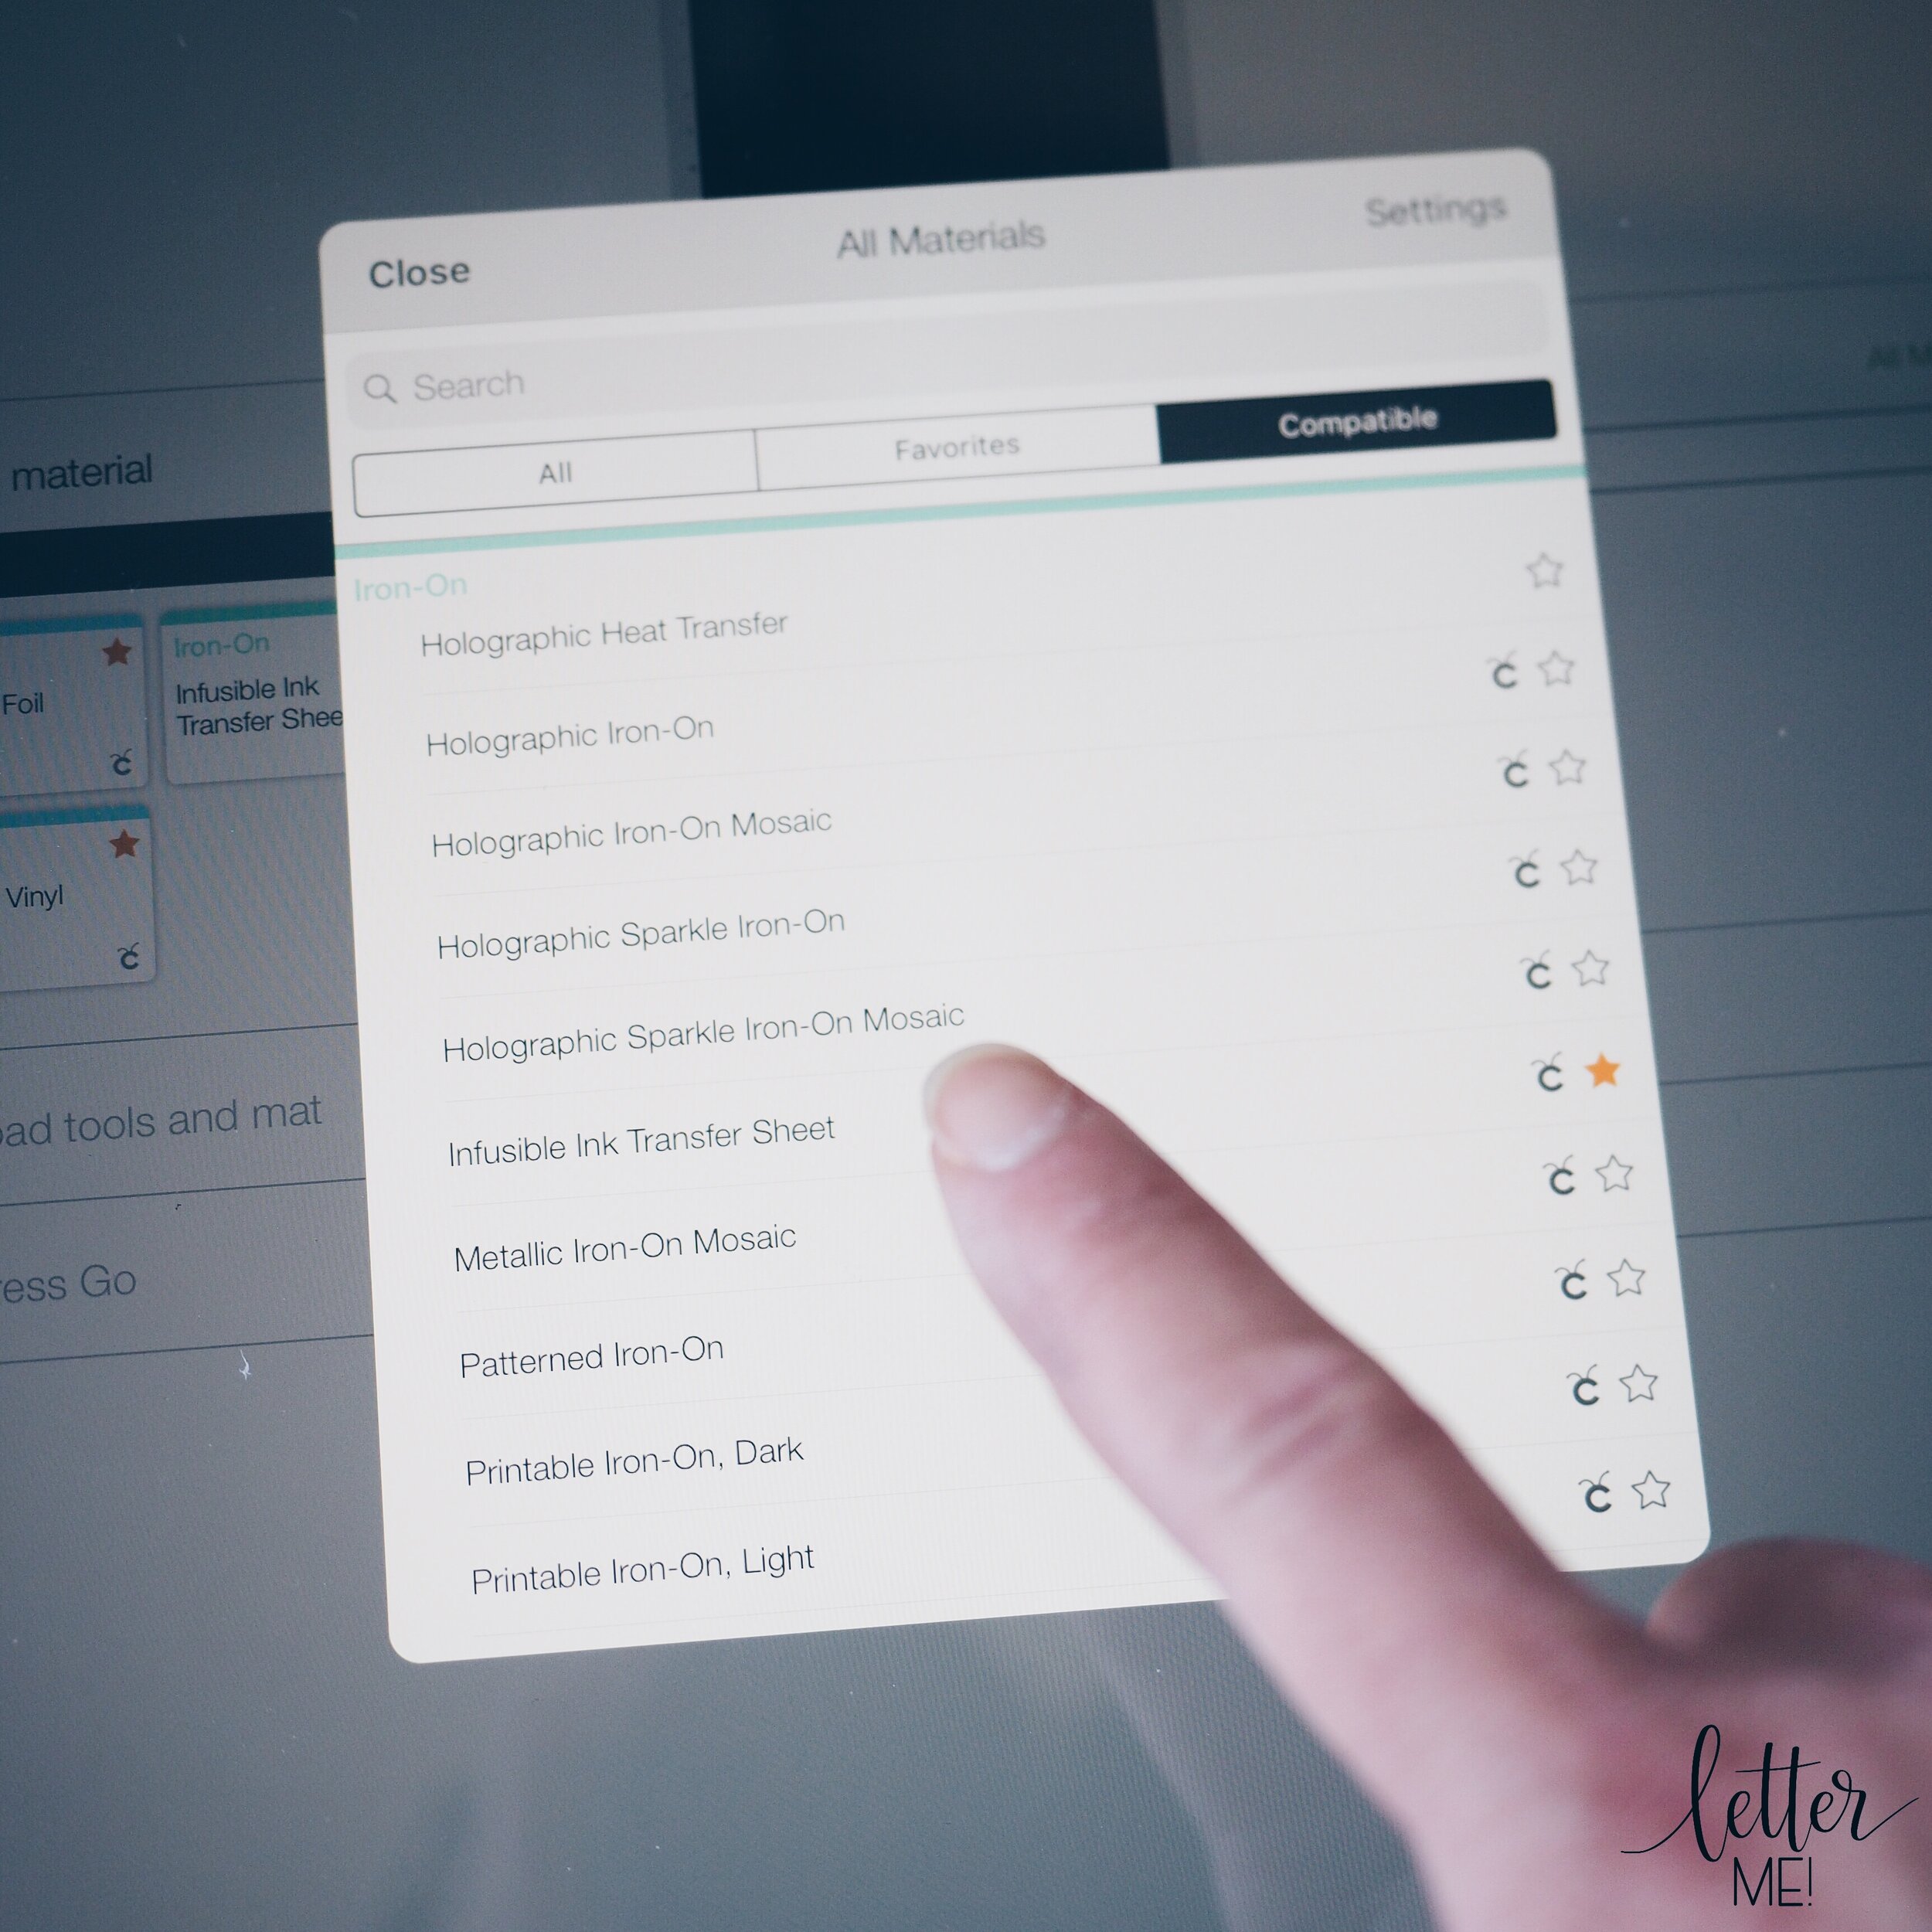
Load your prepared mat into your Cricut Maker machine. Browse all materials and seelct “Infusible Ink Transfer Sheet” and you are ready to cut!! (If you have a Cricut Explore machine, set the dial to “custom”).

Press the flashing GO button and you’re ready to Cut!

E00ADC4F-90F2-4B9B-8FBA-9C13C8C0470E.JPG

Step Five:

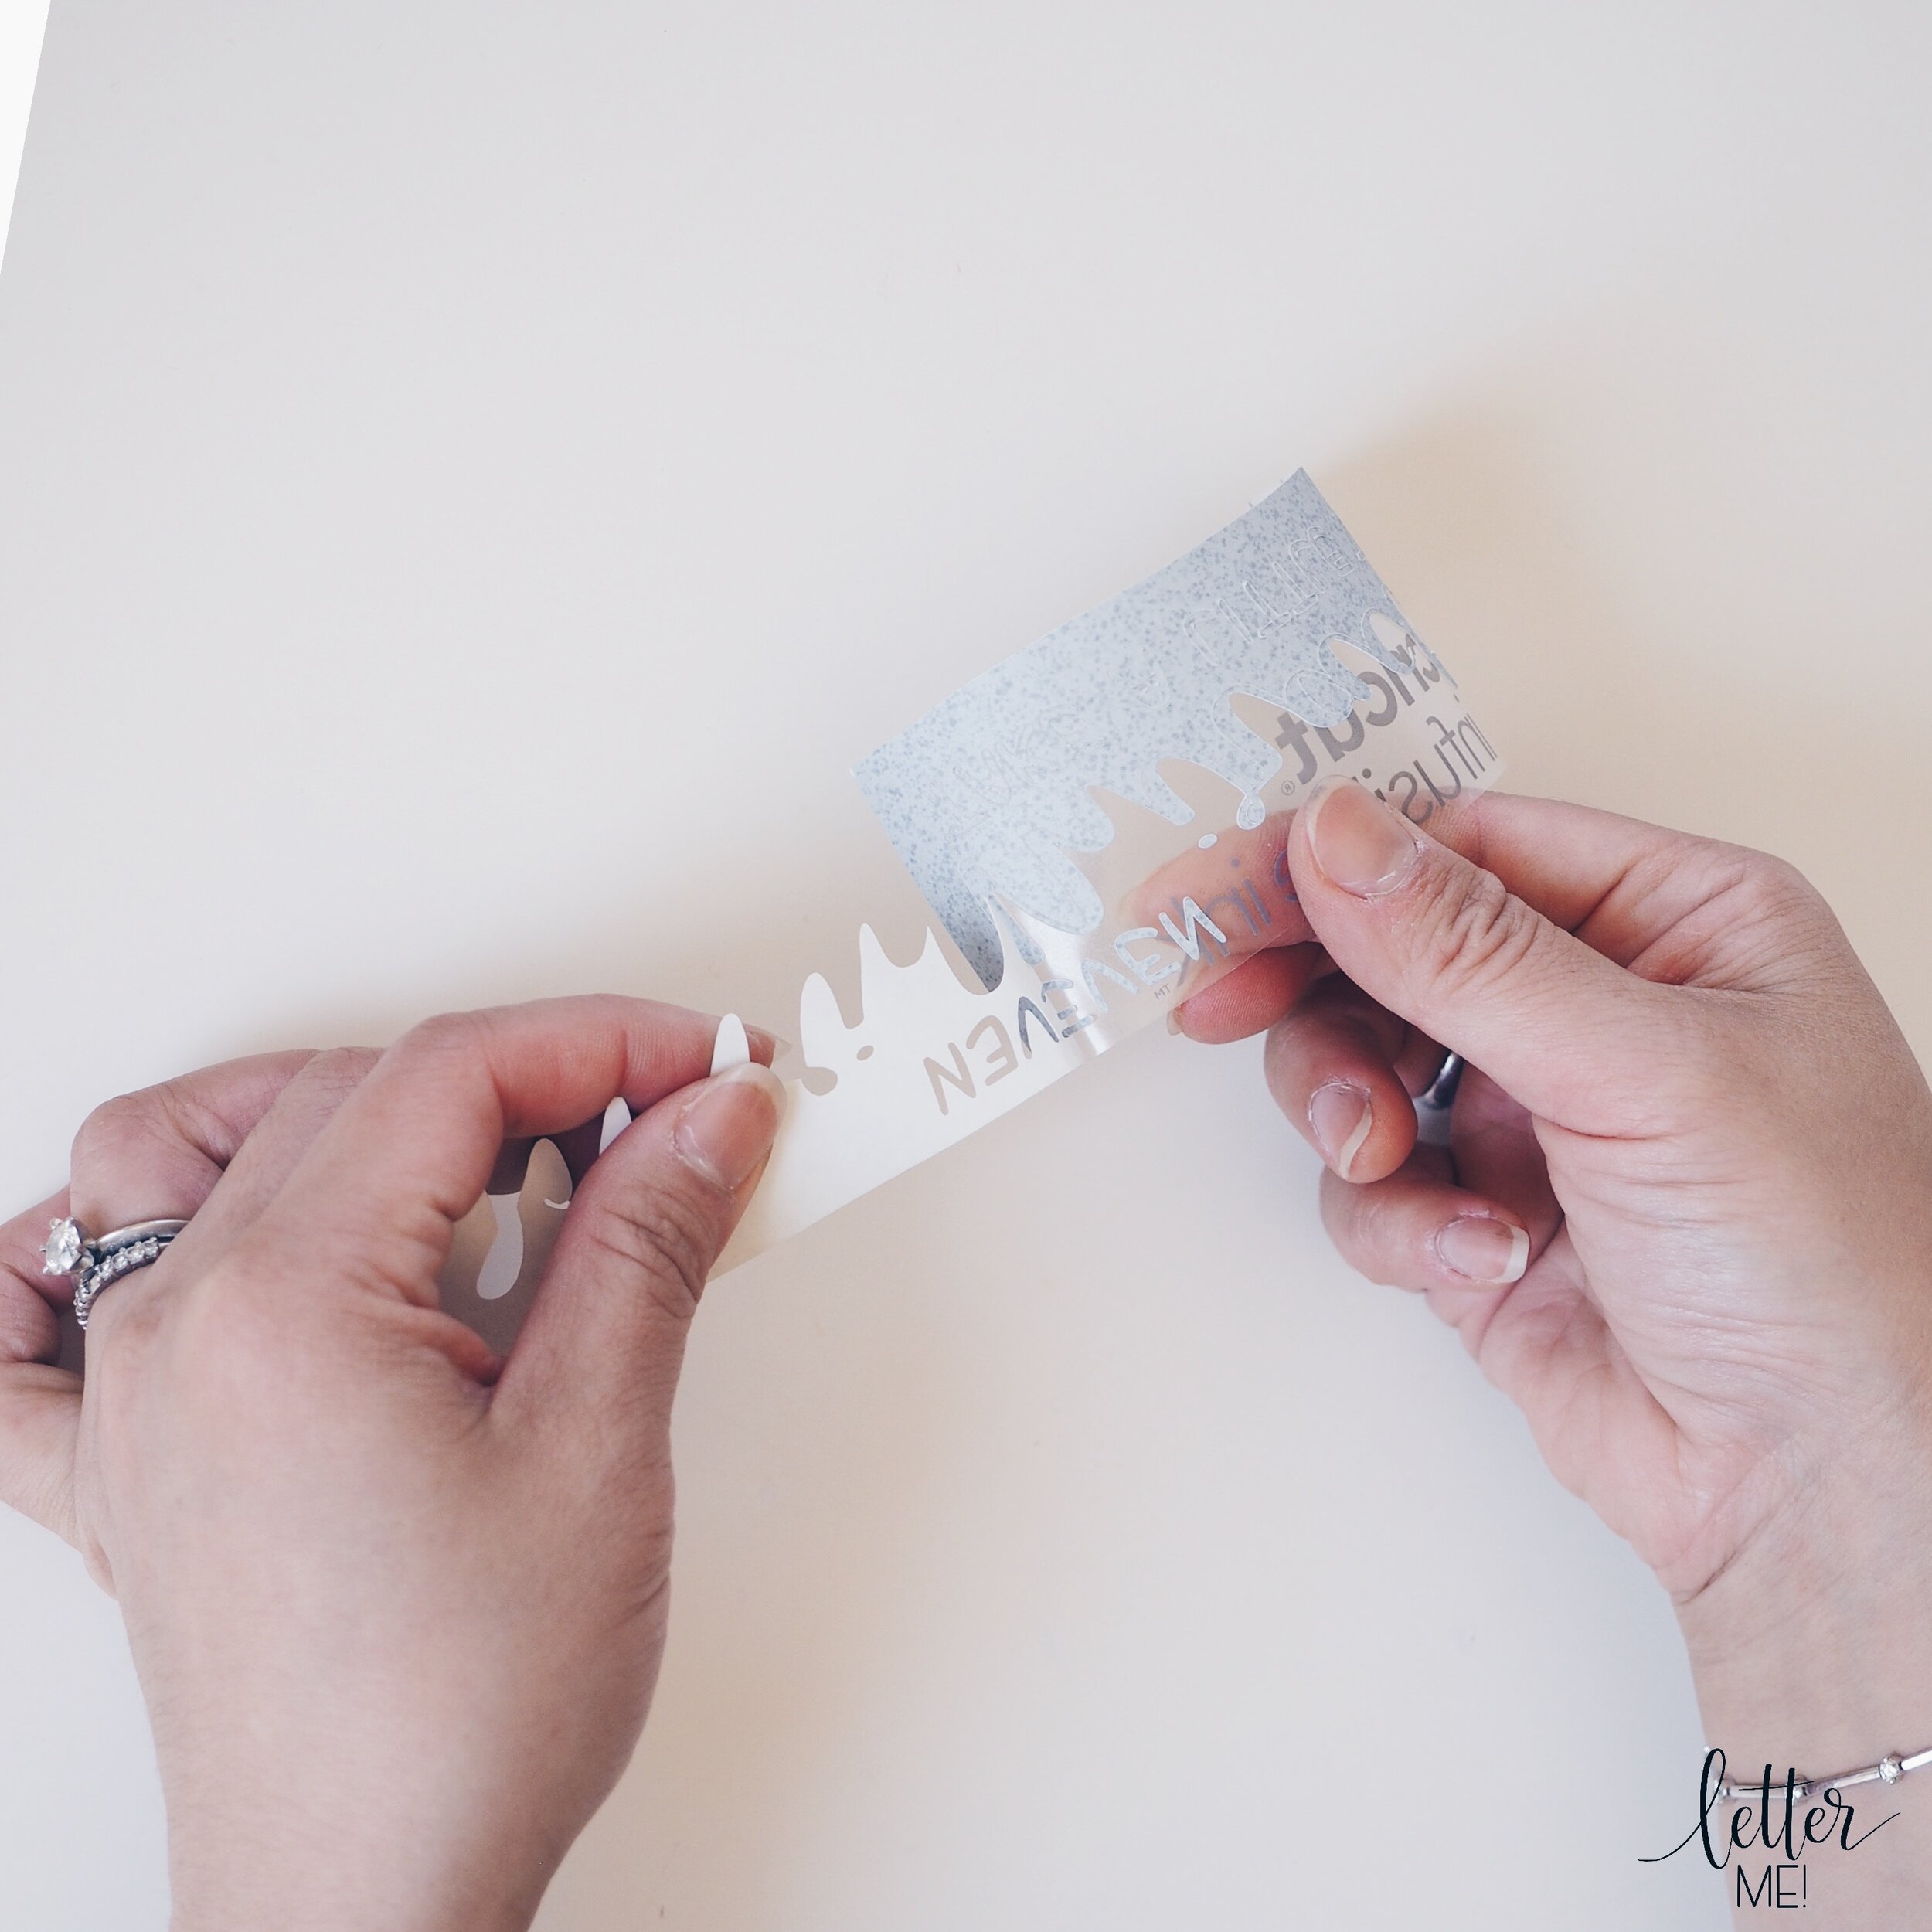
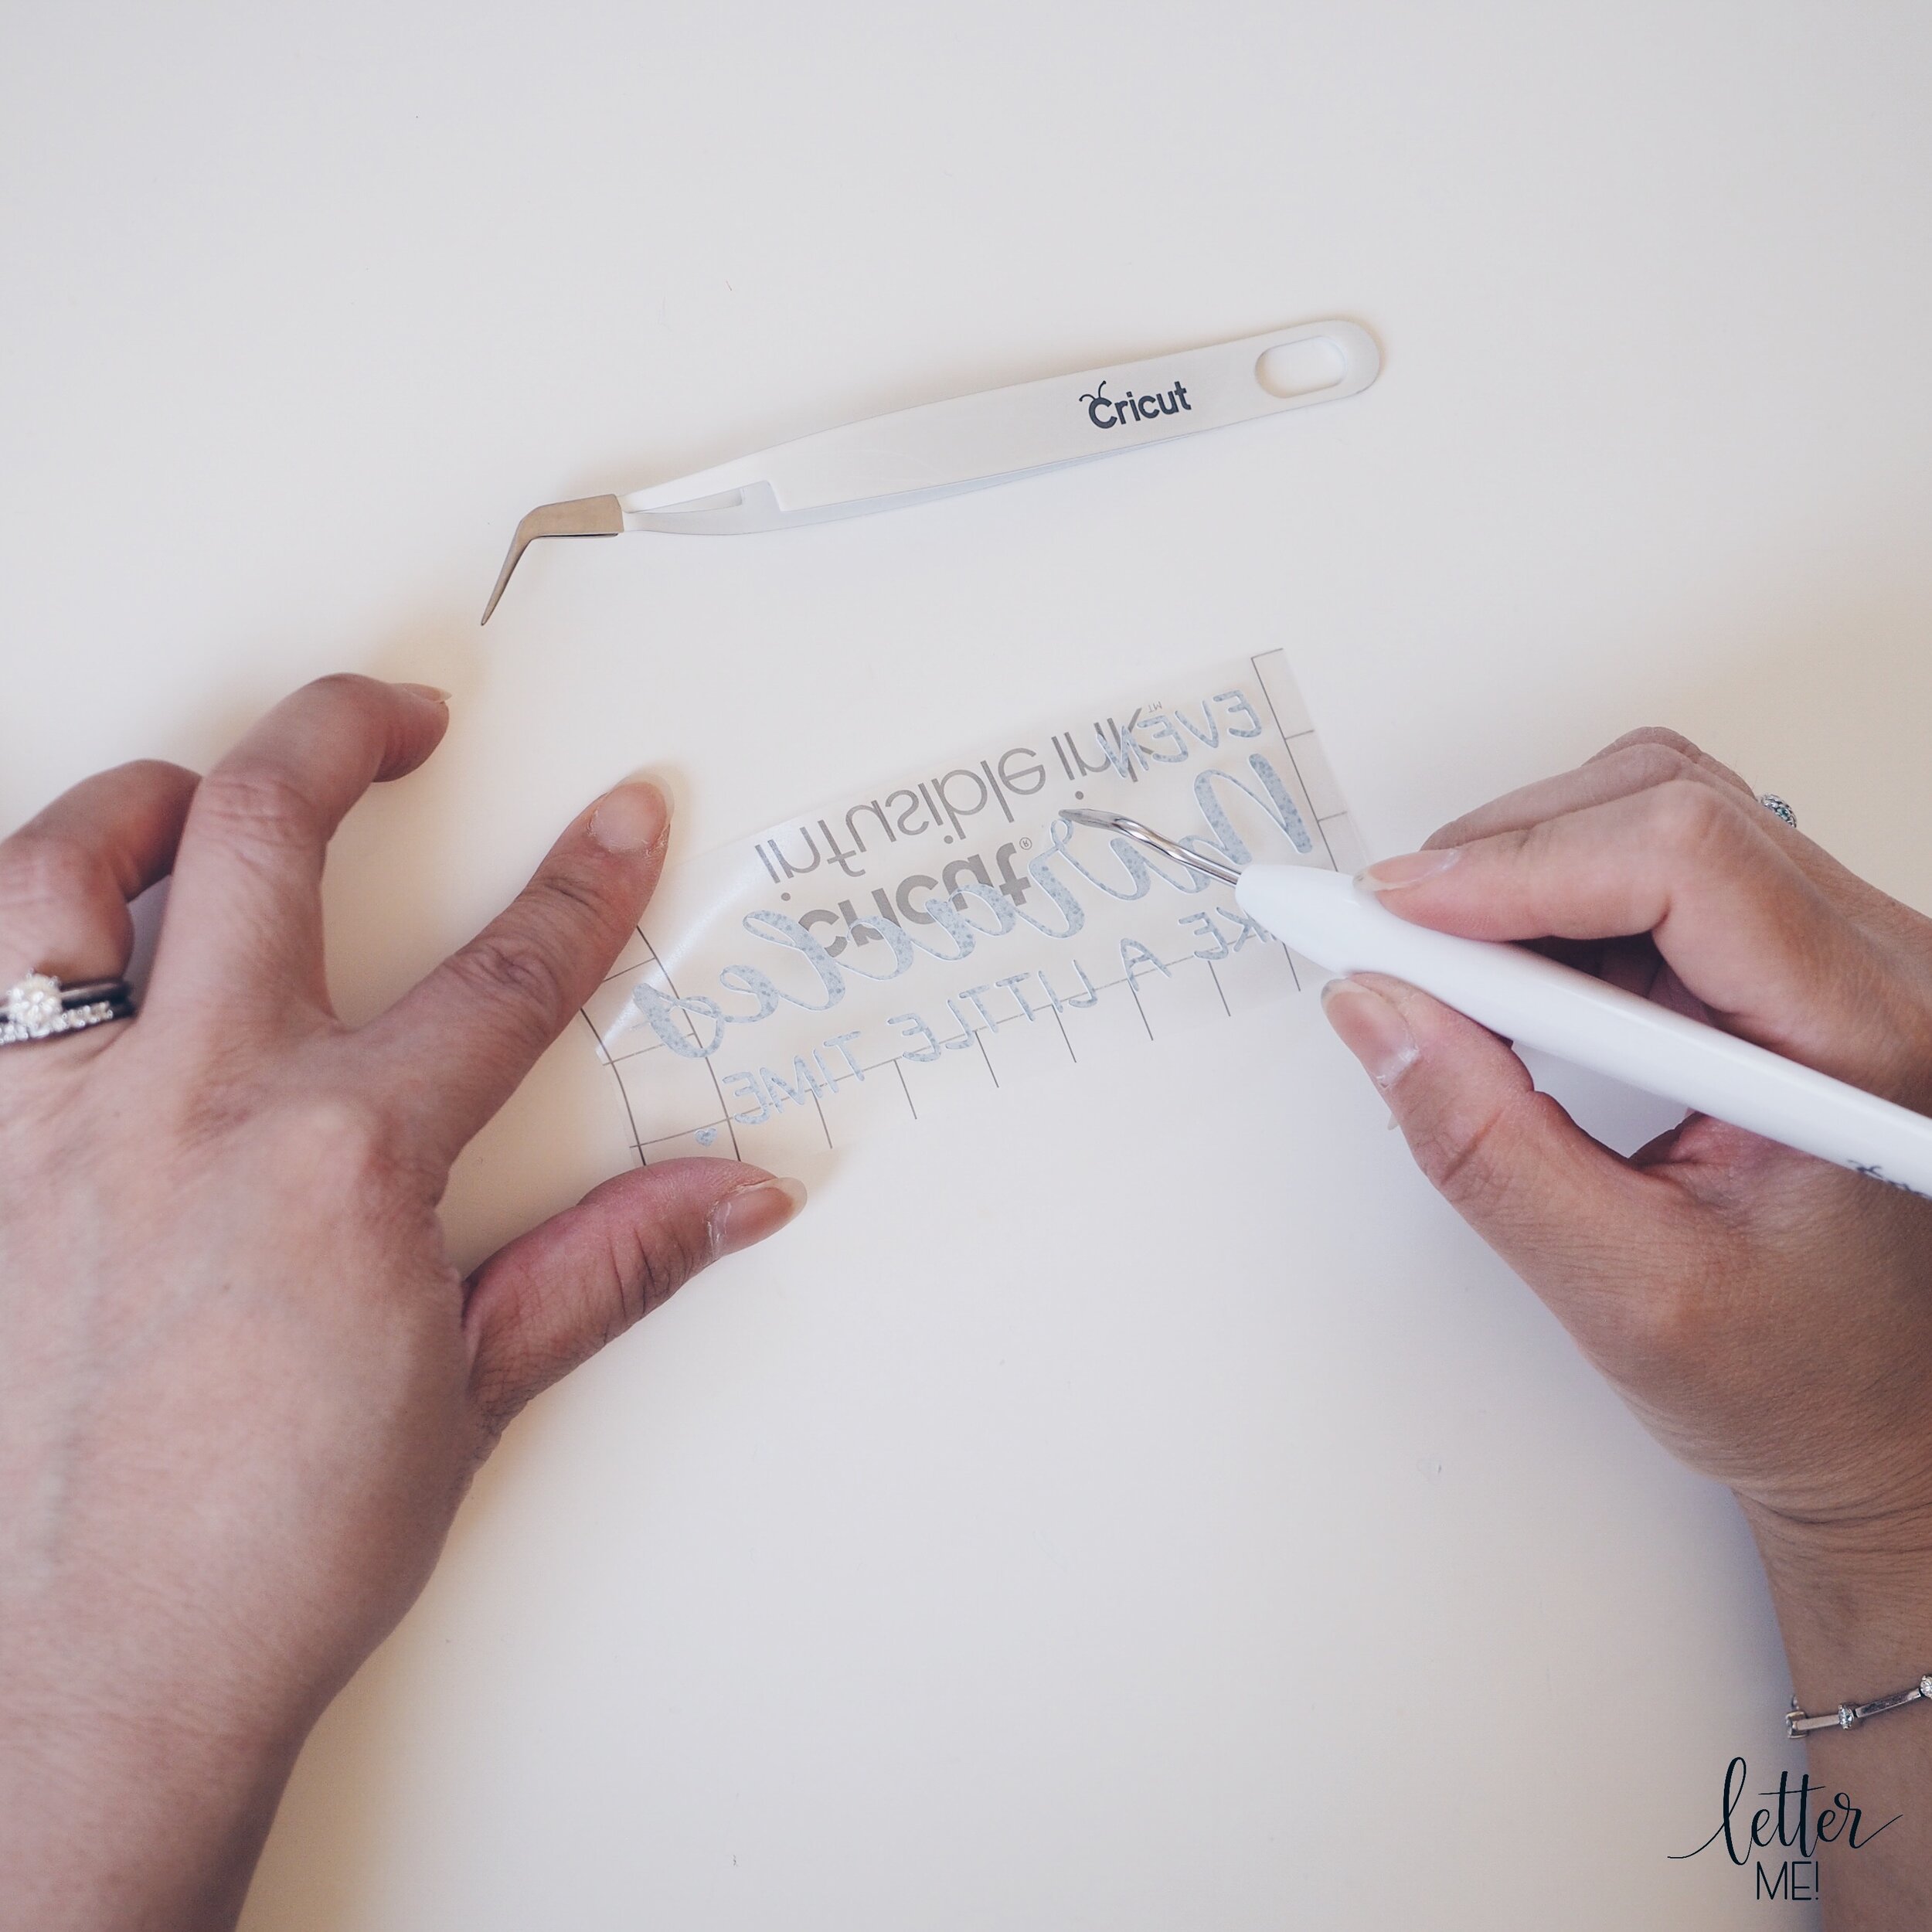
Unload your mat, and gently remove your cut design off the StandardGrip mat. Keep your design on the clear liner (do not remove it off the liner as you will be ironing over this!), using the “rolling and cracking” technique, lightly roll your design to separate the design from the excess. Then you crack the cut and peel off the excess paper. You may use a weeding tool or tweezers to assist with removing smaller excess bits and the negative space.

FE35BA84-D9B9-4DBD-B4E5-3FA76DA86ED2.JPG
D144FECA-7292-4856-8349-F5644D22B761.JPG
3DFD1FF2-671C-4D11-B617-C3B112E53C79.JPG

Step Six:

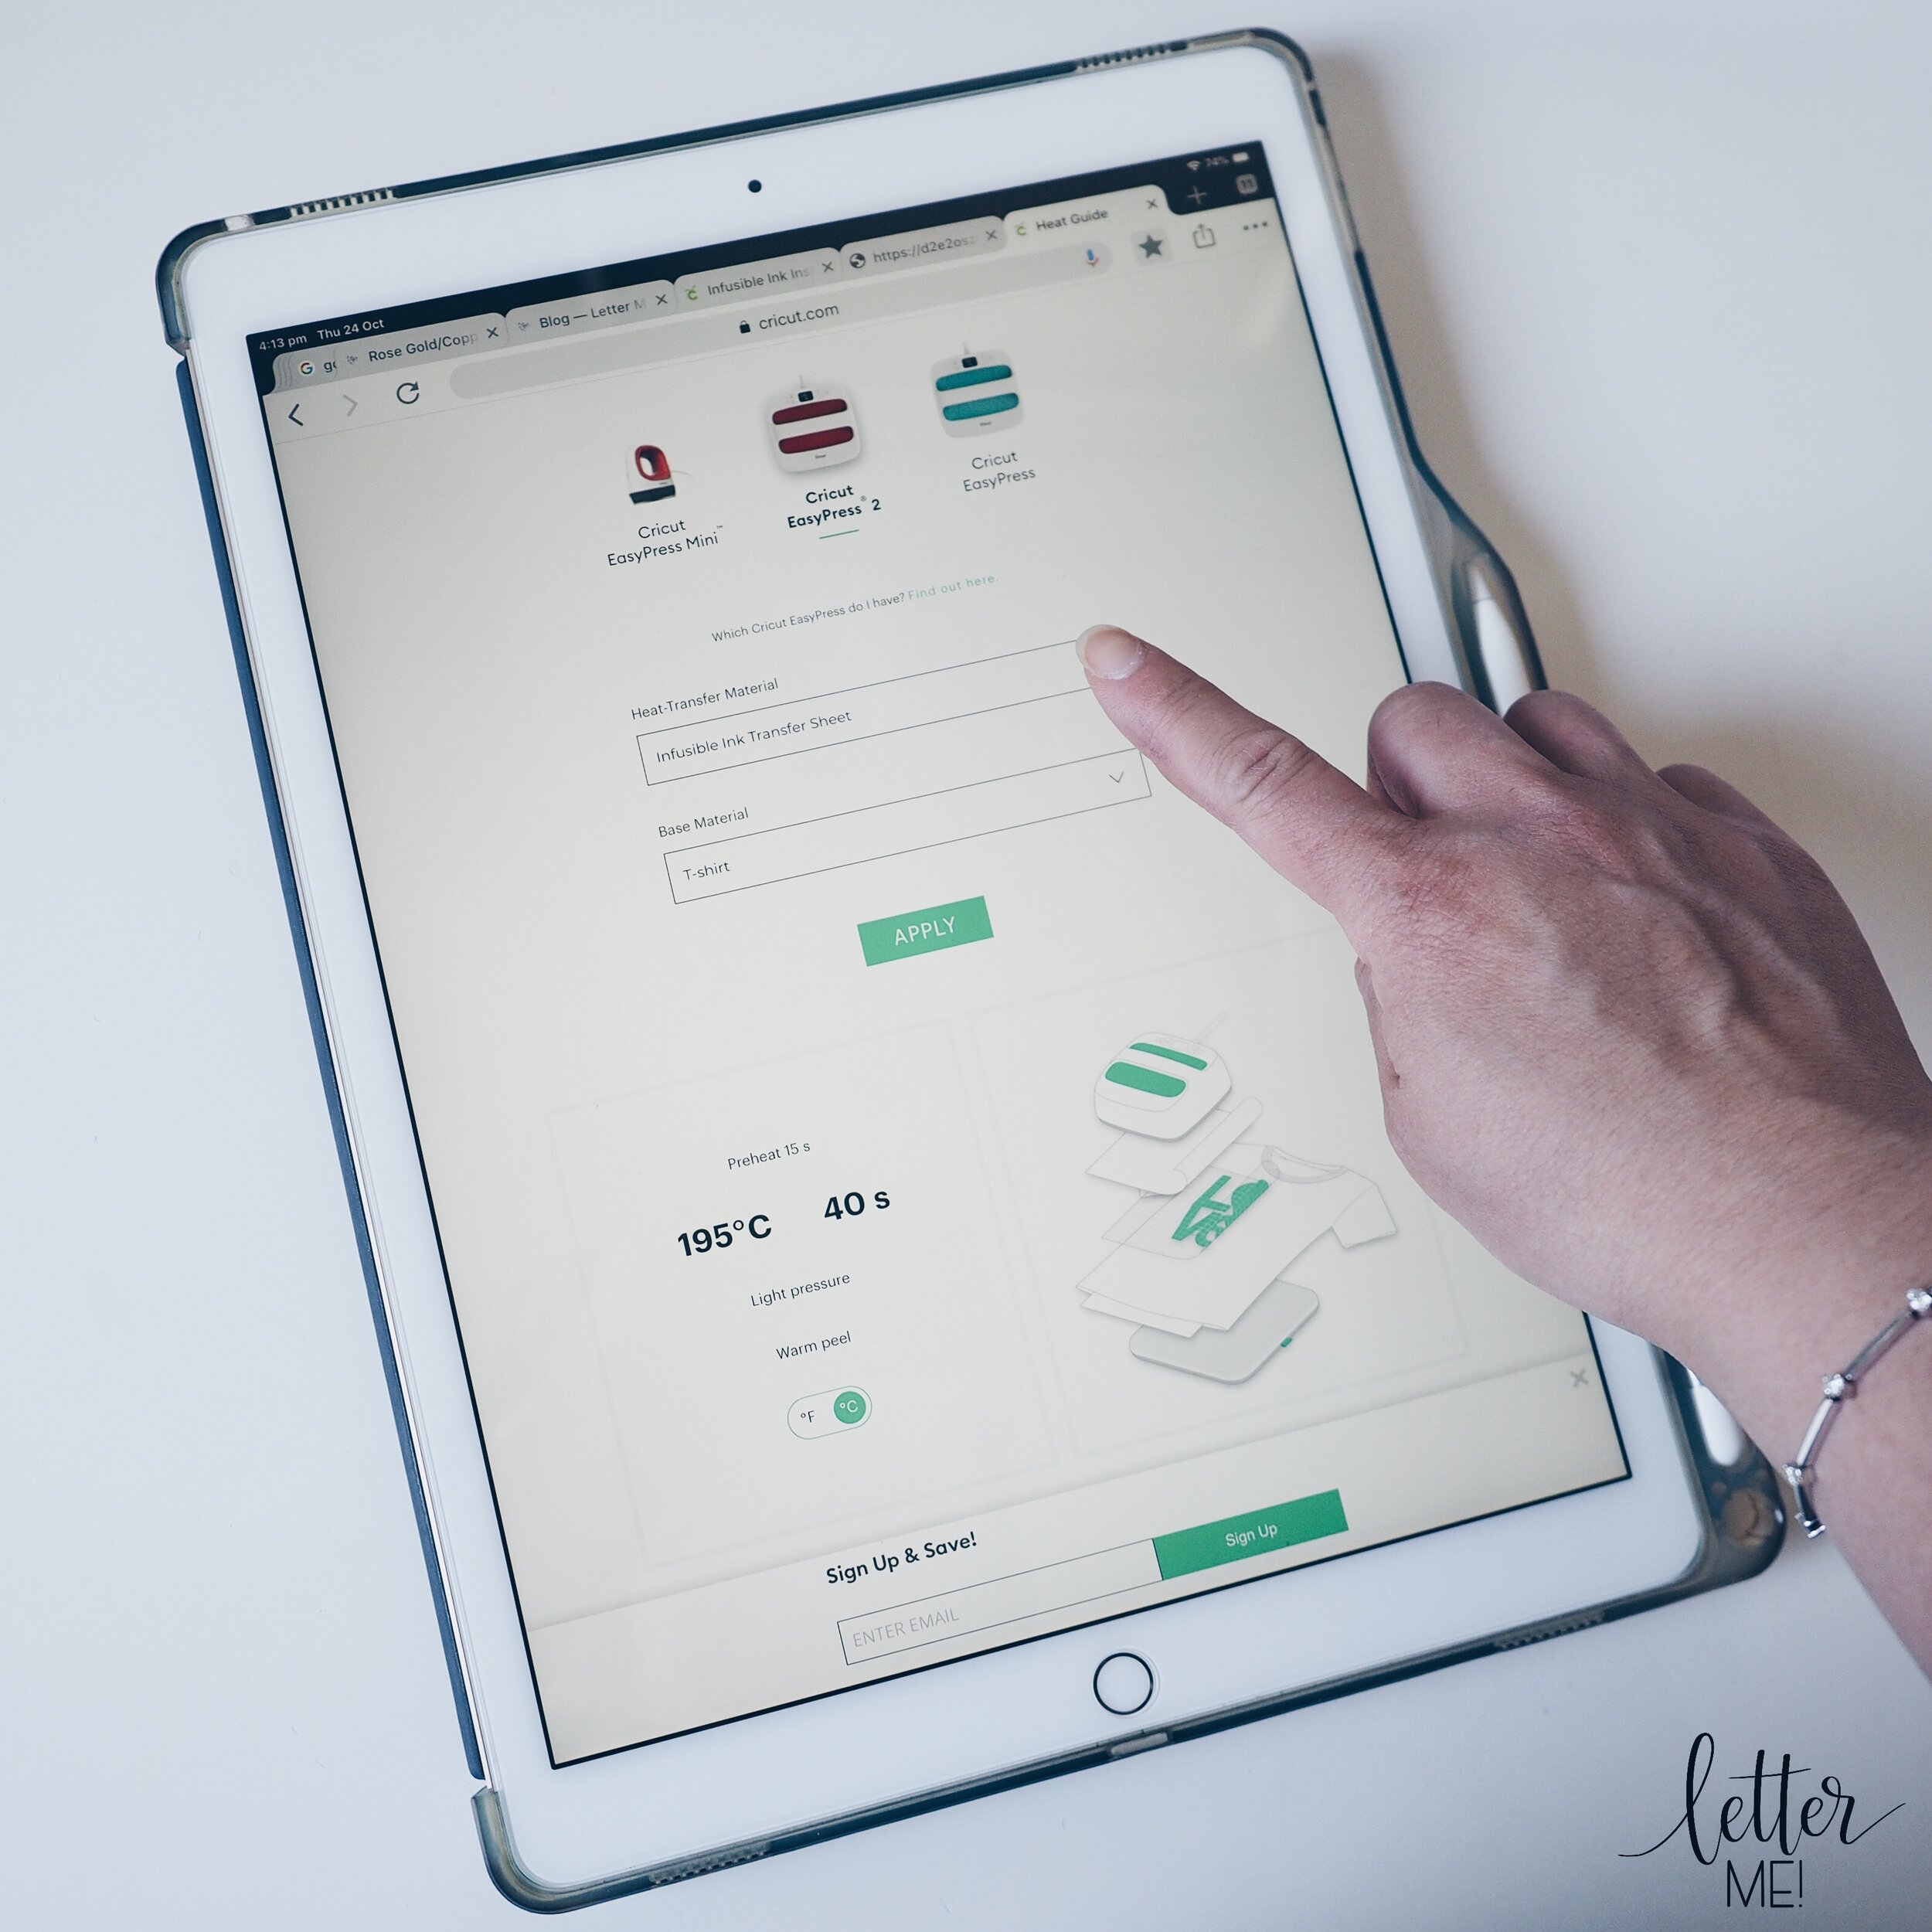
Prep your Easy Press 2 and your garment. To find out the exact heat settings suitable for your project, use the free online resource, Cricut Heat Guide.

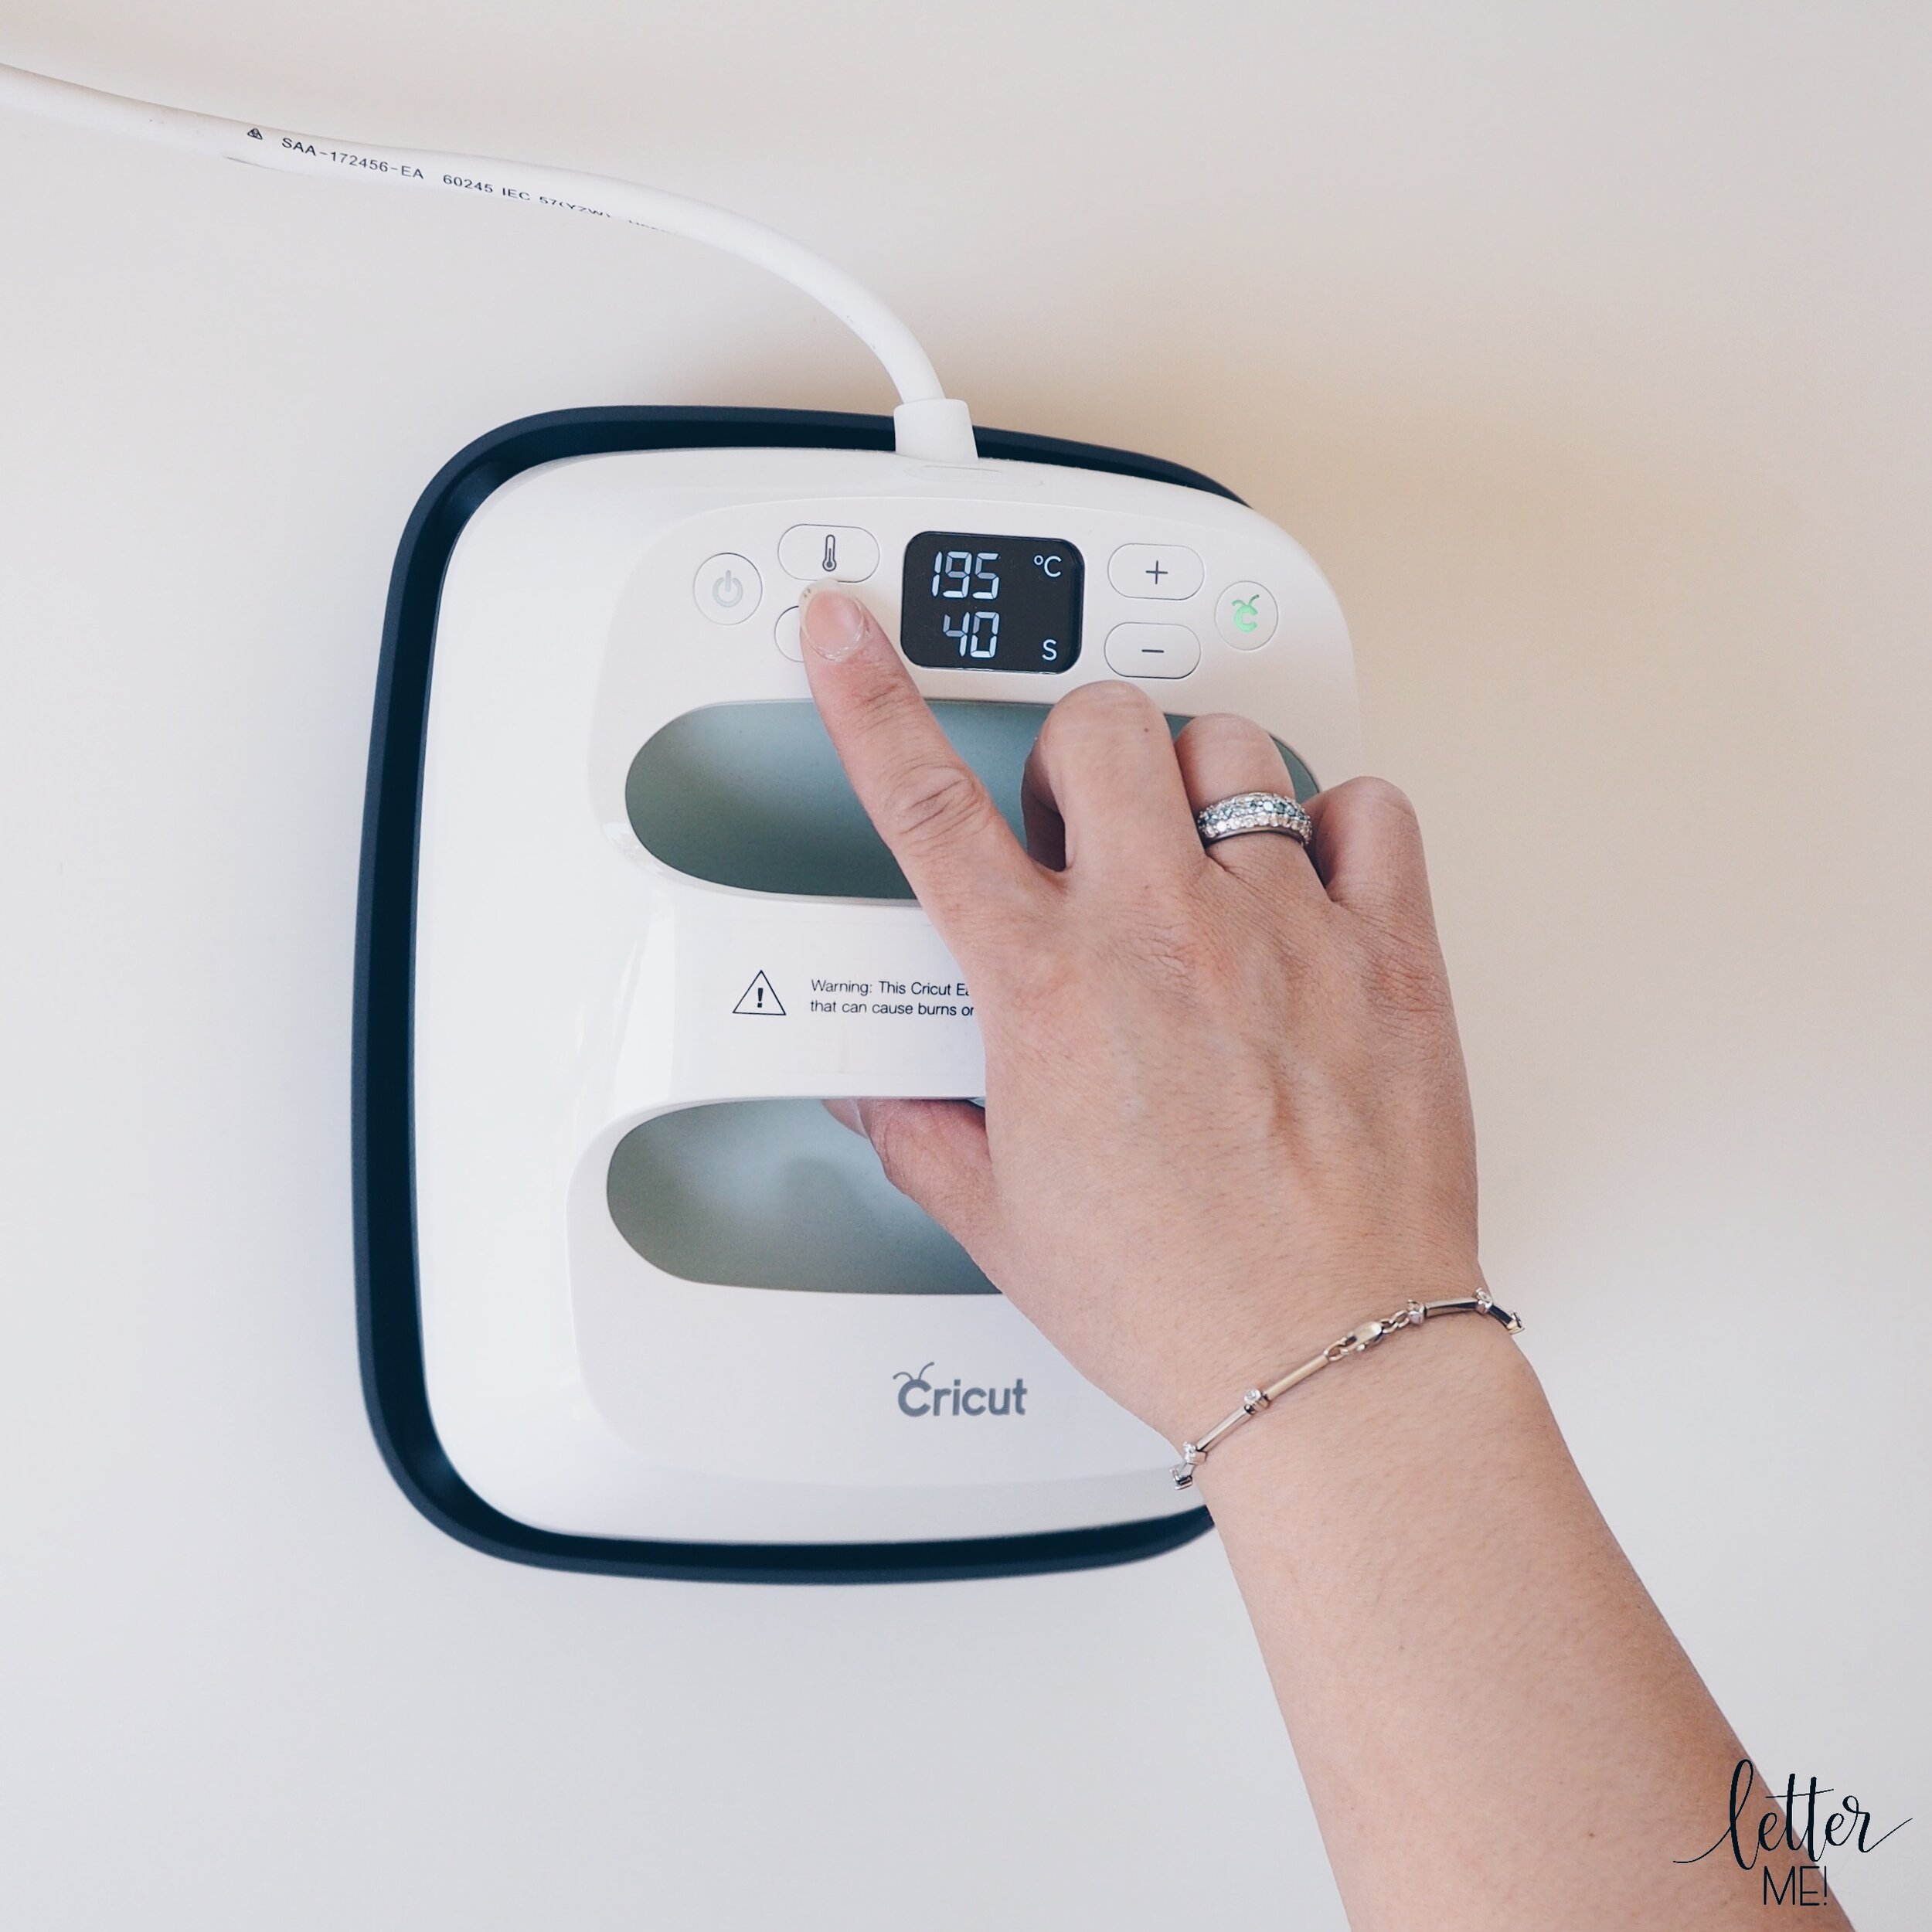
For this project, I heated my EasyPress to 195 degrees celcius, then ironed my baby onesie for 15 seconds using the EasyPress on the EasyPress Mat, so that the surface was wrinkle and moisture free.

305F0B19-D334-4CB3-9C74-3C605A23CA19.JPG
9BECC21E-434B-4846-9EA5-B32C07A10886.JPG

Step Seven:

Place a piece of cardboard inside your garment to protect the garment and the EasyPress Mat from the Infusible Ink. For my onesie, I had to unbutton the bottom and insert the cardboard through the bottom.

51718B28-3968-473A-81B4-E3699ABC7A7F.JPG

Step Eight:

Use a lint roller to remove any dust, lint, debris or fibre from the surface of your garment.

FF4B2BB9-3C07-4F2B-A39A-049E431B3276.JPG

Step Nine:

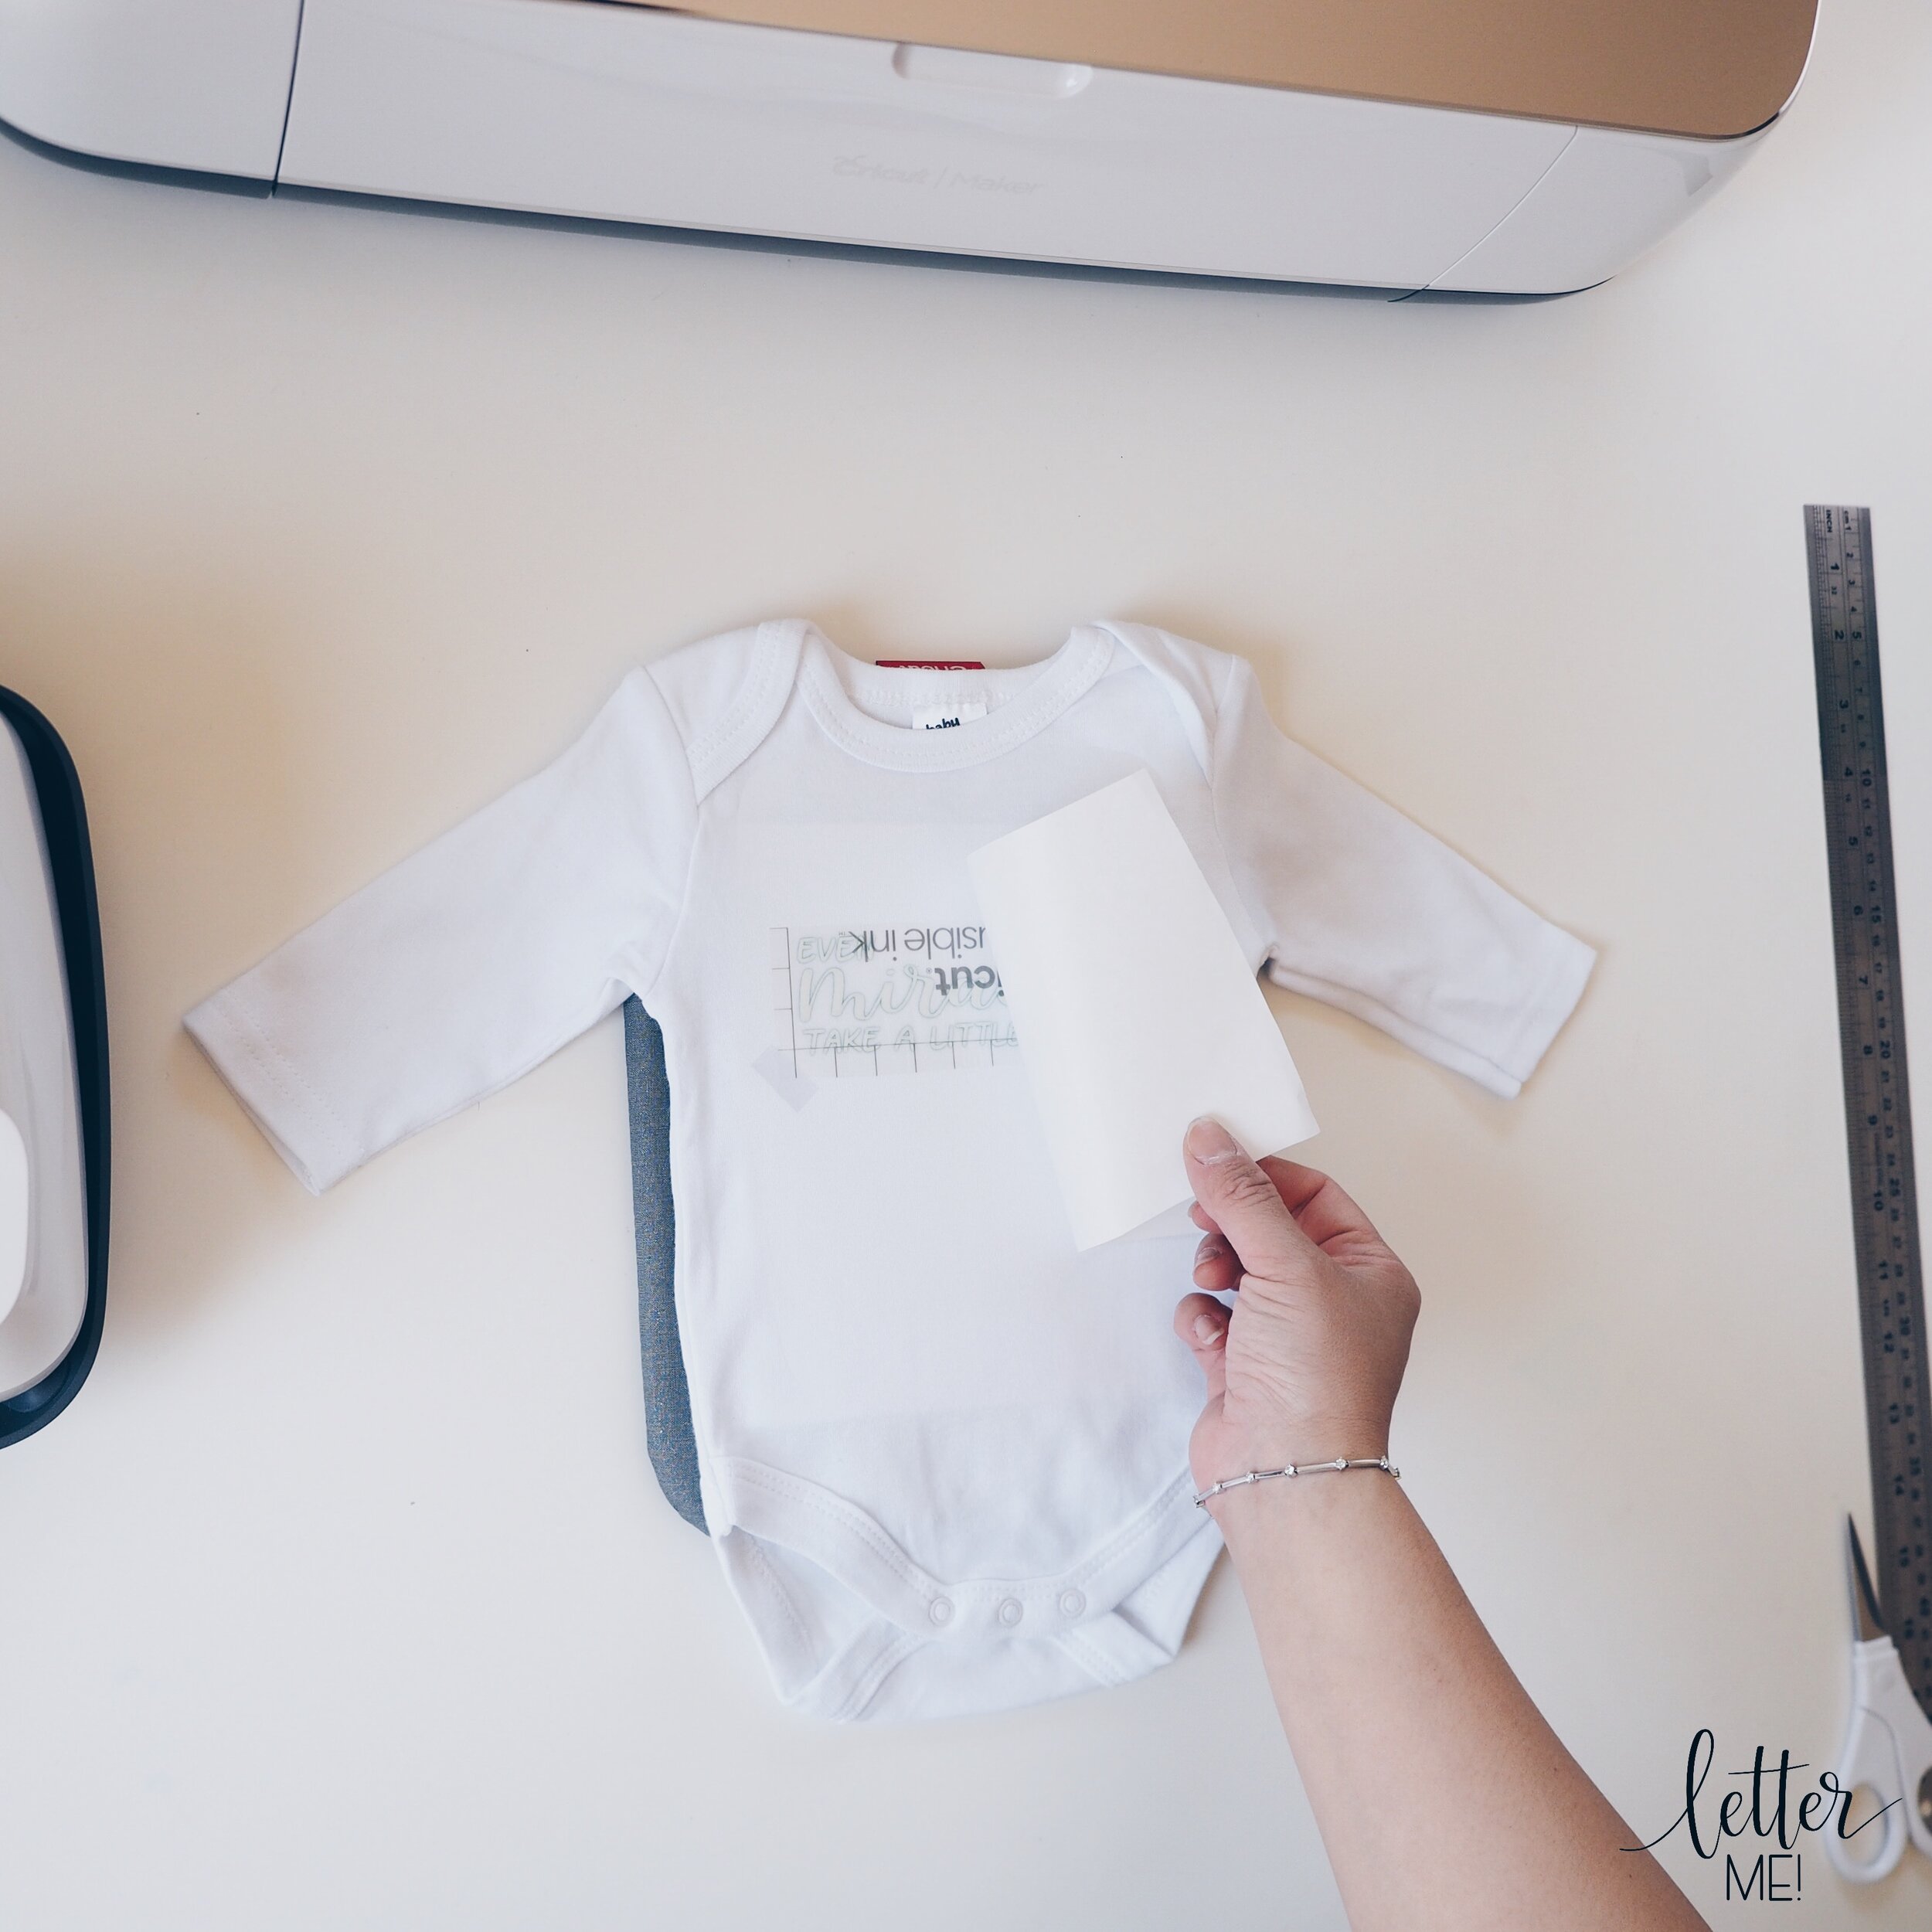
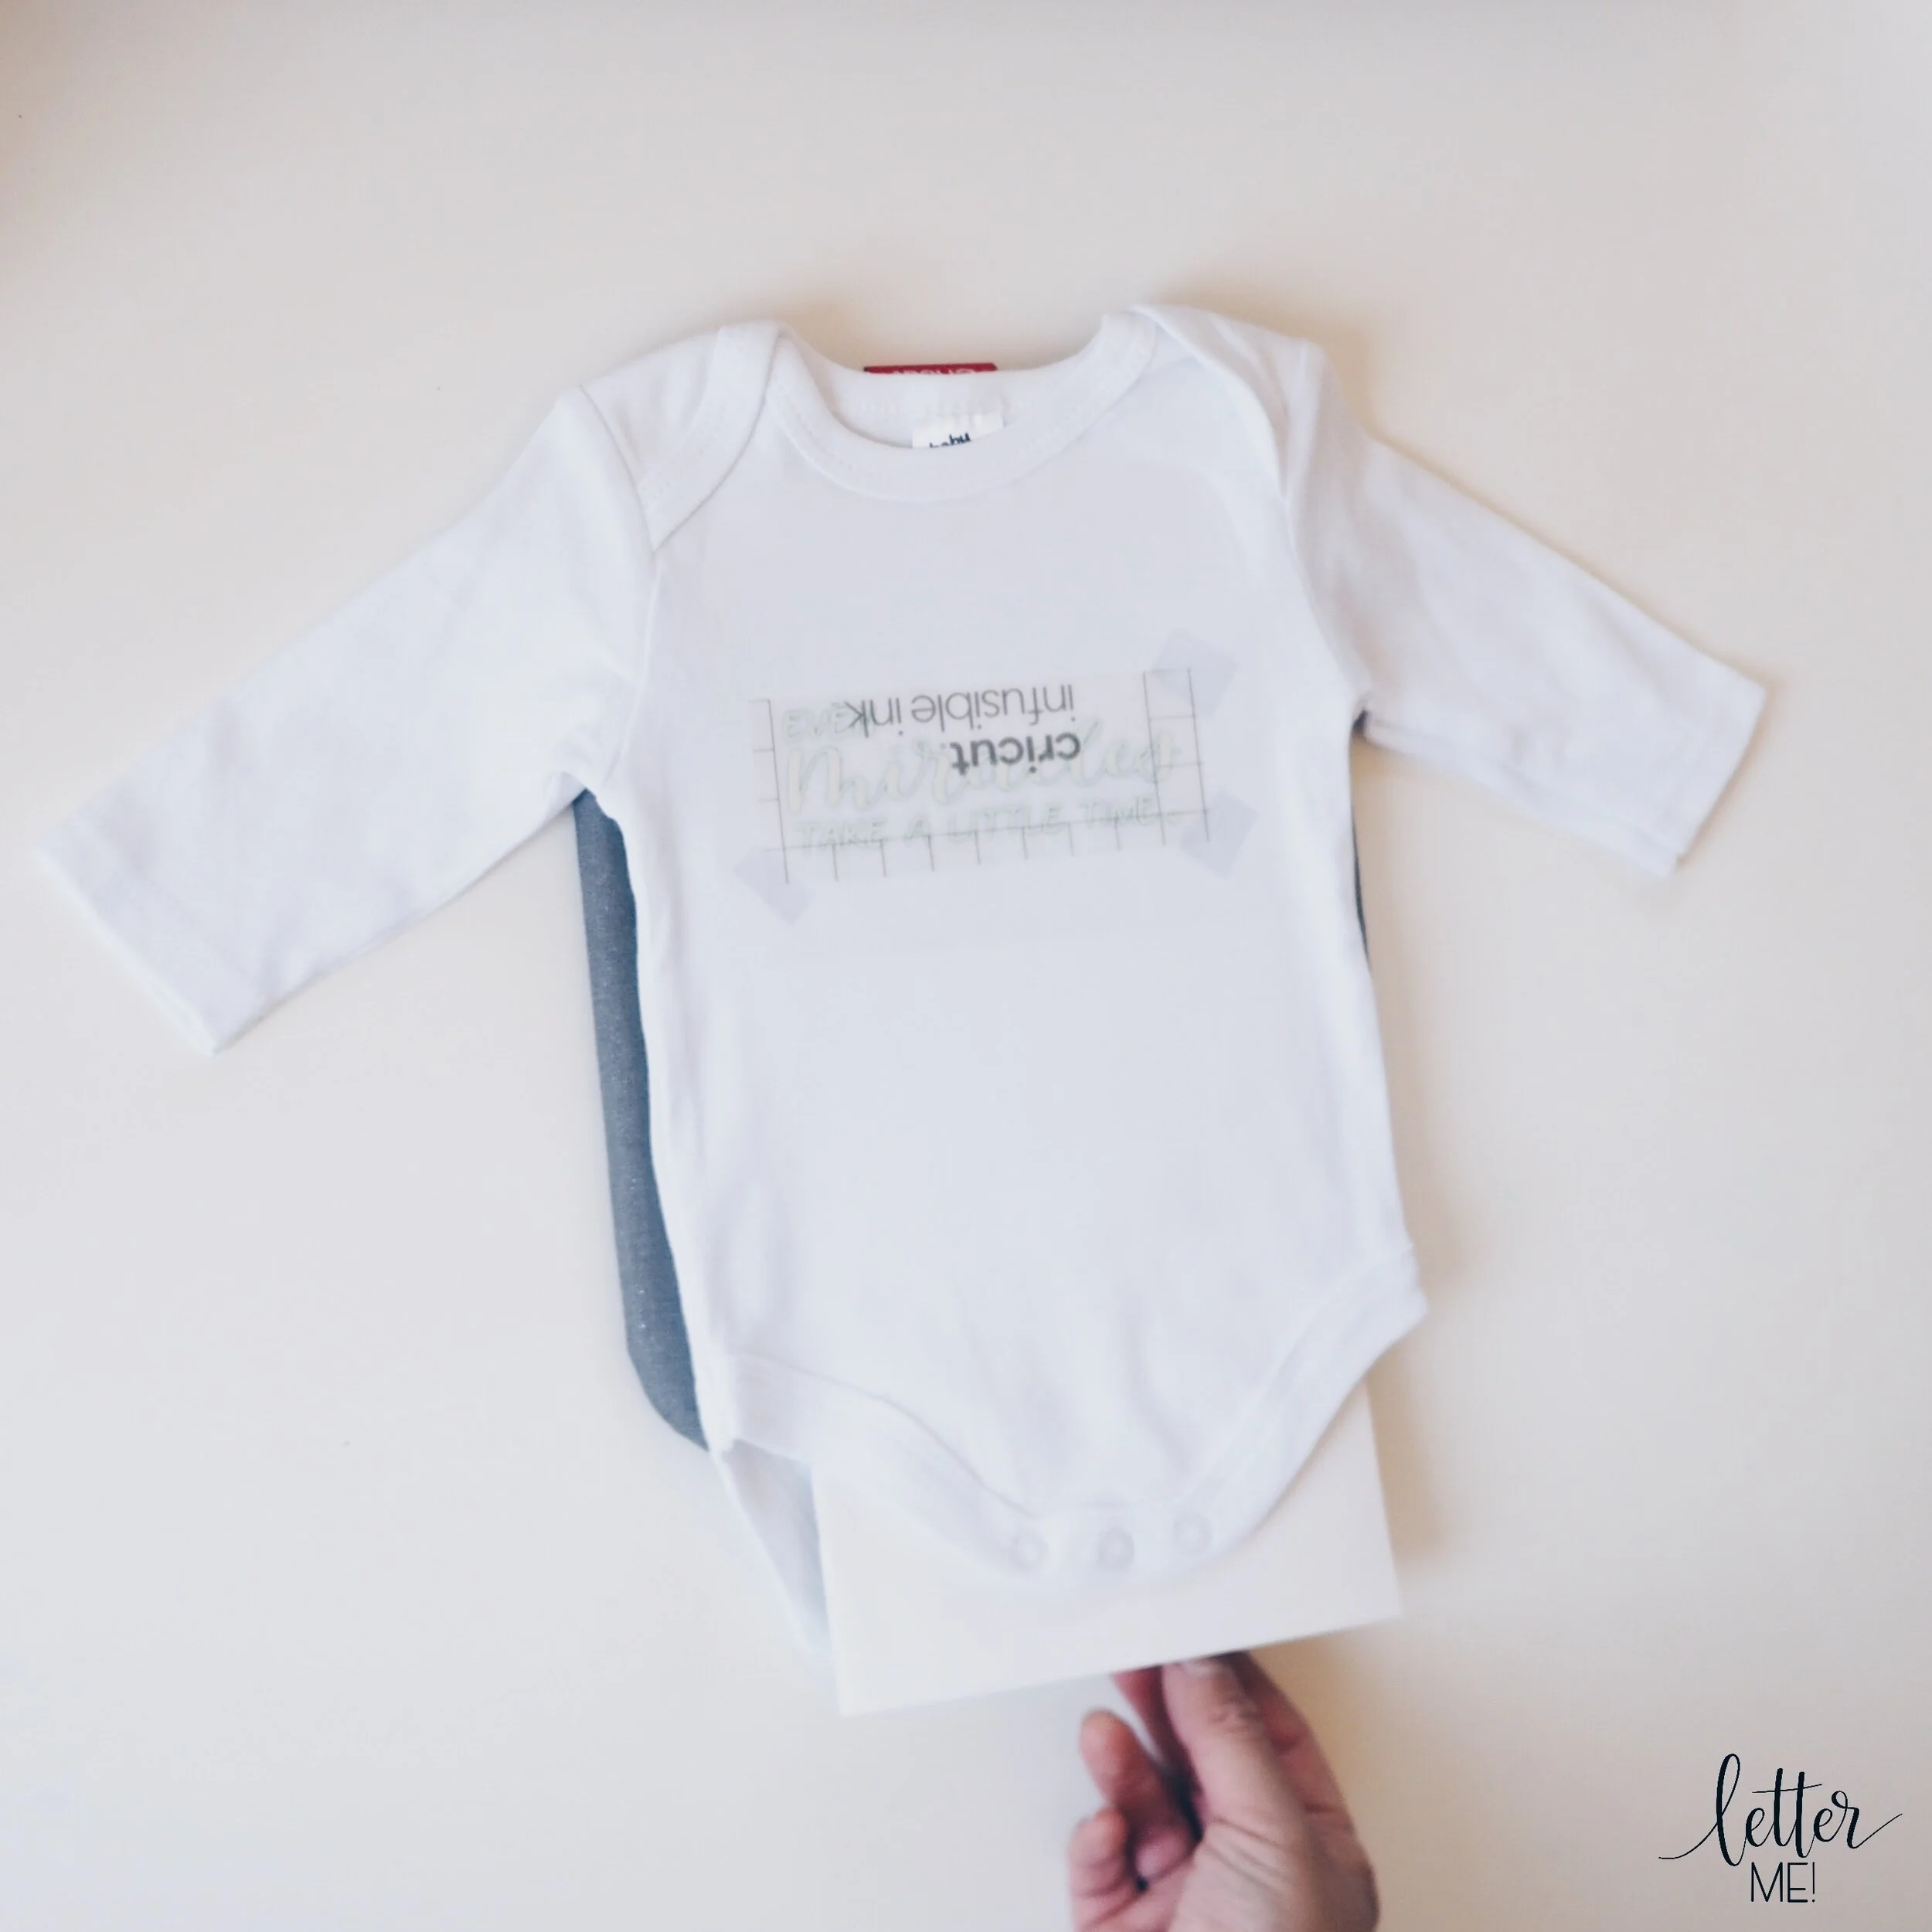
Place your design on your garment, face down, with the clear liner facing upwards. Your design should be the right way up. For me, I could read “Even miracles take a bit of time”. You may use heat proof tape to hold your design down if you are worried about it moving out of place.

2FFDCEEF-6ABC-46D6-B35B-97822AE8622F.JPG

Step Ten:

Cover your design with butcher paper (included with the Infusible Ink Transfer Sheets). Make sure that the butcher paper is larger than the heat plate of the EasyPress.

DB86D38F-660D-436F-A5BF-FA0DC077A6AA.JPG

Step Eleven:

Now you are ready to press your design! Press the EasyPress down on your garment for 40 seconds at the recommended temperature (mine was at 195 degrees celsius). Keep the EasyPress steady so that the Infusible Ink does not move during the transfer. When the EasyPress beeps, slowly remove the EasyPress without moving the butcher paper or the transfer sheet.

96A34956-822F-4AC1-BFCC-E42DAF73D3DC.JPG

Step Twelve:

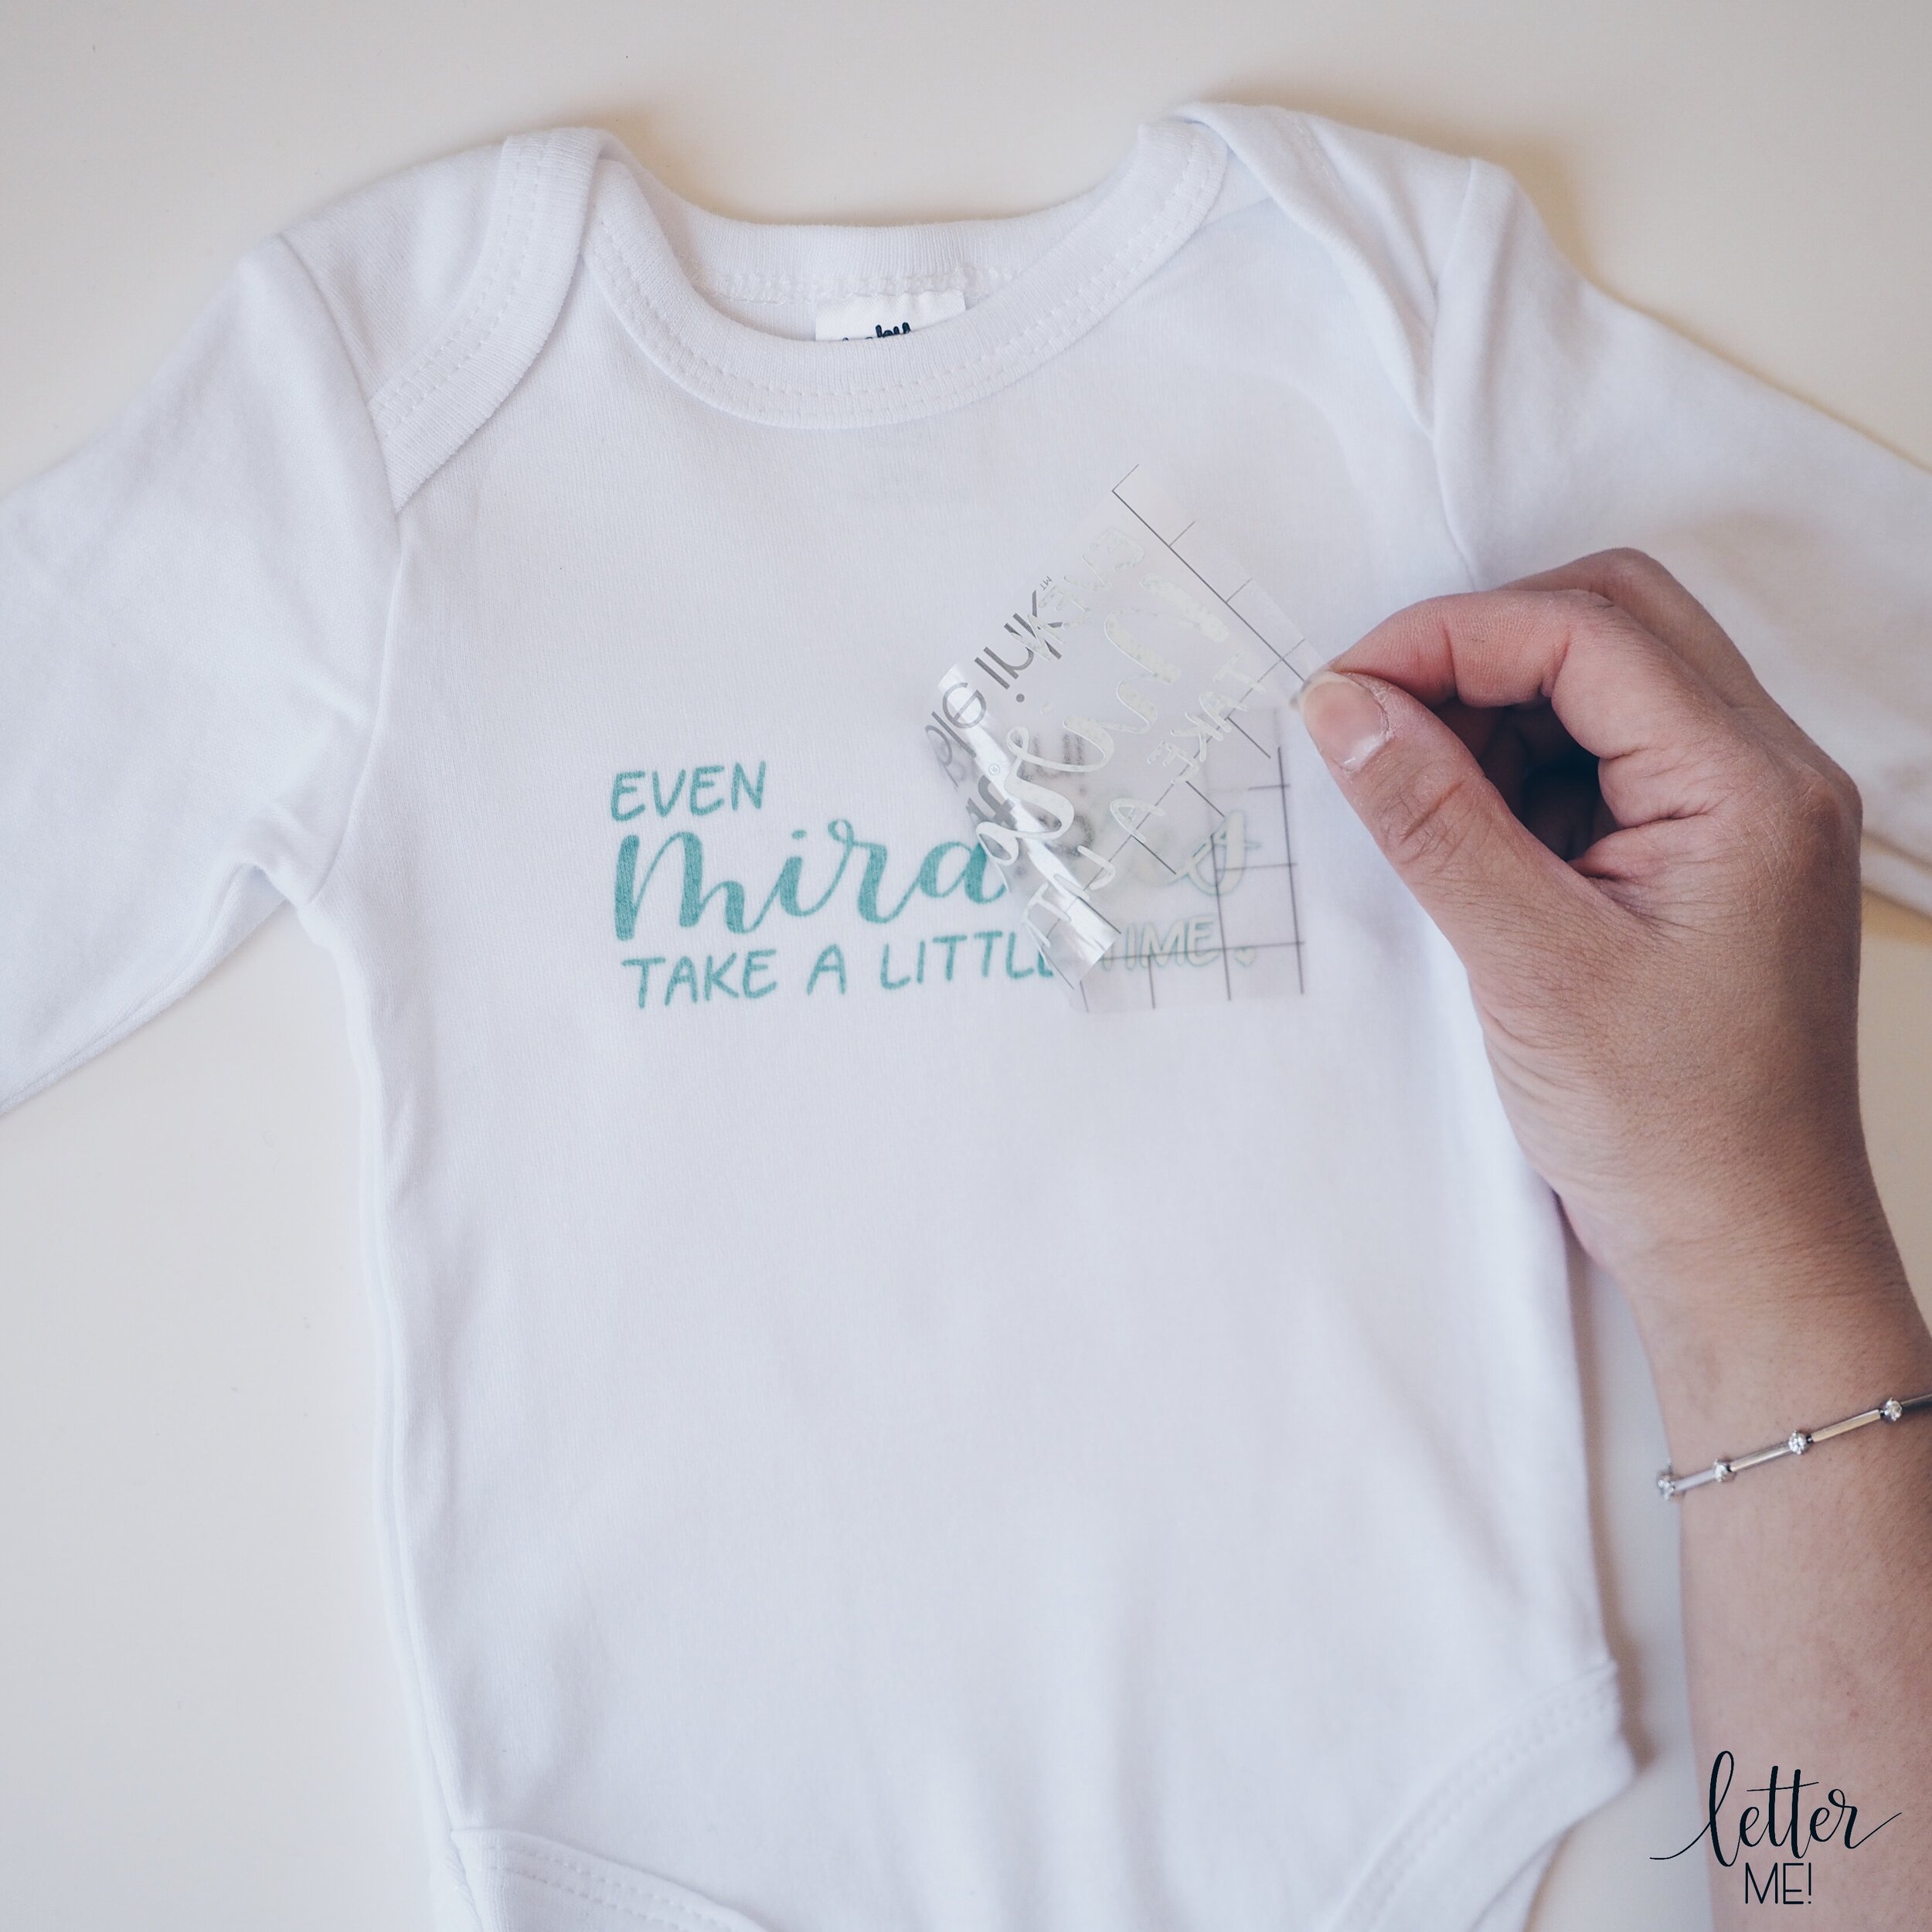
Wait patiently (very difficult for me!) for your garment to cool. Once it is cool, slowly remove the butcher paper and carefully peel off the liner with the design on it.

B826B877-6521-4DCB-8664-9D94E5D6863C.JPG
E4C1BB9B-CD41-4D46-820E-CE26B4195ED1.JPG
117D84E2-2B5A-4EE4-80B1-E84C88F6AE82.JPG

Voila!!!!!! The transfer is complete!!!

54704E0A-5407-4DD3-8BC1-D6C30012AA11.JPG

My first thoughts:

  • First touch: the Infusible Ink Transfer Sheets felt much more thicker than the regular iron-on / HTV; more like rough cardboard on one side, and the shiny, clear transfer backing with gridlines on the other side

  • First experience: instead of using a weeding tool to remove the excess / negative spaces of regular iron-on/HTV, you cant just weed the excess off as the cardboard layers separate. To remove the excess, you need to do the “rolling and cracking” technique, where you gently roll your design to separate the design from the excess. Then you crack the cut and peel off the excess paper. Just like with regular HTV, I can see that it will get easier and quicker with more experience.

  • First visual observation: the colour I chose for my first project seems a bit muted, unlike the vibrant glitters and colours I am used to with the regular Cricut iron-on. However, from the photos and videos I’ve seen of Infusible Ink, I’m sure the other transfer sheets are more vibrant and I had simply selected a more pastel option for this first project.

  • The image (in my case, my calligraphy), seemed to be less “sharp” than what I have been accustomed to with heat transfer vinyl. This would be because the Cricut is capable of cutting the most intricate detail, that would usually sit on top of the fabric. Now that it is infused into the fabric instead of sitting on top, it appears to be more softer.

  • First physical observation: definitely more durable than heat transfer vinyl as the ink is infused into the fabric instead of on top. I could stretch the fabric, rub at it, and not worry that the “iron-on” would crack or peel.

Final words: I can most definitely see great potential with this new technique, especially in the future as new transfers are developed and more materials are made available. Although this is much more durable and is very exciting, I am not concerned that Infusible Ink will make HTV redundant any time soon, as glitter and foil iron-ons are still very desirable, and many applications still work better with heat transfer vinyl applied on top, rather than infused in.

I can’t wait to see what other products Cricut develops for Infusible Ink. I look forward to going on this Infusible Ink journey with you. Next project, I’m going to try the Infusible Ink pens! Can’t wait.

Liz xx.jpg
tags: cricut explore, cricut maker, easypress, cricut easypress, easypress2, cricut EasyPress2, infusible ink, heat transfer, iron on, baby onesie, modern calligraphy, digital lettering, ipad lettering, first impressions, heat press, personalised, personalisation
categories: Craft, Calligraphy, Lettering, Cricut
Thursday 10.24.19
Posted by Liz Tu
Comments: 4
 

DIY Inspirational Graduation Cap

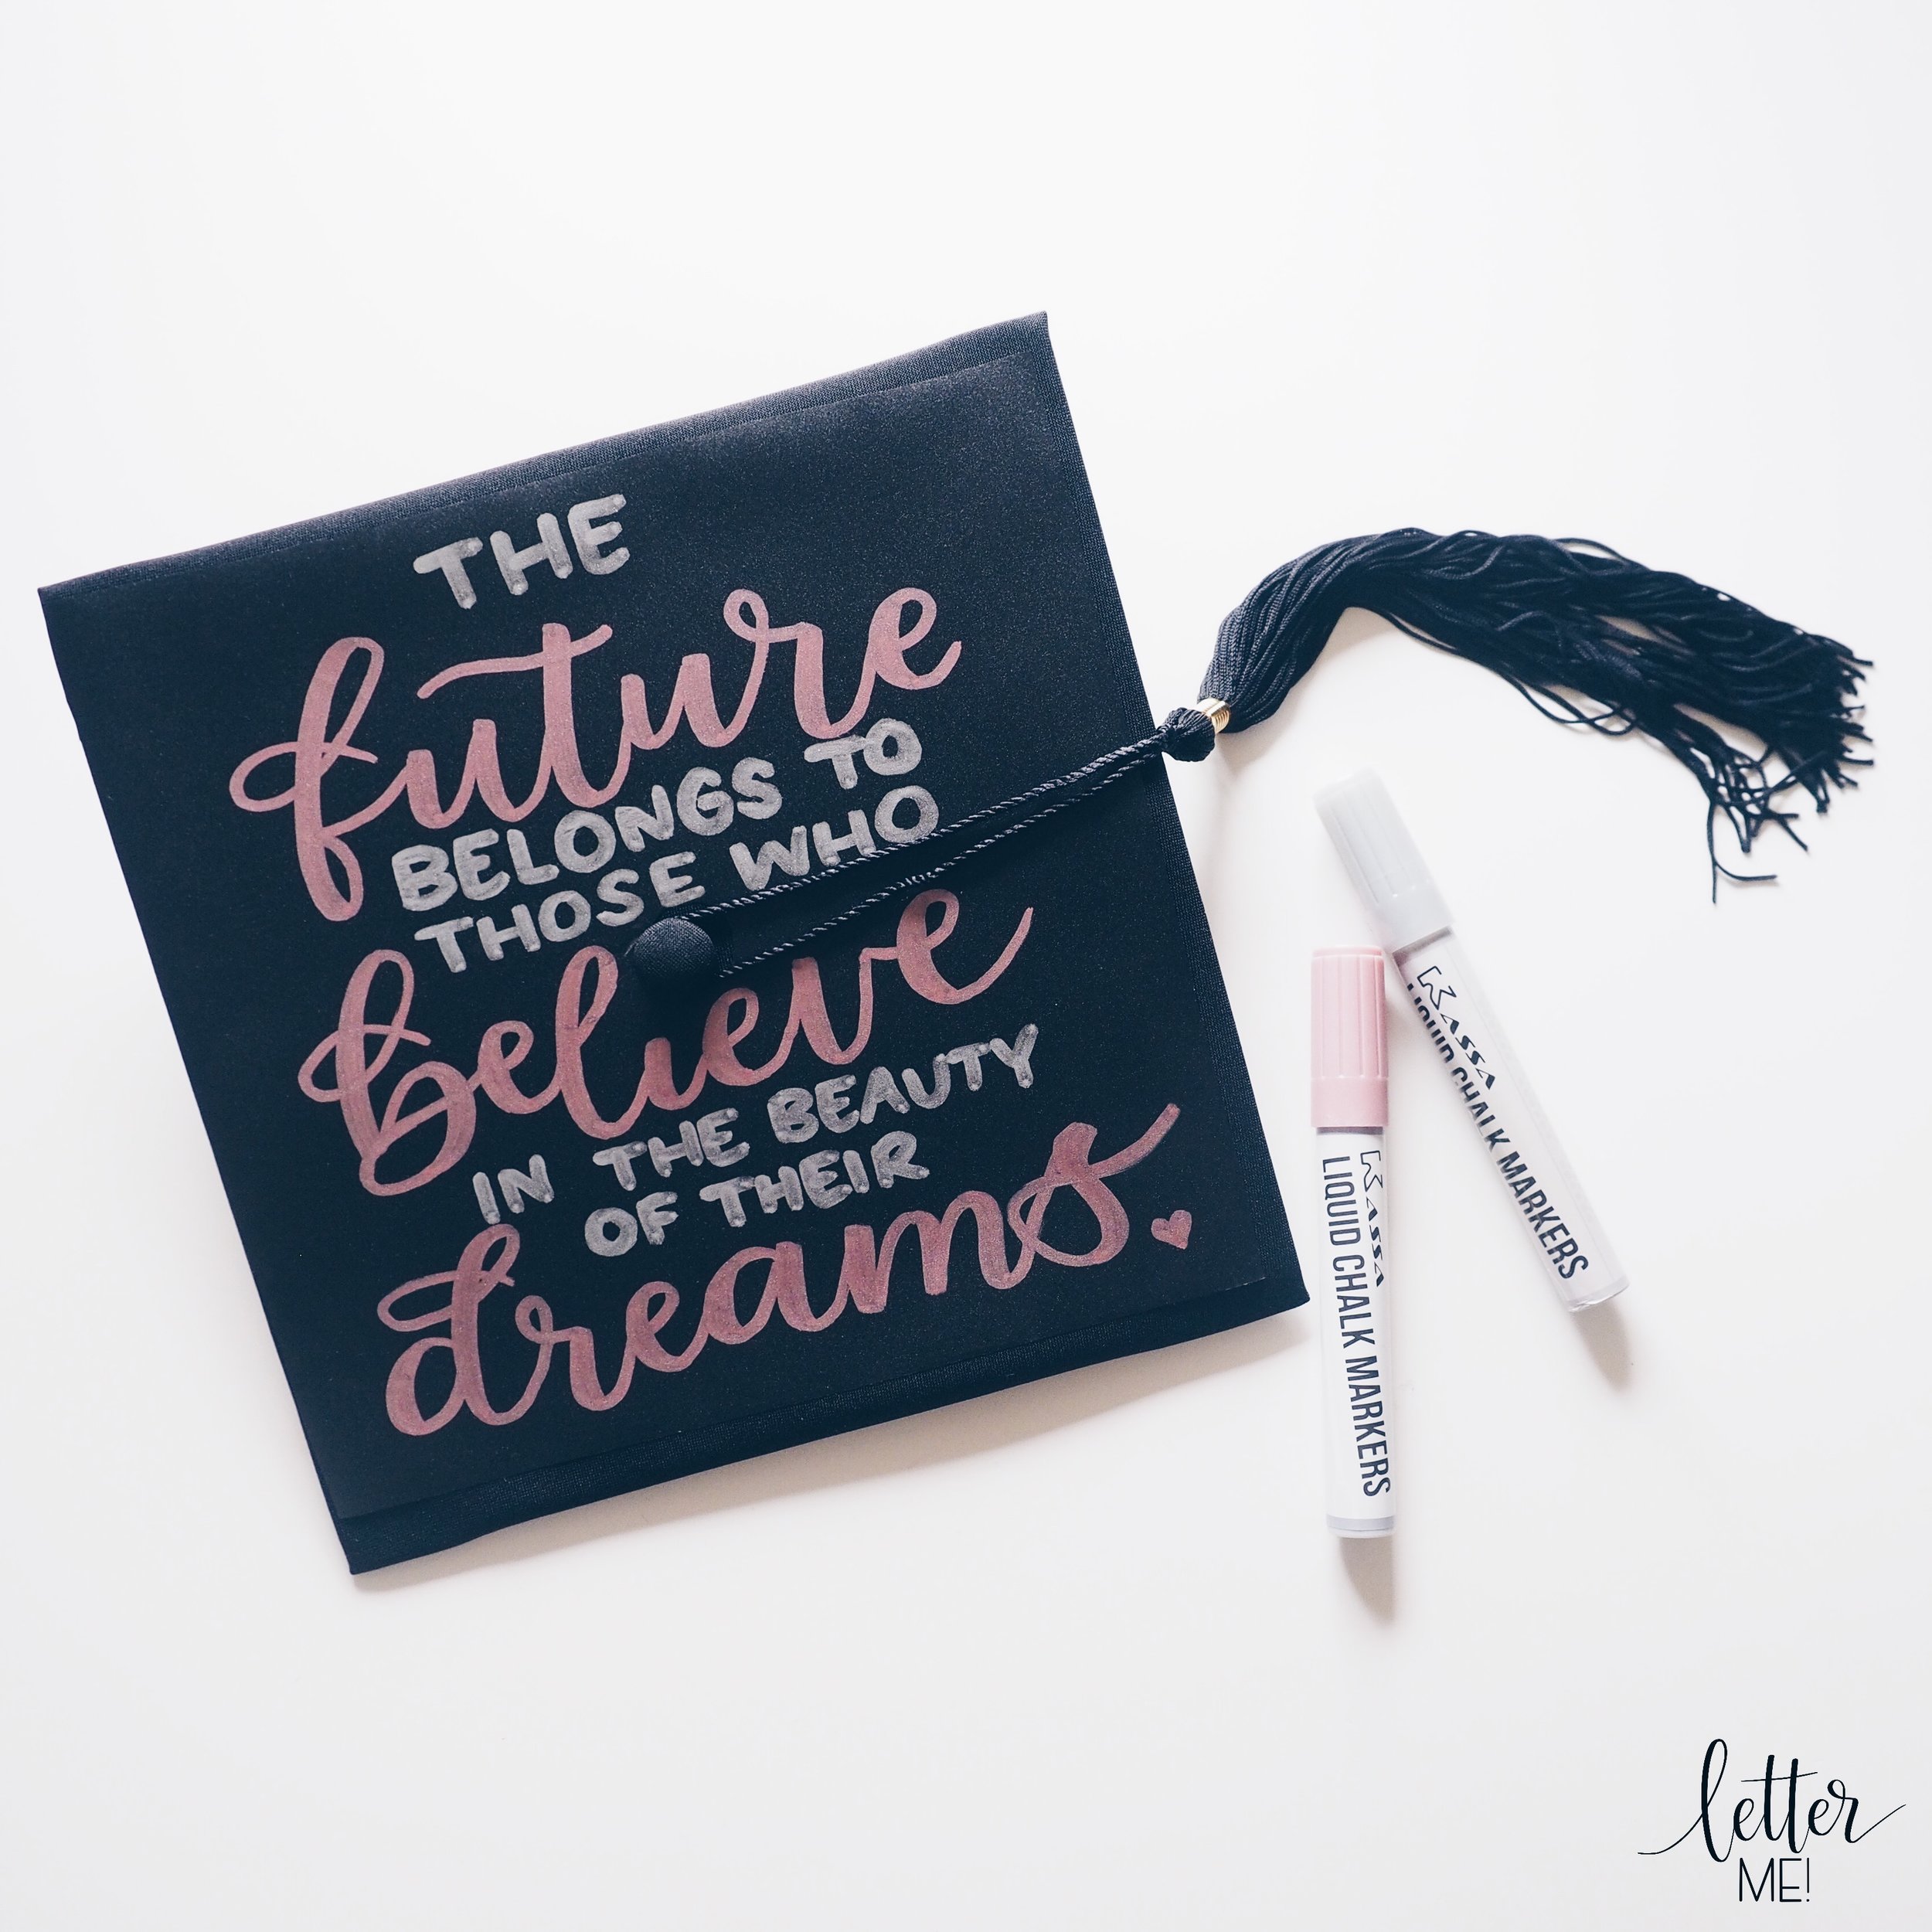
My friends at Kassa asked me to create this blog for them as Graduation Season is approaching in the USA. I had so much fun creating this DIY Inspirational Graduation Cap tutorial for them that I just had to share it on my page as well!

Congratulations on reaching this incredible milestone.  Do you feel empowered to inspire and motivate others? What about further inspiring and motivating yourself? Here’s how you can personalise your picture perfect graduation cap.

View this post on Instagram

A post shared by Liz Tu | Letter Me! (@letterme_au) on Jun 4, 2019 at 5:02am PDT

2,280 Likes, 29 Comments - Liz Tu | Letter Me! (@letterme_au) on Instagram: "To those of you graduating this year, "The future belongs to those who believe in the beauty of..."

kassa A.JPG

What you will need:

Graduation cap (Mine was from Amazon, click here for a link)

Kassa Blackboard Vinyl

Scissors - https://amzn.to/2Z0ad2k

Ruler - https://amzn.to/2JRjExD

Kassa Liquid Chalk Markers

 Step One:

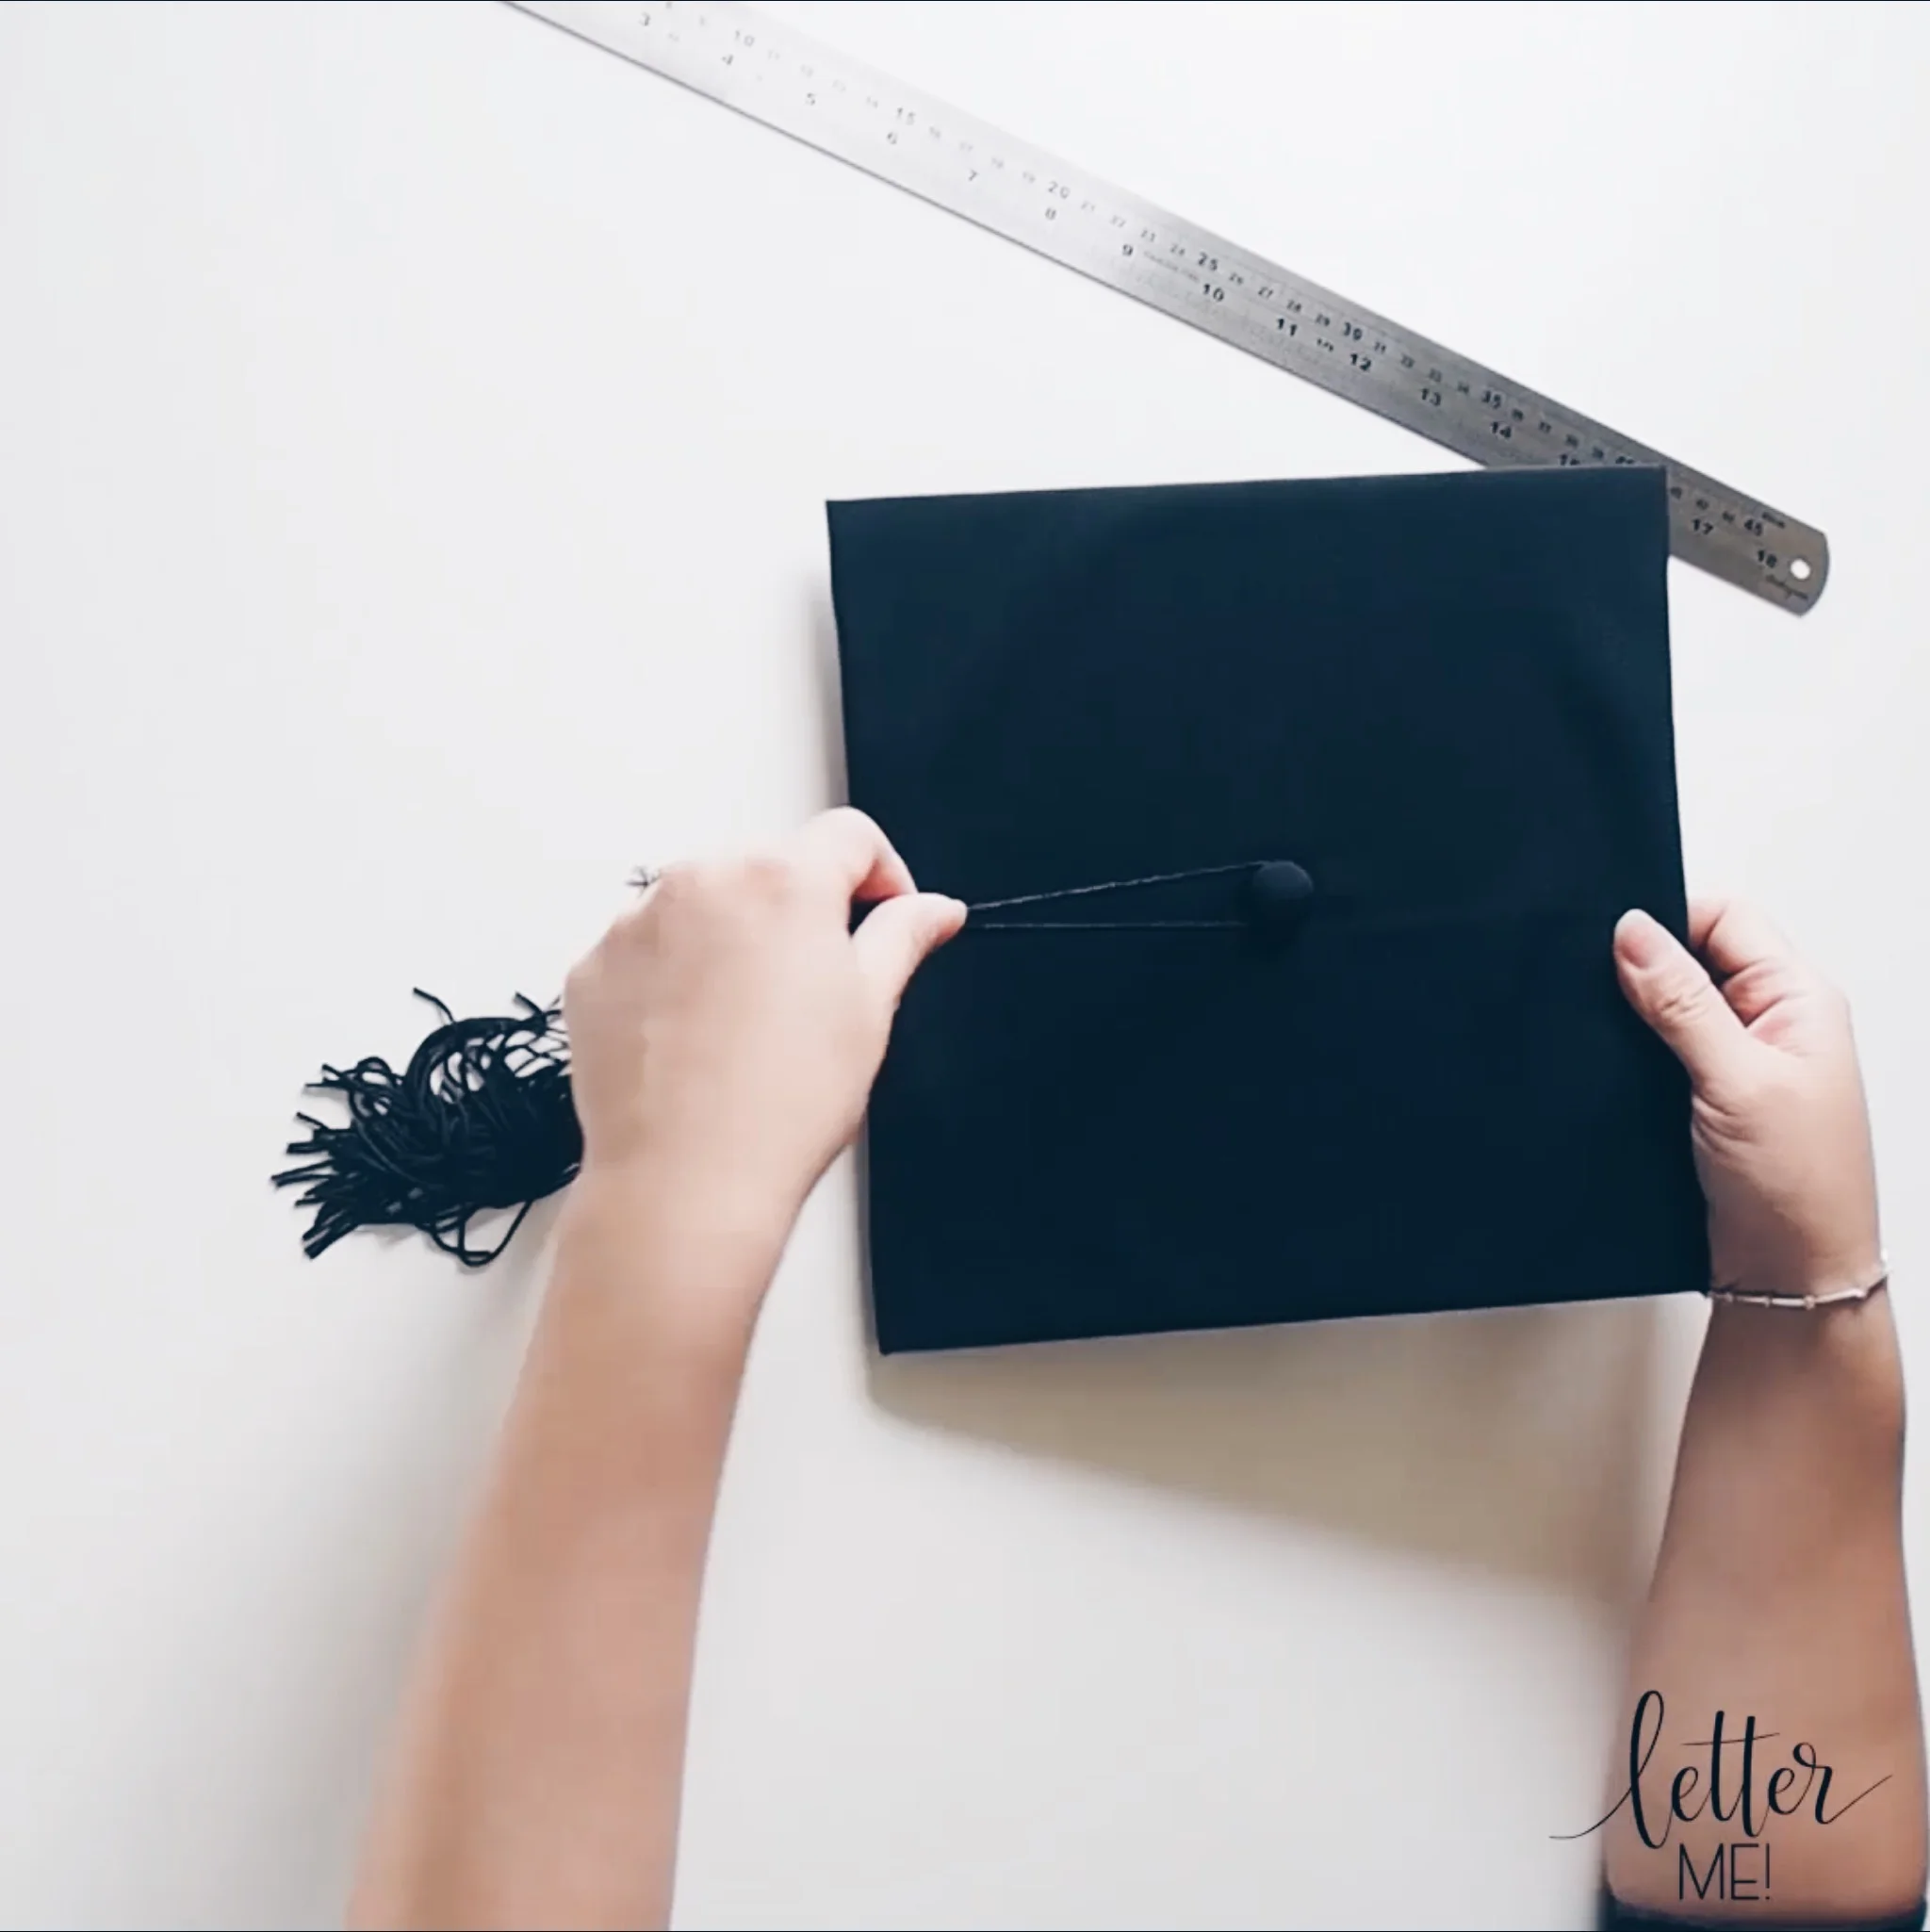
Remove the tassel and flatten the cap down

Step two:

Measure the width and height of the cap. Mine was a little larger than nine inches.

kassa C.JPG

Step three:

Cut a piece of Kassa Blackboard Vinyl to the size of your cap. I cut mine 9 inches by 9 inches.

kassa D.JPG

Step four:

Check that the Vinyl fits the top of your cap. Press down on the stud in the centre of the cap and leave a slight imprint on your Vinyl.

kassa E.JPG
kassa F.JPG

Step five:

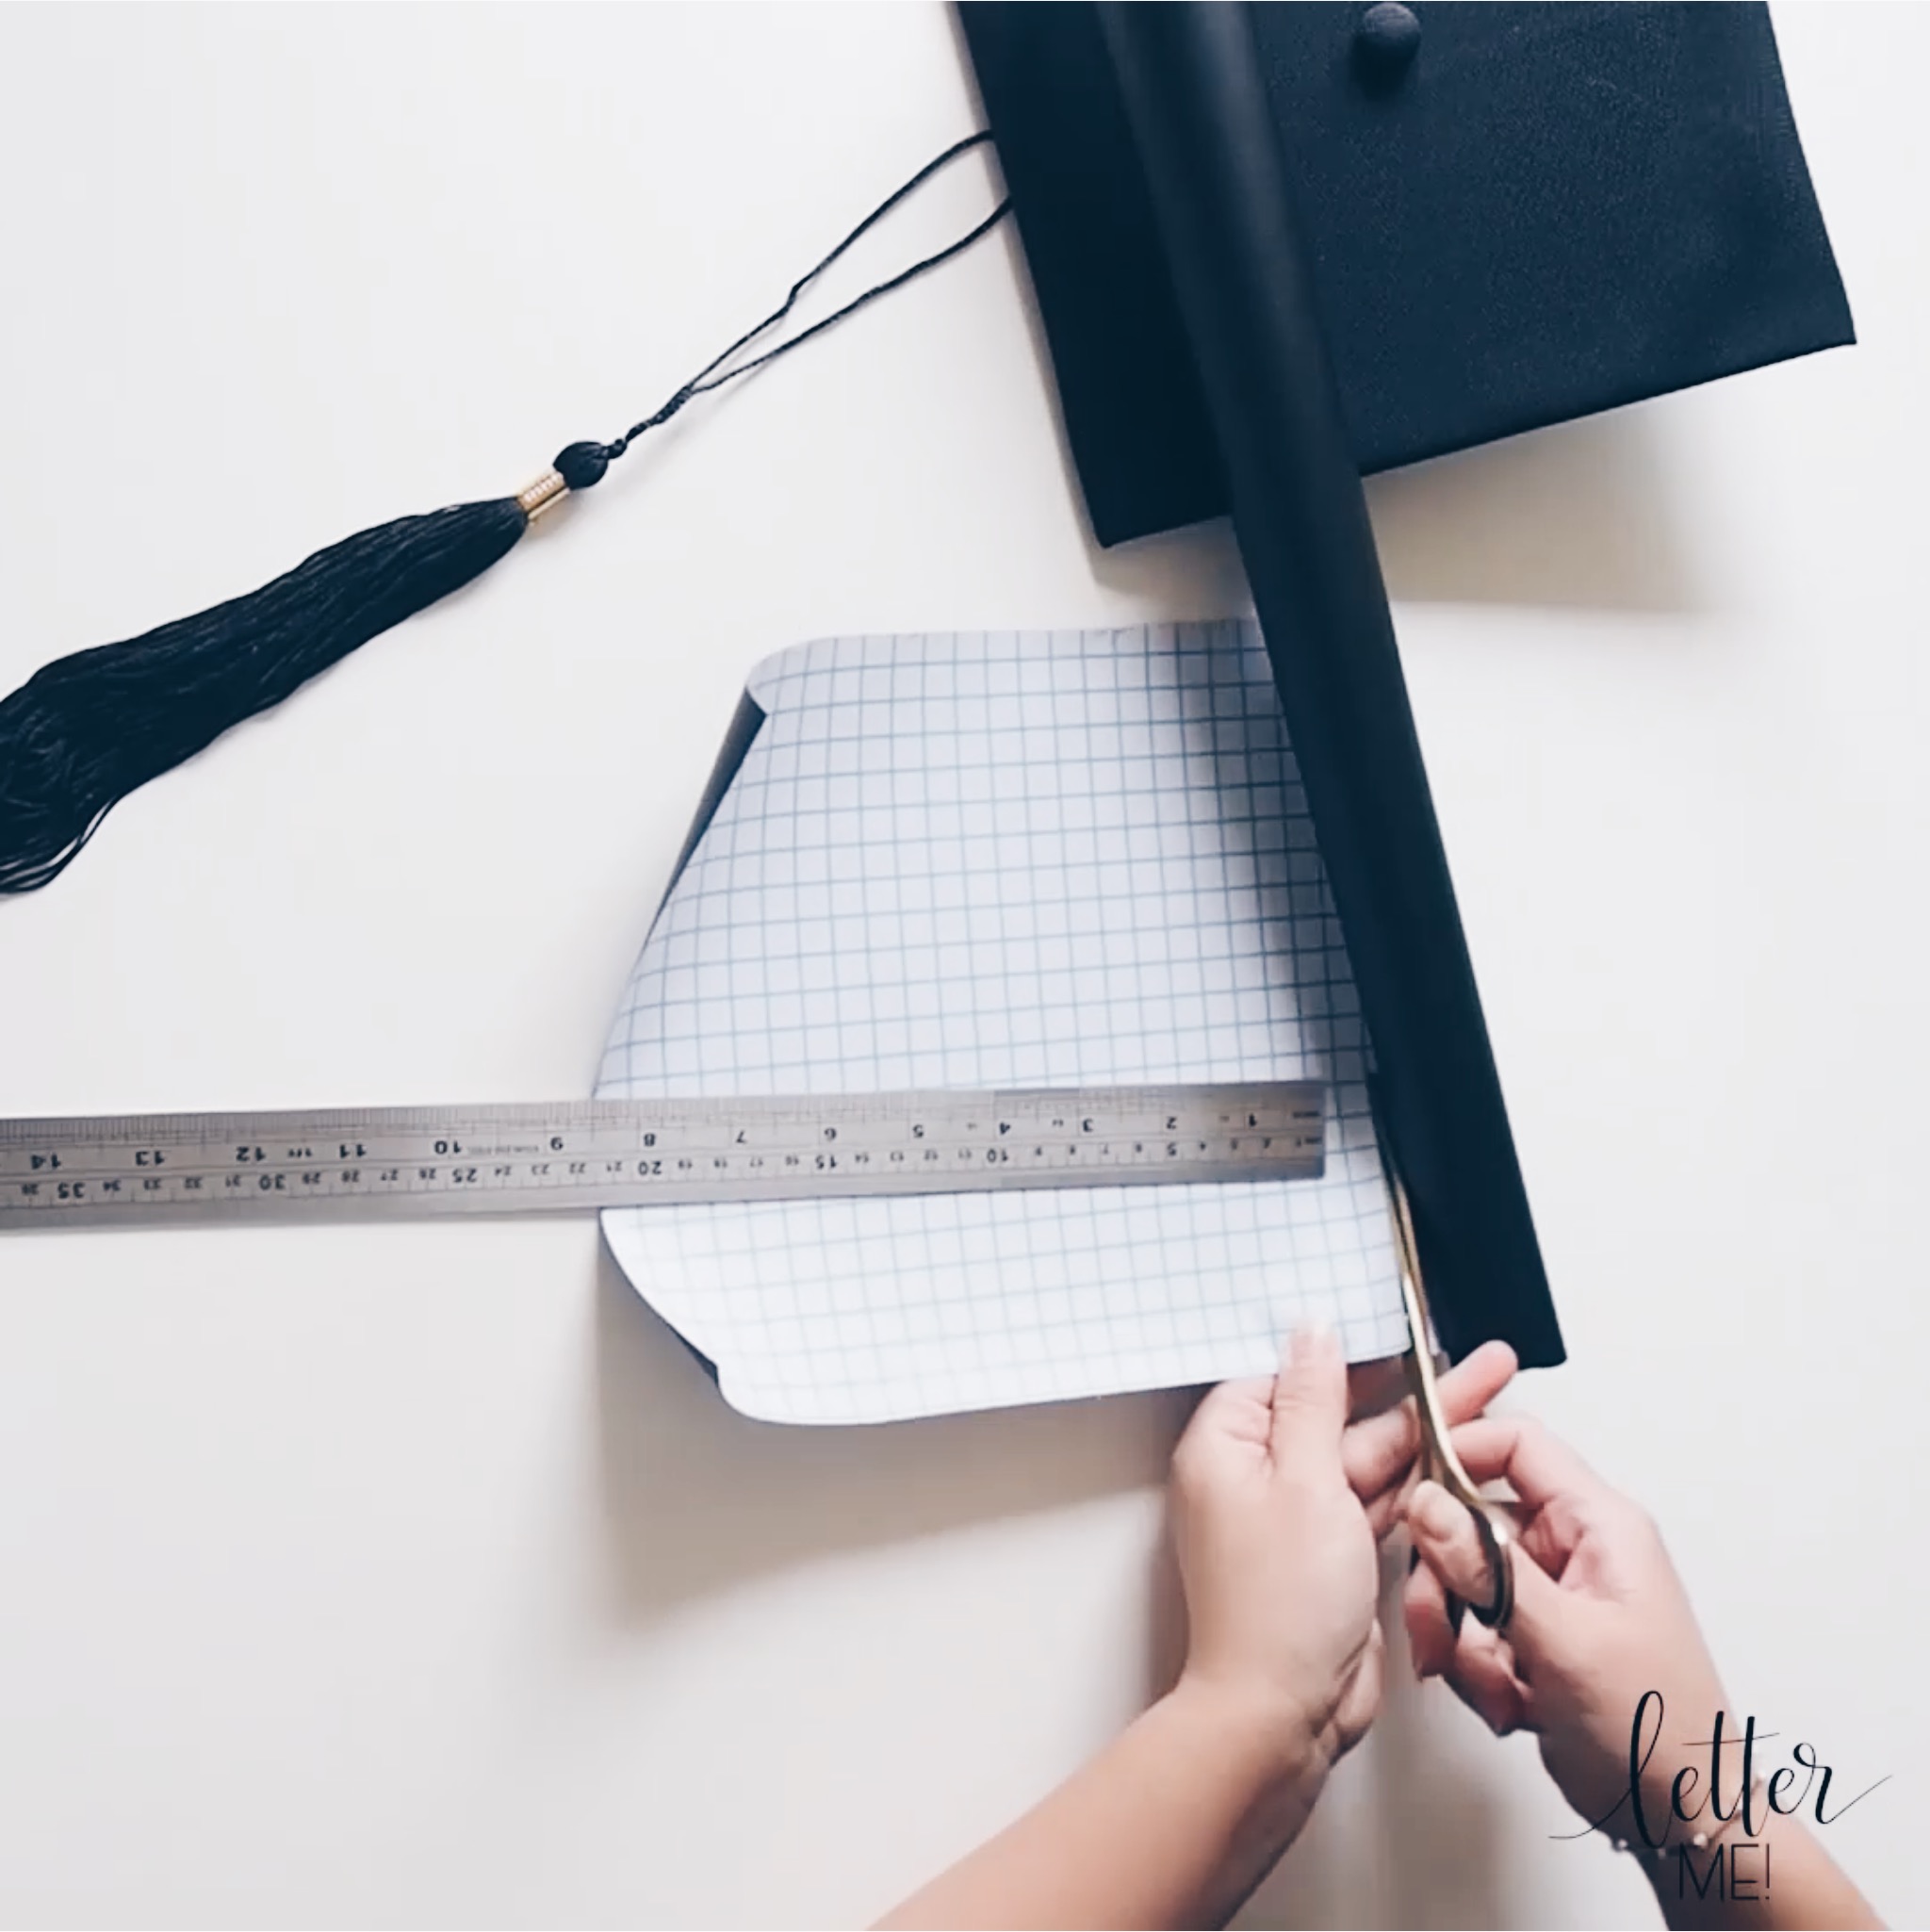
Noting where the imprint of the centre stud was, cut two lines to form a cross, then carefully, cut a circle out. I cut my circle approximately an inch in diameter.

kassa G.JPG

Step six:

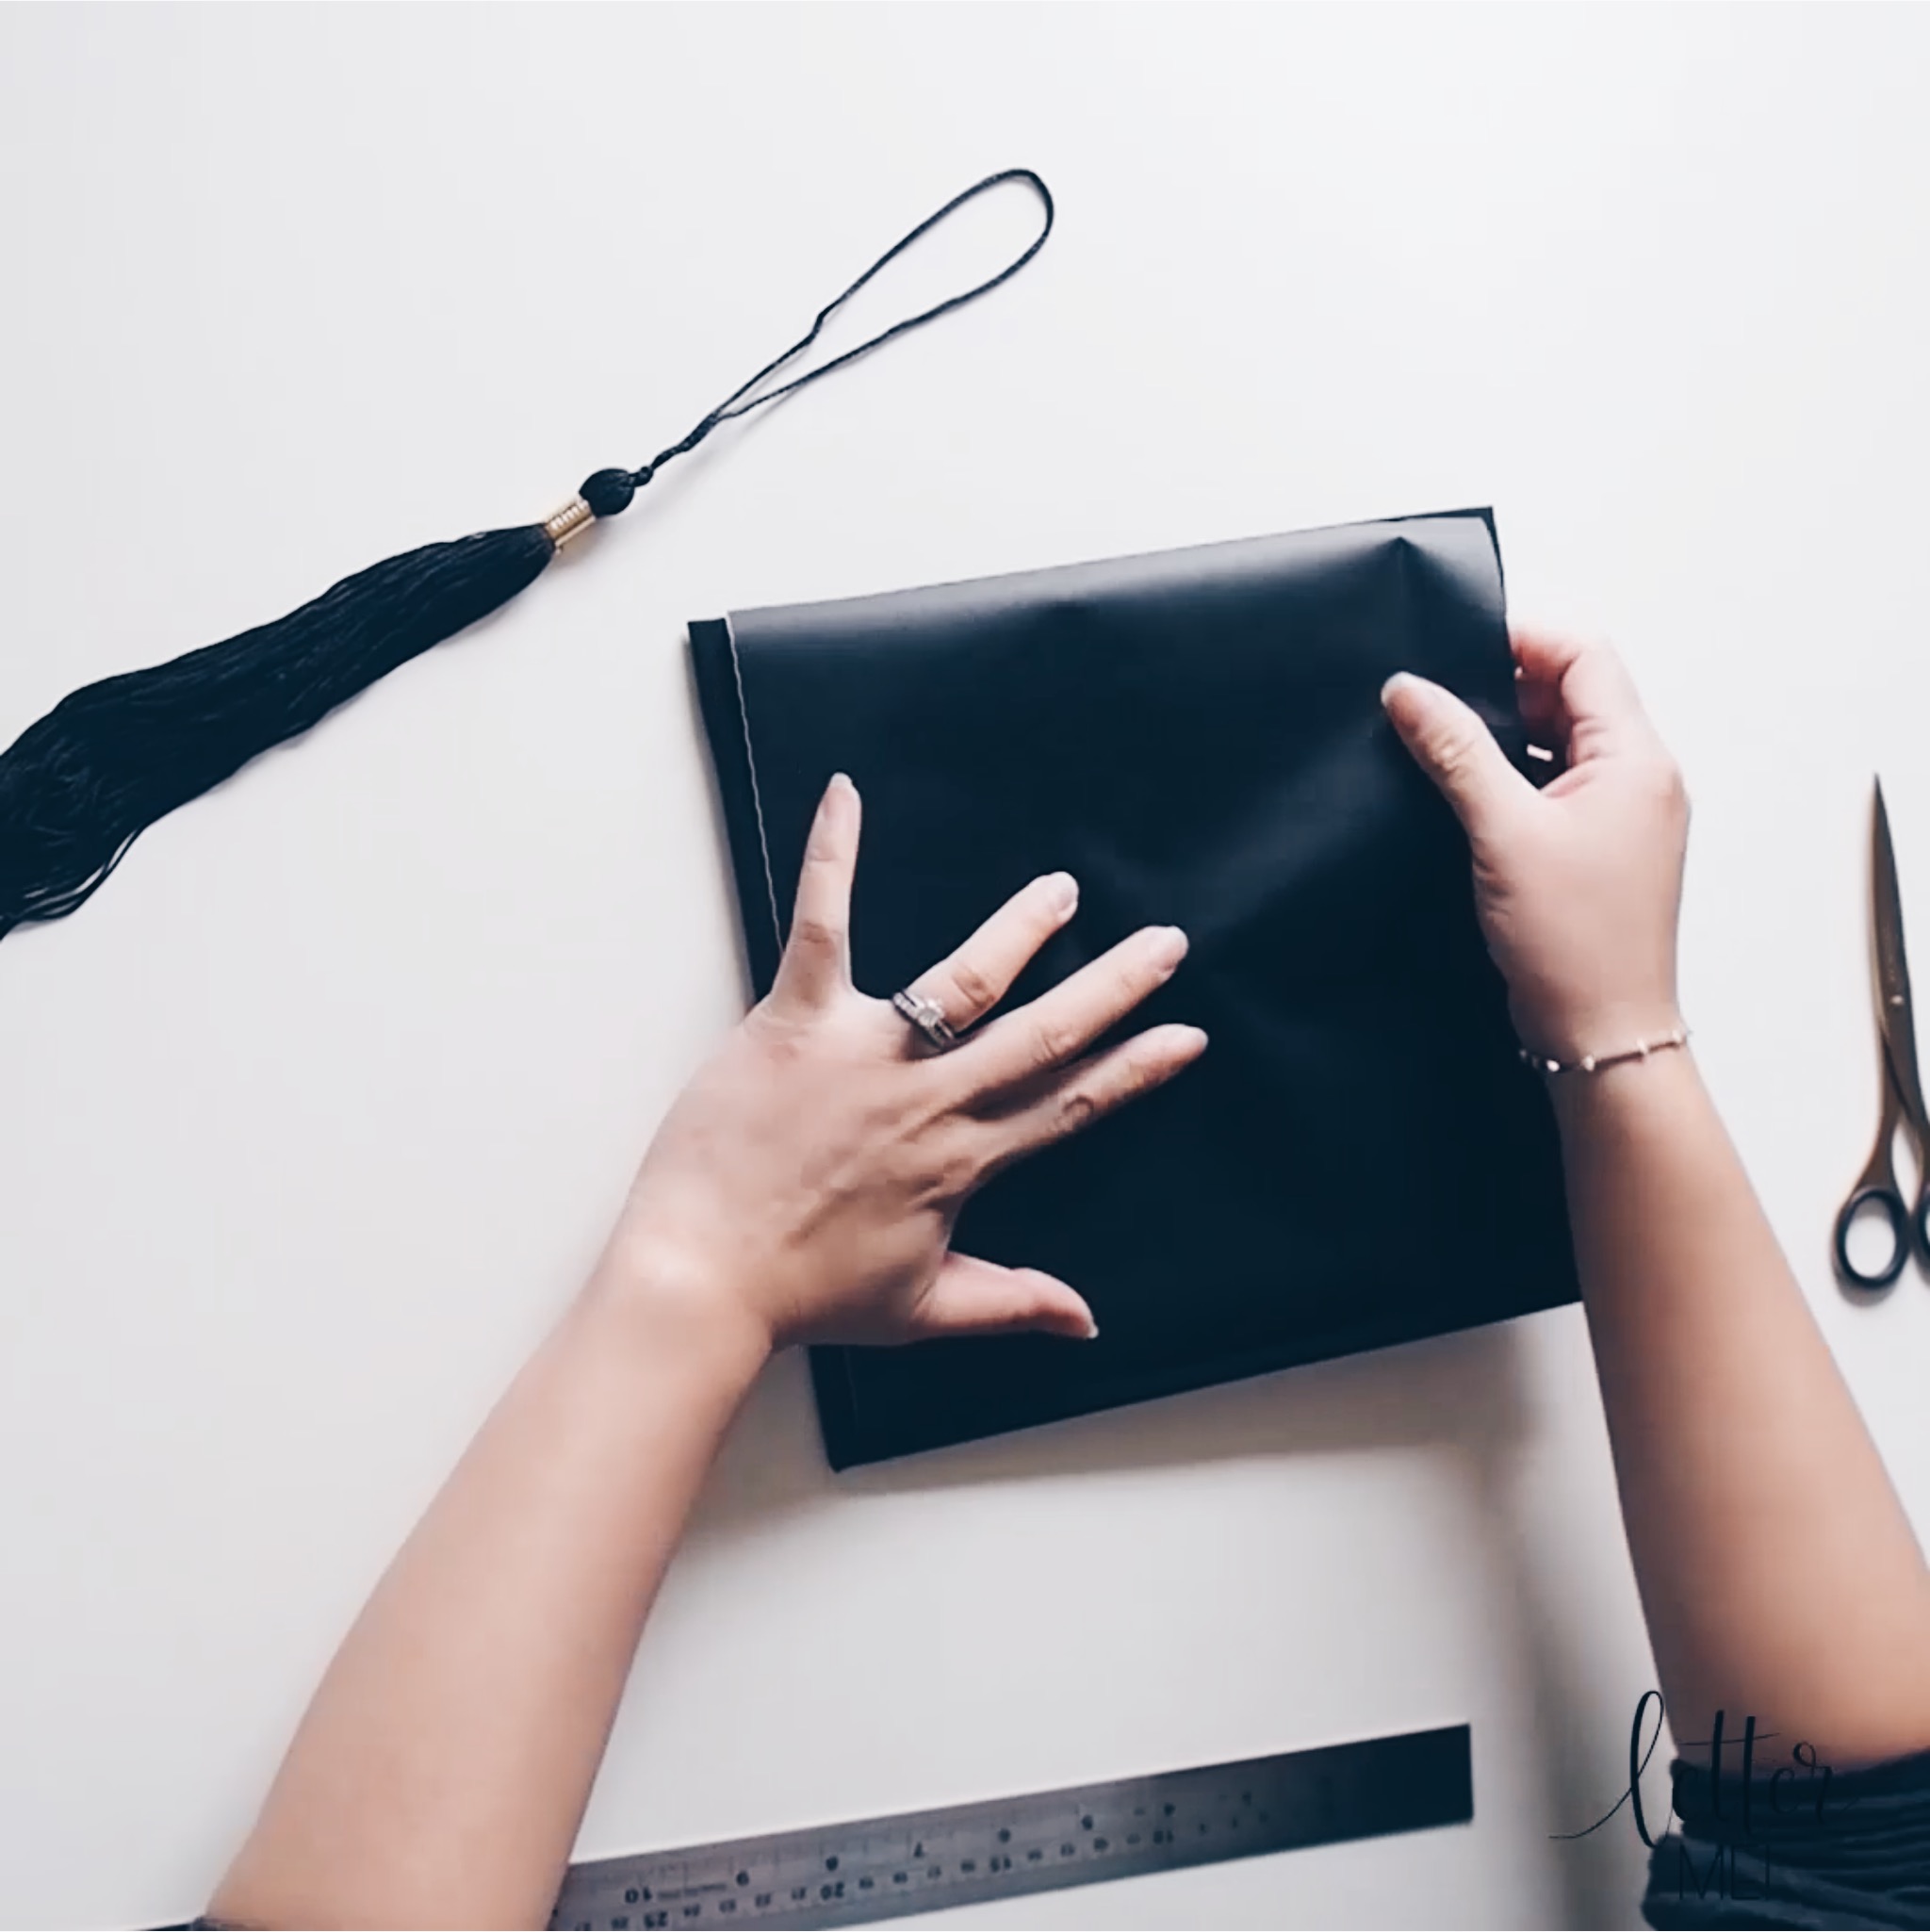
Peel off the backing of the Vinyl and carefully place the hole over the centre stud, and smooth the Vinyl out flat.

kassa H.JPG


Step seven:

As the stud of my cap wasn’t completely centred to my vinyl, I used a pair of scissors to trim the excess vinyl off. Do not be afraid to trim the vinyl to size, but make sure you don’t accidentally cut the cap or the the tassel.

kassa I.JPG

Step eight:

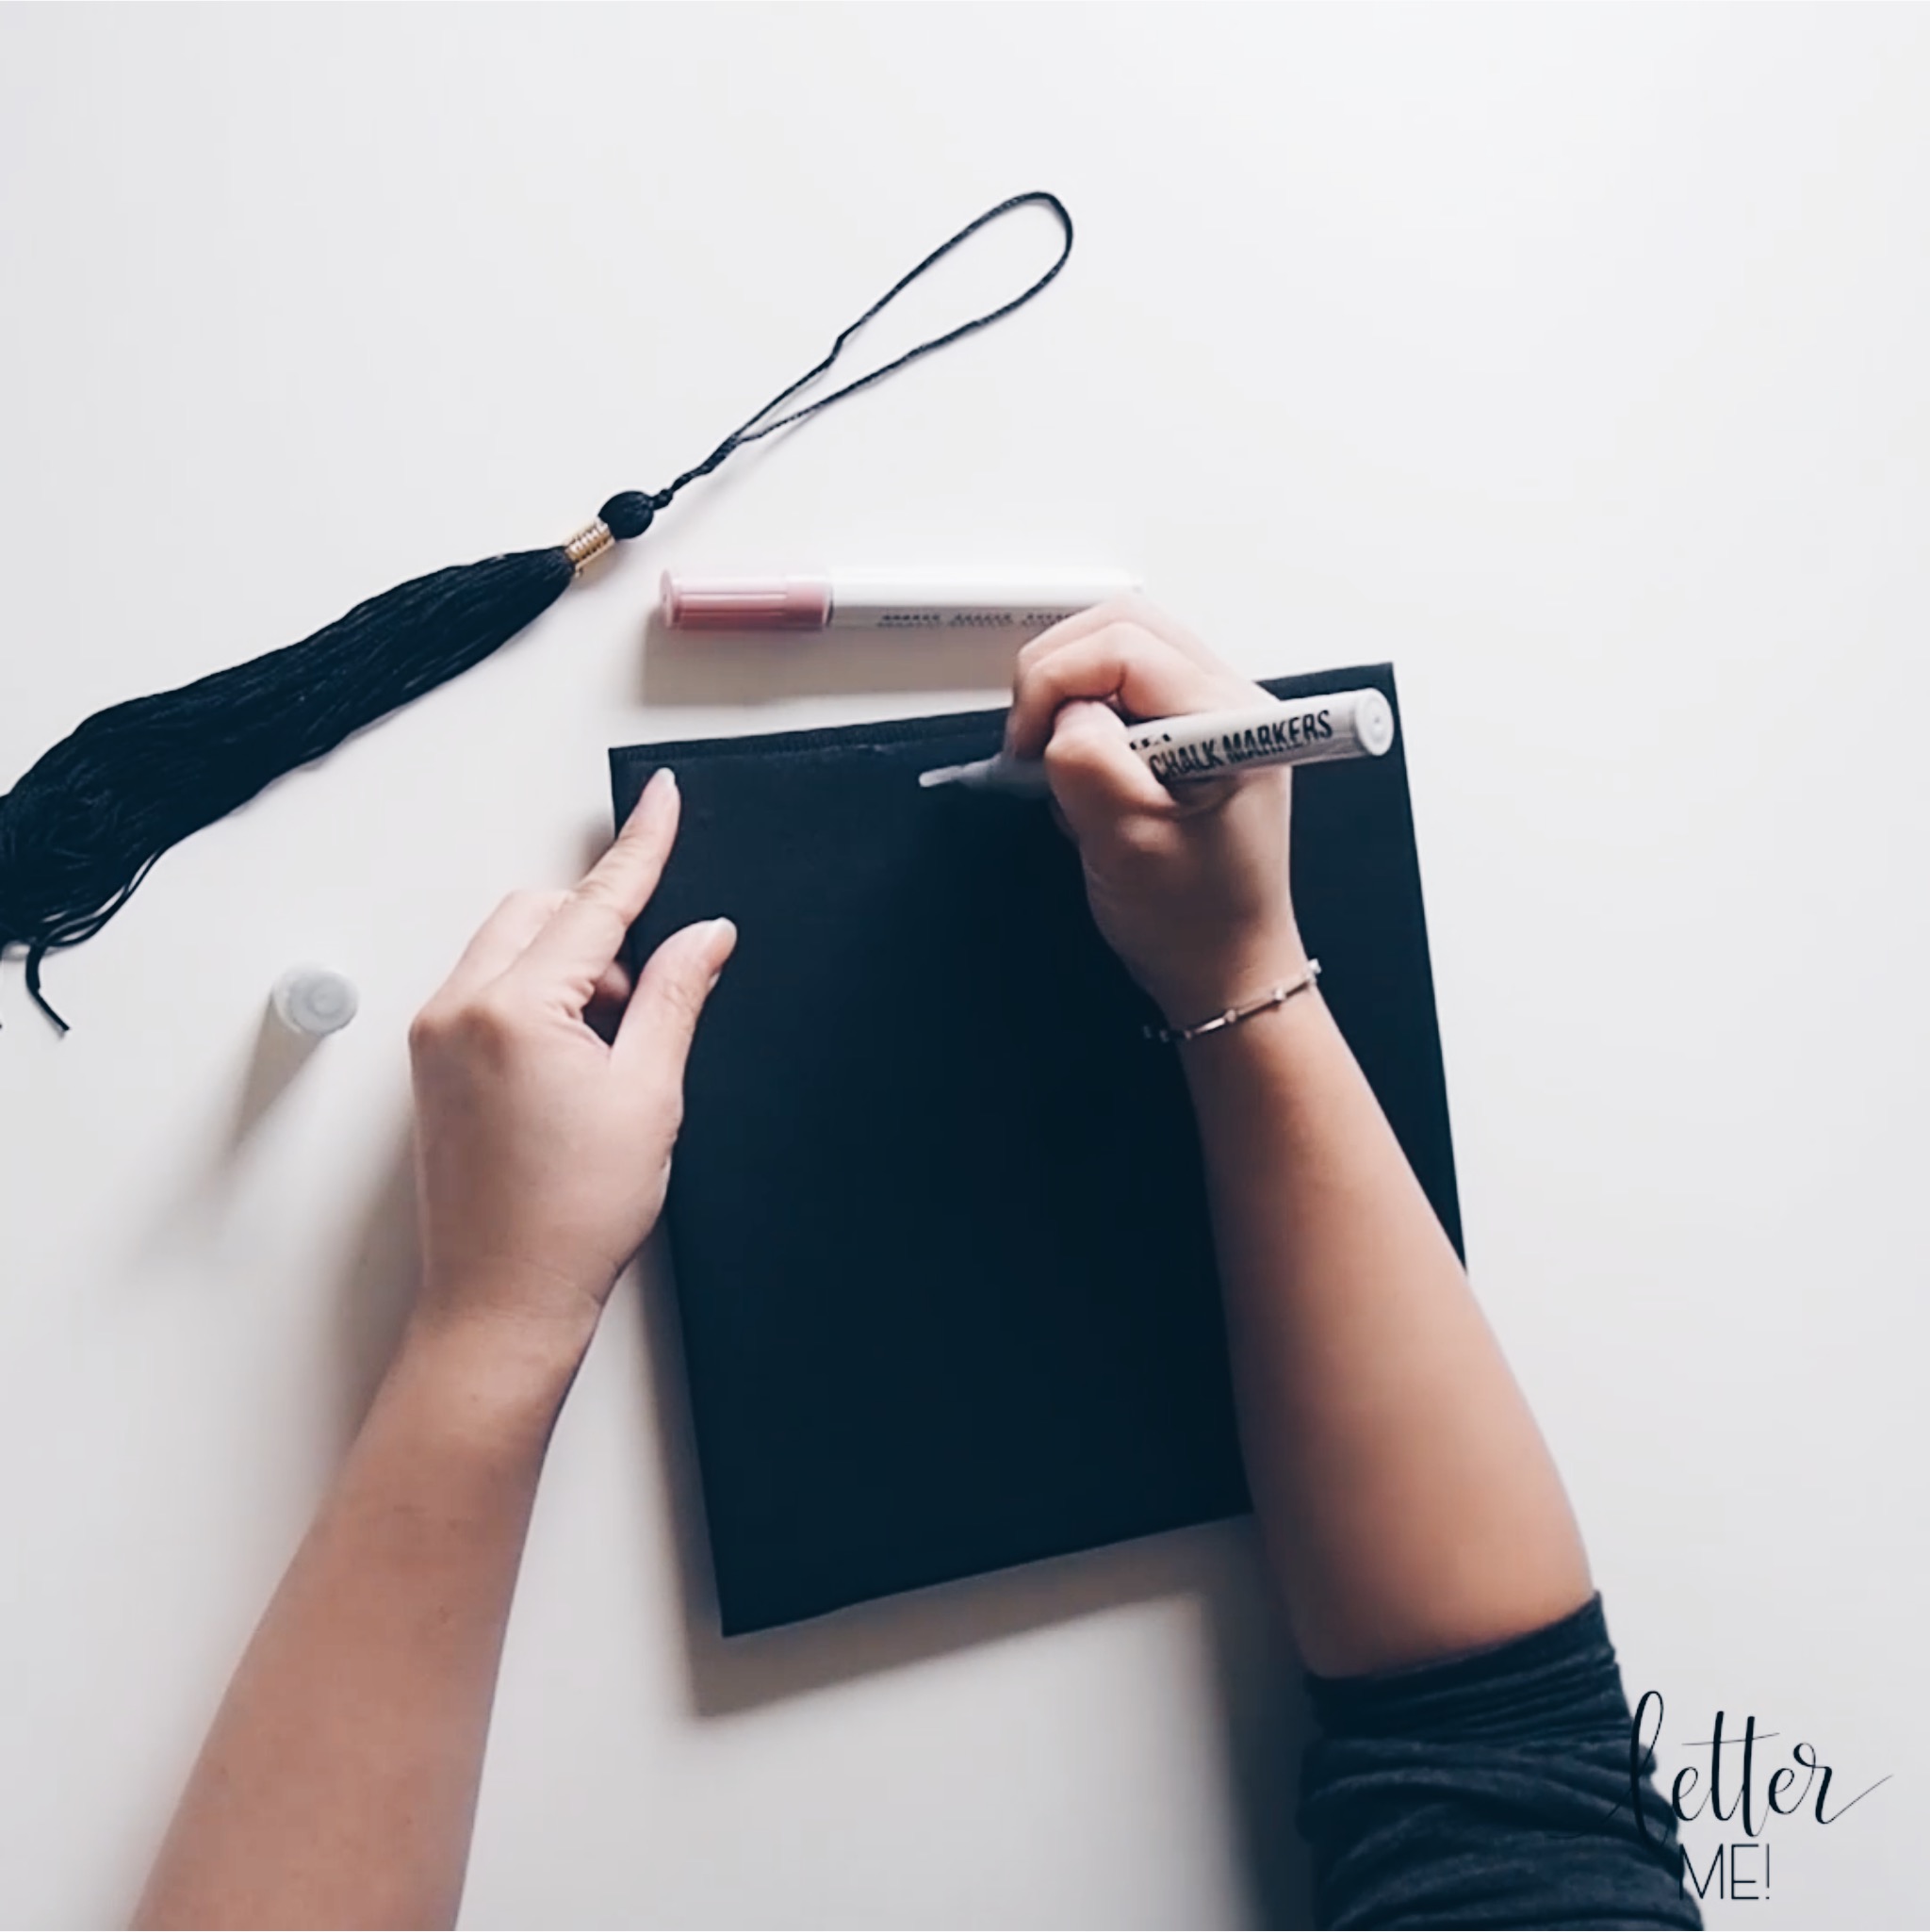
Select your favourite inspirational quote and start lettering using your Kassa Liquid Chalk Markers. I chose one from Elenor Roosevelt and used the silver and rose gold, from the limited edition Kassa Metallic Pack.

Step nine:

Once your chalk has dried (it shouldn’t take more than a minute), re-tie the tassel back into place.

kassa L.JPG

 Step ten:

Voila, your graduation cap is complete and you can now wear it with pride. Don’t forget to take photos!

The future belongs to those who believe in the beauty of their dreams. – Elenor Roosevelt.

 Keep dreaming.  Best wishes with the next chapter of your lives.

xx Liz

tags: graduation, graduate, college, highschool, congratulations, graduated, congrats, elenorroosevelt, quotes, inspire, inspirational, inspirational quote, diy, diy graduation cap, graduation cap, personalised, personalised graduation cap, inspirational graduation cap, empowerment, empowered, high school graduation, college graduation, university, university graduation, college graduate, high school graduate, liquid chalk markers, diy craft, diy graduation, proud
categories: Calligraphy, celebration, Craft, Lettering
Sunday 06.09.19
Posted by Liz Tu
 

Blogs for Kassa USA

I am proud to be a regular Blogger for Kassa. If you're interested in what you can create with their products, please have a look at my blogs on their website (links below).  Kassa liquid chalk markers are available from my store. Alternatively, you may purchase directly from Kassa and use my coupon code (LETTERME) for 20% off. 

My first blog for Kassa was ranked in the top 10% of all recent Shopify store blog posts:

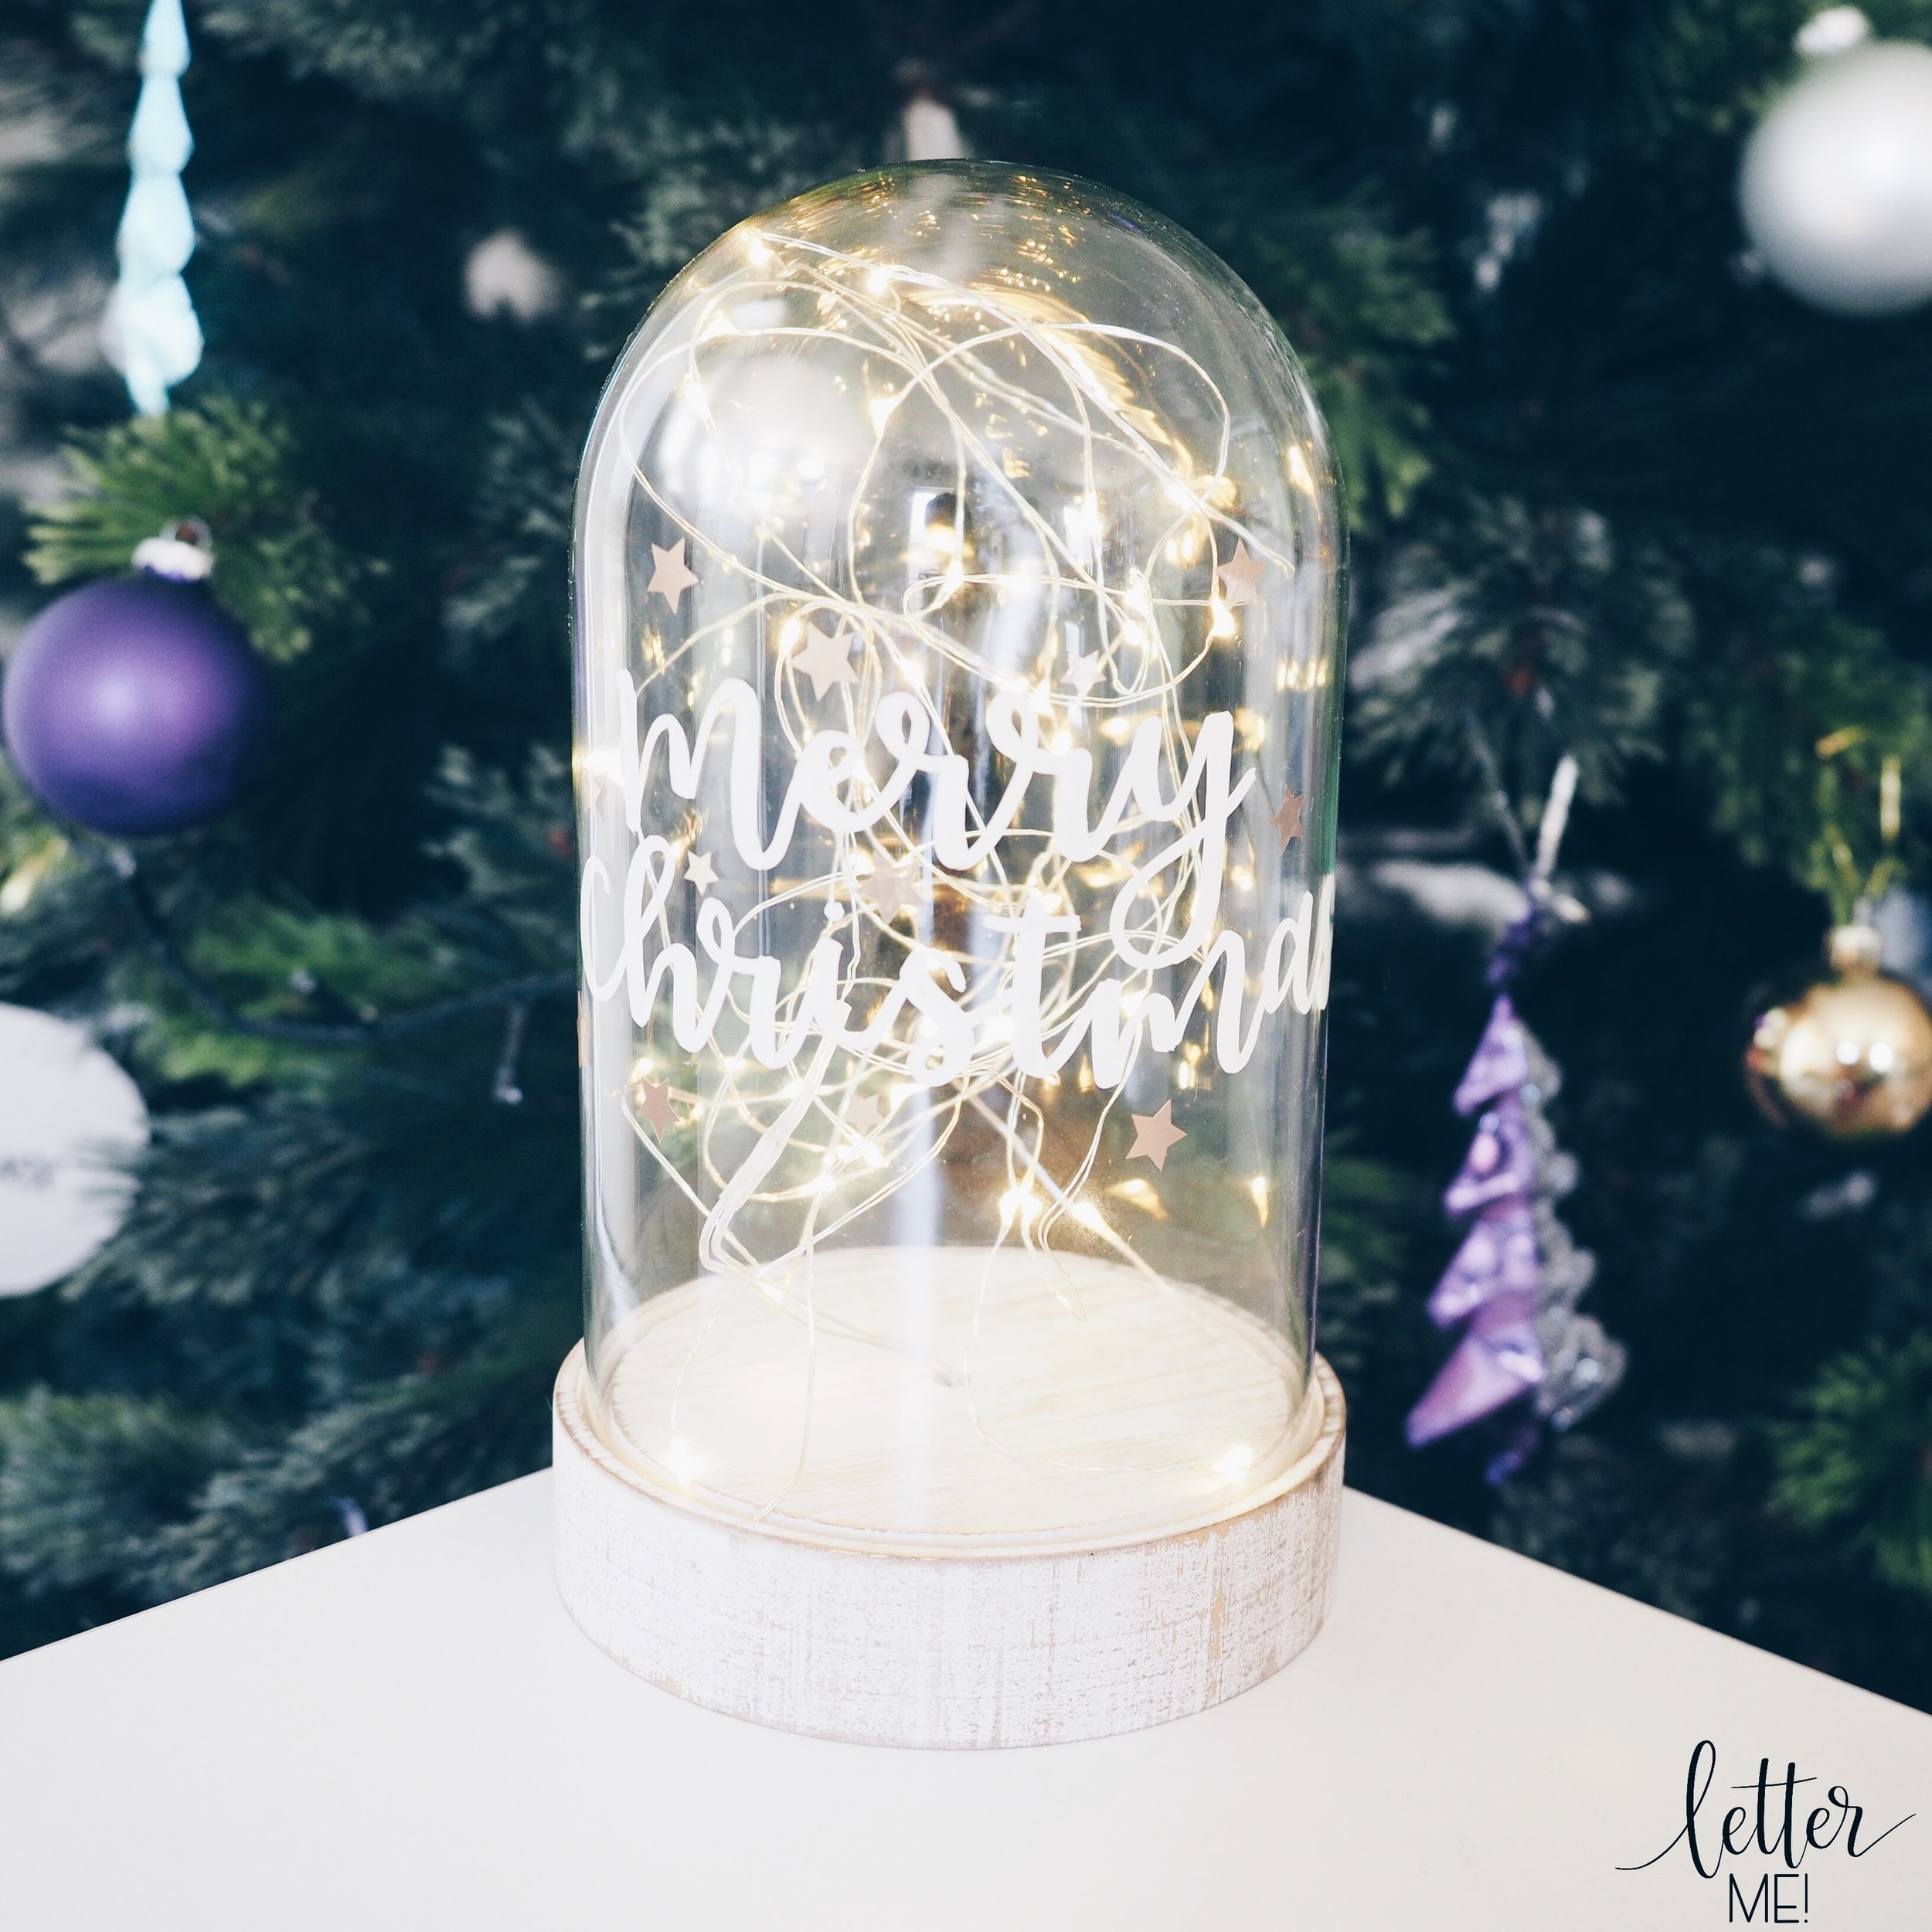
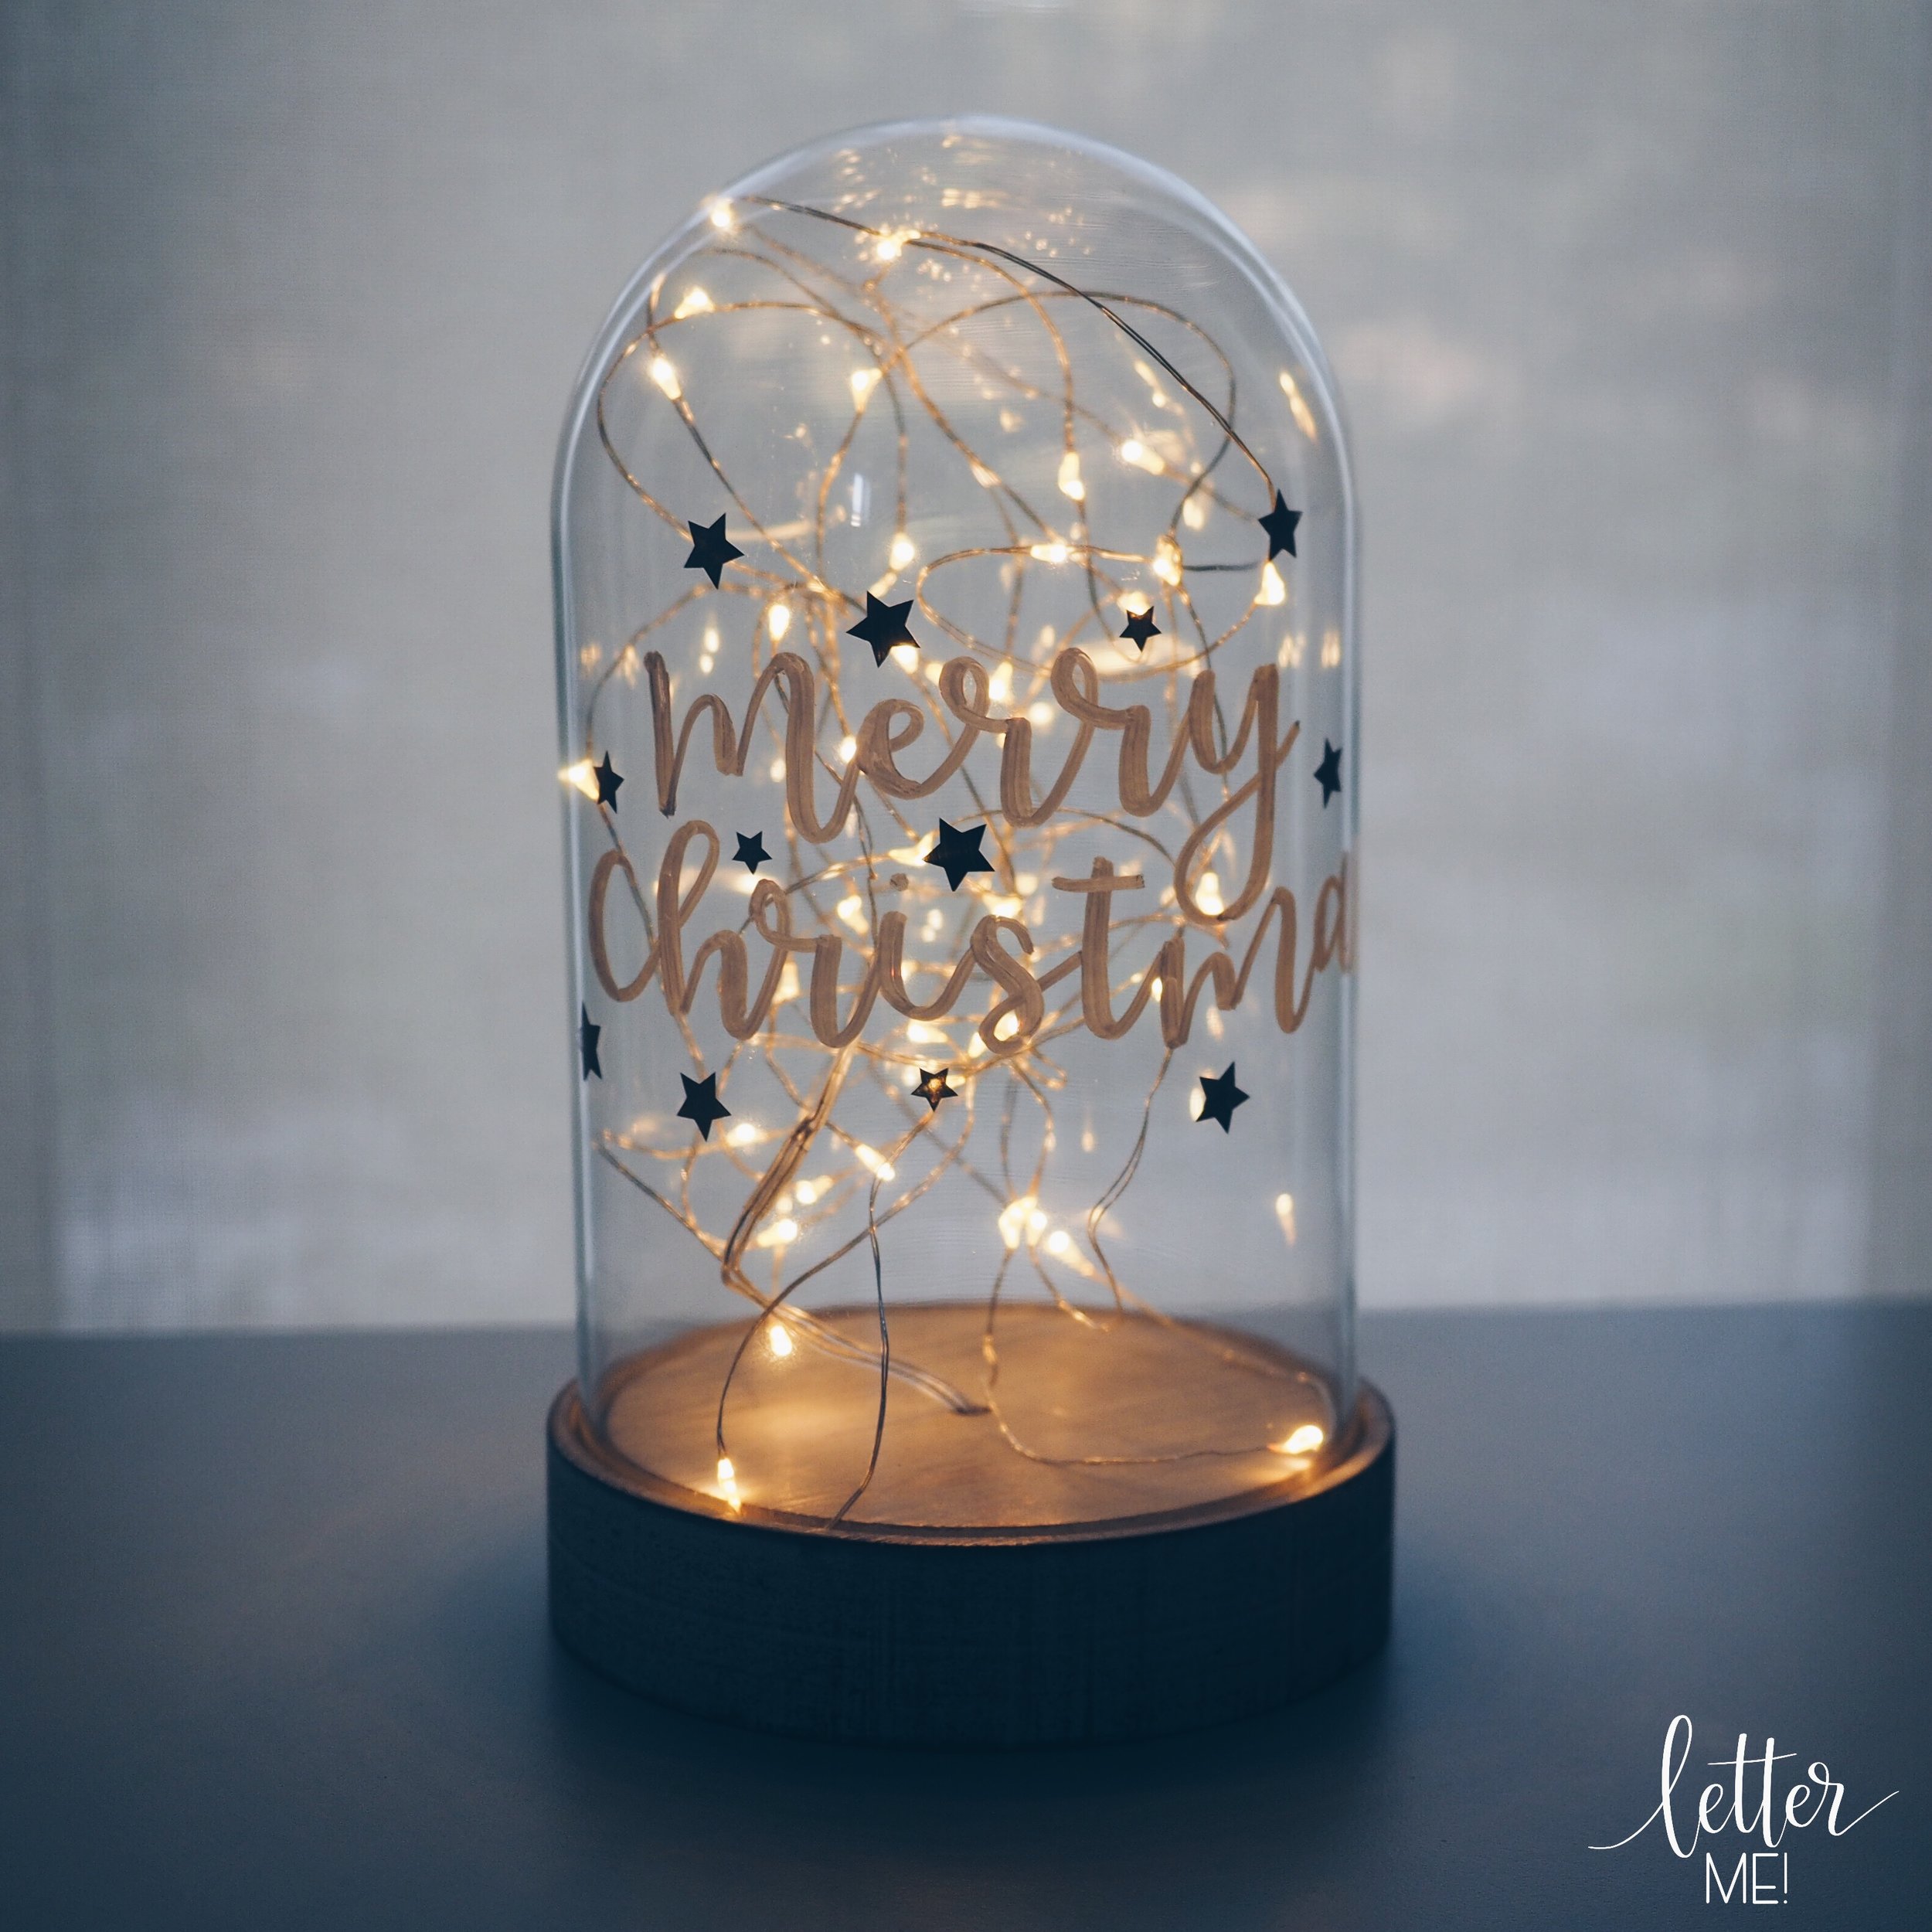
Custom Made Christmas Fairy Light Dome

File 13-12-17, 11 18 09 am.jpeg
File 13-12-17, 11 15 59 am.jpeg
File 13-12-17, 11 15 02 am.jpeg

My second blog for Kassa took the coveted title as "Staff Pick" for Amazon Spark and Amazon Prime:  

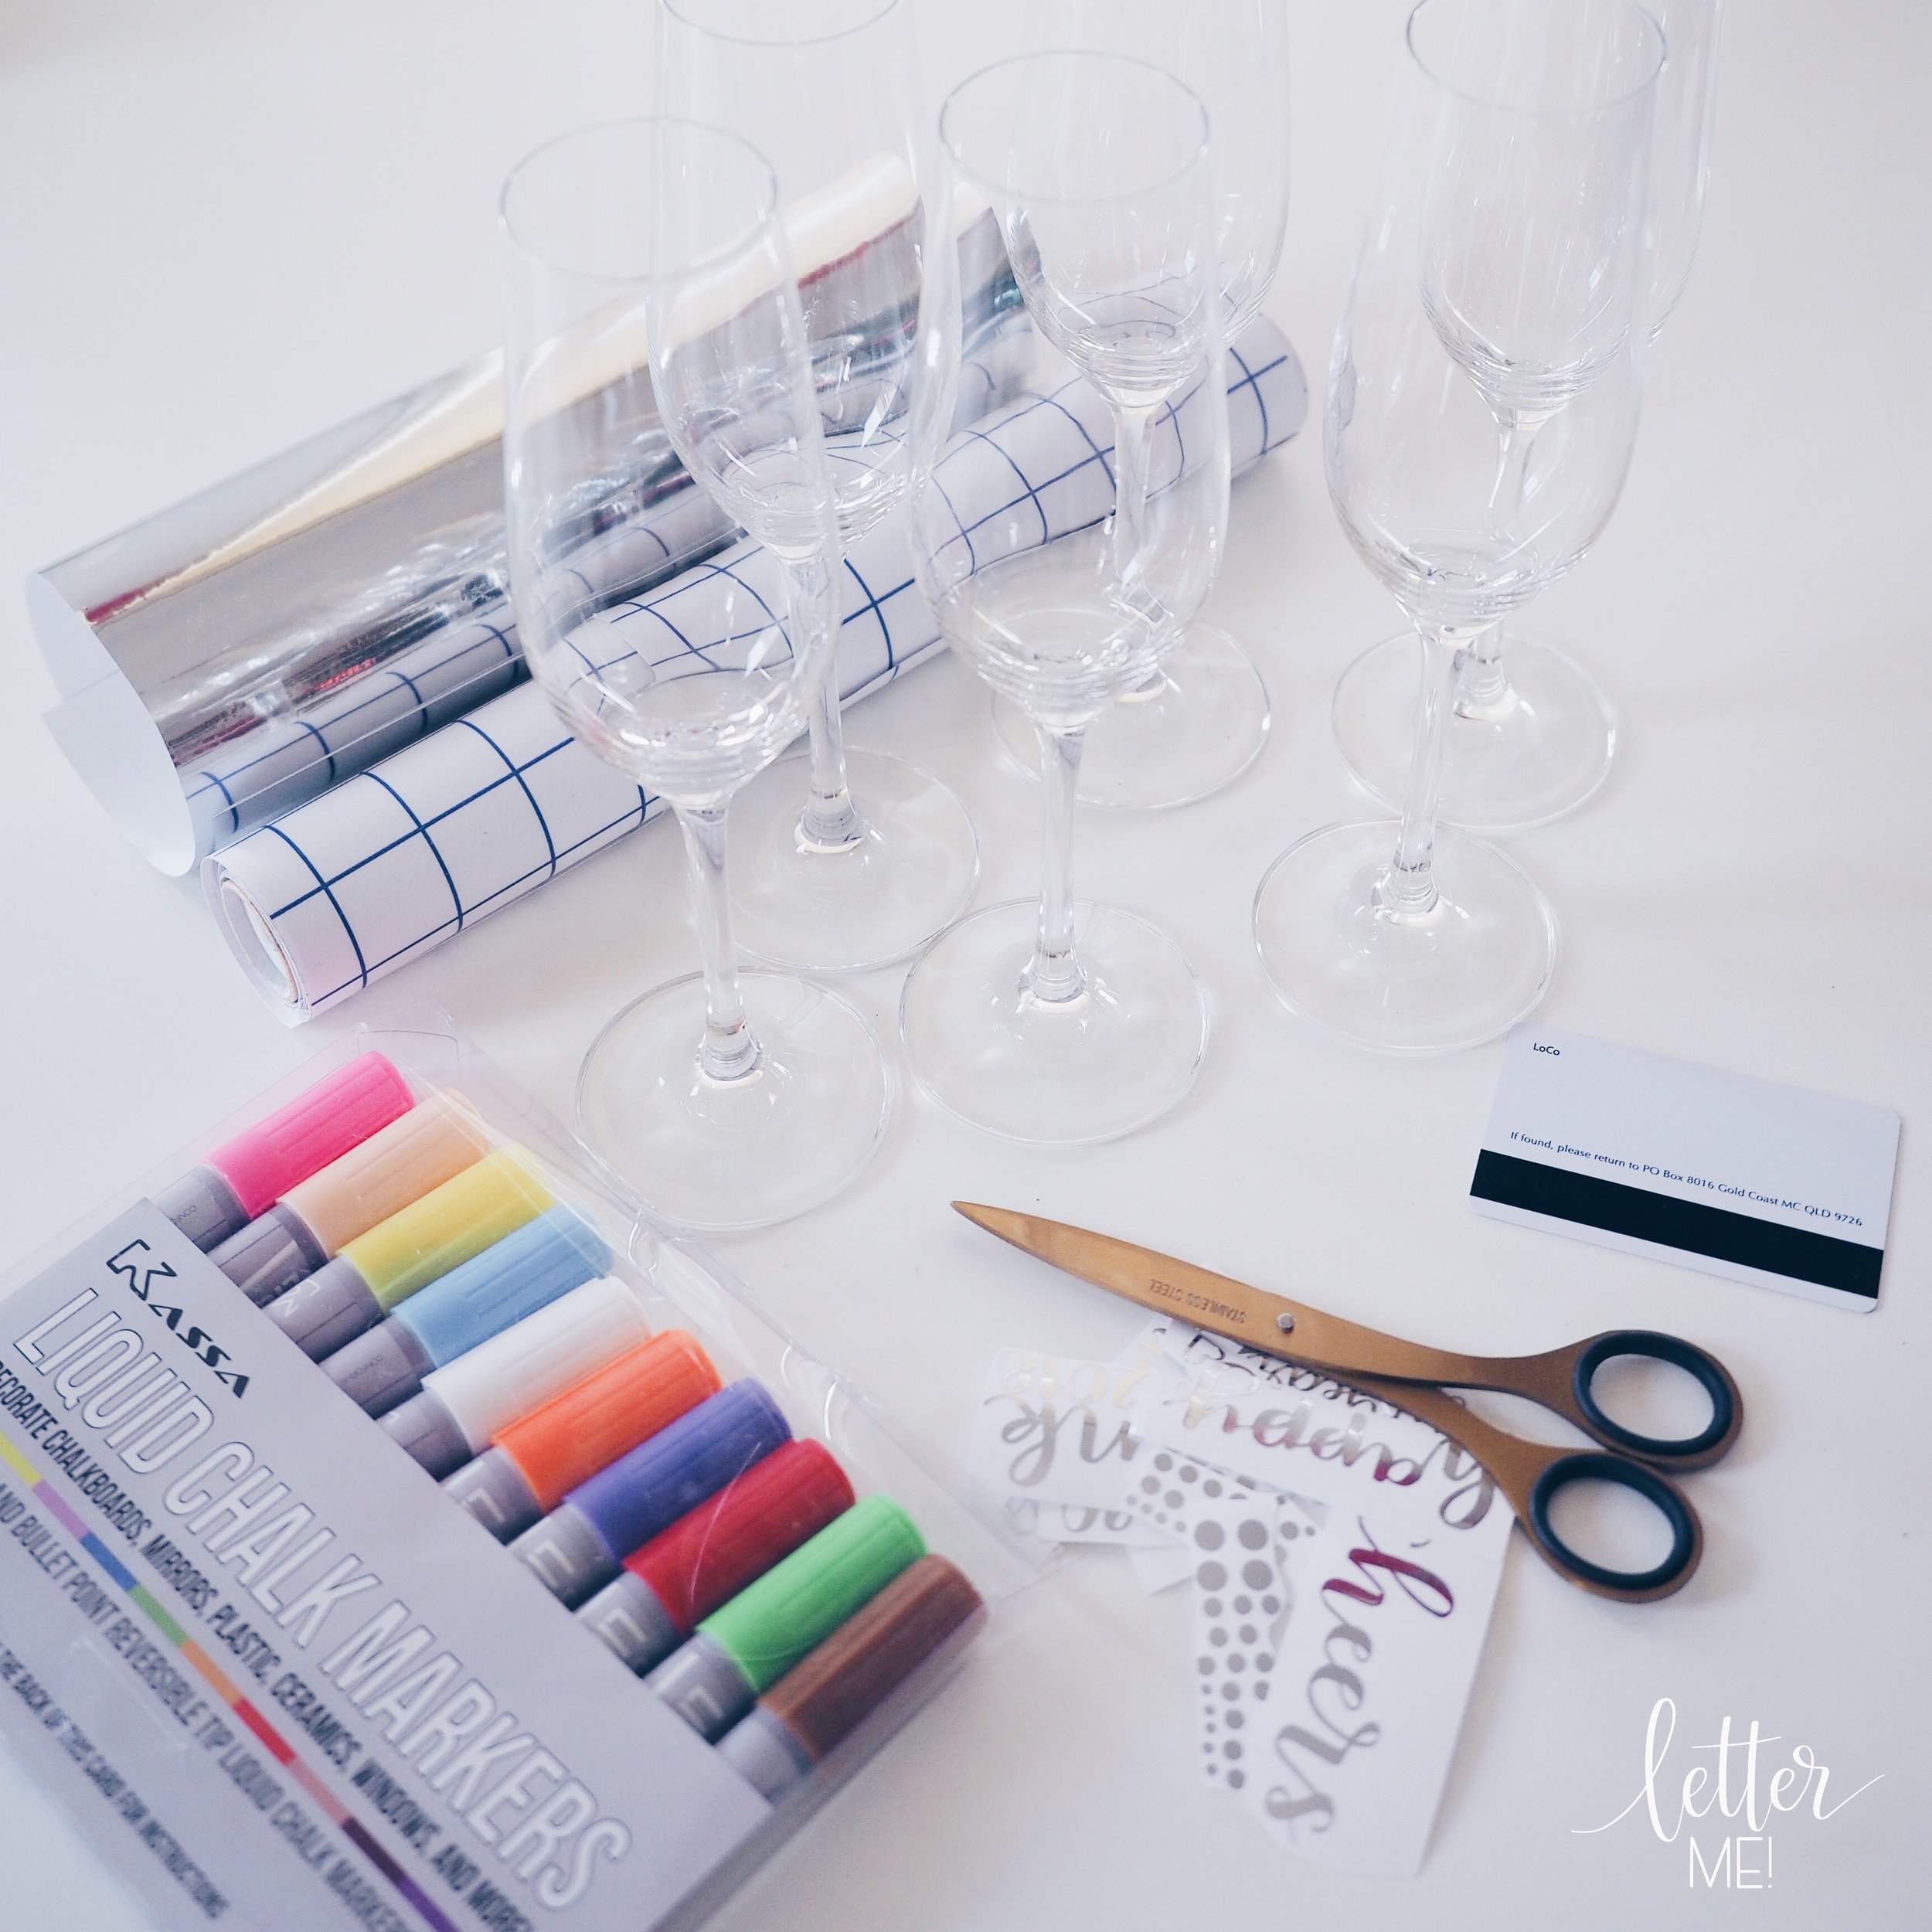
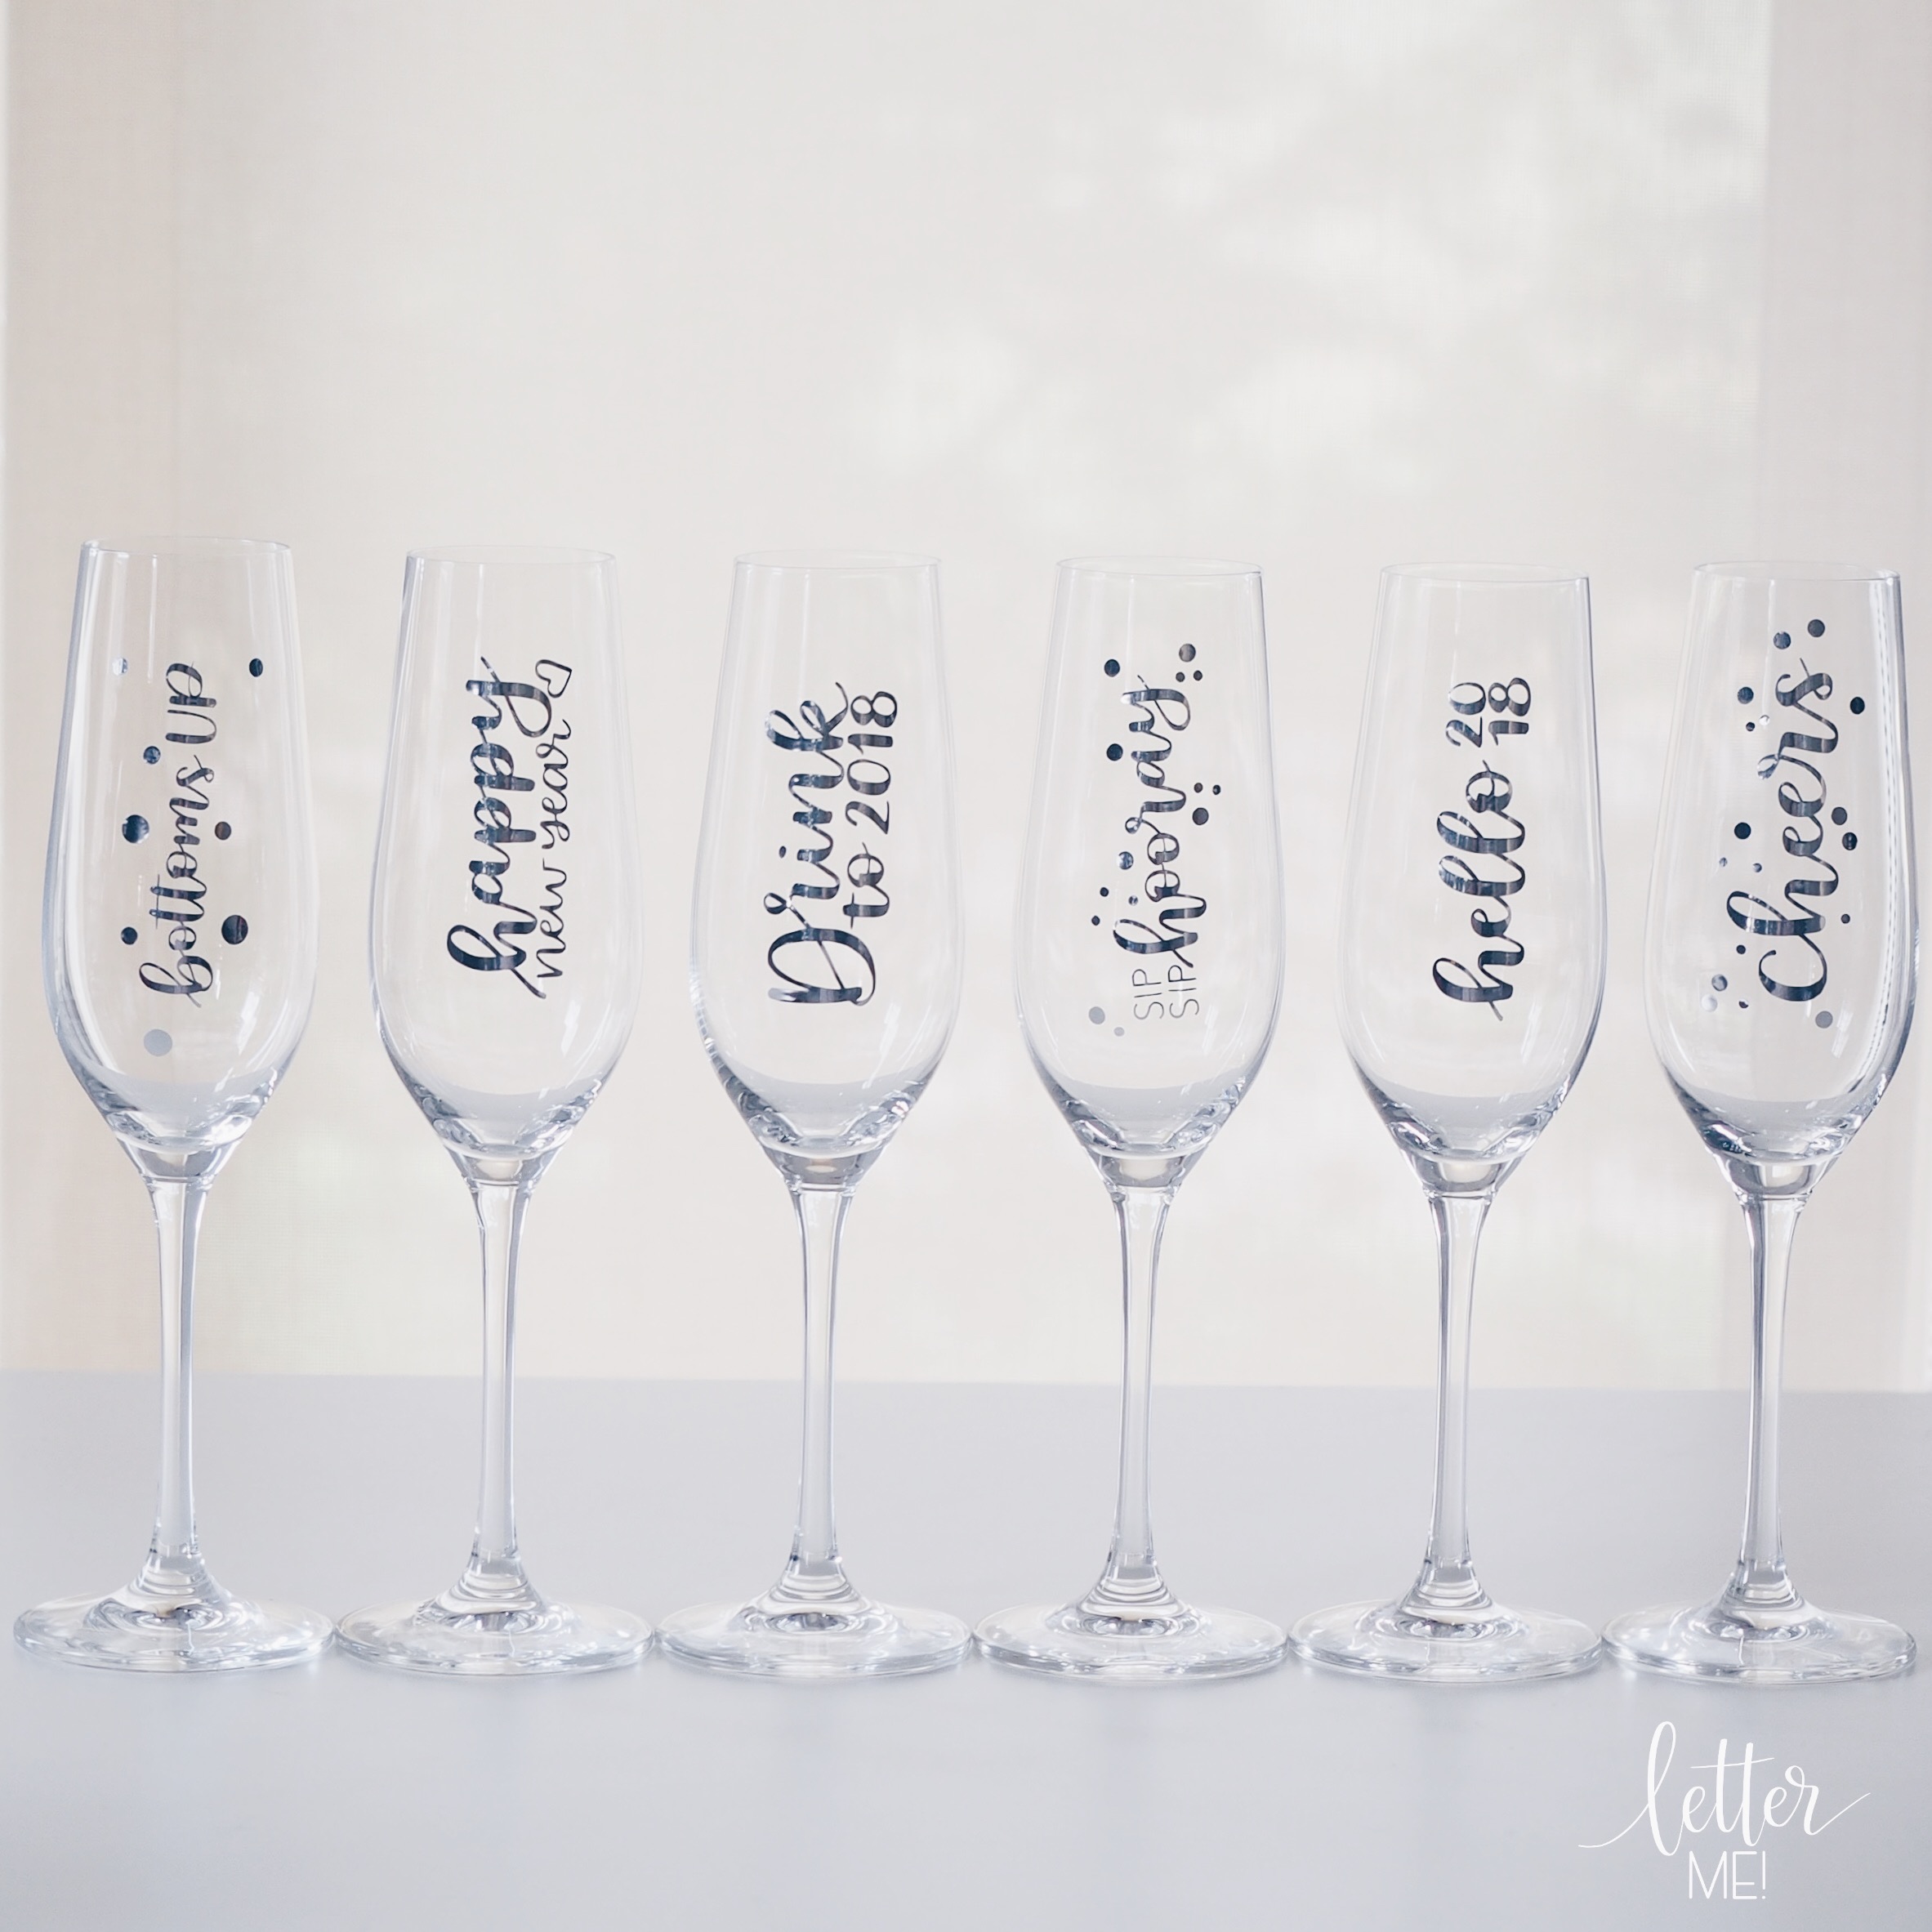
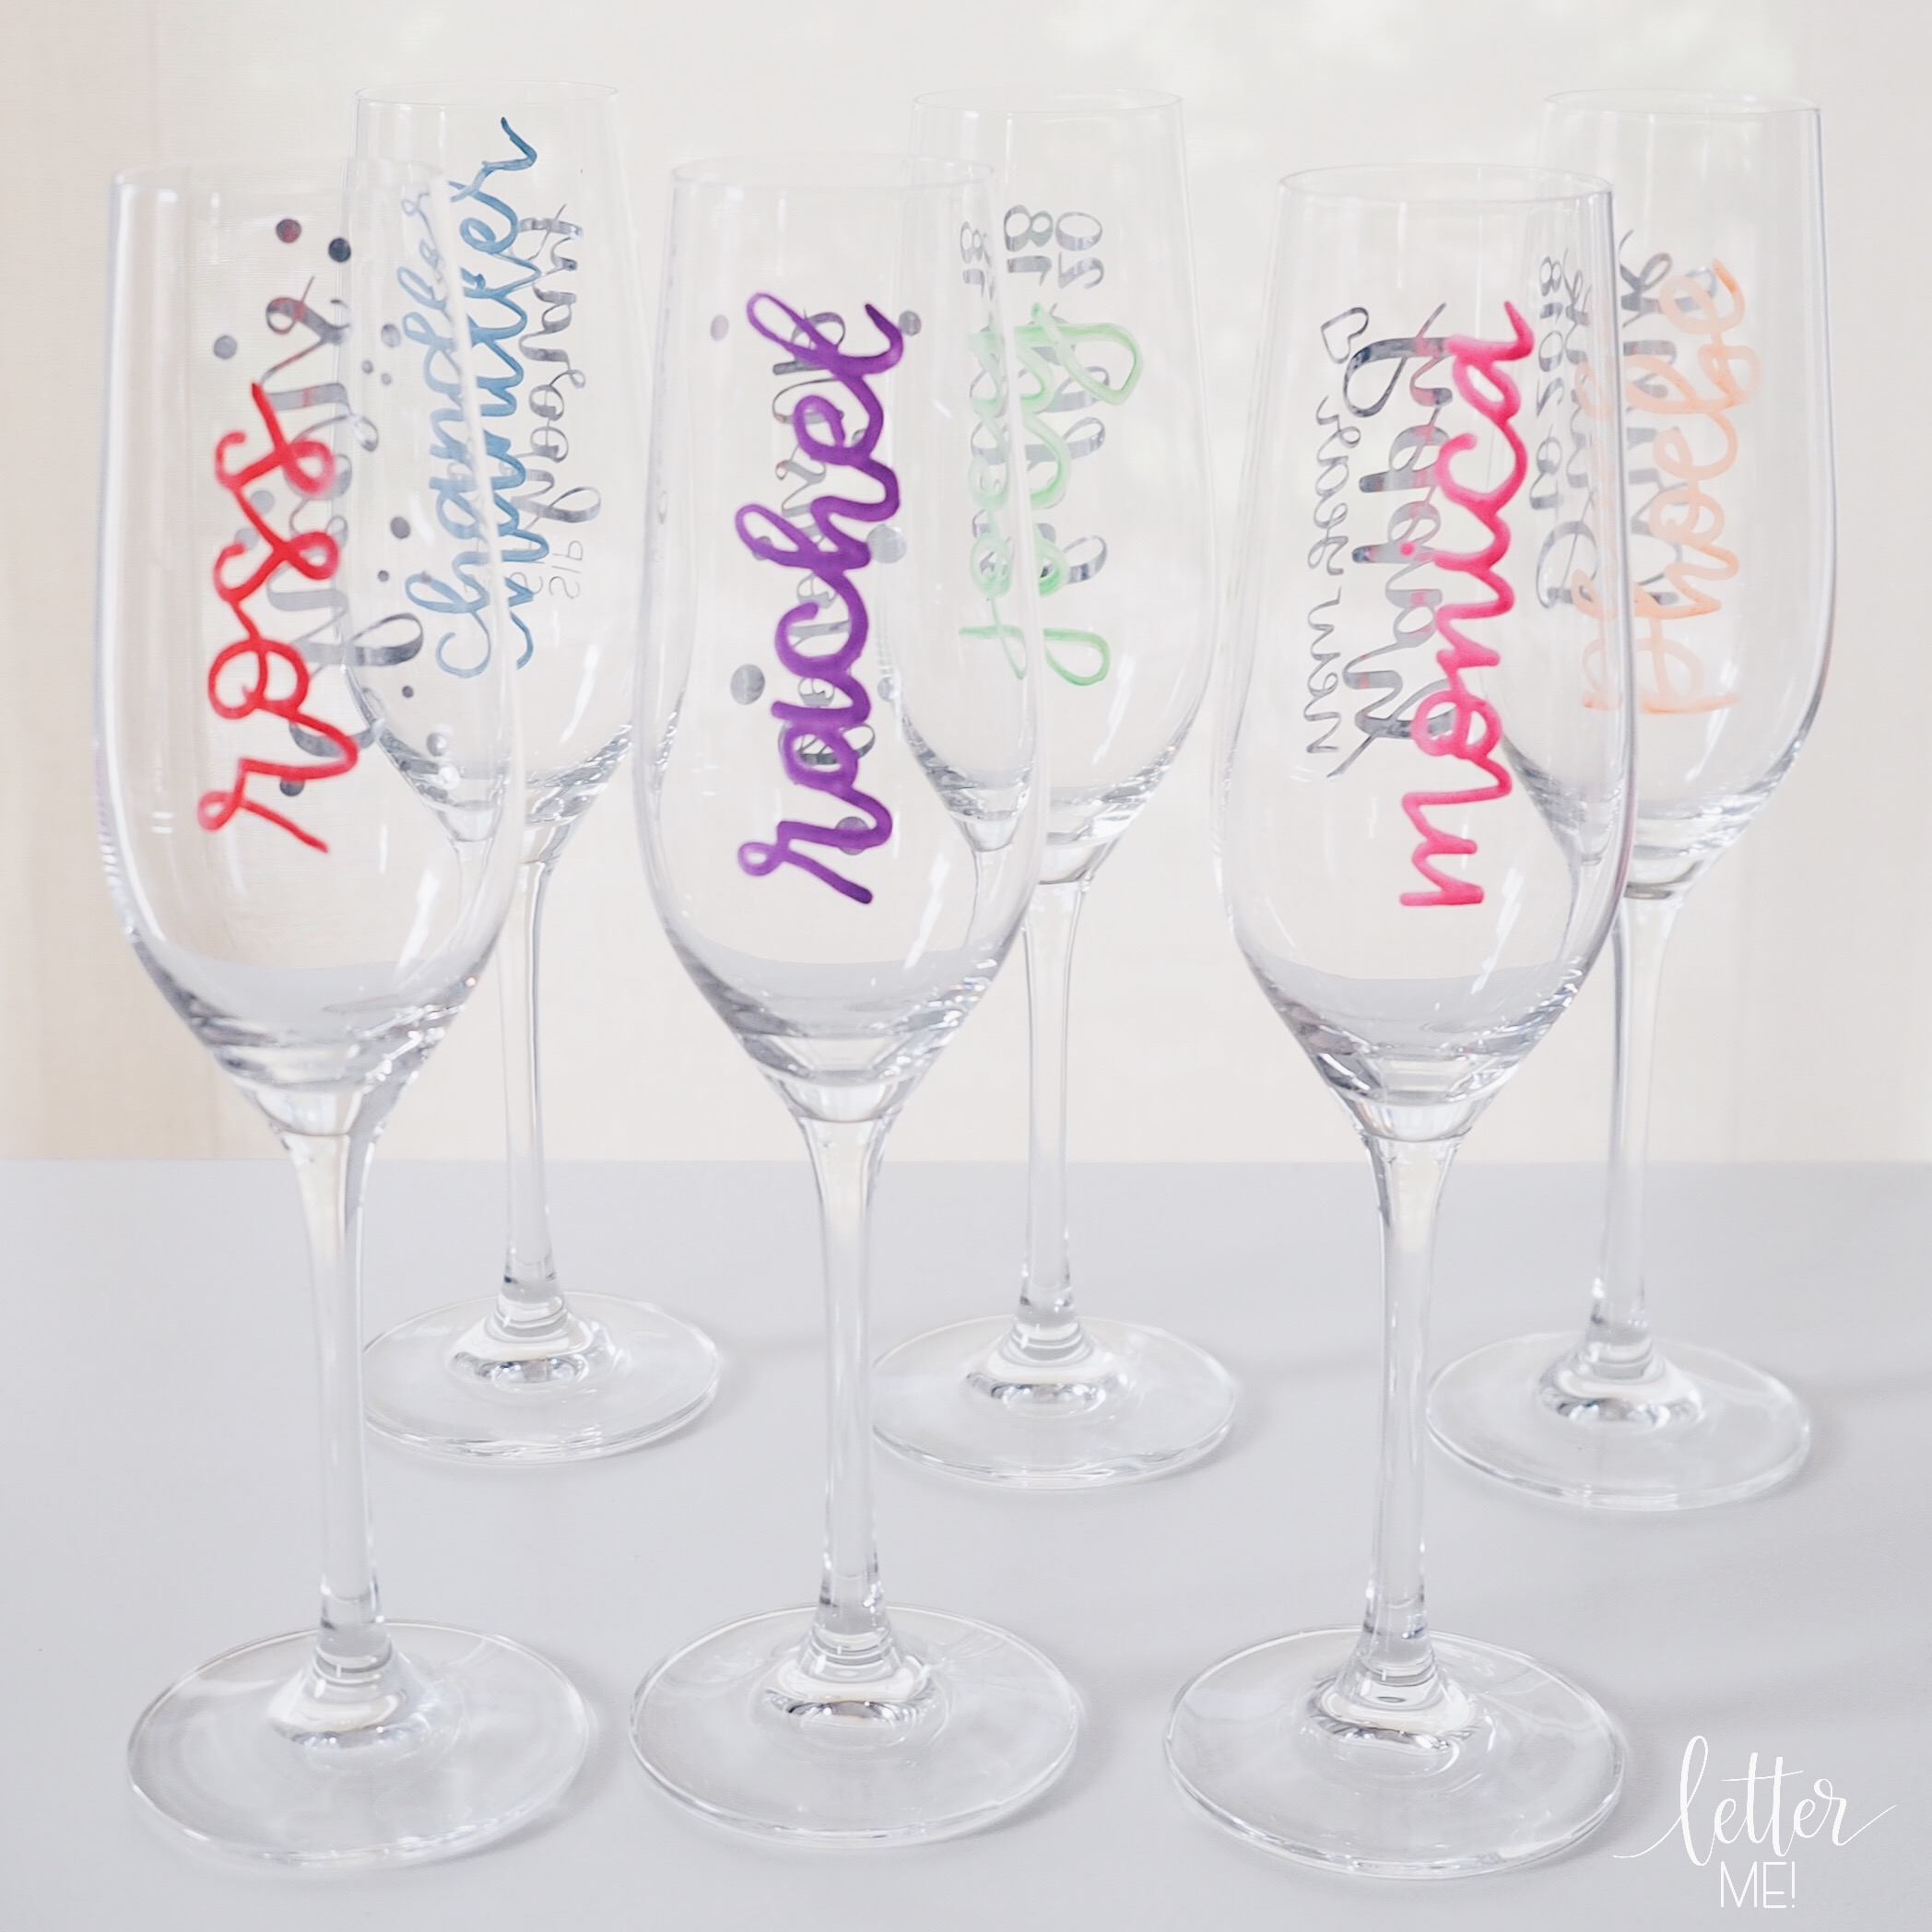
NYE Decor Idea: Personalised Champagne Flutes

File 4-1-18, 1 26 52 pm.jpeg
File 4-1-18, 1 26 21 pm.jpeg
File 4-1-18, 1 27 28 pm.jpeg
tags: crafting, craft, kassa, chalk, liquid chalk, markers, liquid chalk markers, blog, craft blog, christmas, new year, nye, dome light, fairy light, champagne, wine, wine flute, champagne flute, personalised, custom design, decor, xmas, christmas decor, xmas decor, christmas craft, xmas craft, new year decor, cheers, friends, amazon, shopify, party idea, party inspiration, inspiration, inspo
categories: Calligraphy, Craft, Lettering, wedding, celebration
Thursday 01.04.18
Posted by Liz Tu
 

Copyright © 2025, Letter Me!, All rights reserved.