I decided to write this blog after my videos went viral on Instagram and although I try to reply to each and every message, it has been increasingly difficult to address each question with a lengthy and thorough response. Please note that this post contains affiliate links and I will be compensated if you make a purchase after clicking on my links. (I have provided international links for everyone, but for Australian specific stockists, please click on the alternative links in the list below).
I have always loved personalised things. As a child, I would always search those swivelling stands for my name on keyrings, mugs, stickers. Fortunately for me, my dad was always obliging, so I would have hairbrushes and notepads with "Elizabeth" on it. My husband on the other hand has a unique name. He has to spell his name letter-by-letter to everyone, let alone find his name anywhere. He vowed that when he had kids, he would name them something more mainstream. So fast forward a few years, equipped with some embossing powder and a heat gun, I love to personalise EVERYTHING.
Embossing has been around for decades and is commonly used to create a raised texture on paper craft and cards. Embossing is a very simple process to create a gorgeous result, involving inexpensive materials and tools. All you basically need is embossing glue, embossing powder and a heat gun. Since the introduction of embossing glue pens, embossing has become a popular art form amongst calligraphers and letterers as you can basically emboss on any heat resistant surface.
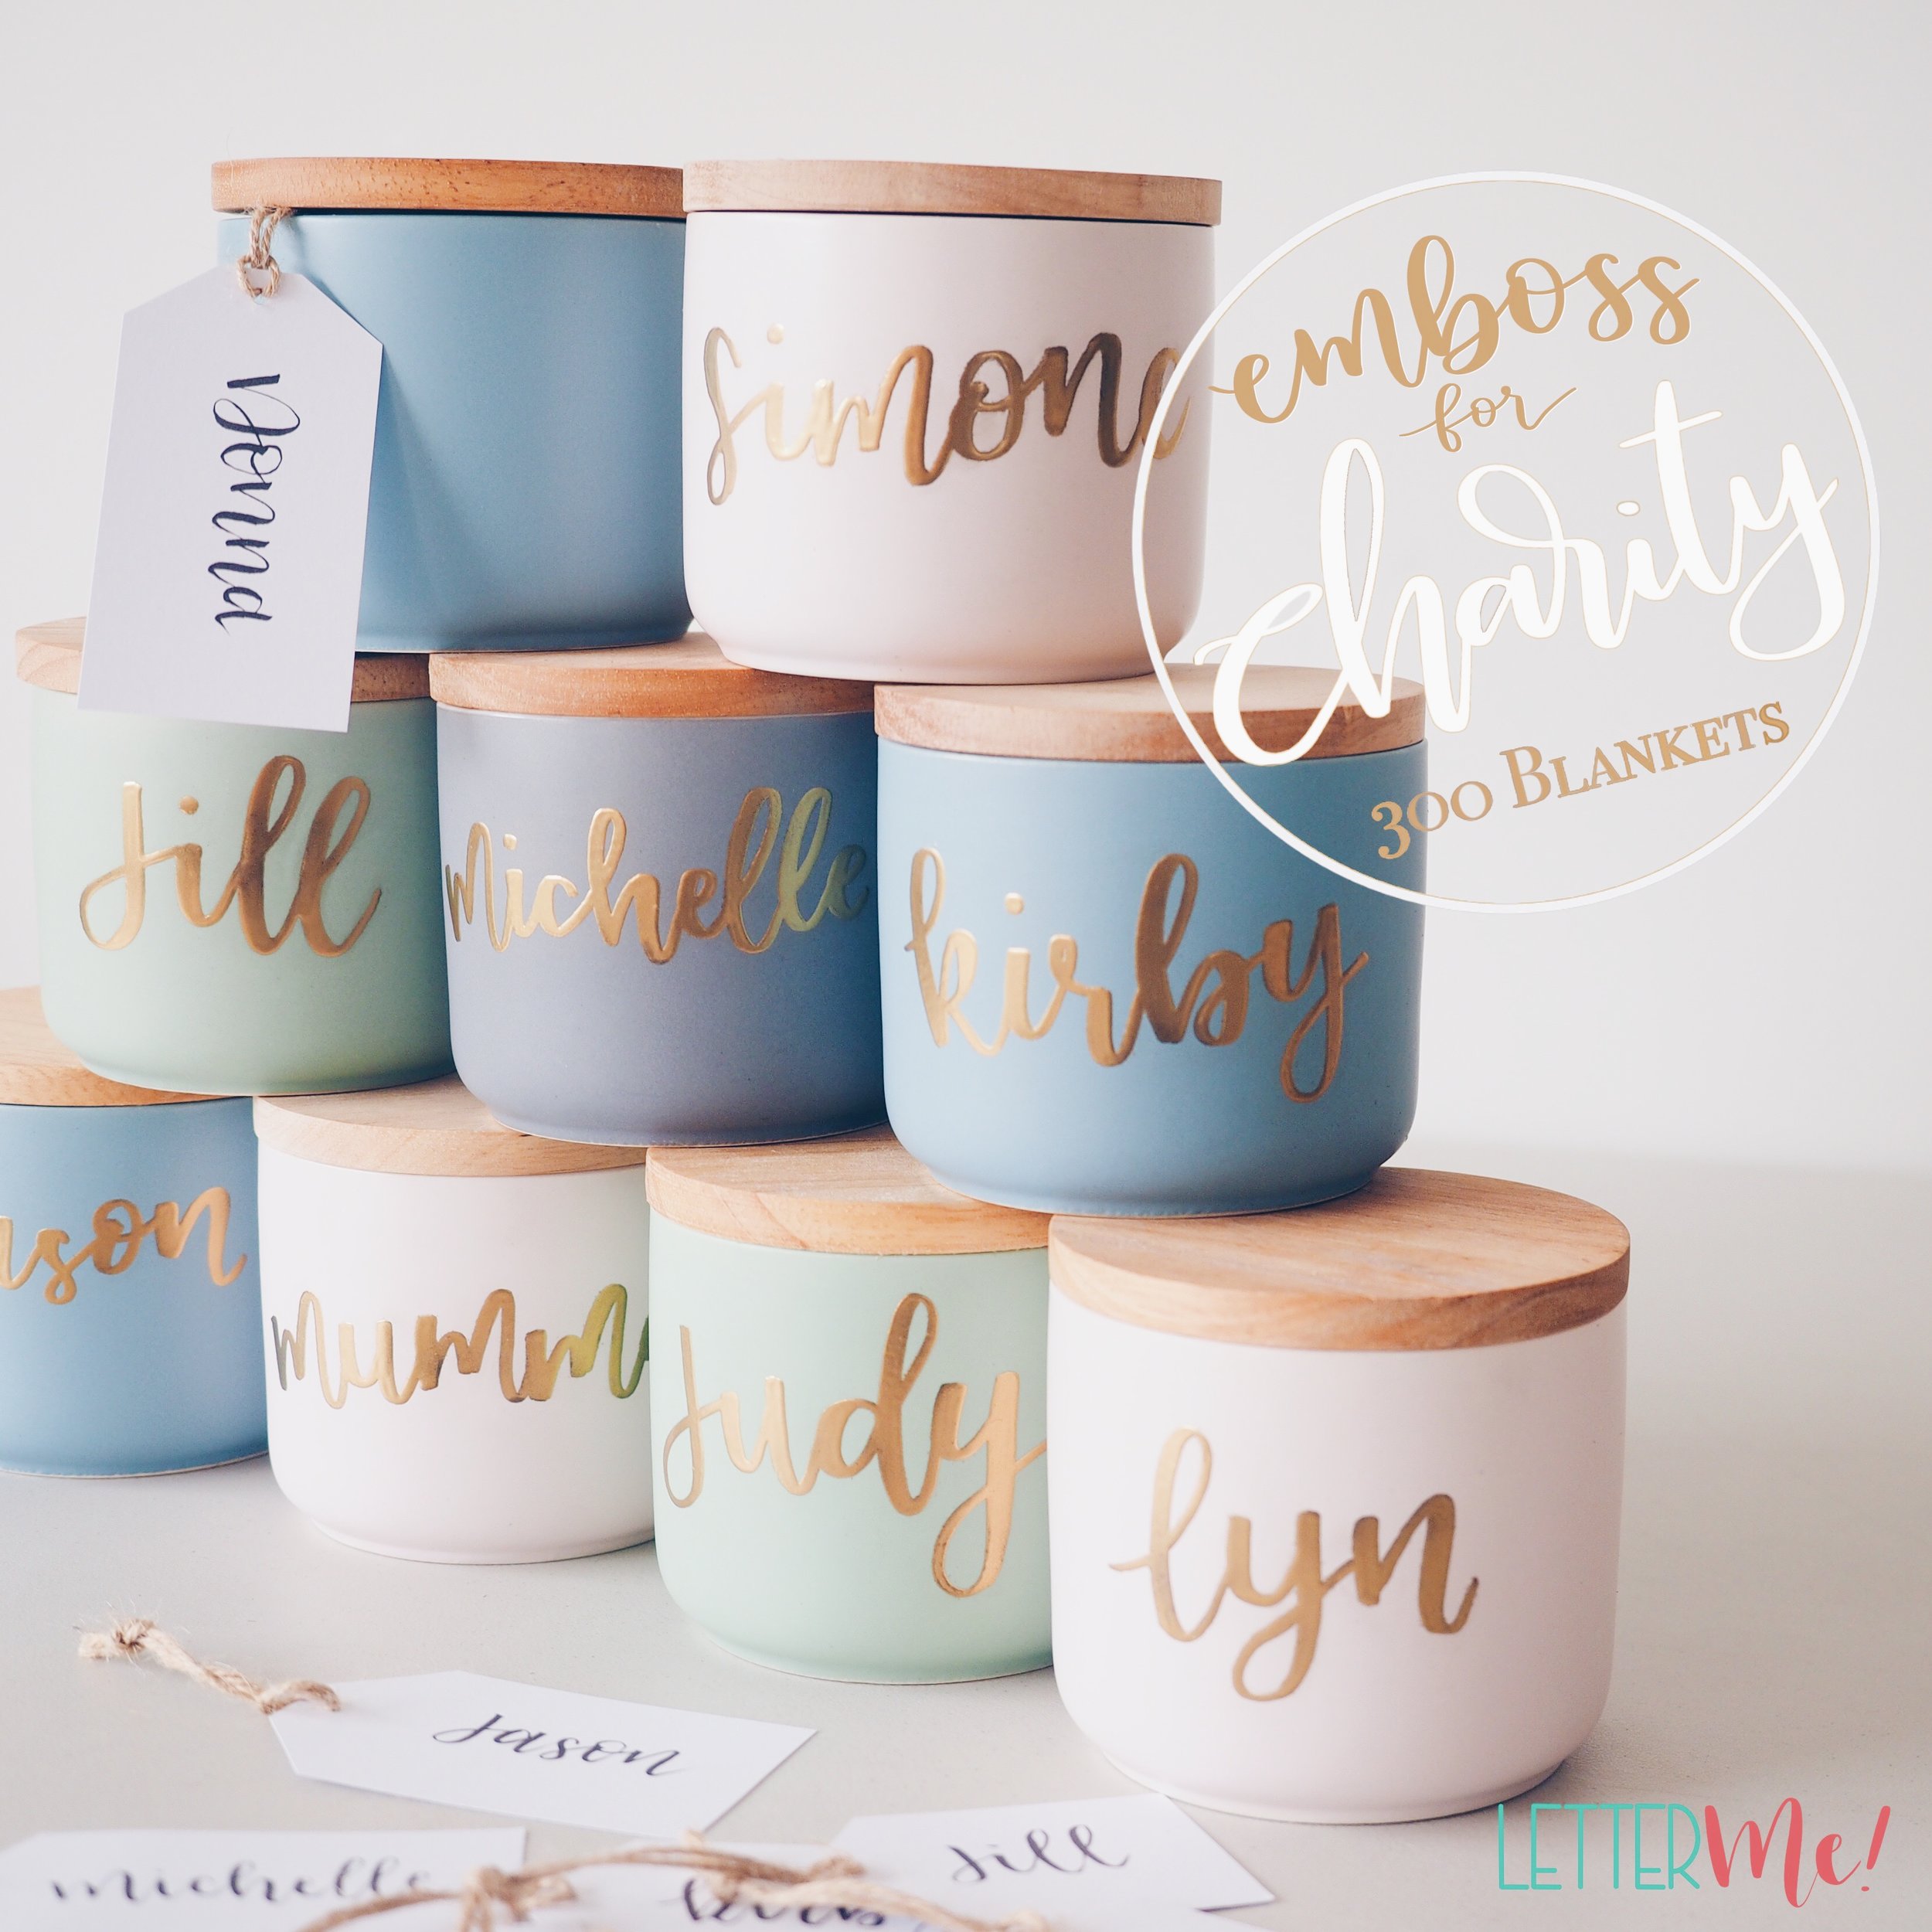
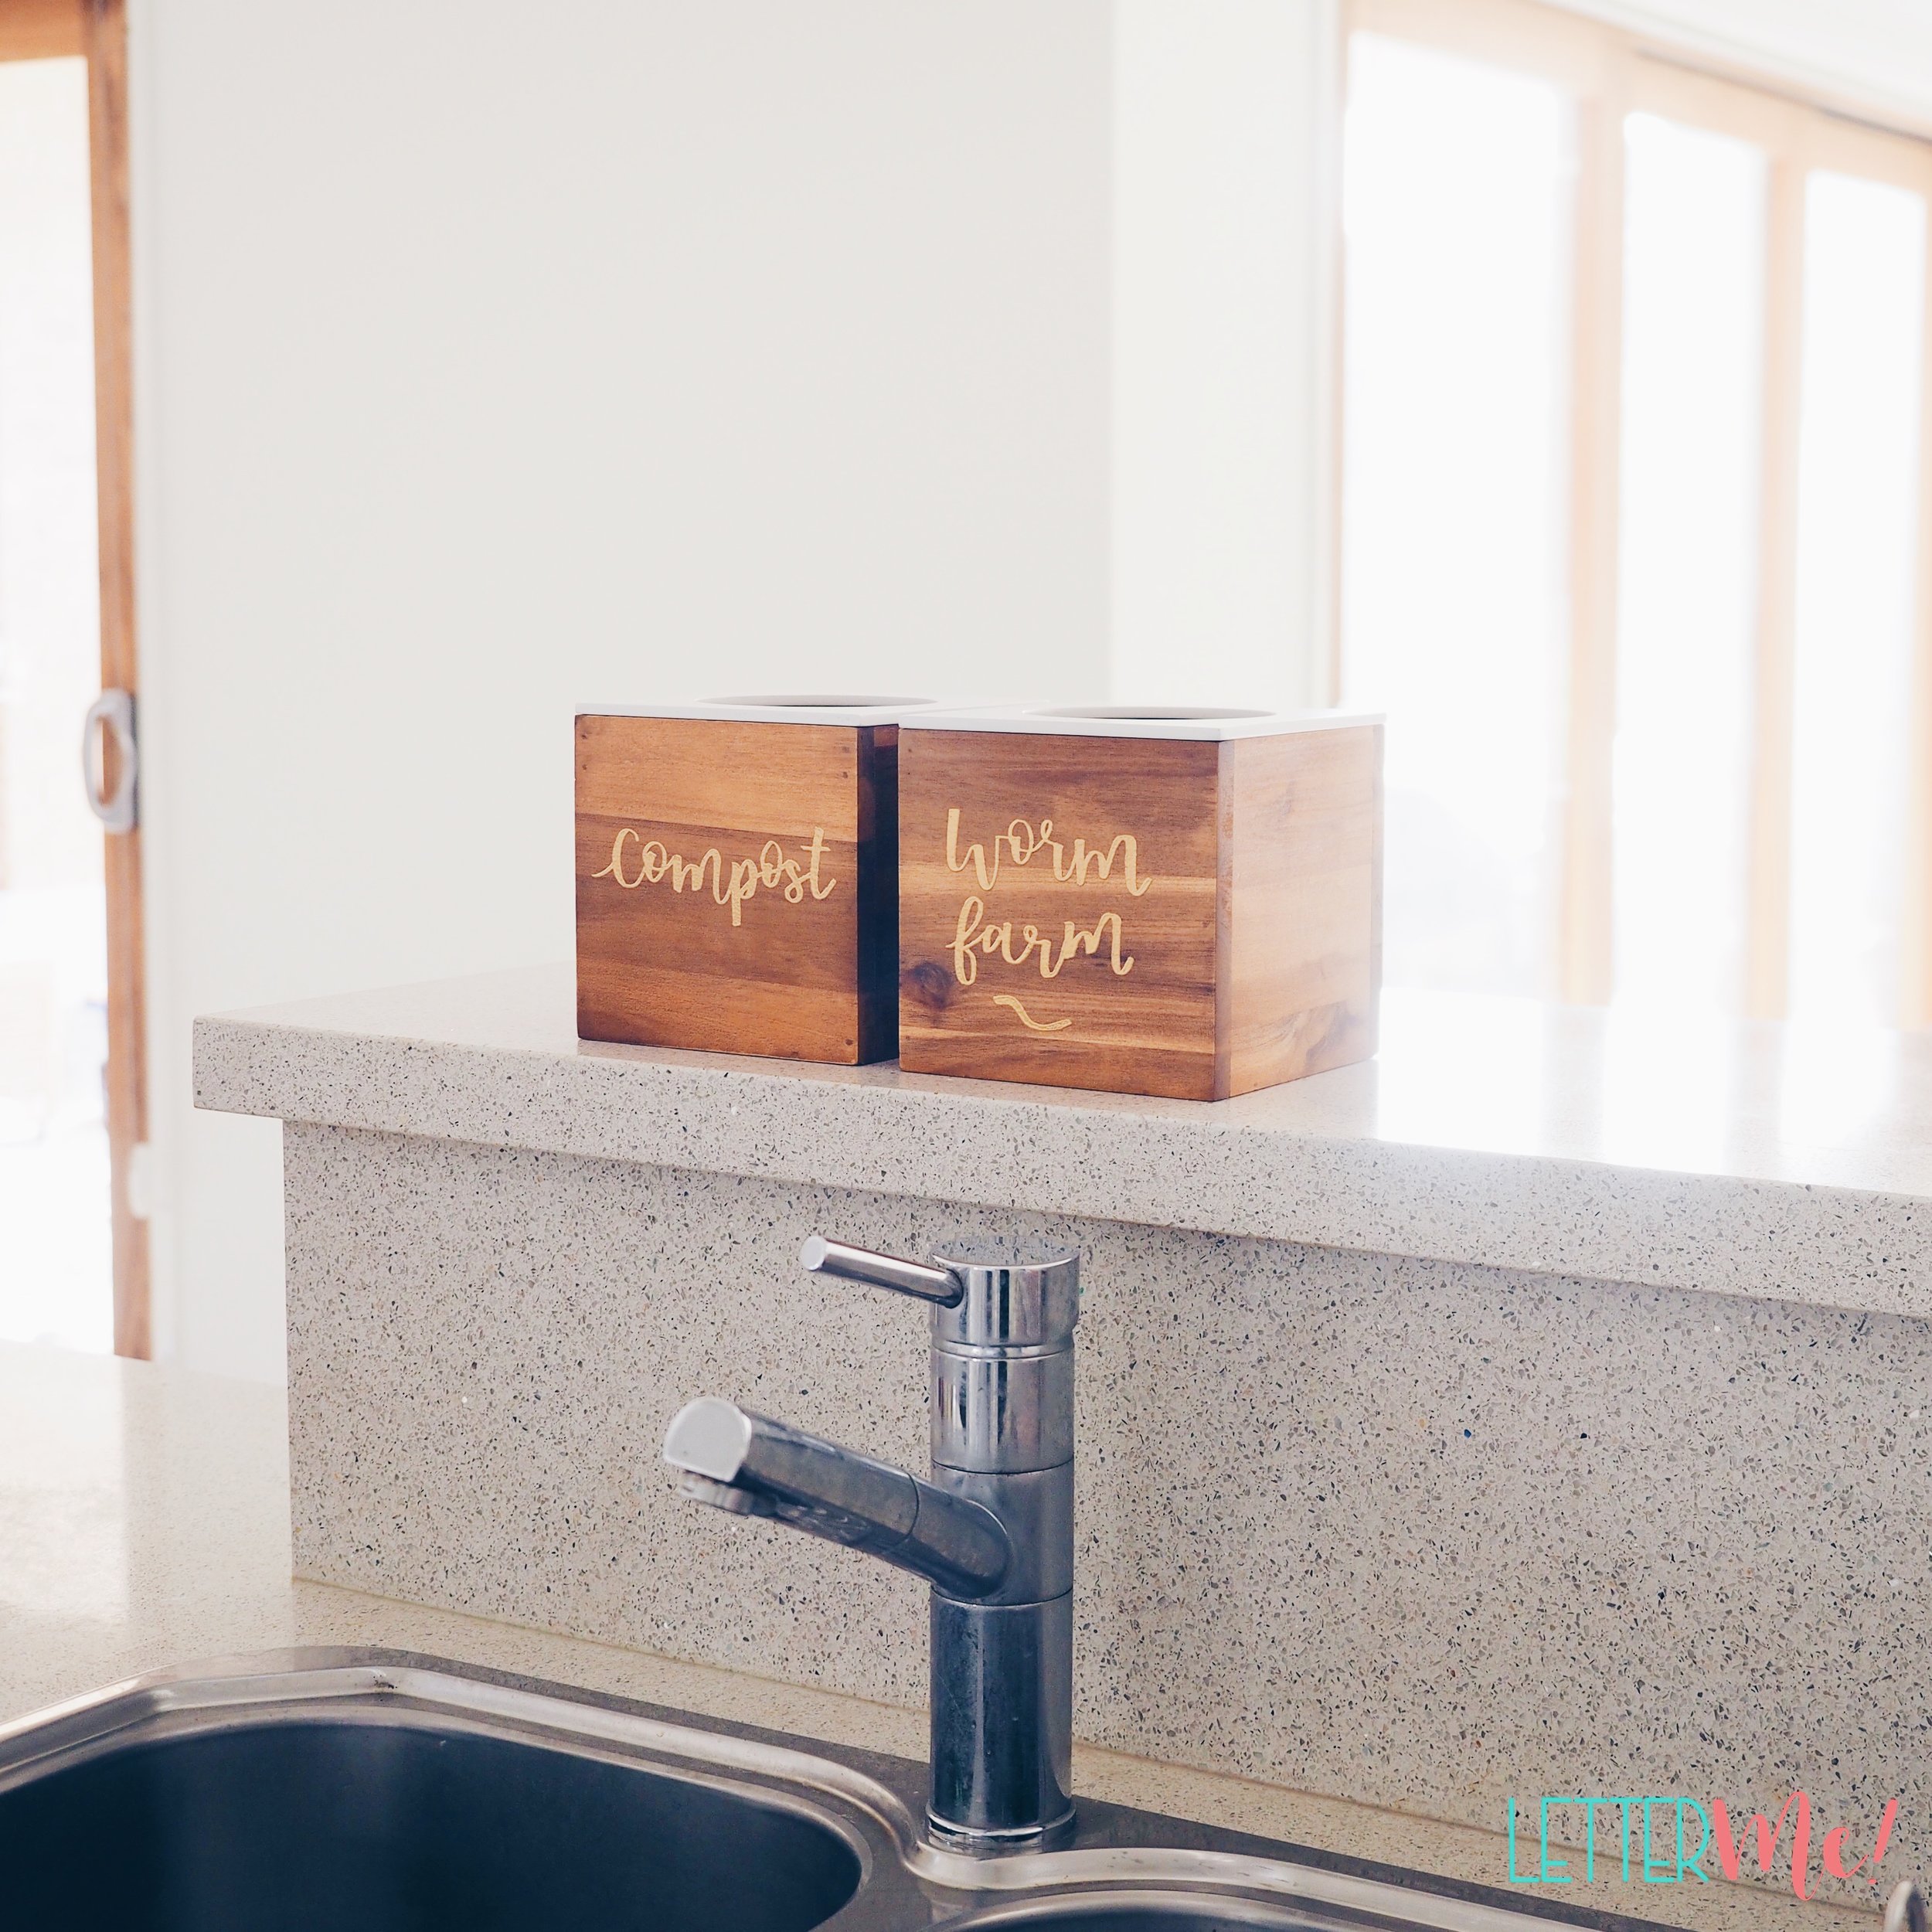
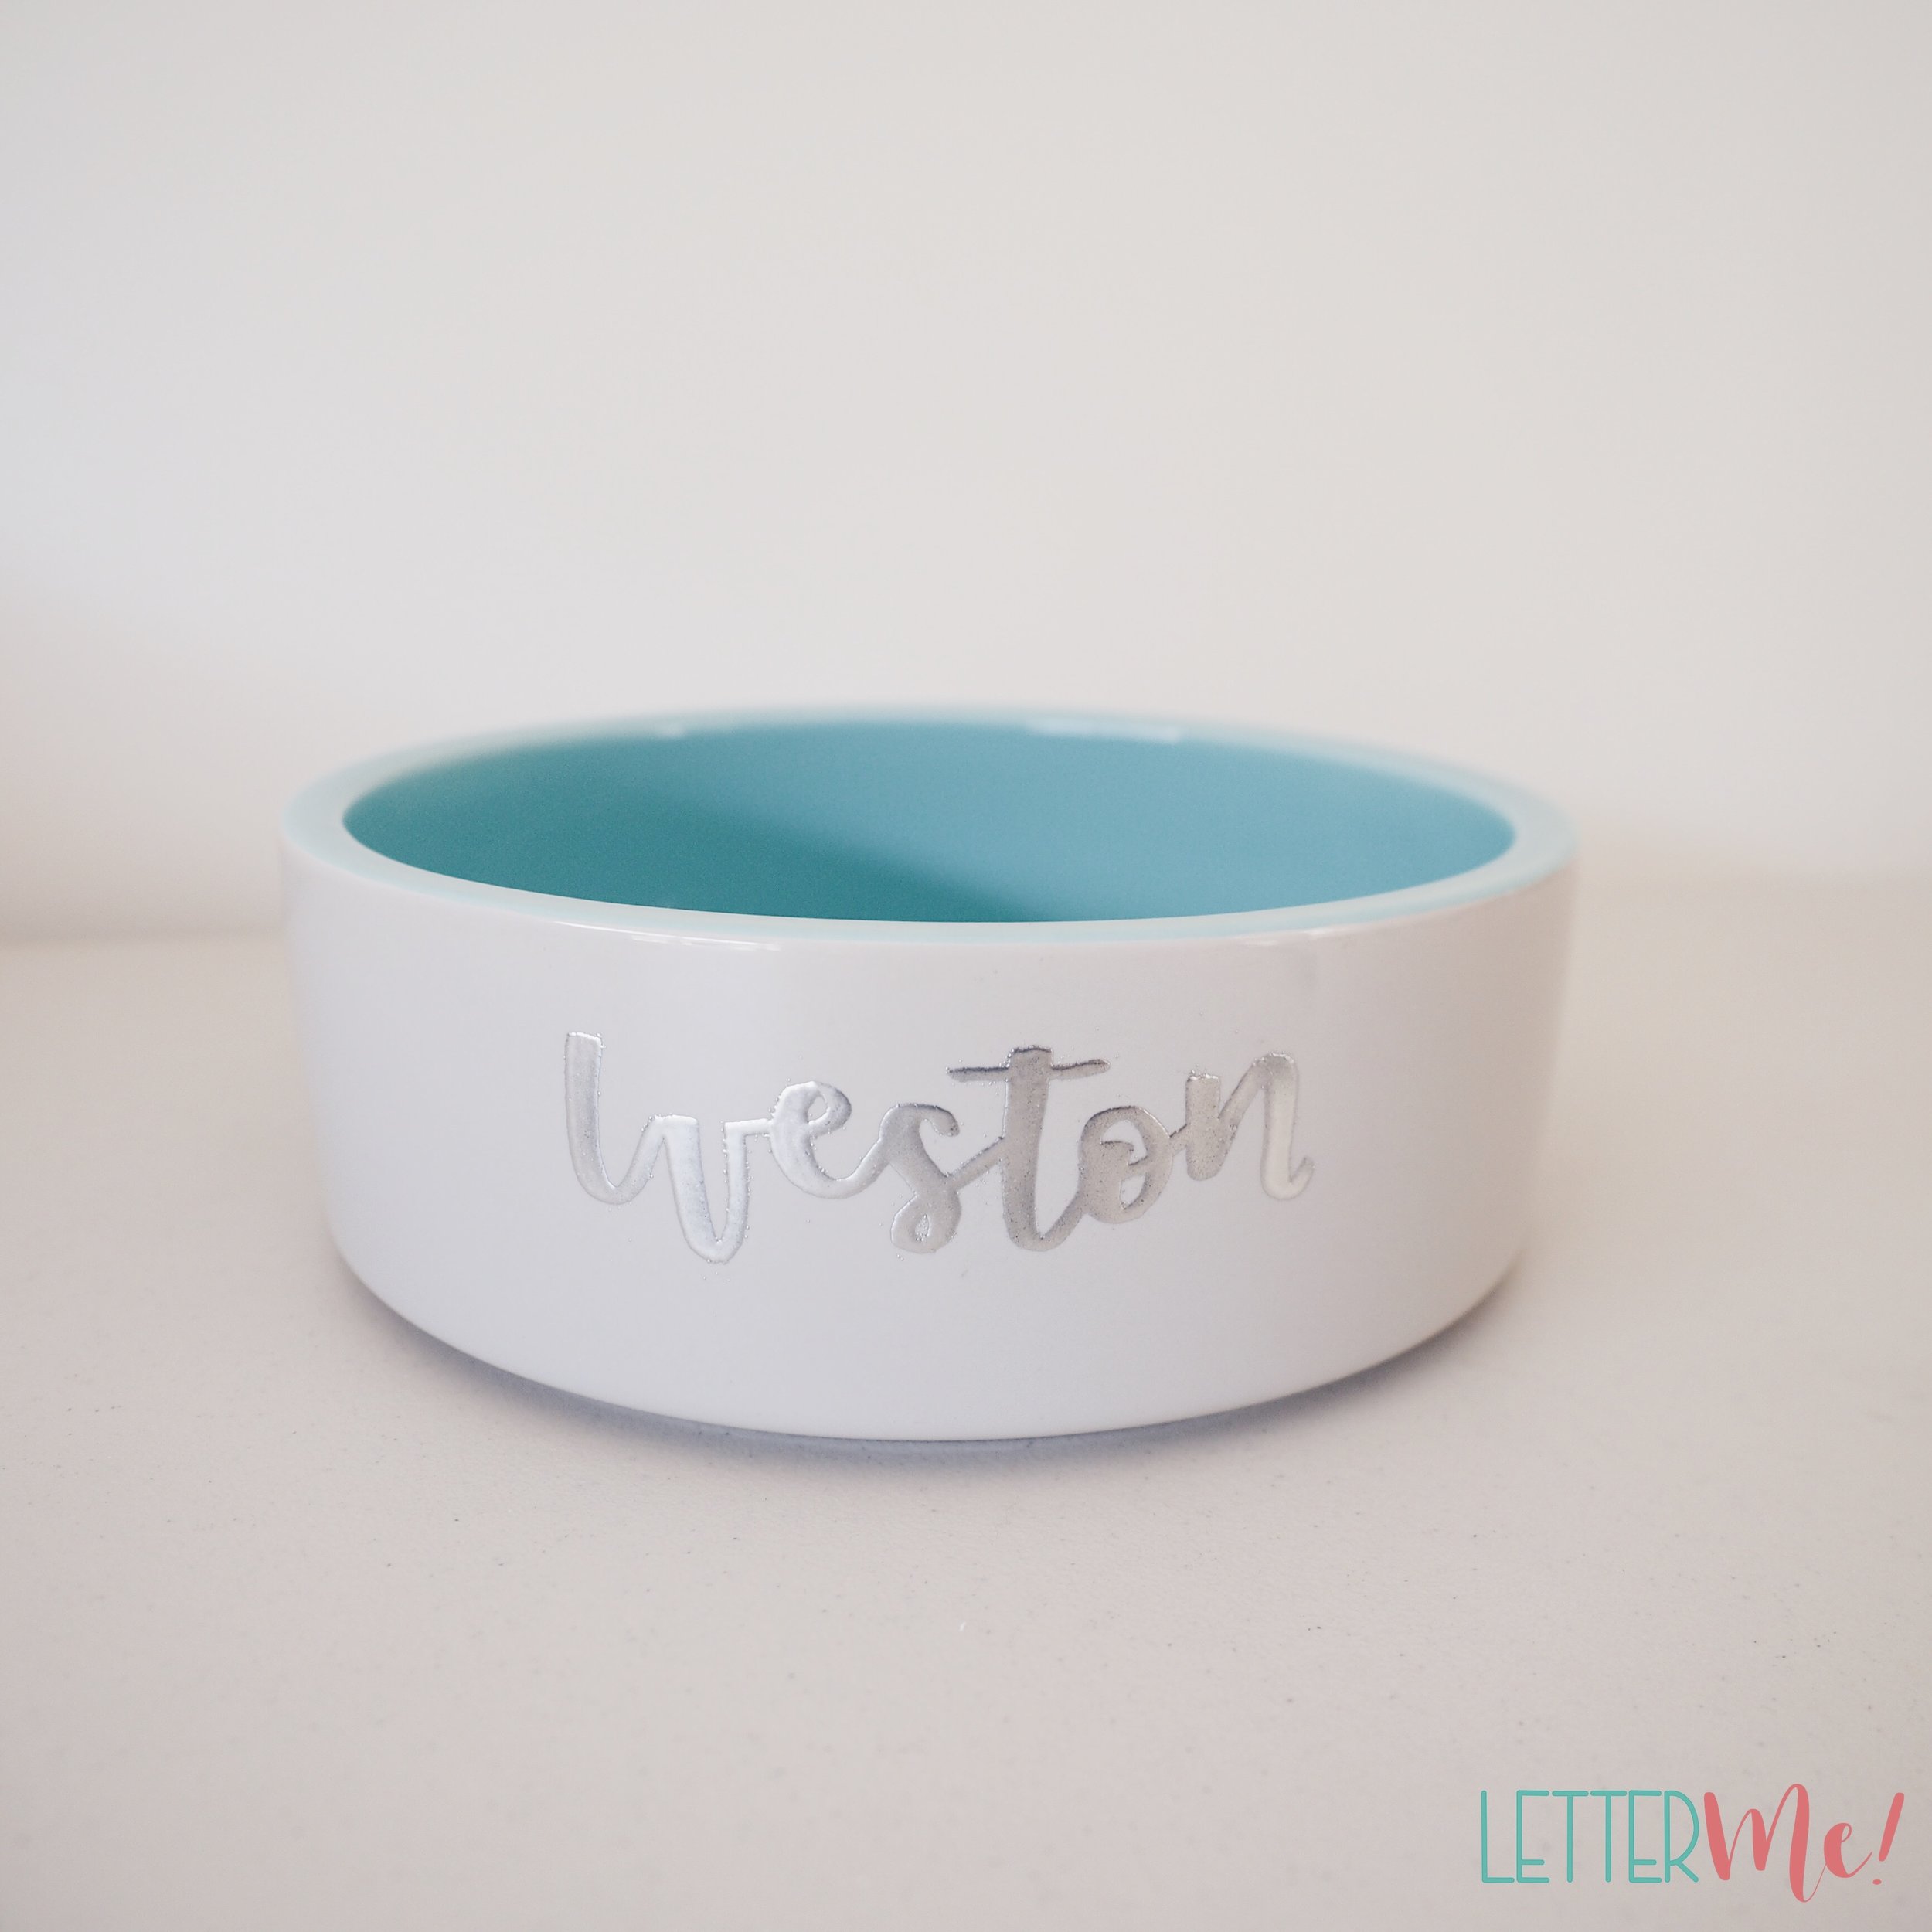
I started embossing words on flat surfaces; paper, card and notebooks, then eventually moved onto cannisters, vases and anything I could get my hands on! It is far simpler to emboss on flat surfaces as the embossing glue pens essentially writes like any other pen or marker, so you just write as you normally would. There are so many different ways to emboss, and so many amazing artists that do mind-blowing things with embossing, so I'm no embossing expert in comparison, but here is how I emboss my cannisters.
What you need (links are provided at the bottom of this blog):
Embossing Glue Pen (OR for Australians, I sell Ranger Ink Emboss IT Pens in my store!)
Embossing Powder (OR for Australians, I sell Ranger Ink Embossing Powders in my store!)
Embossing Heat Tool (OR click here for Australians for a link to an Australian eBay store or here for the Amazon Australia site)
Large sheet of paper or cardboard
Heatproof object
Start with a clean surface. You don't want to be embossing on an item that might be dusty or dirty, as the embossing glue and powder will not adhere to it.
Using an embossing glue pen, write whatever you would like embossed. Those of you who like calligraphy and want to do faux calligraphy with these pens, should do your thicker lines after each letter. What I mean is to try to finish each letter before starting the next one, as you want to avoid going back over the letters afterwards and risk dragging your hand on the glue. The embossing pen that I prefer is the Ranger Ink Emboss It pen (Australians: I sell this in my online store) as I find that the powders stick well to it. The Ranger Ink Emboss It pens come in a pack with two colours; a black one that writes like a normal black marker, and a clear one. The clear one is good when using lighter embossing powders.
When you are happy with what you have written with the embossing glue pen, it's almost time to add the powder. Before you begin though, I highly recommend that you get a large sheet of paper, or cardboard, put a fold in it half way, and place it under your work. This sheet will help you collect the excess powder afterwards. The large sheet of paper needs to be big enough to sit underneath your work and collect the powder.
Keep your writing horizontal, add as much powder on top of your glue as you need to fully cover the writing. Try to be generous here, you need a good coverage, and any excess powder you collect, you can reuse, so go nuts. After all your writing is covered, use a bit of force (without breaking your object of course) and tap off the excess powder onto the sheet of paper underneath. Fold the paper in half, and like a funnel, transfer the excess powder back into the container. Don't worry, the excess should be dry and uncontaminated (provided that the original sheet of paper was clean!), and will not affect the rest of the powder in your container. I love the Ranger Ink embossing powders and the Zing embossing powders by American Crafts. I find the particles small enough to melt beautifully, but large enough to give a nice full cover.
Now this is the fun part (sarcasm). Using a pointed tip, dry paintbrush, very carefully but firmly, brush off the excess from the item you're embossing on. You need to be firm as the powder is sticking on by static. Remember that a single particle of loose power will melt into a mini blob once embossed, so you want to remove as much as you can for a clean finish. Don't forget the inside of the letters (inside of the a, e, o, etc.). I would say that any dry pointed tip paint brush would work, but if you are interested in what I use, I love the Ikea Mala paintbrushes. The bristles are synthetic and the package comes in a set of six different sized brushes, so you can choose whatever that suits your needs.
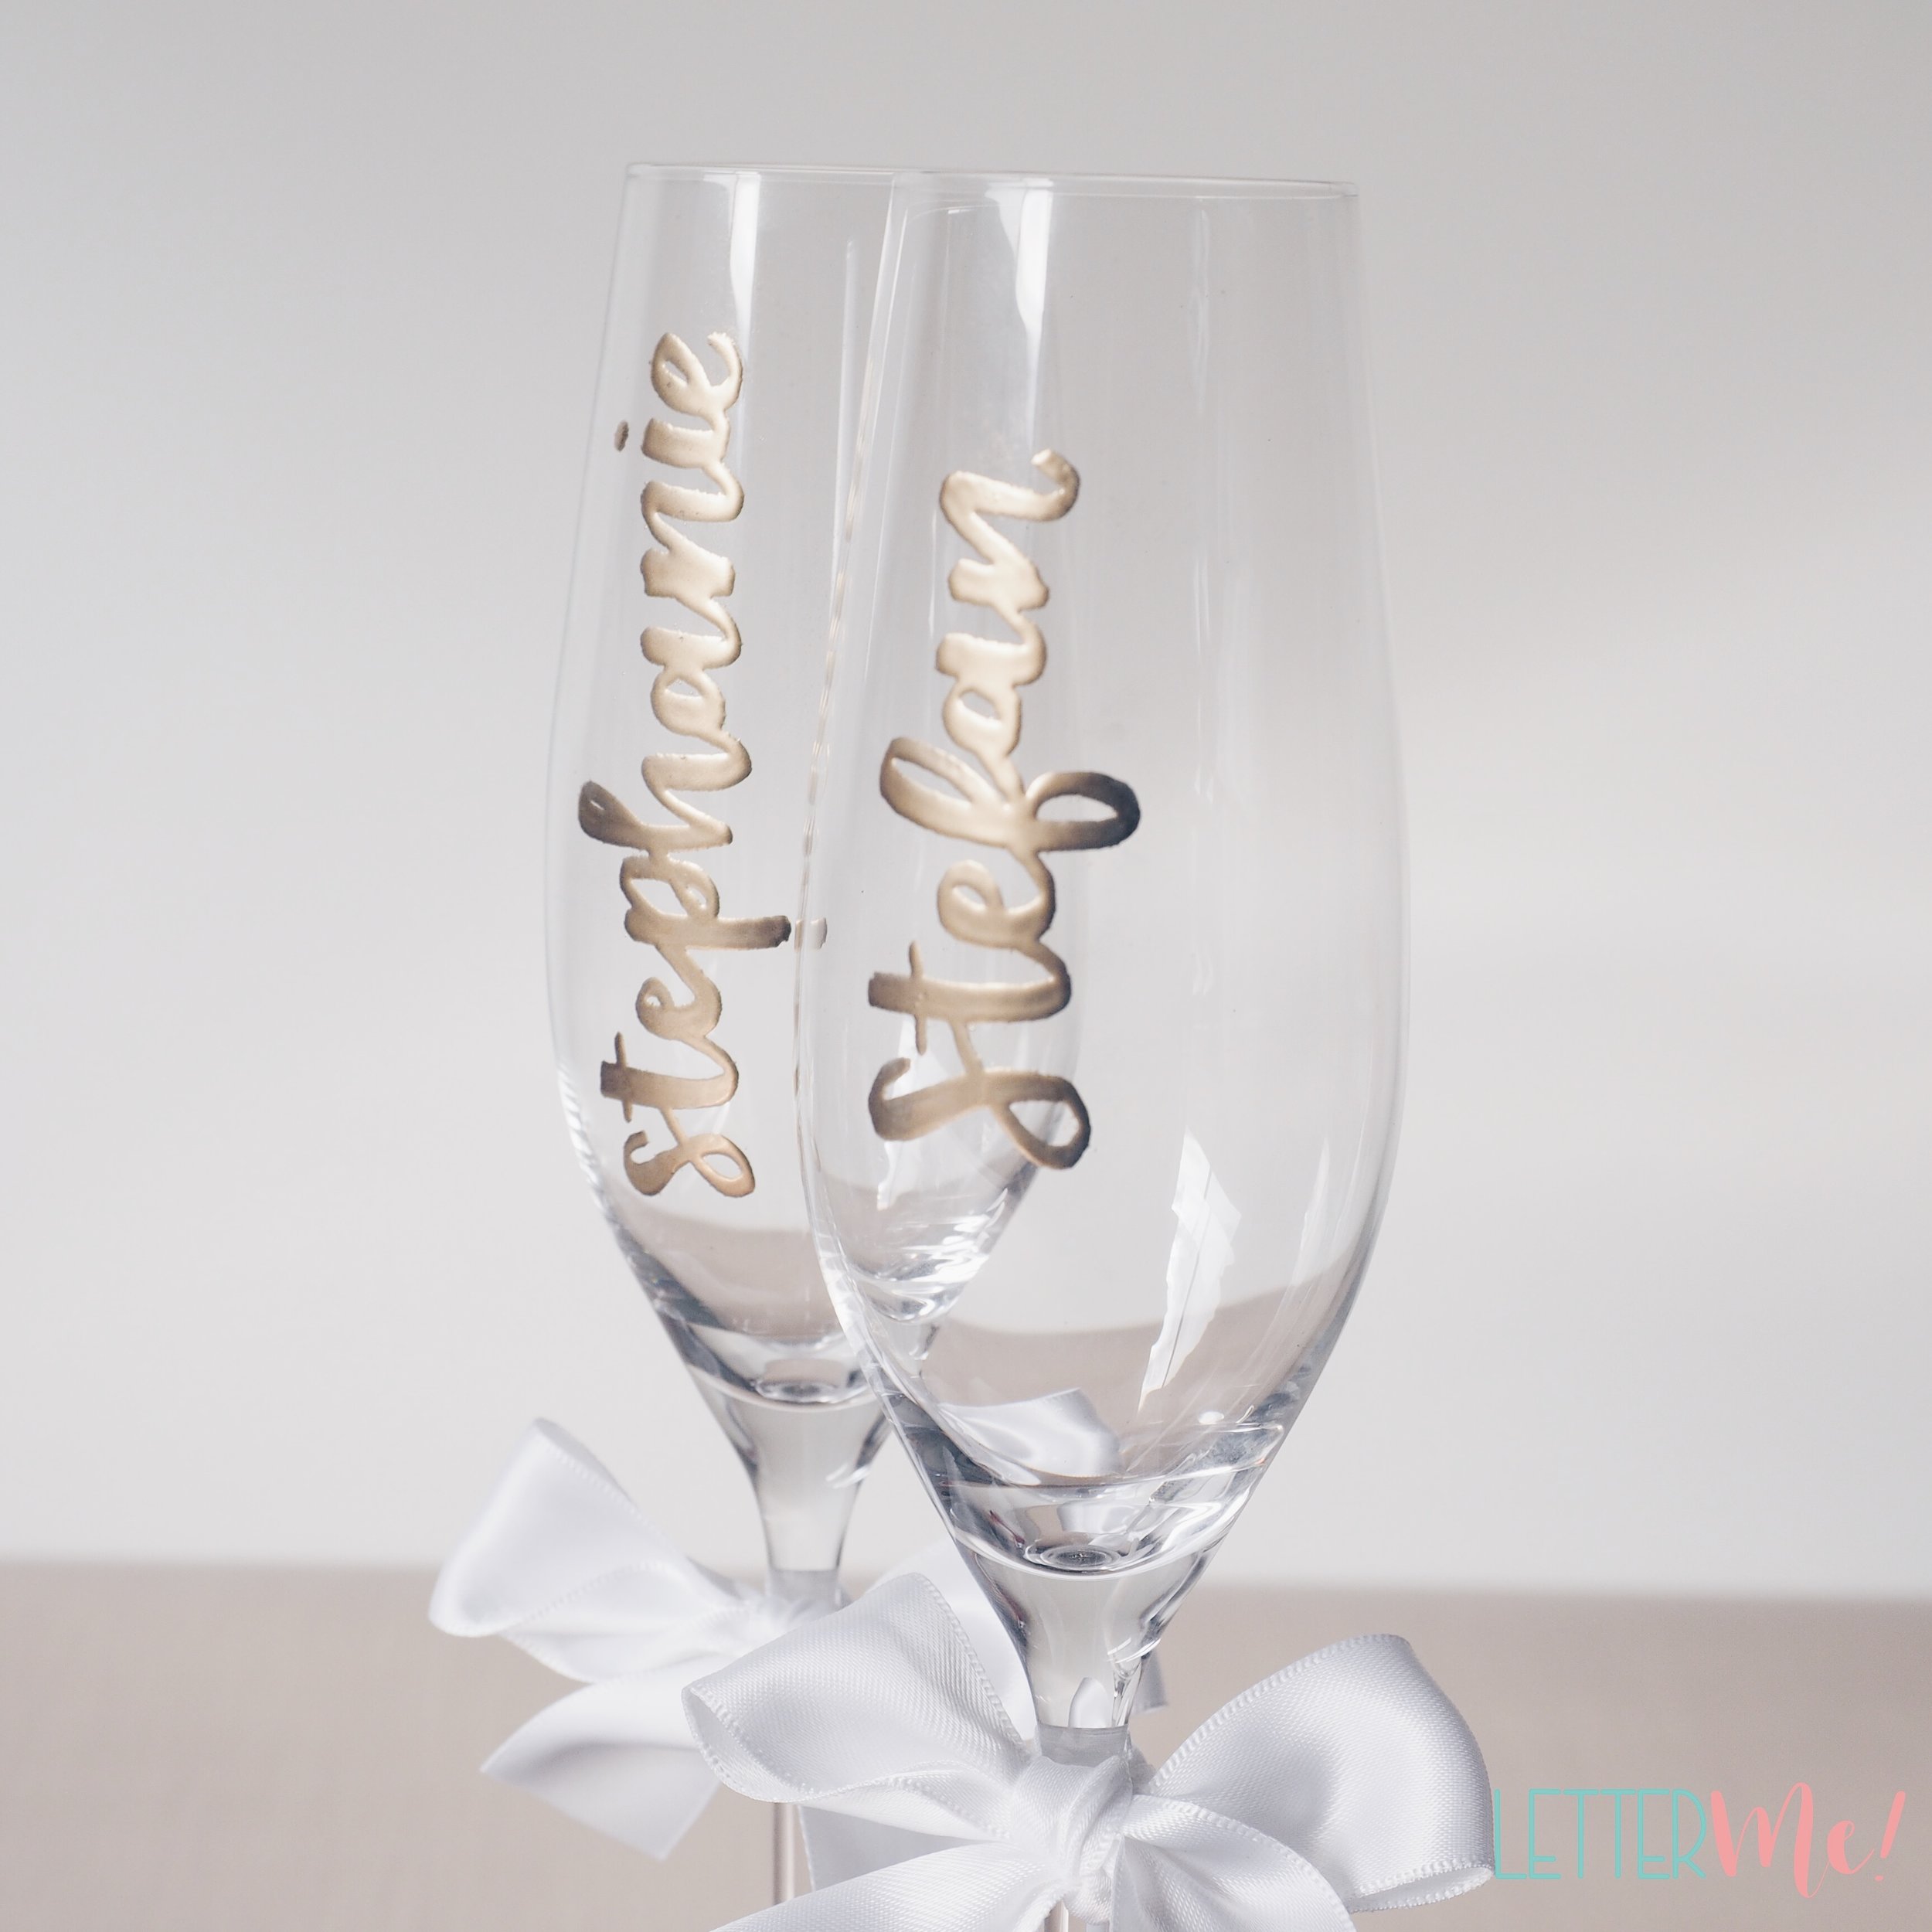
Turn on your embossing heat tool and let it warm up for a bit. Be very careful that the heat tool isn't facing anything that can burn, as it gets super hot. I like to turn mine on just before I funnel the excess powders from the sheet back into the container to give it time to heat up. Hold your heat tool, approximately two to four centimetres (an inch) away from what you want embossed and patiently wait for the powders to melt. If your surface is not heat tolerant (cardboard, paper, etc.) you don't want to hold it in the same place for too long, as the surface may curl or even melt. The powders will melt to a nice smooth finish on ceramic and glass surfaces, where it is heat resistant. However on surfaces that you cannot heat for long, the embossing may be slightly textured, which isn't a bad thing either, it adds to the character. The embossing heat tool that I use is Zap by American Crafts. Although I haven't used any other heat tool before, this one is my tried and tested brand, and I've embossed pretty much everything.
Other than what specific tools and materials I use, the next most popular question I am asked is whether the embossing is waterproof. Embossing is waterproof to a degree as it won't wash off with water alone, and gentle handwash is fine. However I always recommend that embossing should be for decorative use only as regular washing, abrasives, dishwashing and microwaves are not recommended.
It's such a fun process watching something so simple turn shiny and metallic and relatively cheap to do. If you've found this blog interesting, please let me know by leaving a comment or clicking the heart!
Now go and emboss all the things!
Links to what you need:


