My niece Sienna has a brand new cubby house, so of course, aunty Liz had to personalise a doormat to make her cubby house a home.
Please note that this post contains affiliate links and I may be compensated by the vendor (at NO ADDITIONAL COST to you) if you make a purchase after clicking on my links. I have provided you with links to Amazon, Amazon Australia, eBay and Cricut.com.
To match the doormat to her cubby house, I used the left over weatherproof paint that her dad used to paint the cubby. Here’s how I created a stencil and personalised a doormat for my niece.
What I used:
Apple iPad Pro and Apple Pencil (Amazon, Amazon Australia, eBay)
Procreate App
Custom Letter Me Brushes!
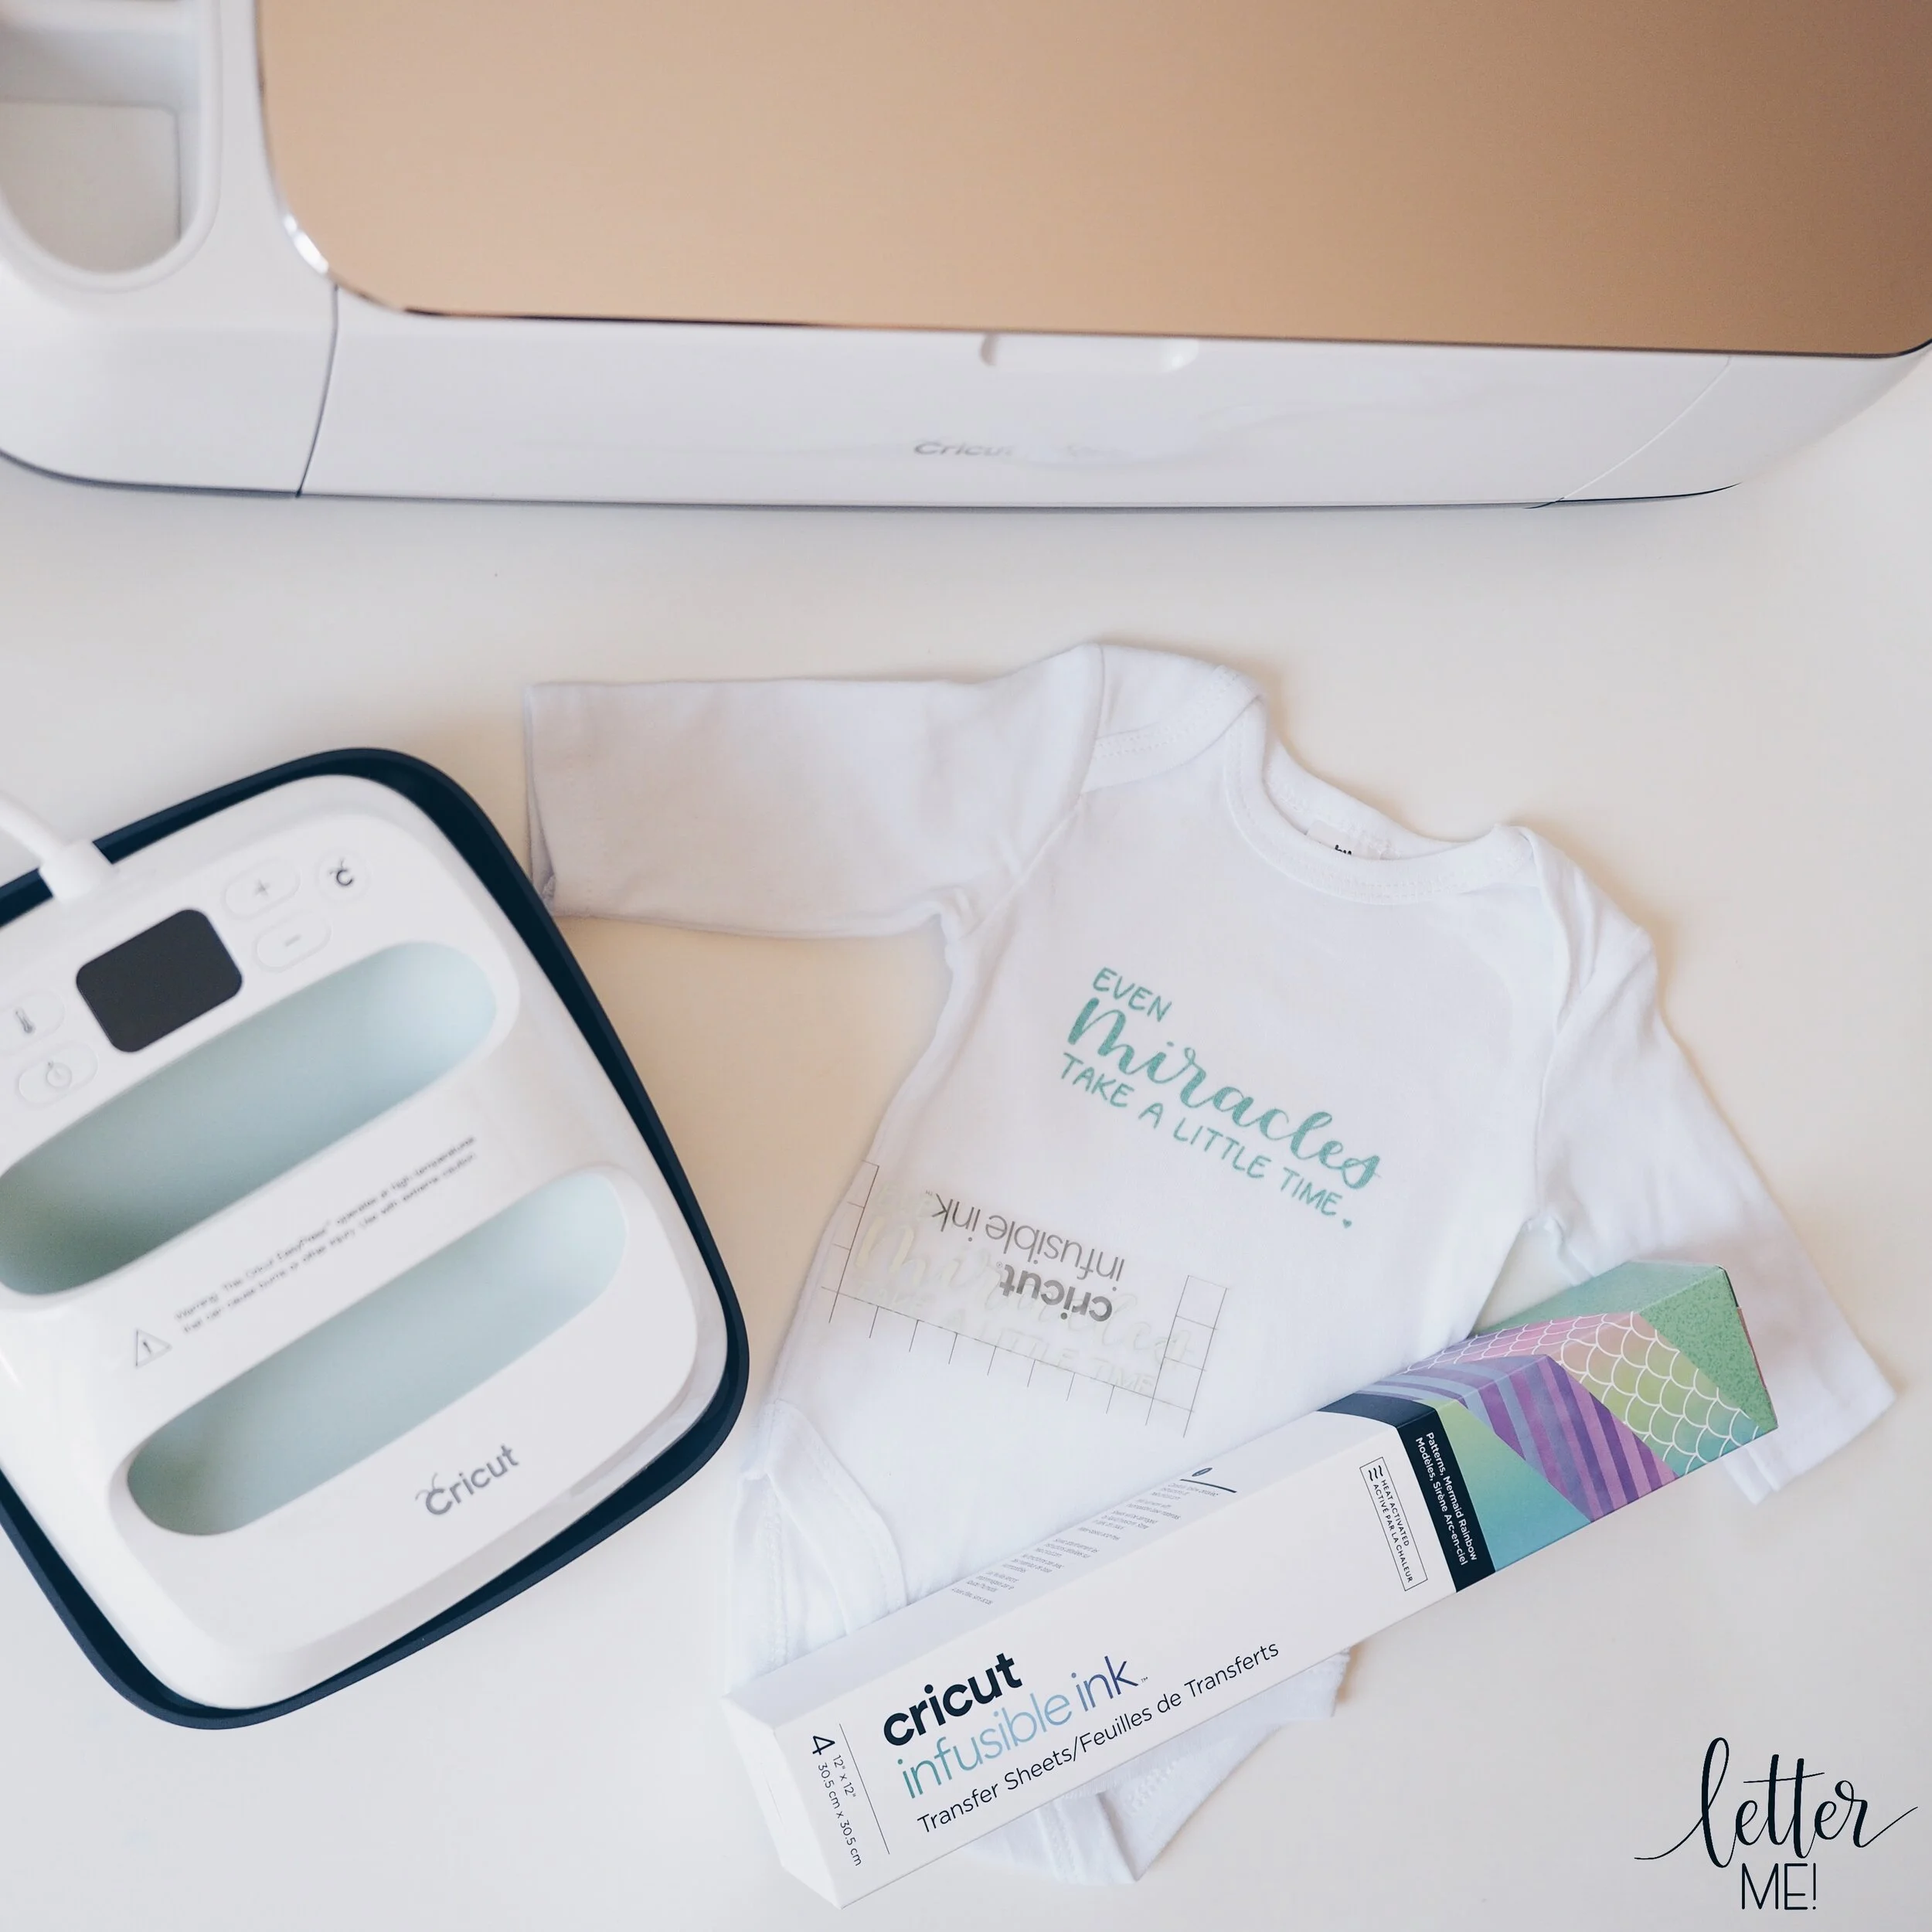
Cricut Maker cutting machine (Cricut.com, Amazon, Amazon Australia, Spotlight eBay)
Cricut Design Space software (https://design.cricut.com)
24” Standard Grip cutting mat (Cricut.com, Amazon, Amazon Australia, Spotlight eBay)
A4 Laminate pouch (Amazon, Amazon Australia)
Heat proof tape (Amazon, Amazon Australia)
Scissors (Cricut.com, Amazon, Amazon Australia, Spotlight eBay)
Door Mat (Amazon, Amazon Australia)
Cricut EasyPress 2 (Cricut.com, Amazon, Amazon Australia, Spotlight eBay)
EasyPress Mini (Amazon, Amazon Australia)
Paint Brush (Amazon, Amazon Australia)
Paint (Amazon, Amazon Australia)
Ruler (Amazon, Amazon Australia, eBay)
Weeding tool/Tweezers (Cricut.com, Amazon, Amazon Australia, Spotlight eBay)
Step One: DESIGN

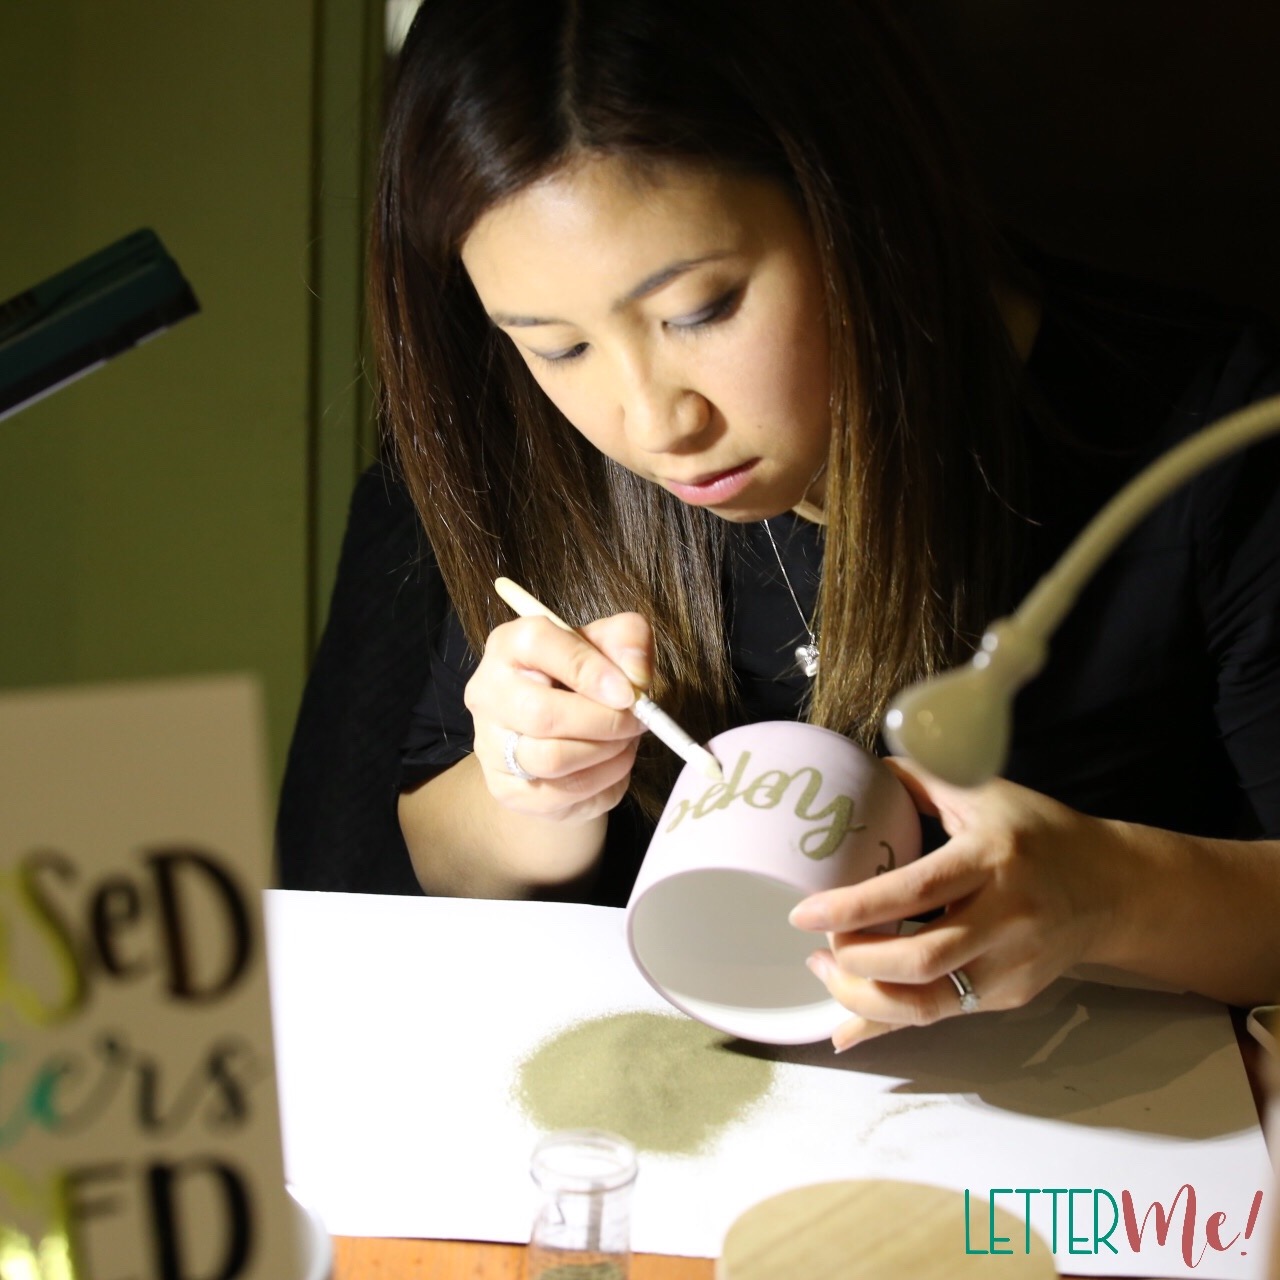
As a calligrapher, I love to design everything from scratch. I used the custom Letter Me! Brush with the Procreate App on my Apple iPad Pro and an Apple Pencil. After I have finished my design, I exported it to Cricut Design Space. For more information on how to do this, check out my earlier blog by clicking here.
If you are more comfortable using fonts, you can create a design directly from Cricut Design Space using fonts available, or download a font of your choice.
Step Two: PREPARING A STENCIL
The doormat that I used is roughly larger than two sheets of A4 paper (A5 size). As A5 laminate pouches are harder to come by and I do not have A5 sized laminate pouches, I created a stencil based on two A4 pouches. With an A4 laminate pouch, I used a guilotine (scissors will also work) to cut off the sealed edge so I am left with two single sheets of laminate. I faced the inside (sticky) side of the now-separated laminate pouch down on the table, lined them up side by side and used heat-proof tape to stick them together.
Step Three: CREATING THE STENCIL

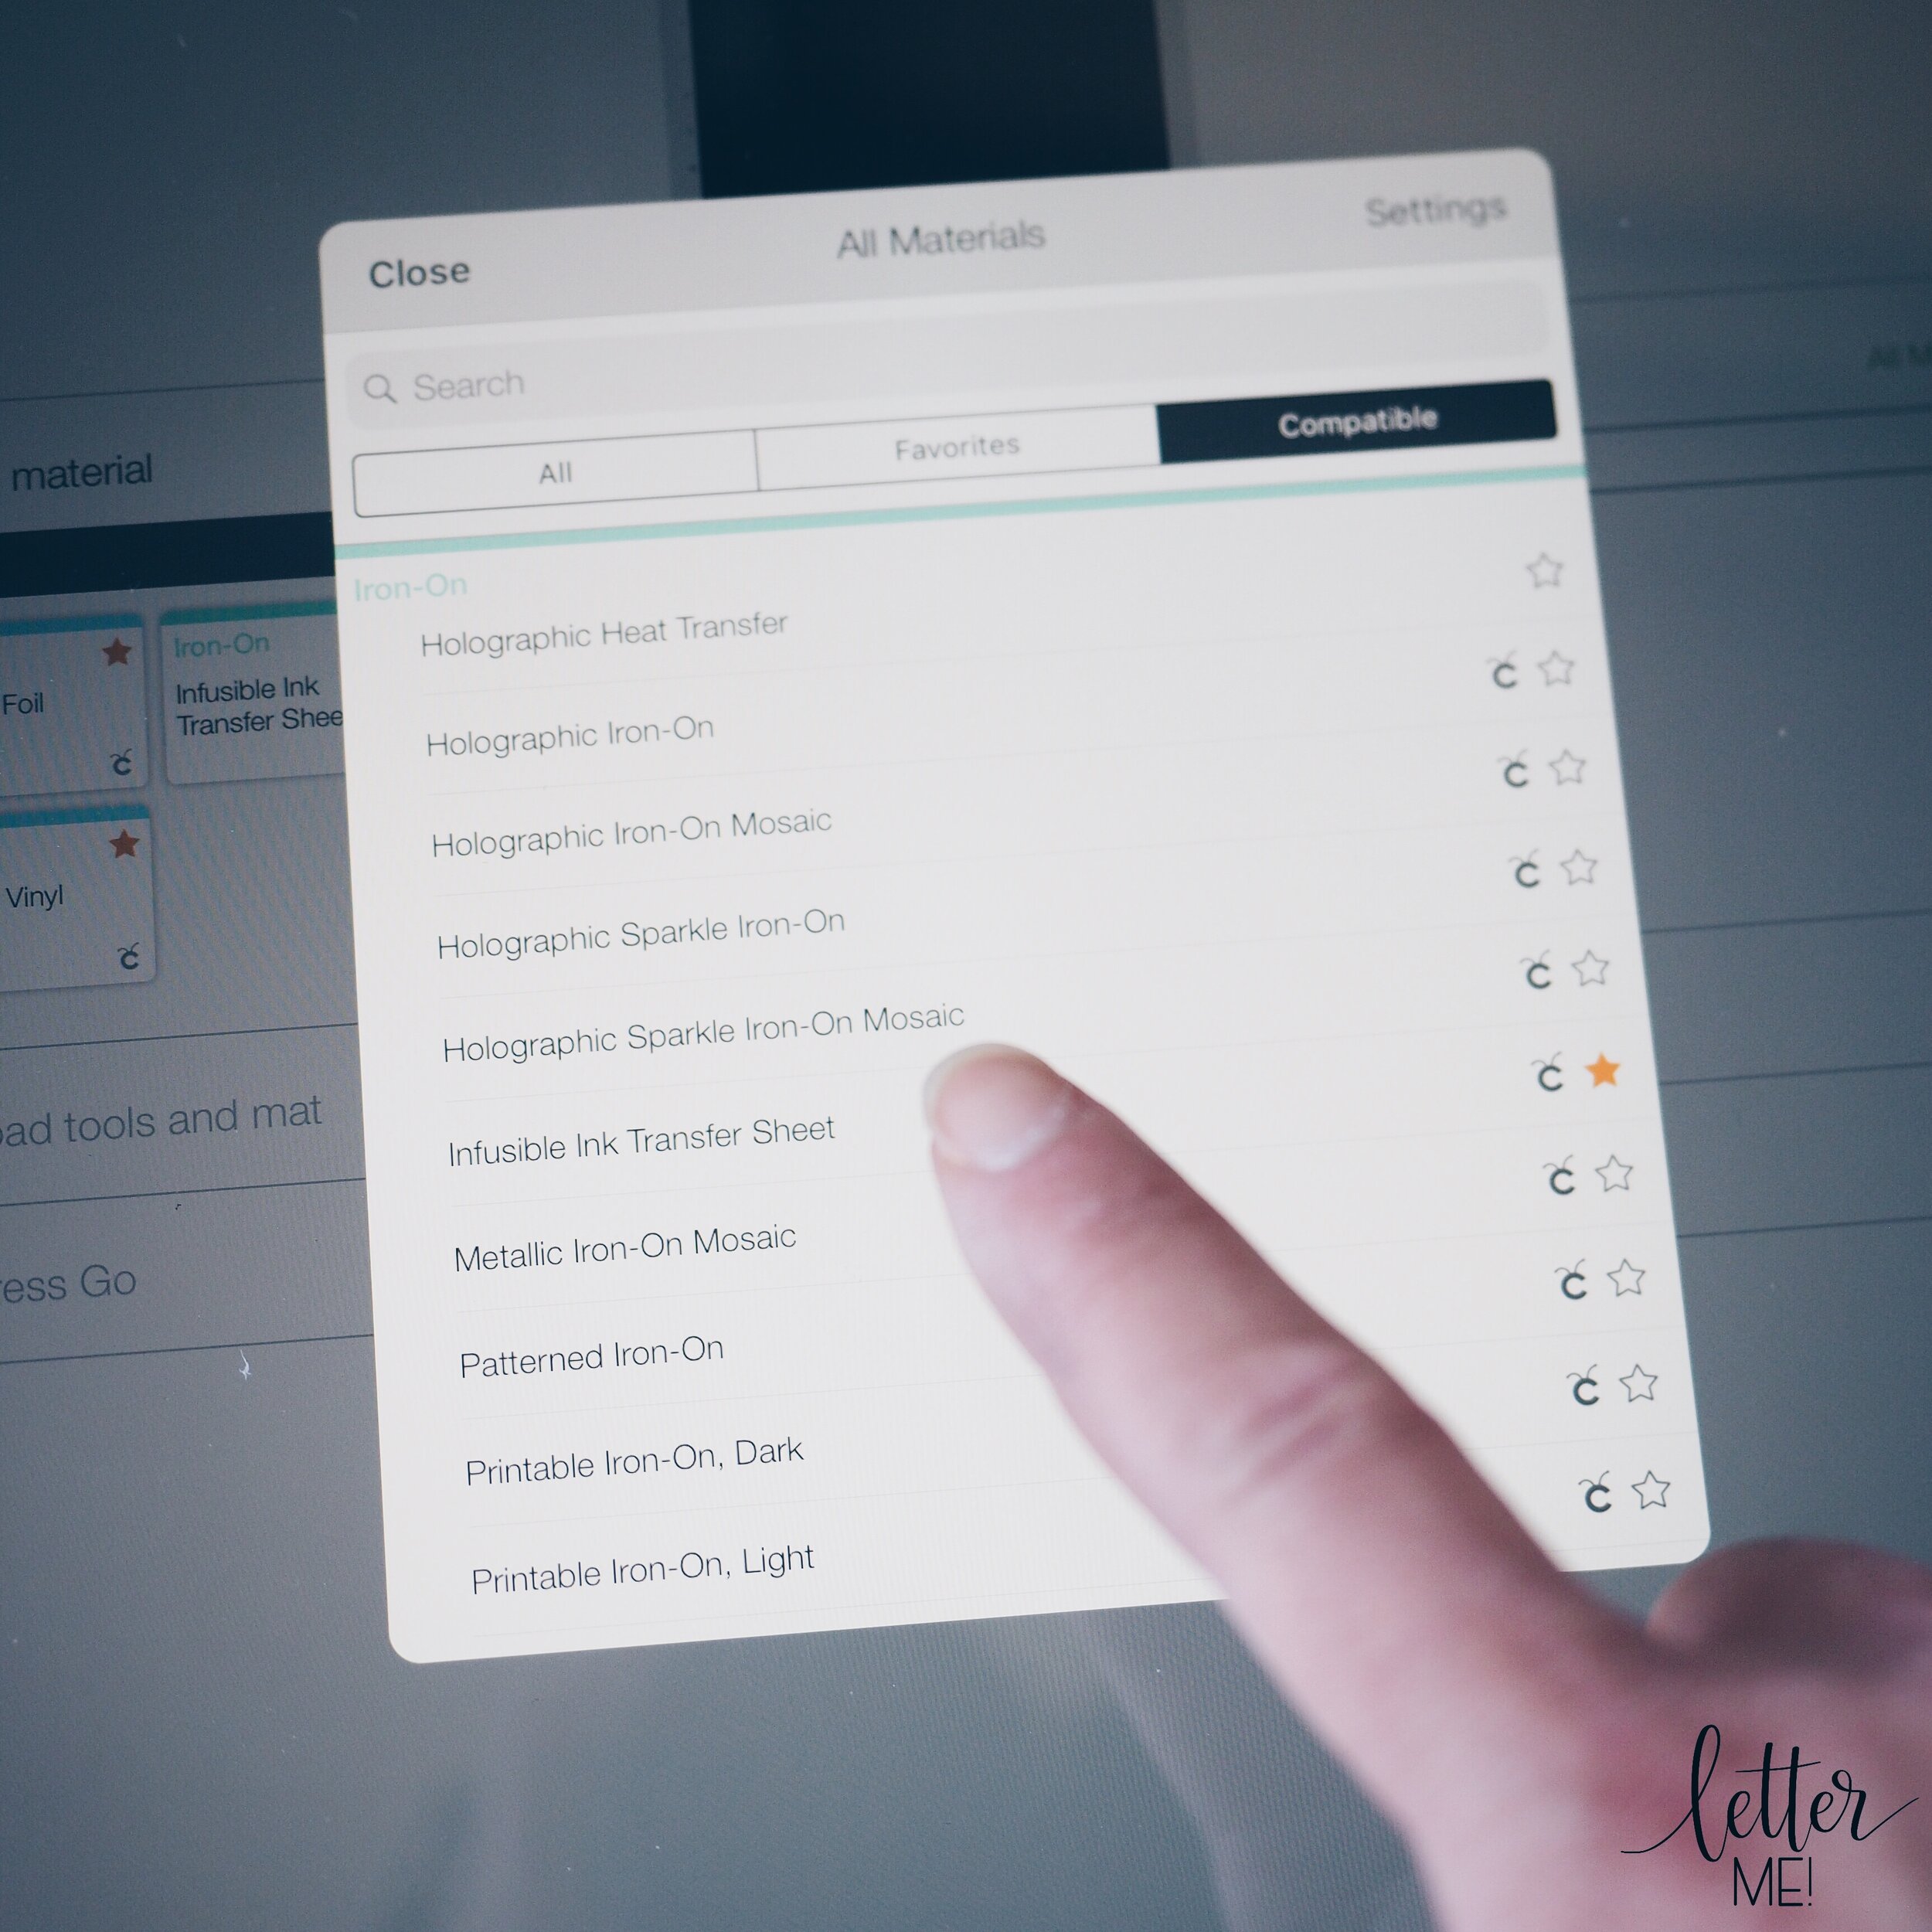
I placed the sticky side (what used to be the inside of the pouch) facing upwards (shiny side down) on to a 24” Standard Grip Cutting Mat. In Cricut Design Space, I mirrored the image, set the cut to Vinyl and cut my stencil using Cricut Design Space.
Step Four: PREPARING THE STENCIL

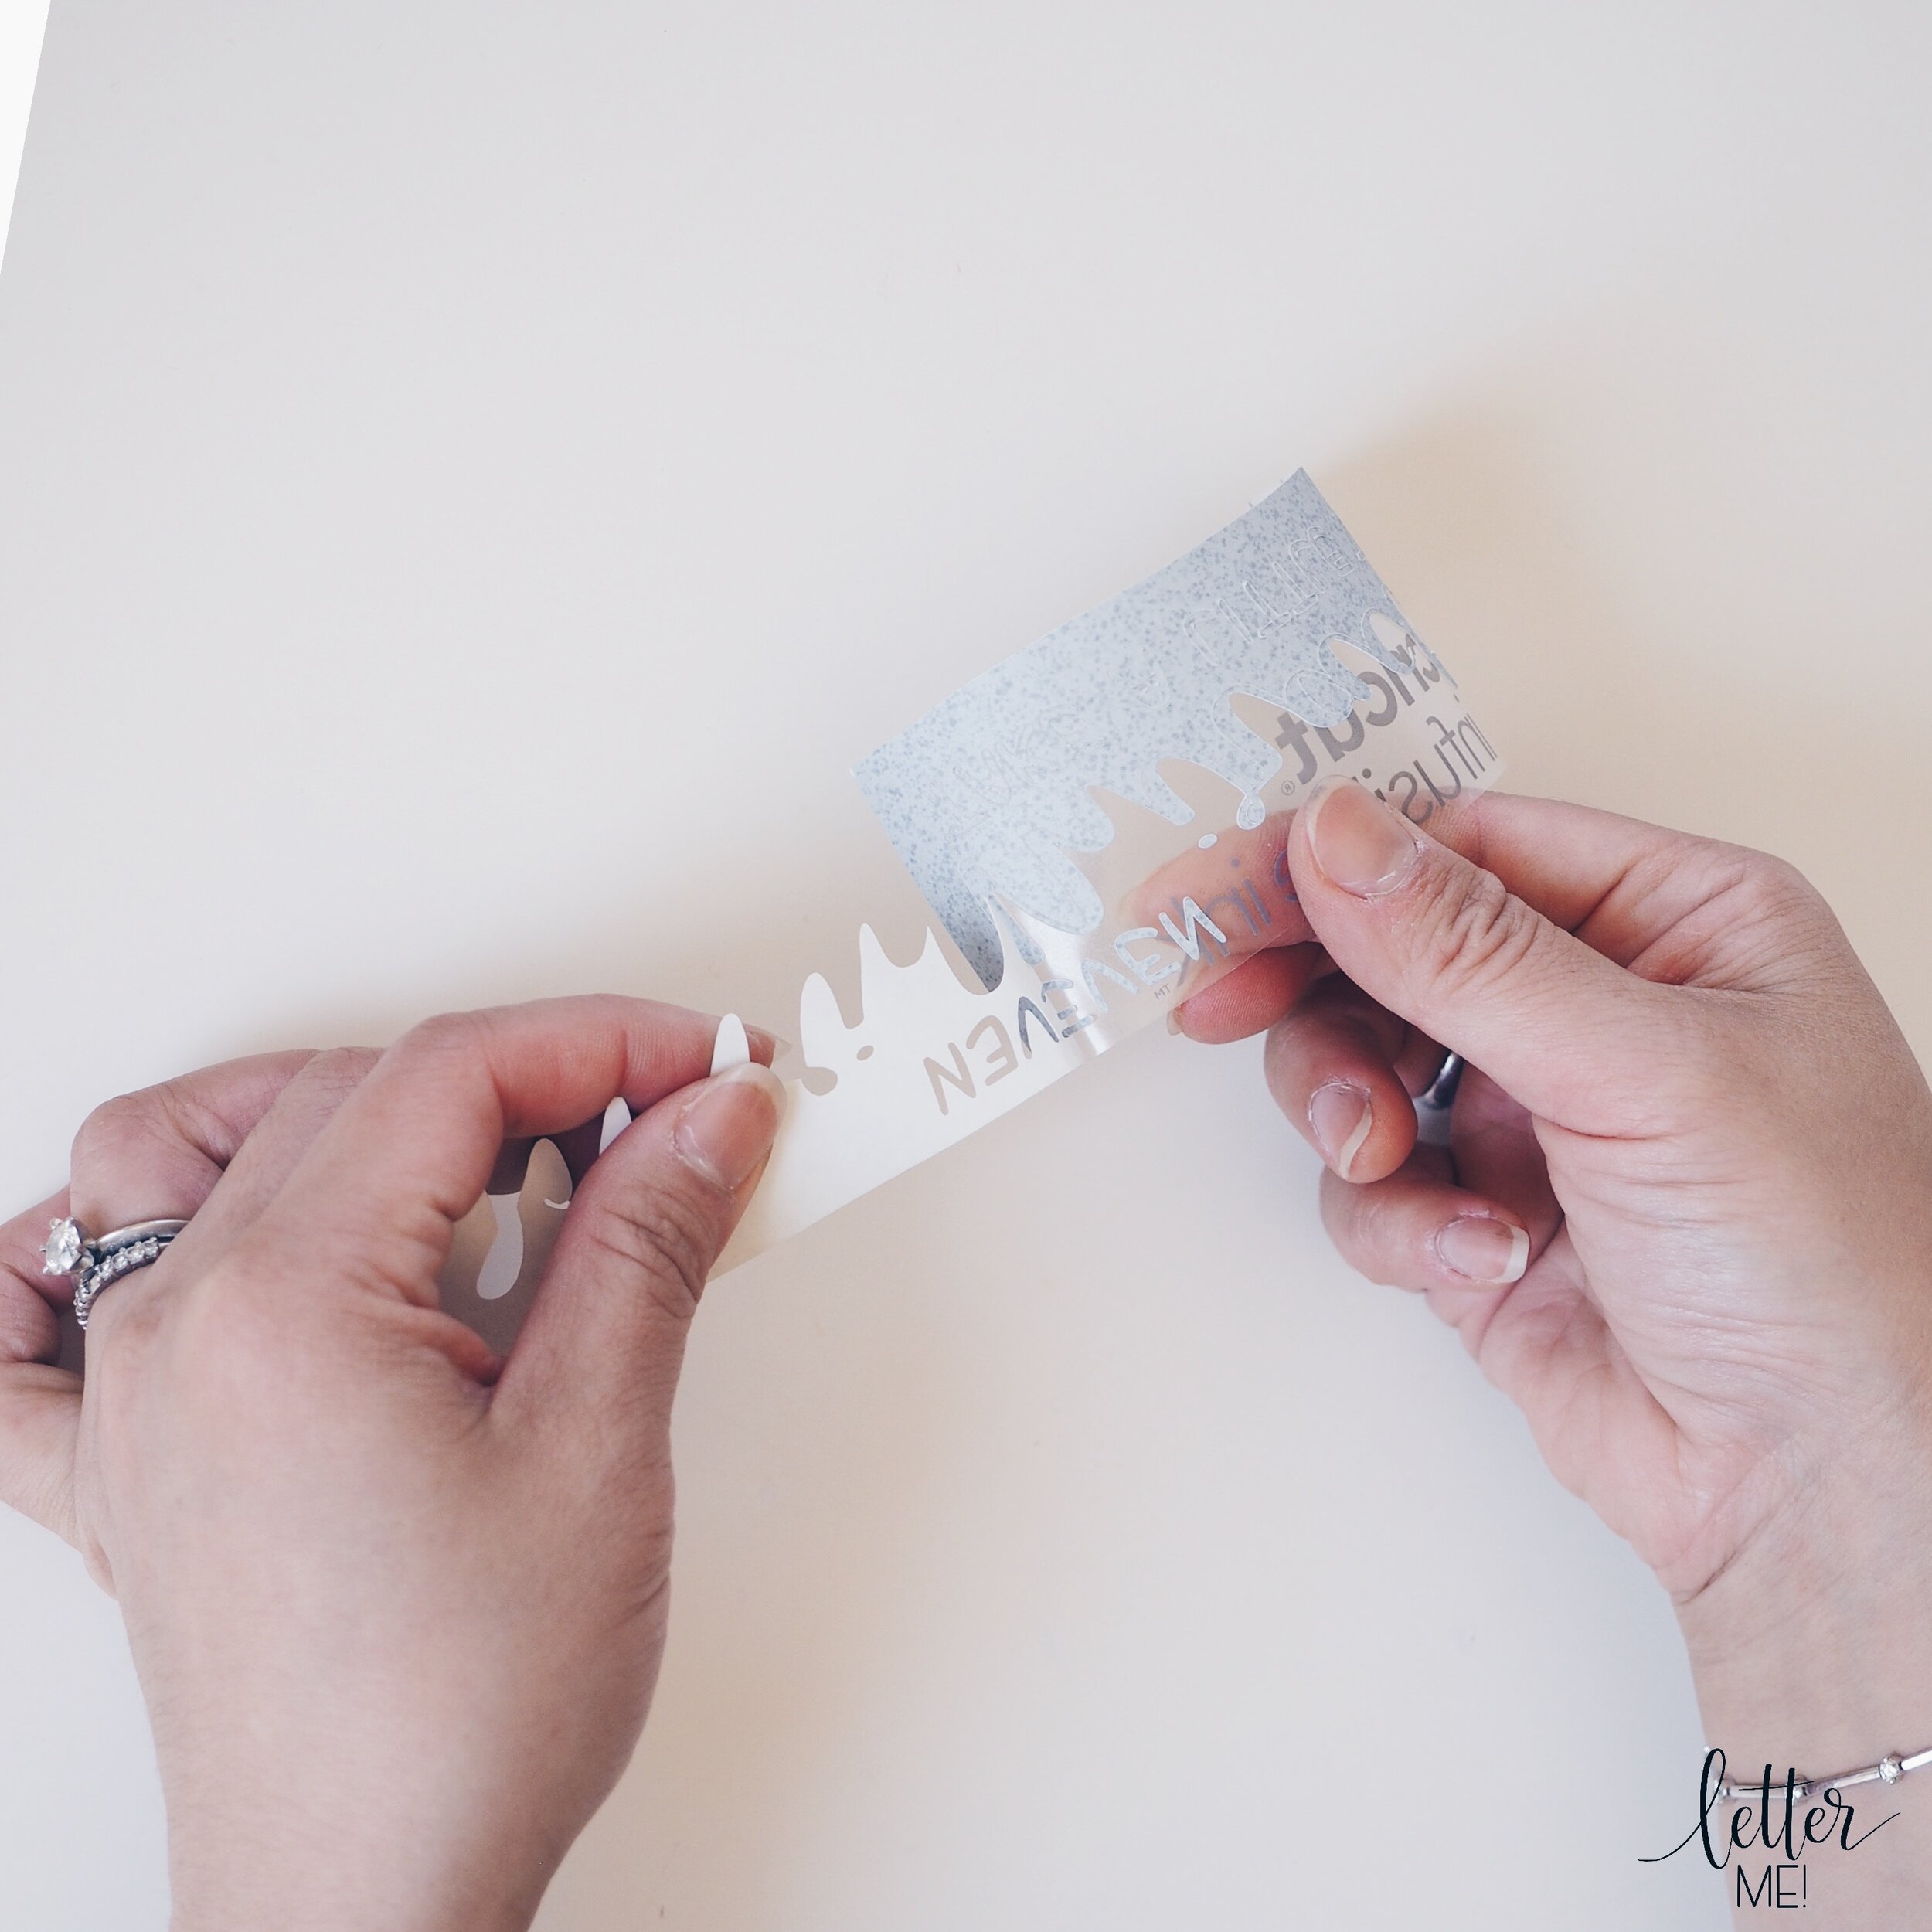
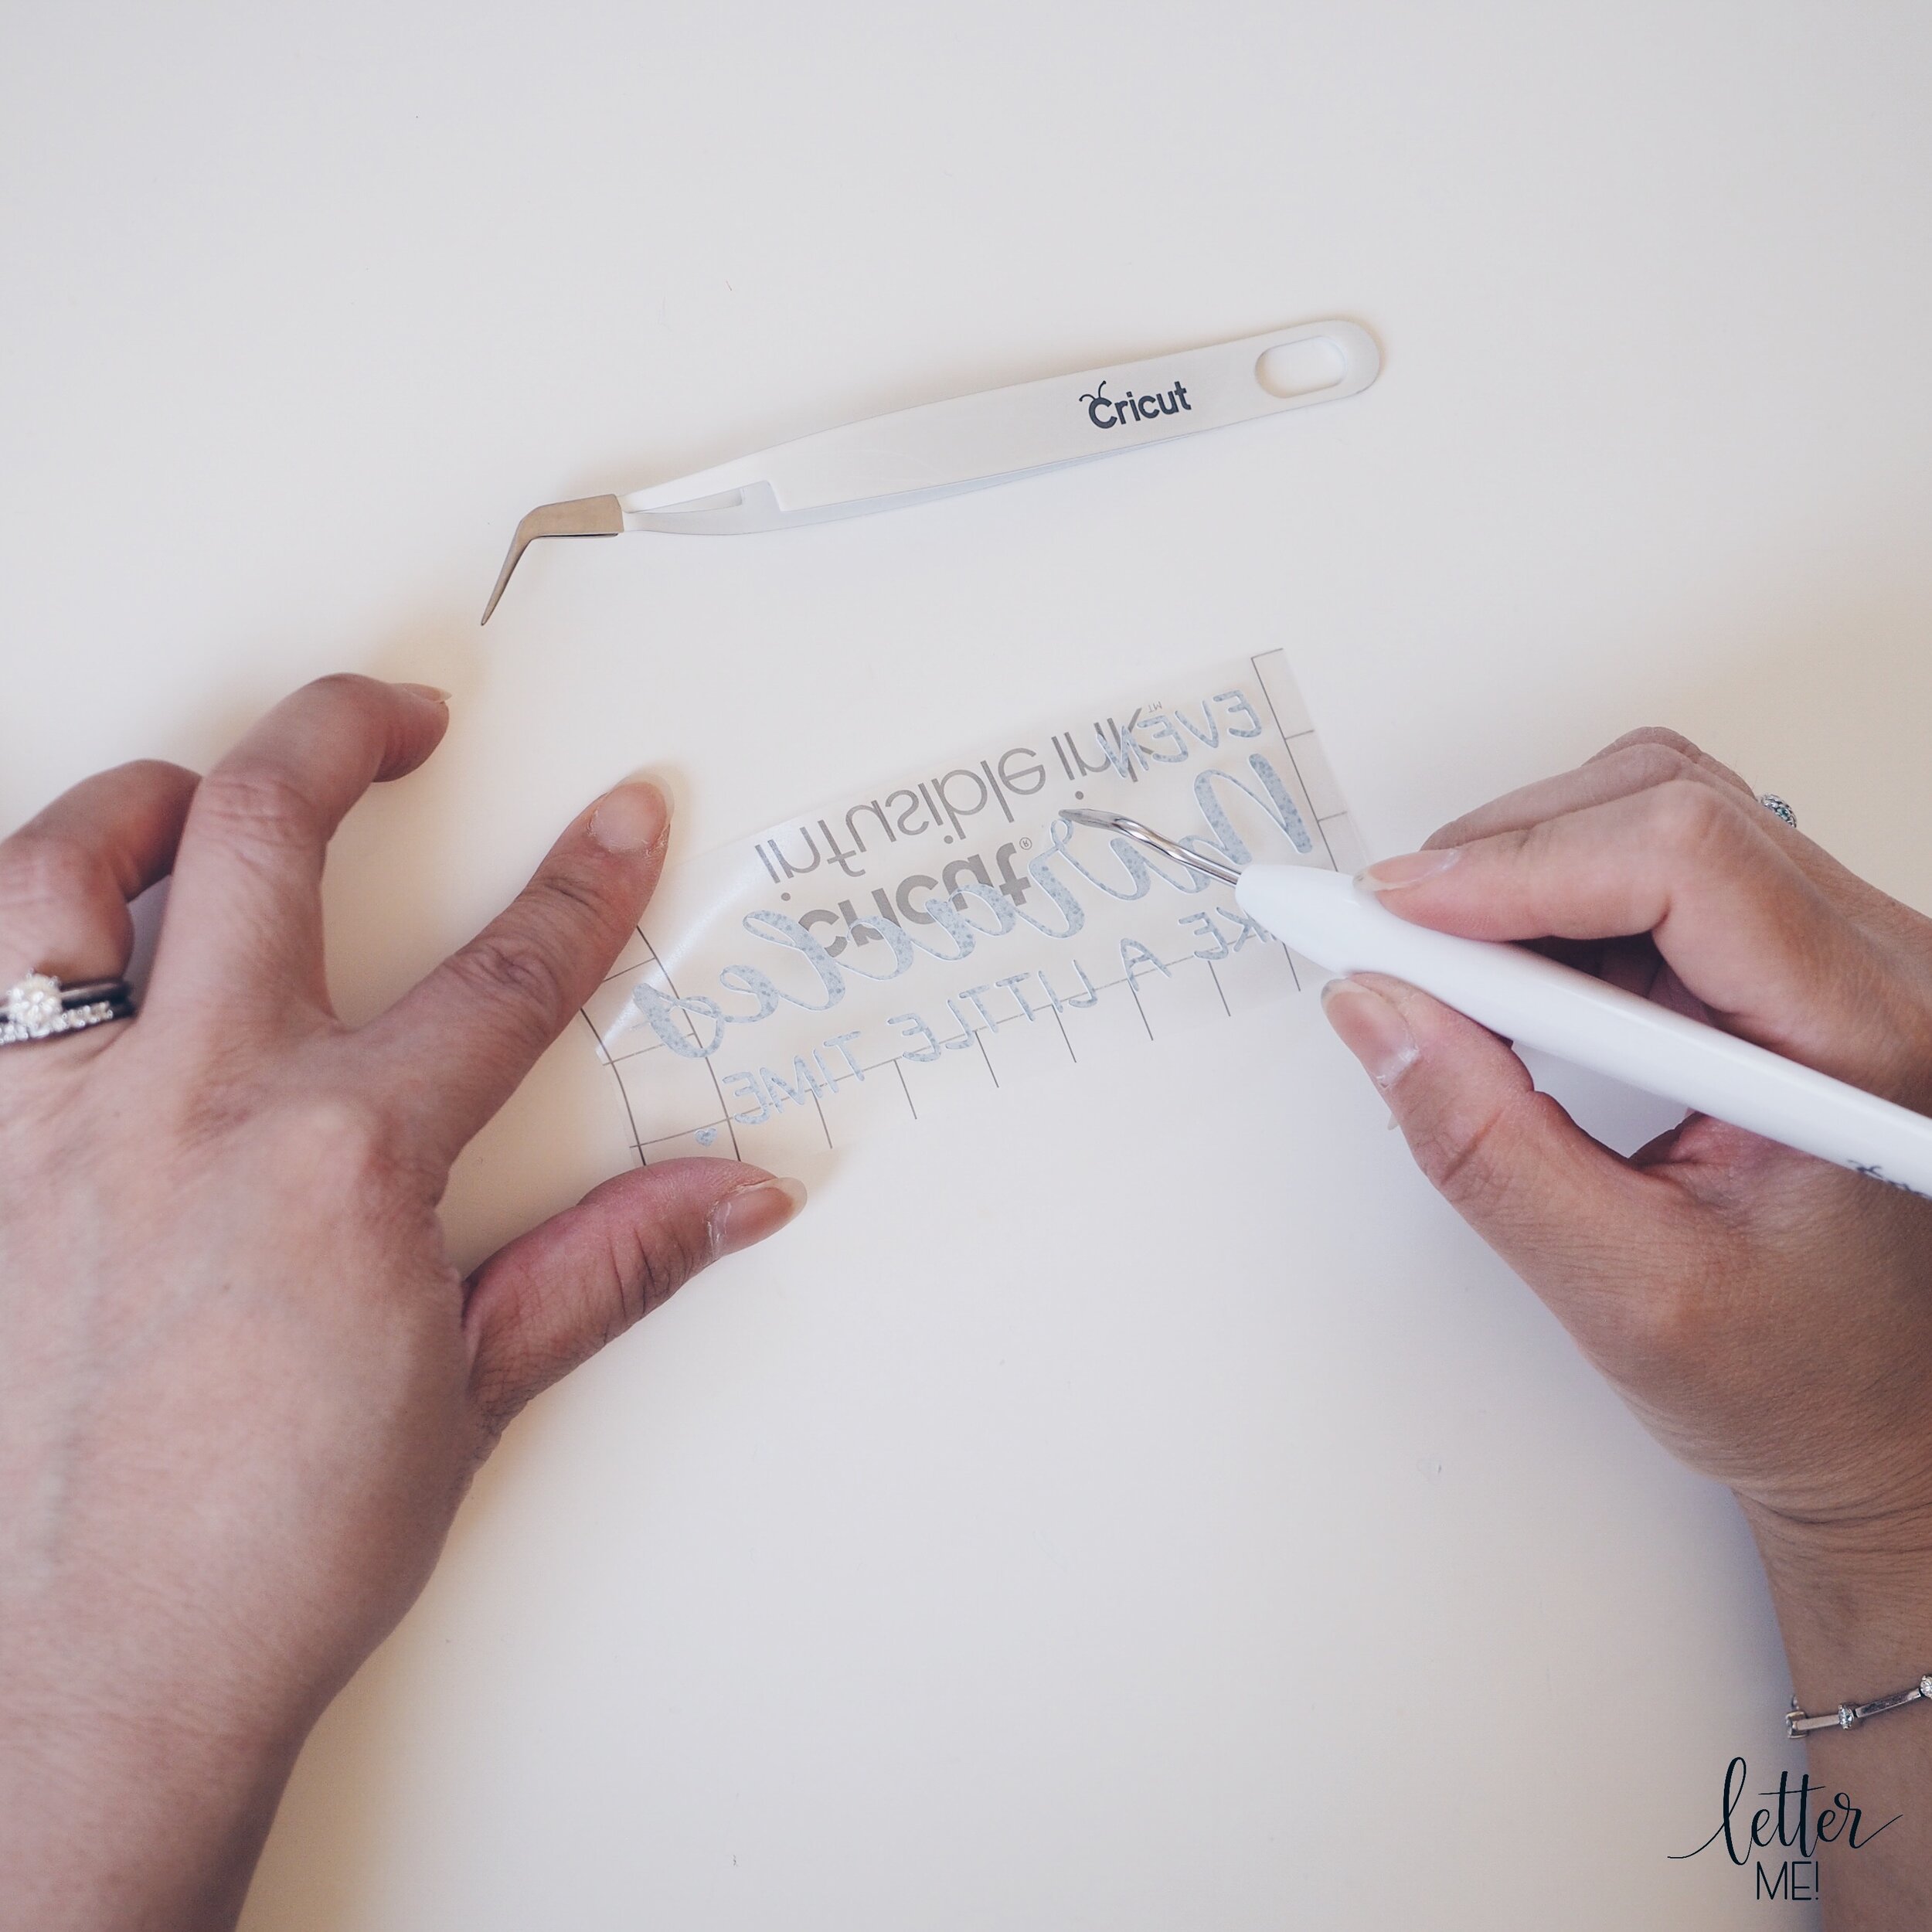
As the stencil is made of laminate, it will be quite flimsy and fragile. To remove the stencil from the cutting mat carefully, I turn the mat over (sticky side down) and peel the mat off the stencil, keeping the stencil as flat as possible. I removed the words carefully, keeping the negative spaces but discarding the actual letters as we only need the outside and centre of the letters.
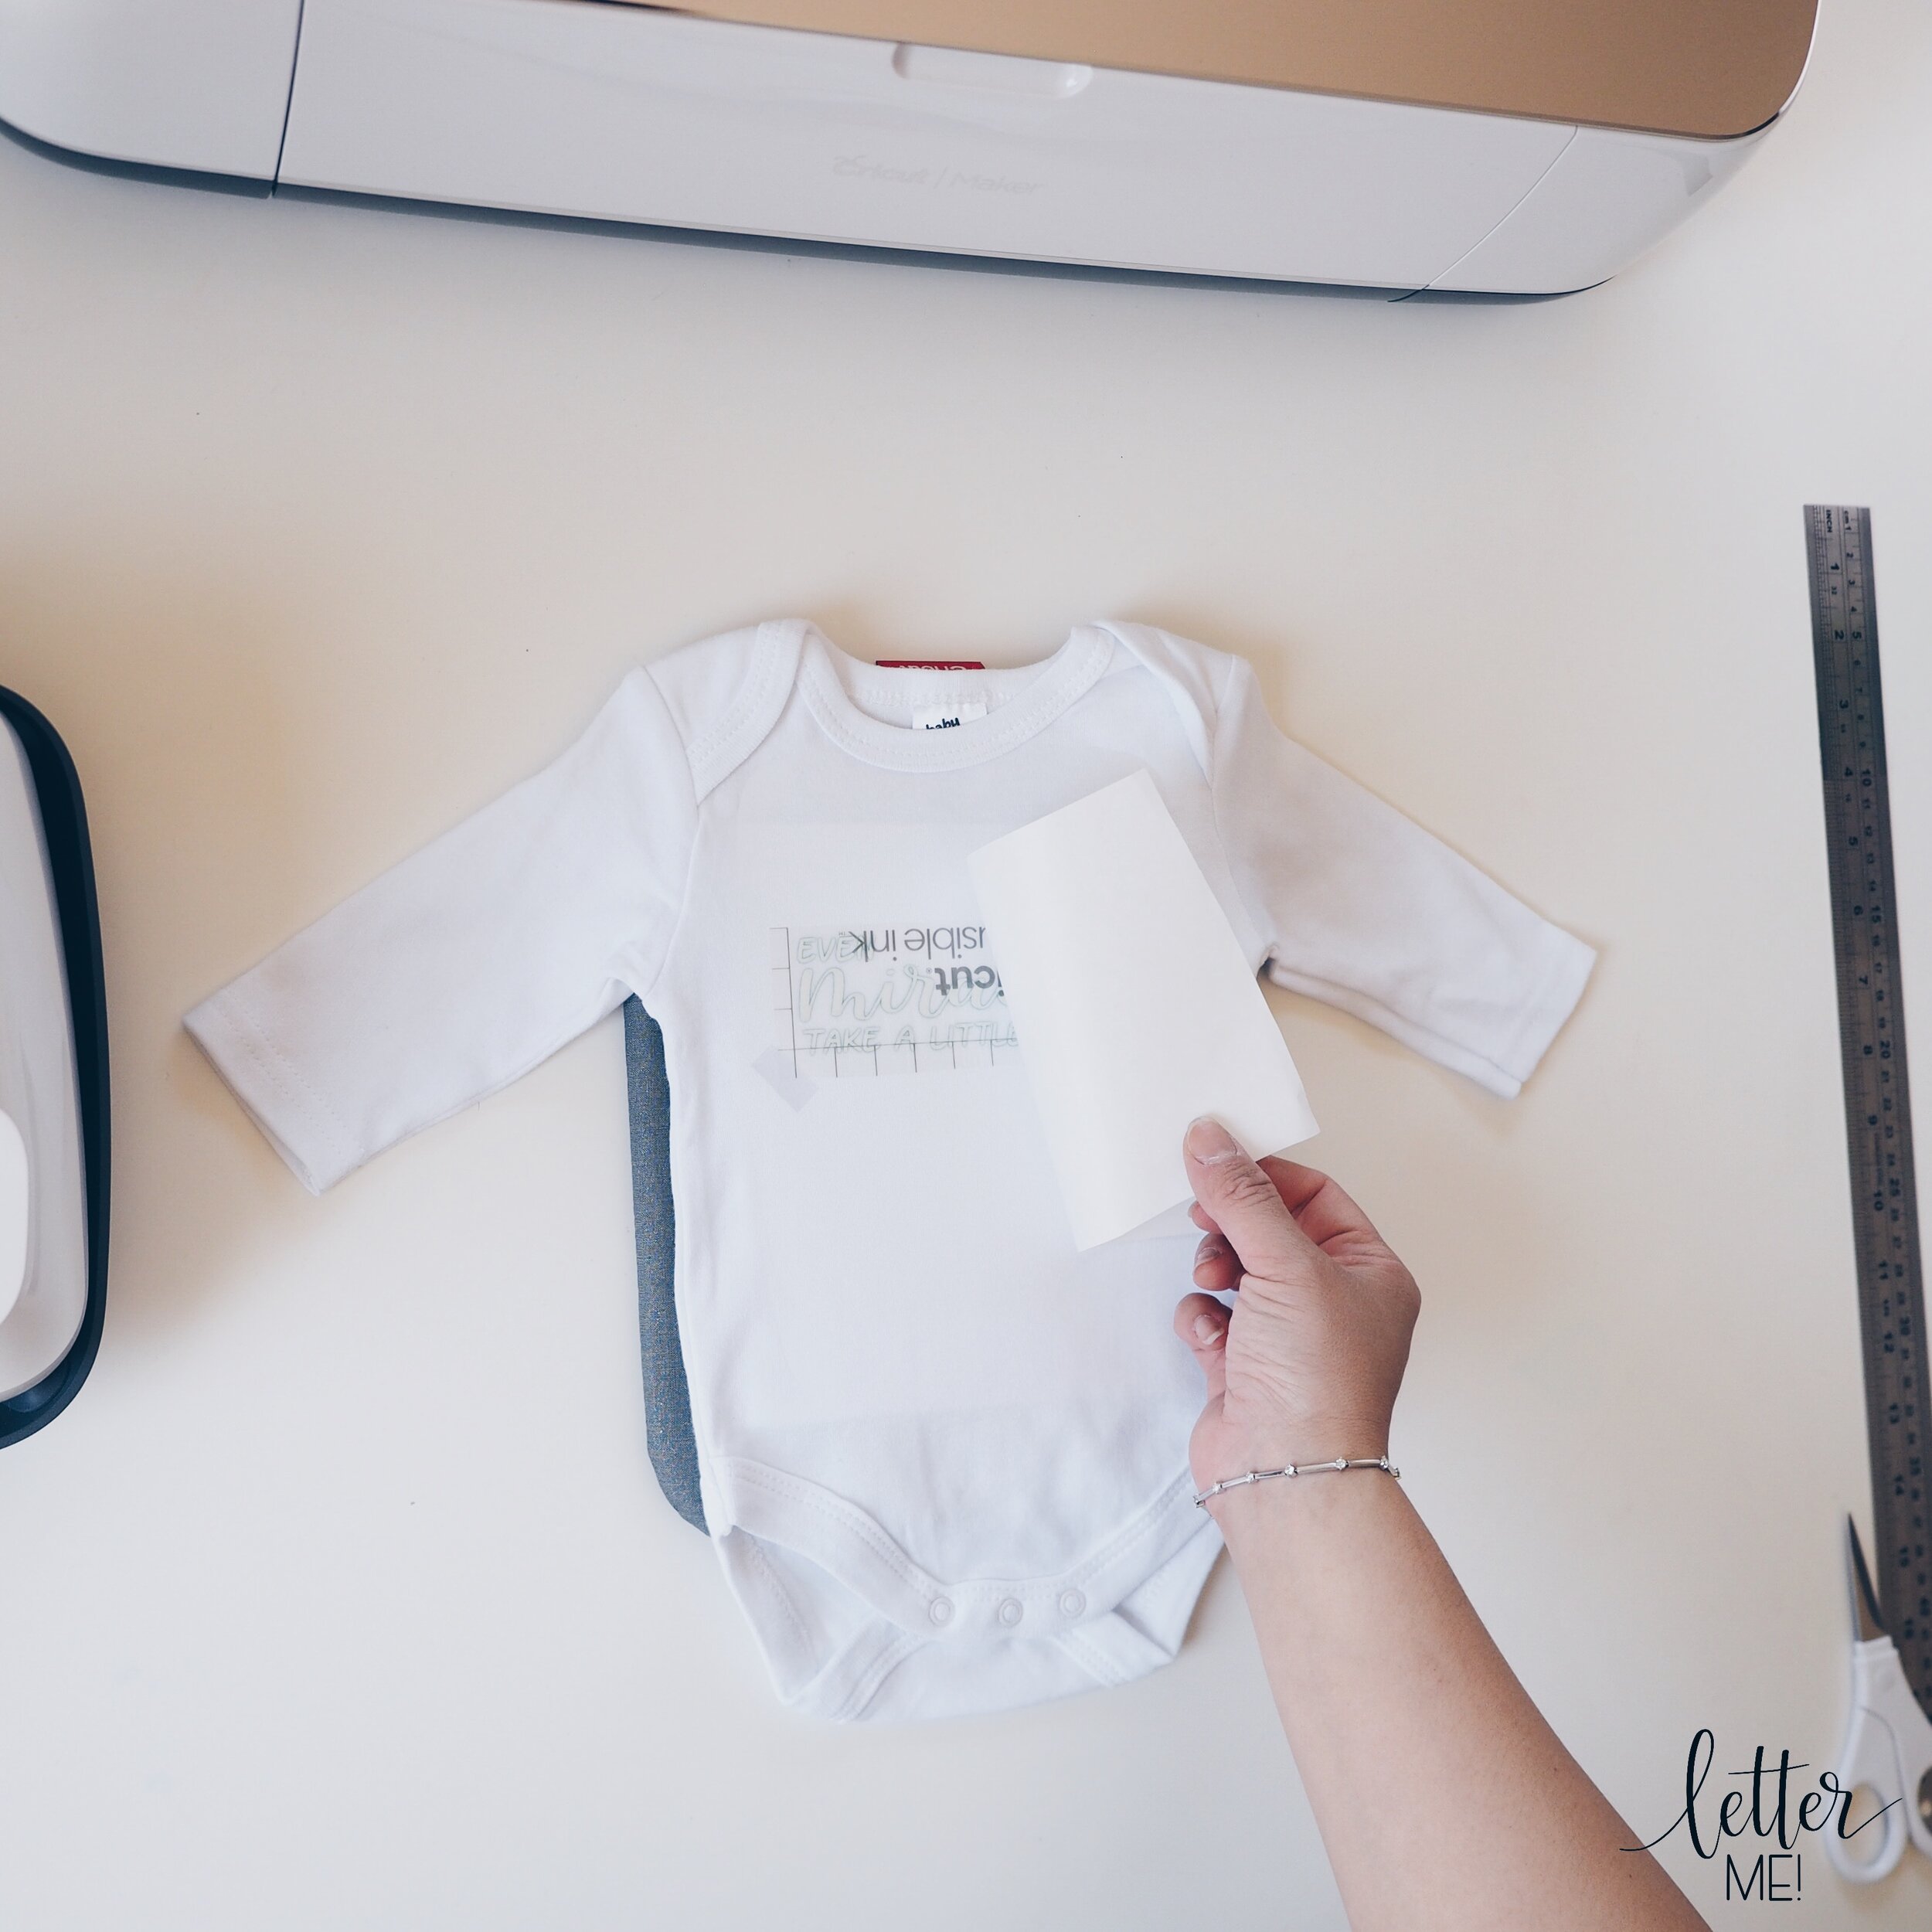
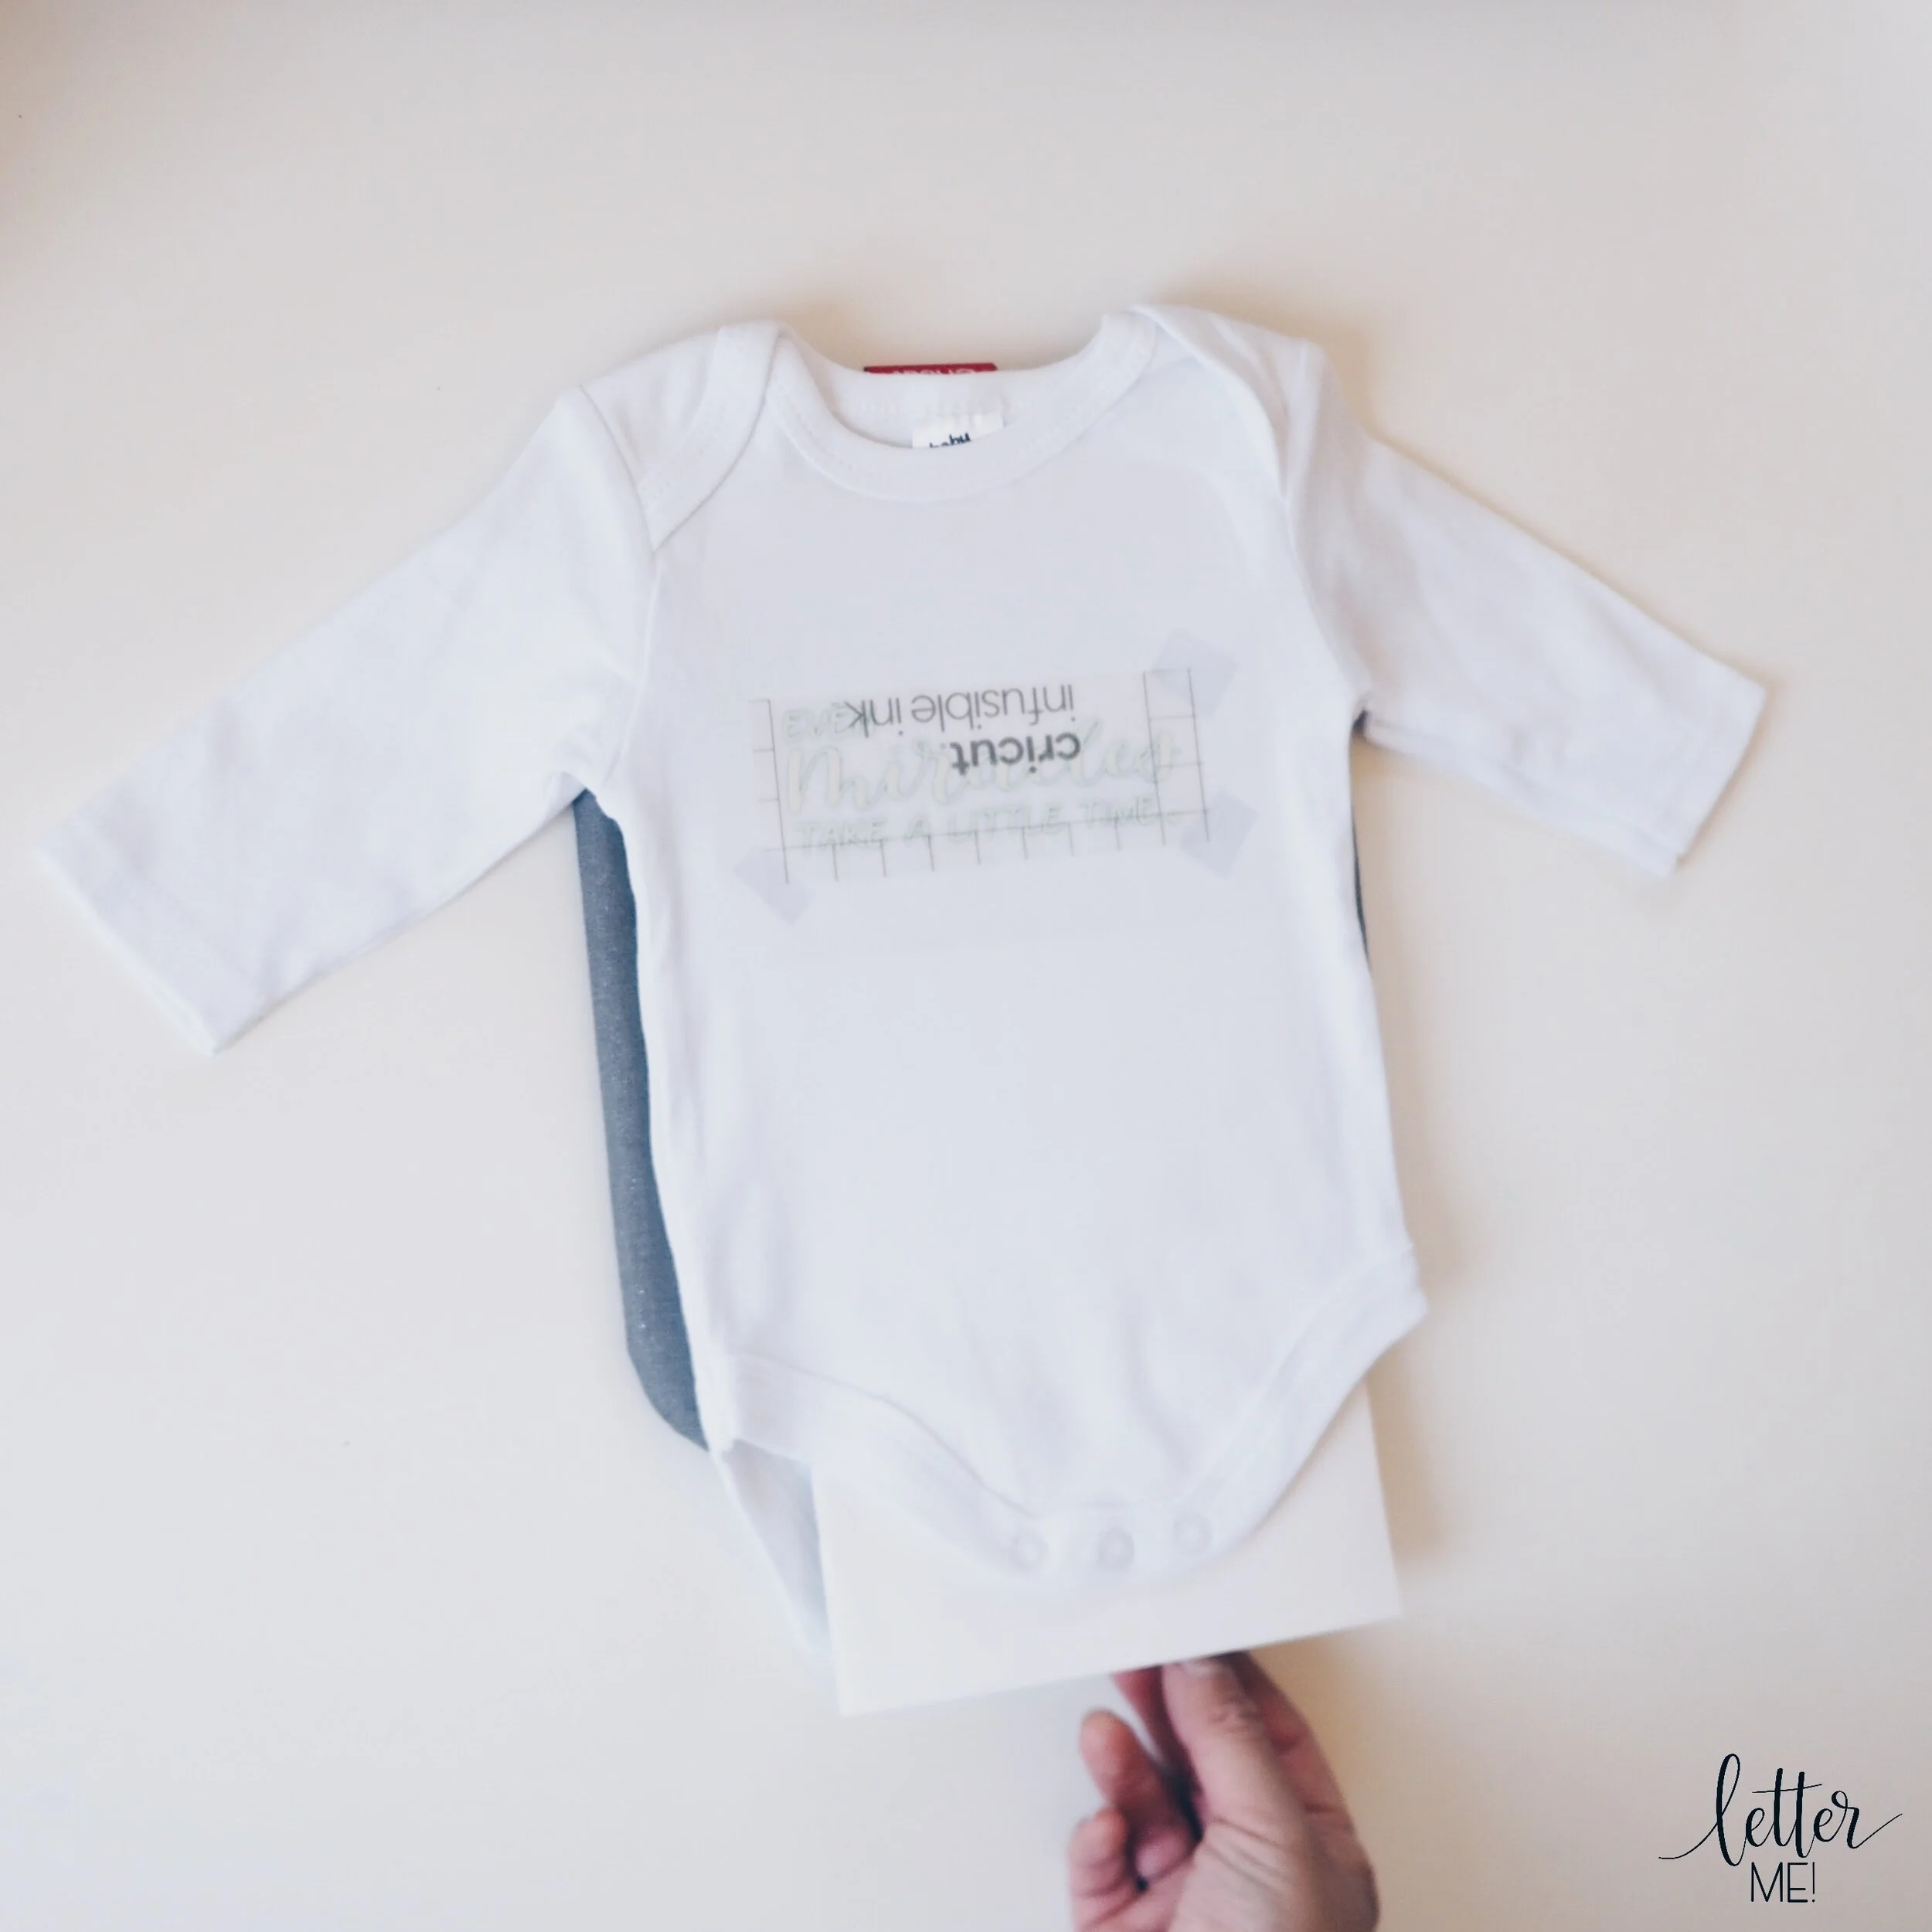
Step Five: STENCIL PLACEMENT

I positioned the stencil on the doormat carefully in the centre of the doormat using a ruler. The stencil is sticky side down (on the doormat), so the words should read the right way up. I left the negative spaces off at this step as I was more concerned about positioning the stencil perfectly.
Step Six: SECURING THE STENCIL

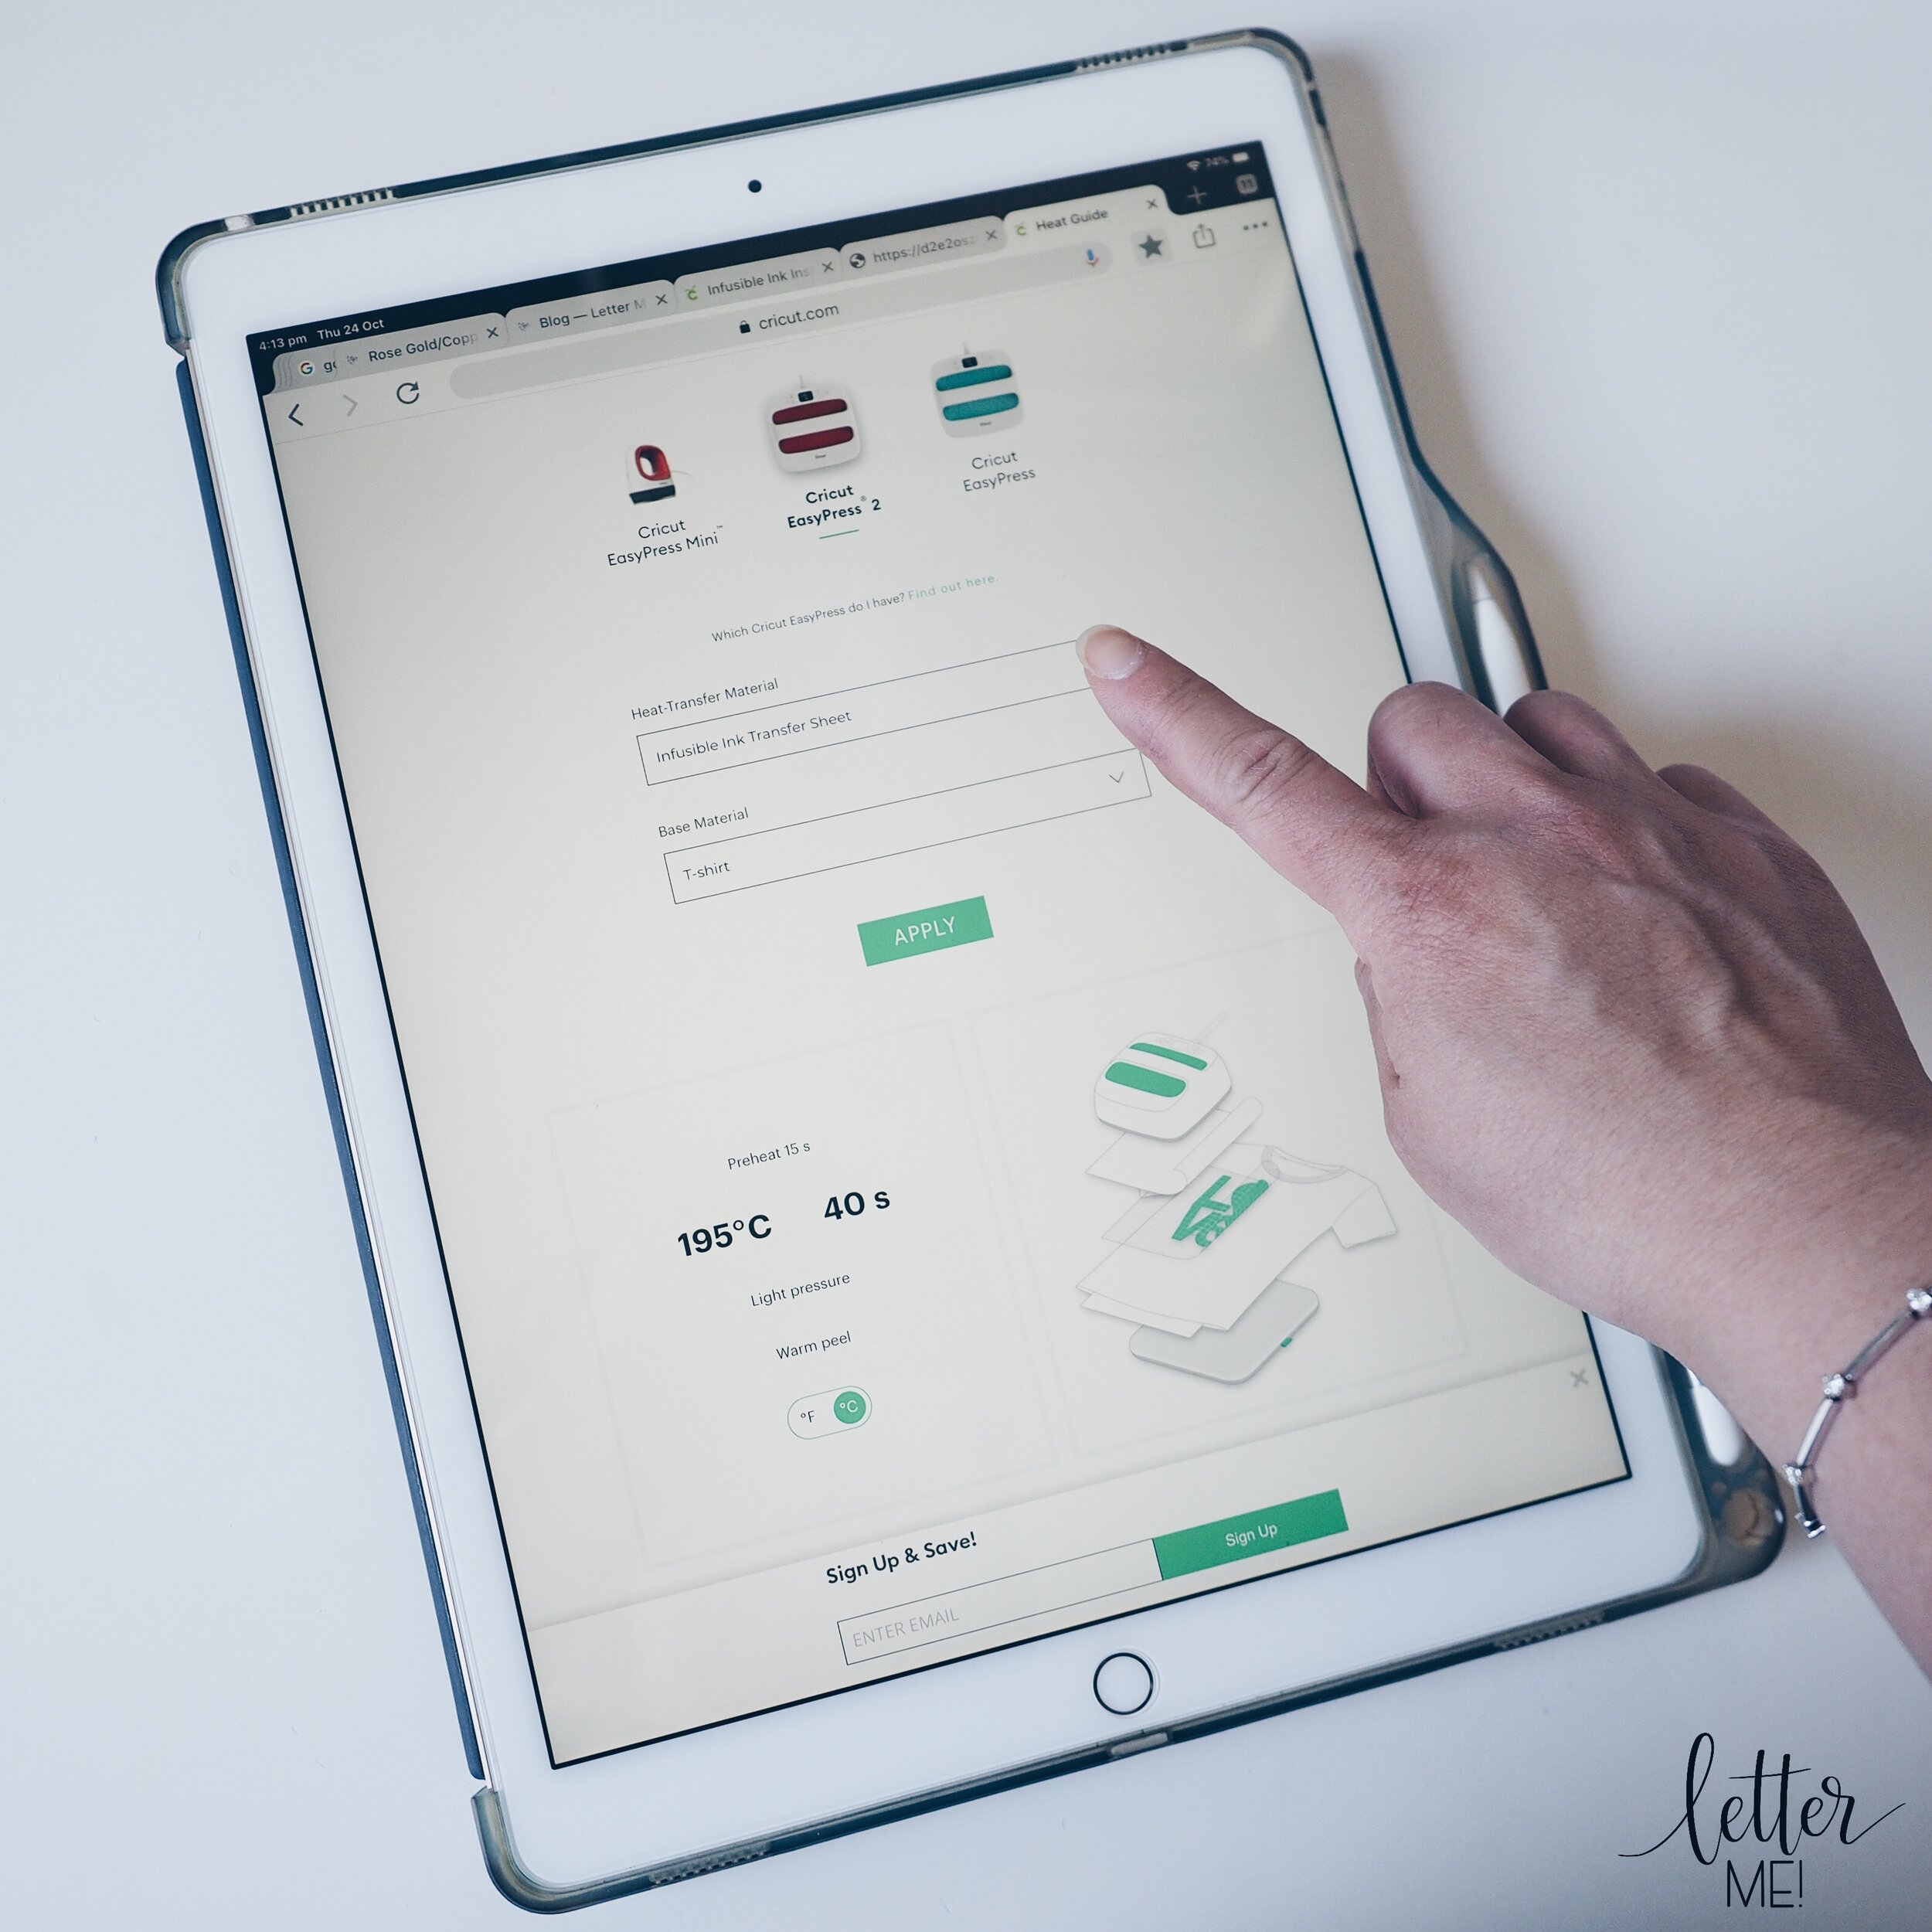
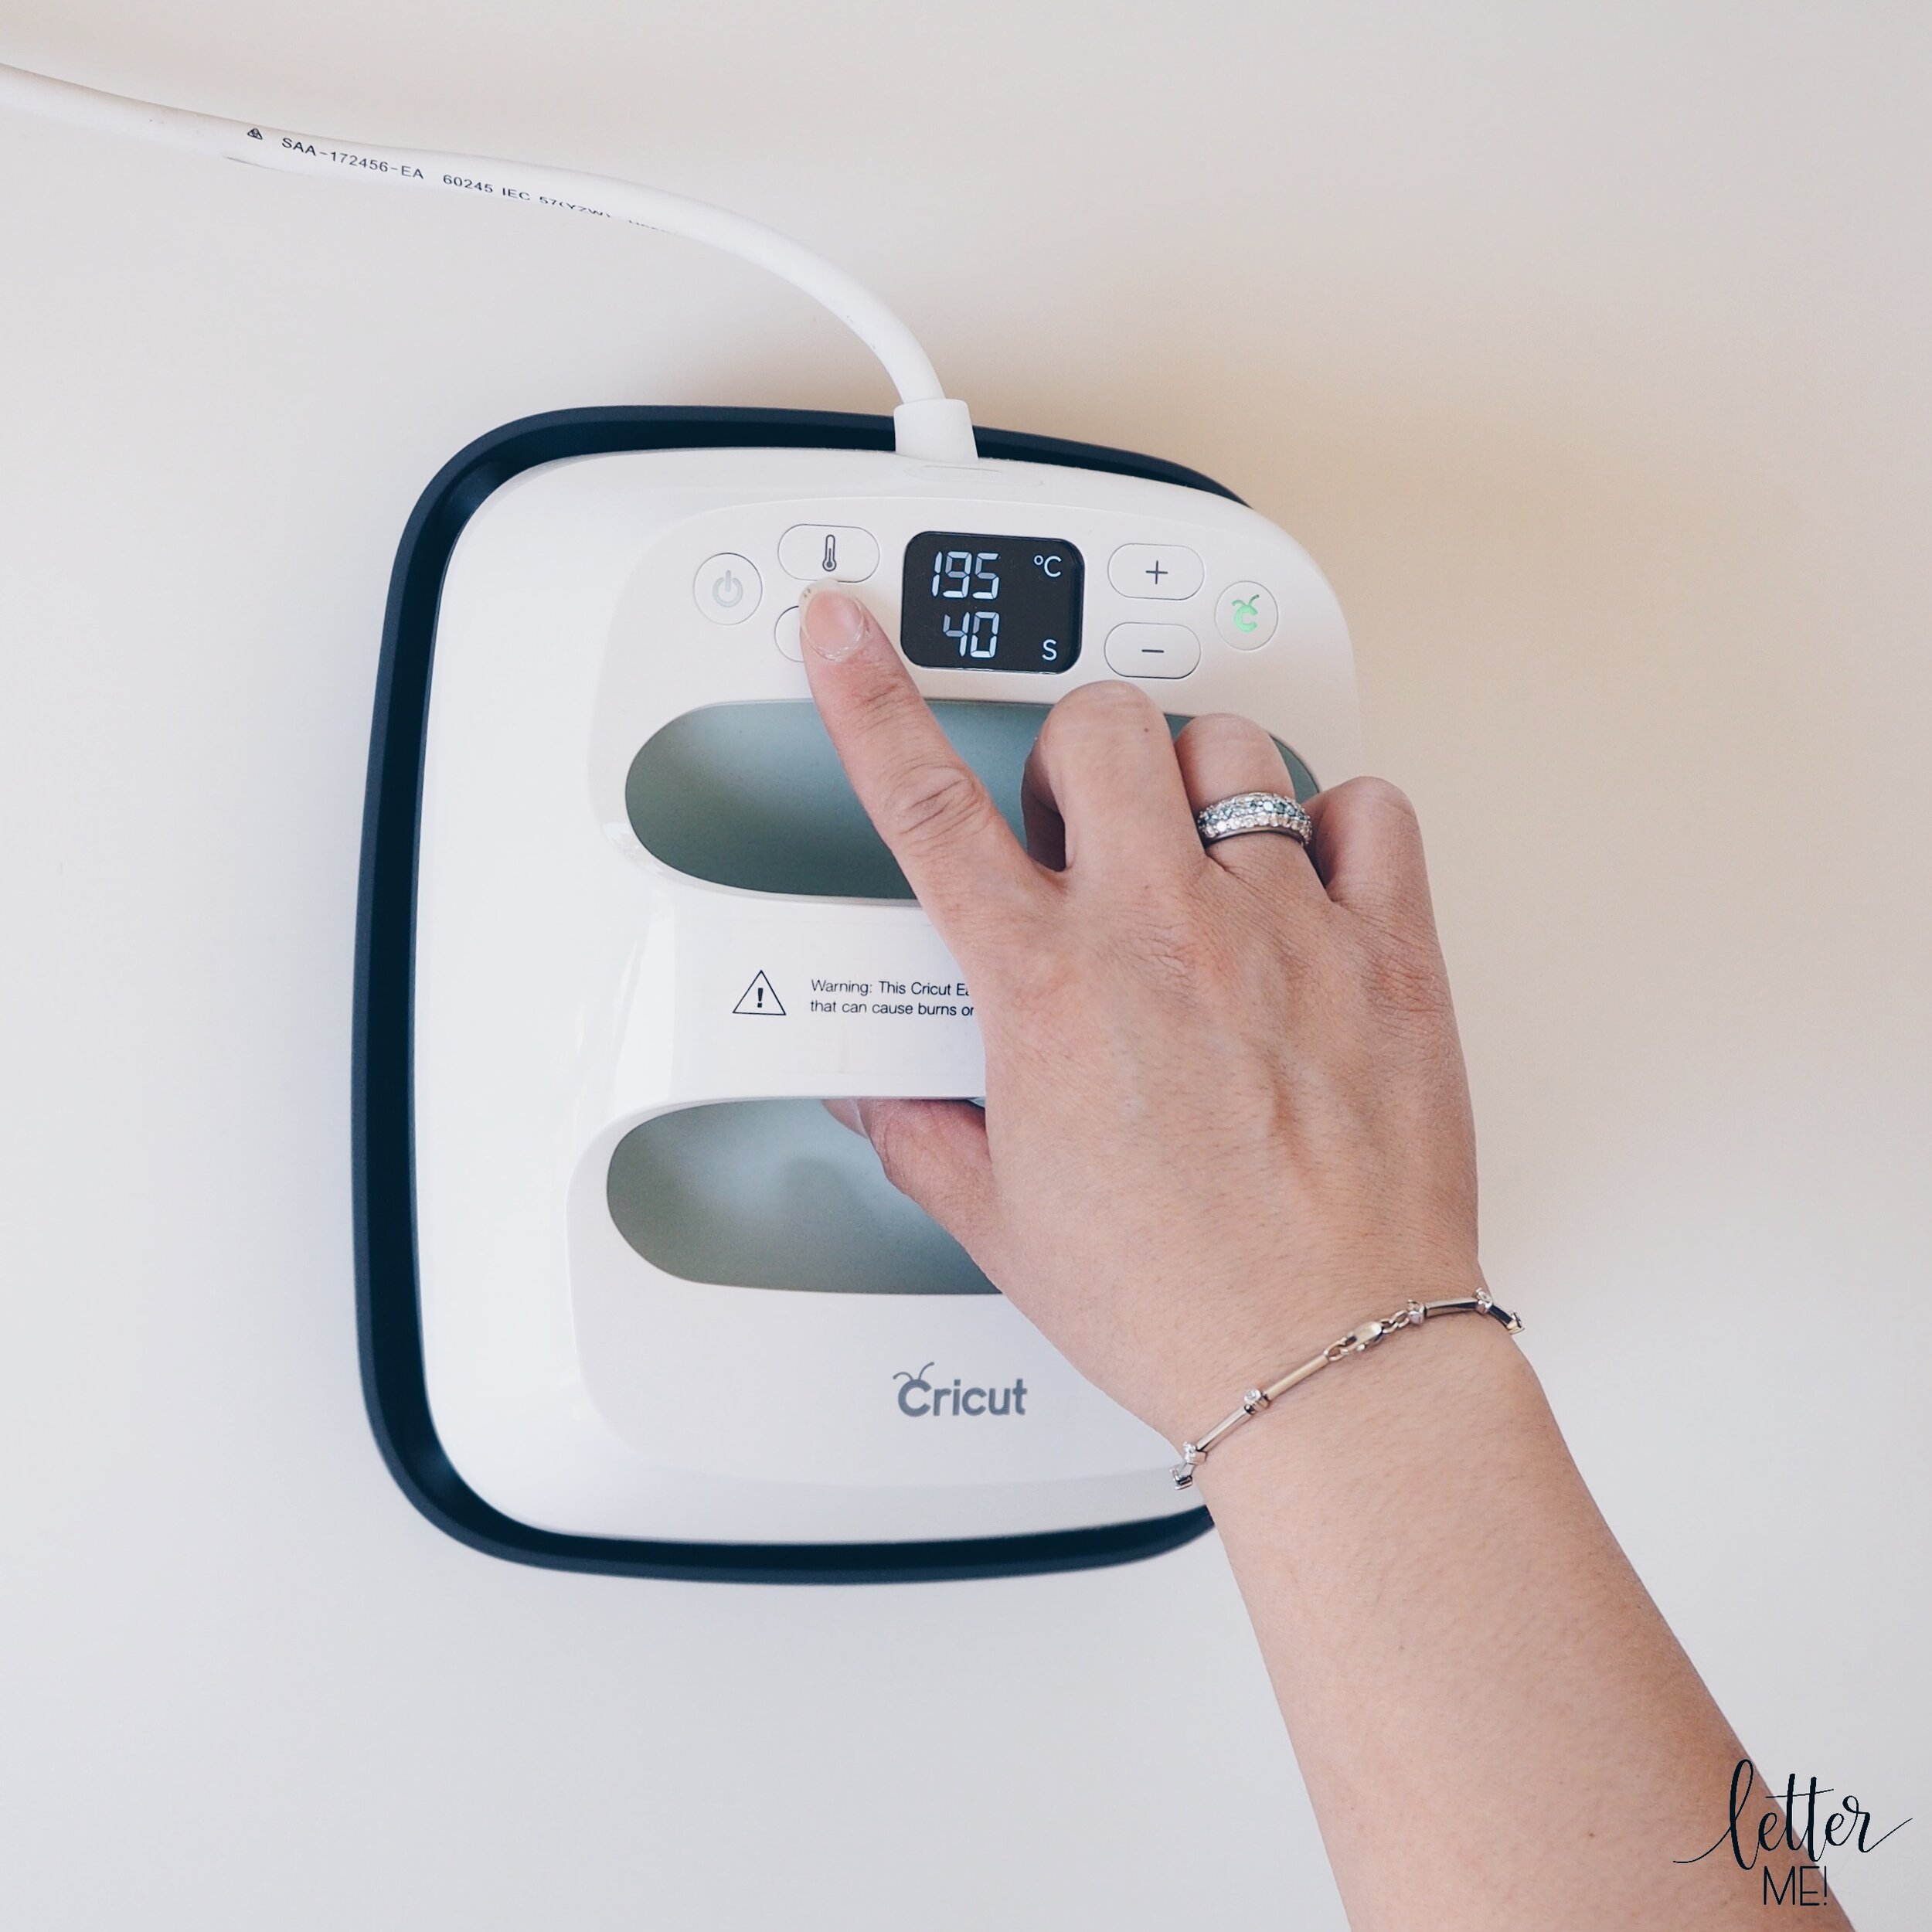
Using the EasyPress 2, I ironed the stencil down on to the mat. The EasyPress2 was set to 165 degrees celsius for 20 seconds. After it is heated on, it should feel secure and shouldn’t move around, but it is not permanent and can be removed later.
Step Seven: ADDING THE NEGATIVE SPACES

I now repositioned the negative spaces back into the stencil on the mat. As the negative spaces are small, I used the EasyPress Mini. I also used the Mini to secure the stencil in turning points and edges where the stencil is vulnerable. If you feel that those areas are not secure enough, you may use pins to hold it down further.
Step Eight: PAINT!

Once the stencil is secure, it’s time to paint! To match the doormat to her cubby house, I used the left over weatherproof paint that was used to paint the cubby. I dabbed the paint on the letters, using a paintbrush. It is highly important to dab instead of brushing the paint on, so that paint does not seep under the stencil. Dabbing also pushes the paint into the fibres of the the mat so that the colour is deep within the mat even after it has been used. I applied two coats of paint to ensure that the colour is bright and vibrant.
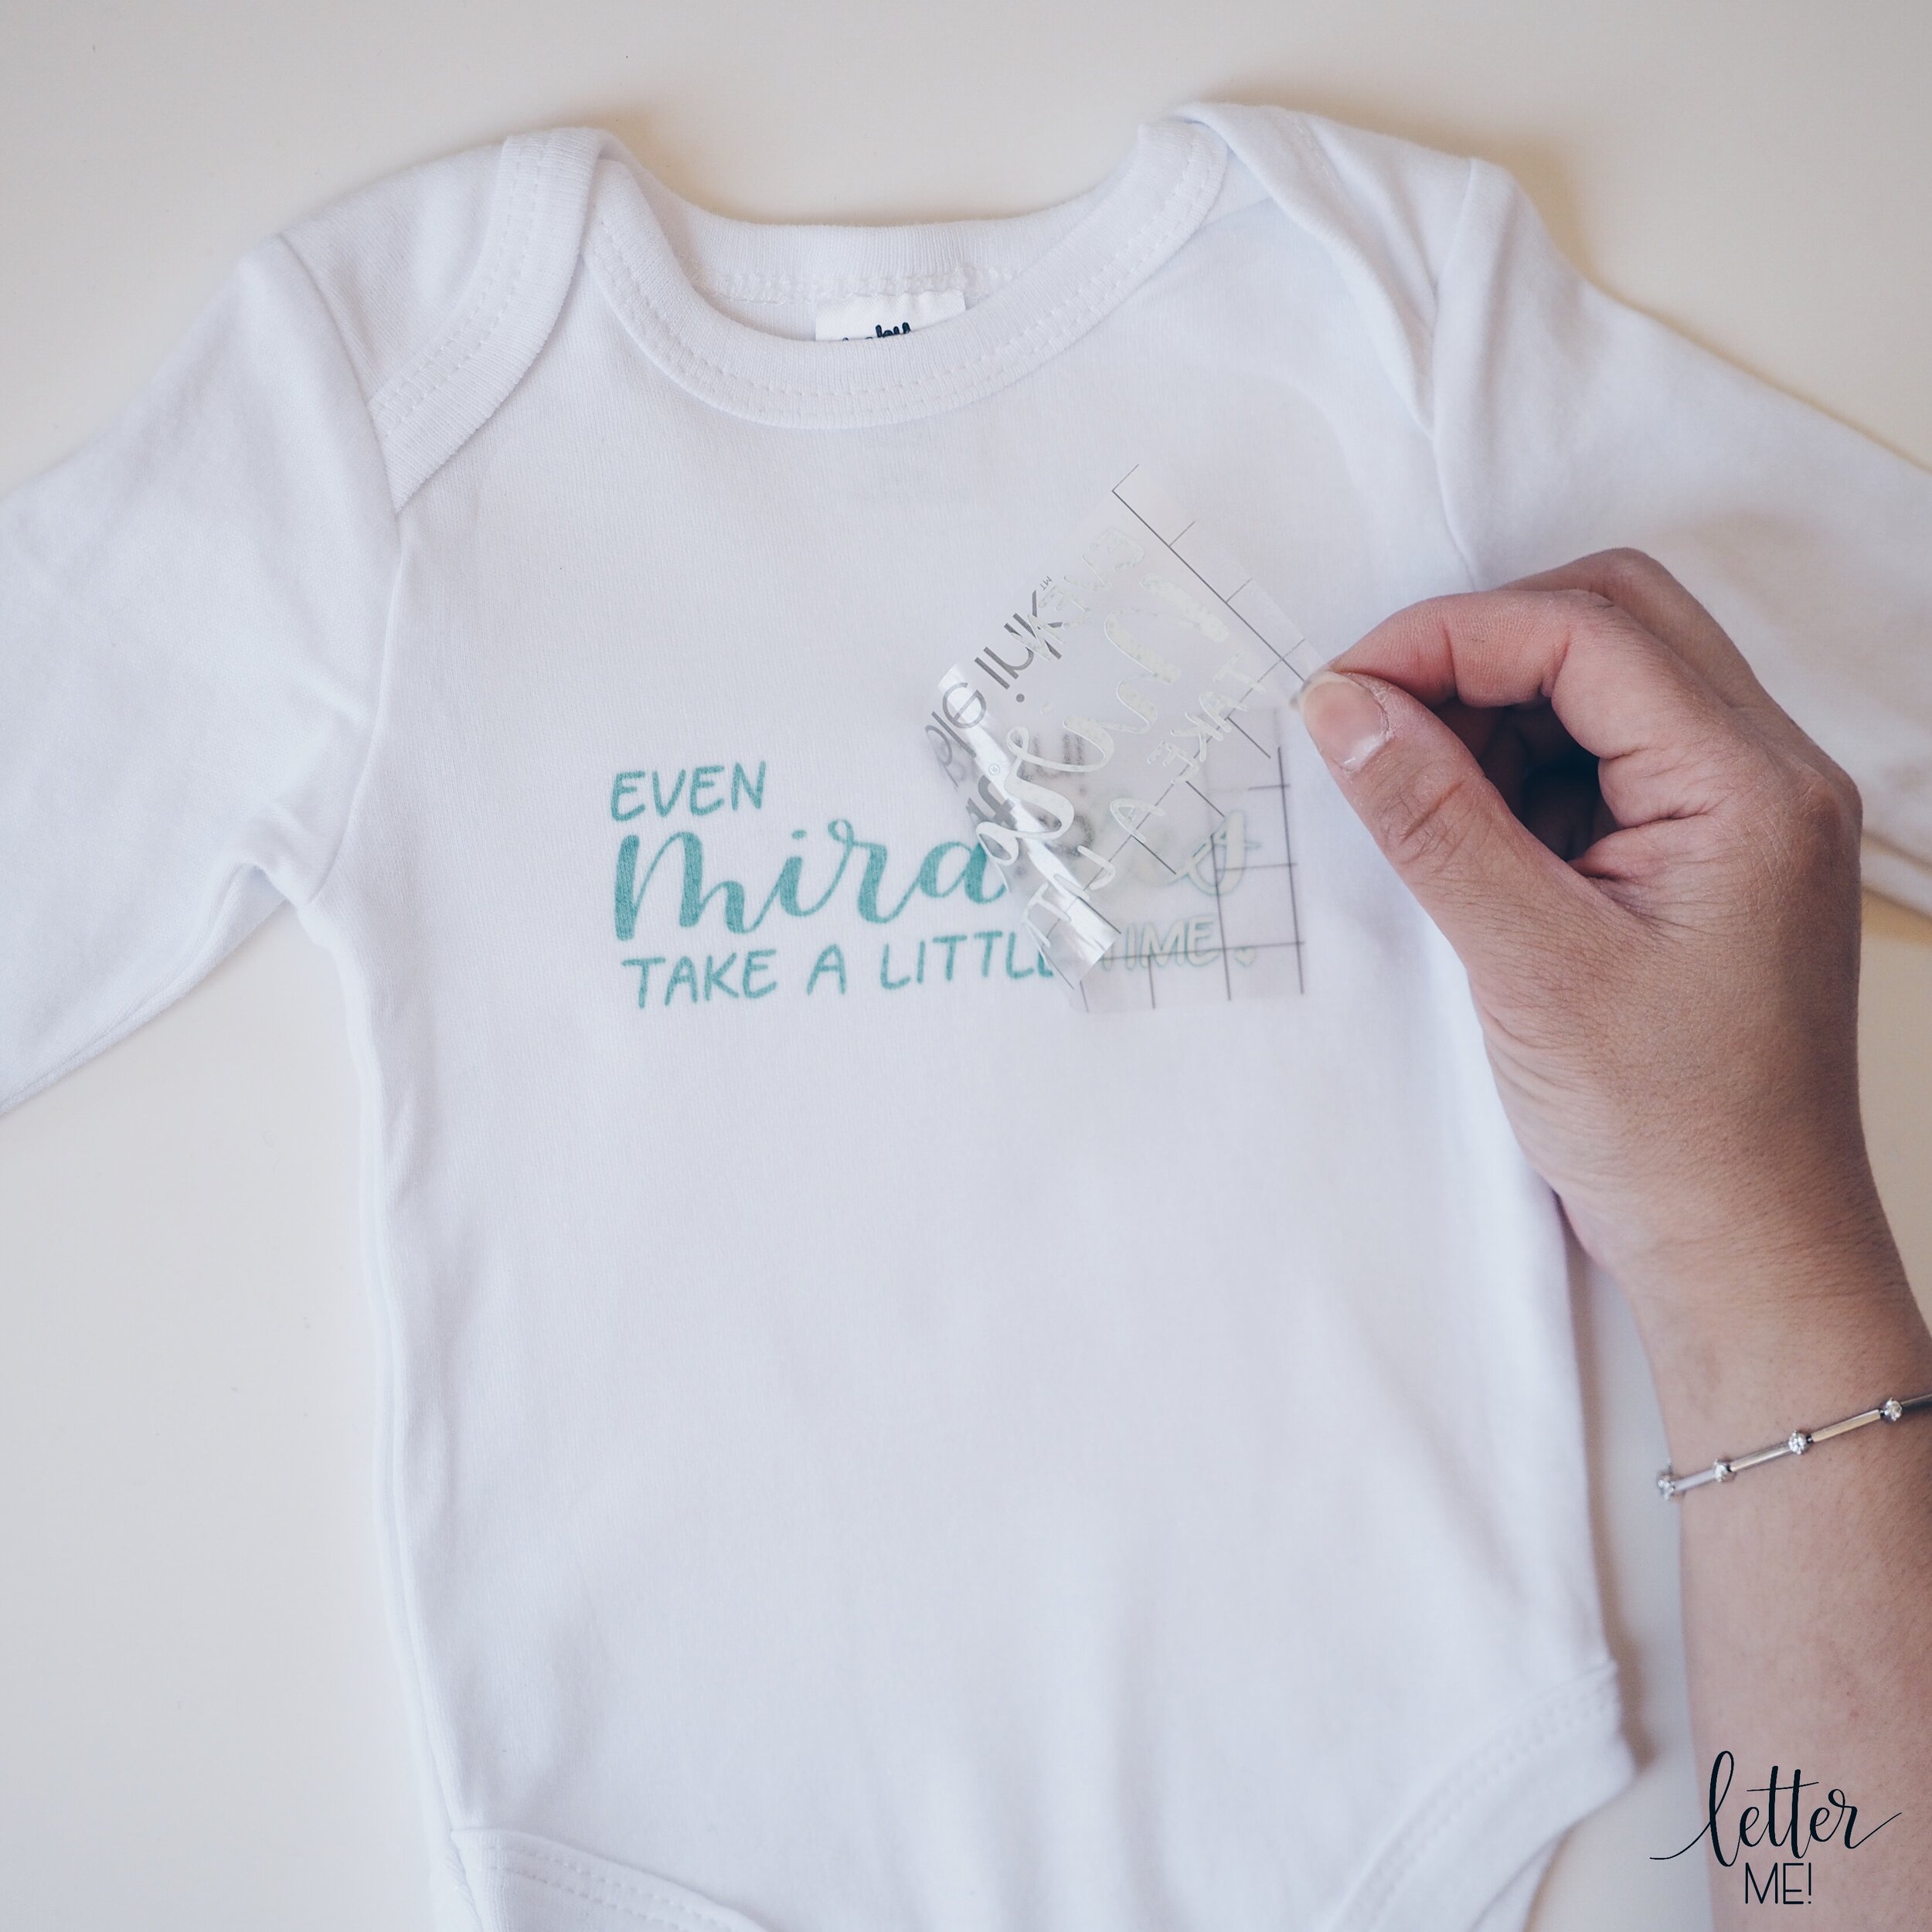
Step Nine: REMOVE THE STENCIL

Once the paint has dried, I carefully removed the stencil by peeling it off the mat. If the paint is not completely dry, the paint on the stencil may run onto the mat, so it’s important to wait for the mat and stencil to dry before removing. Don’t forget to remove the negative spaces from the letters. I used a tweezer to do this.
Step Ten: FINISHING TOUCHES
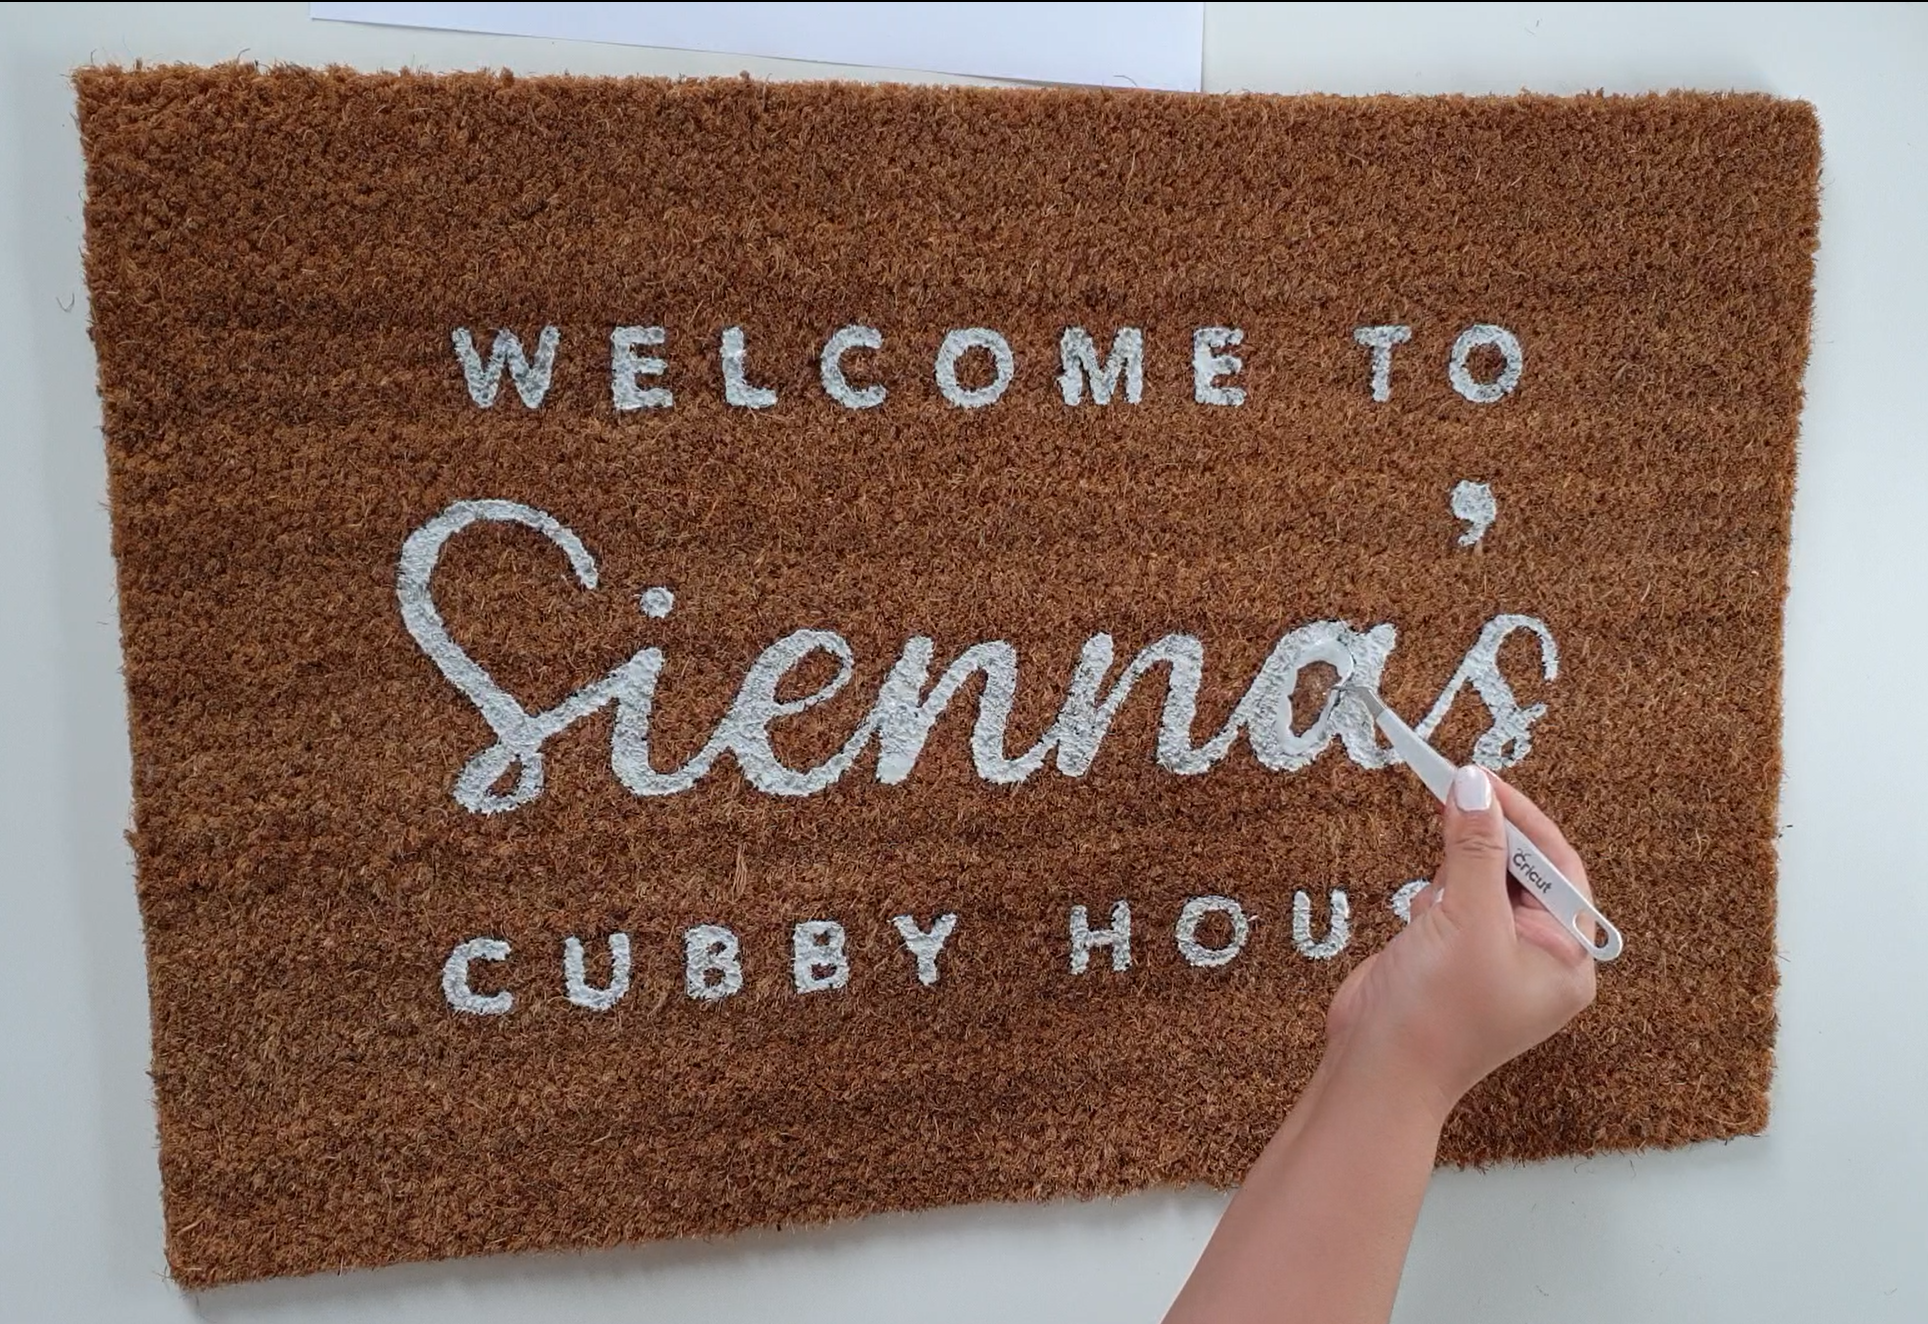
Once the stencil was completely removed, it was pretty much ready to go to its new home! If you want to go the extra step (like I did!), I used a fine paintbrush and went over some of the sides of the letters to make the letters cleaner and sharper.
And there you have it, this is how I personalised my niece’s doormat for her cubby house. Hope you found this step by step blog useful. I’d love to see your creations, please leave me a comment or tag me in your socials!
Happy crafting!